The Sweetest Mini Cannoli Cups Recipe for Tiny Dessert Bliss
Crafting delightful mini cannoli cups brings a playful twist to the classic Italian dessert.
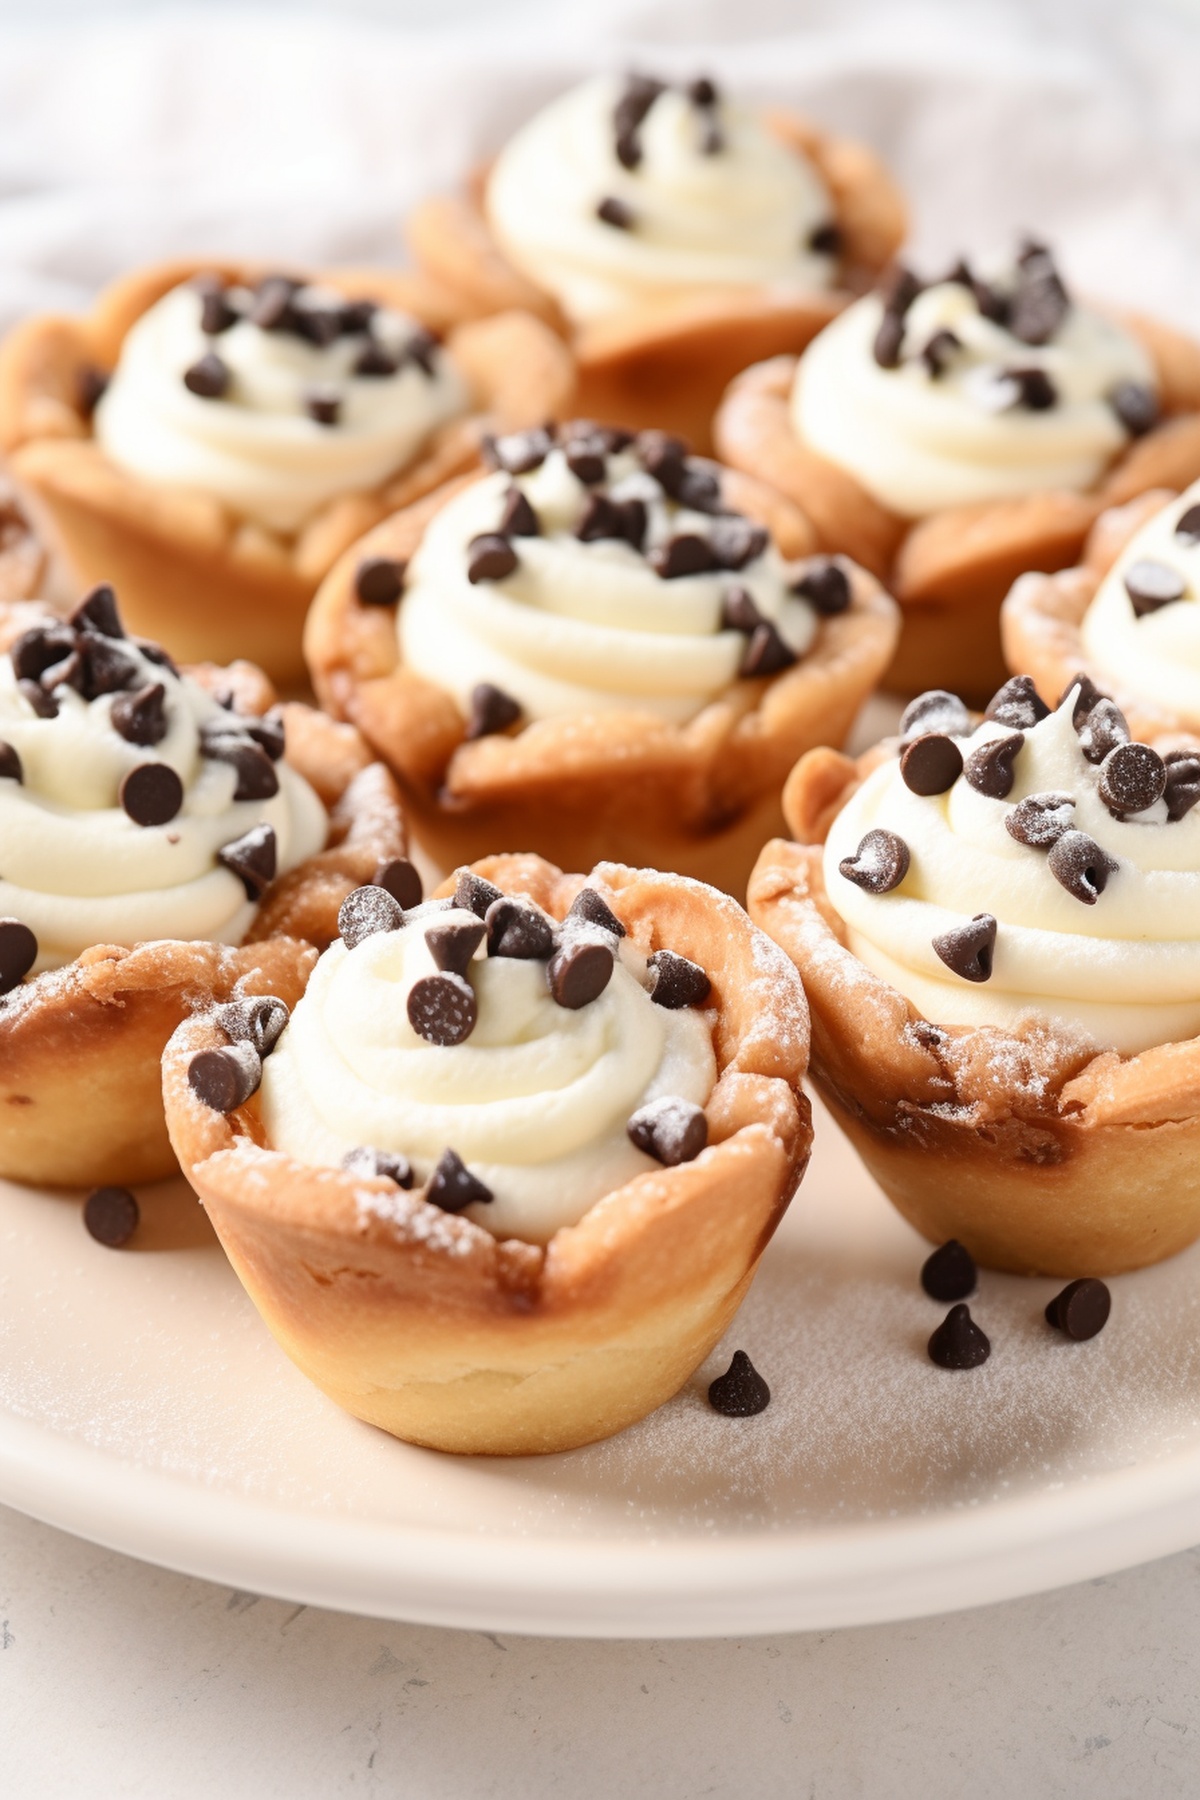
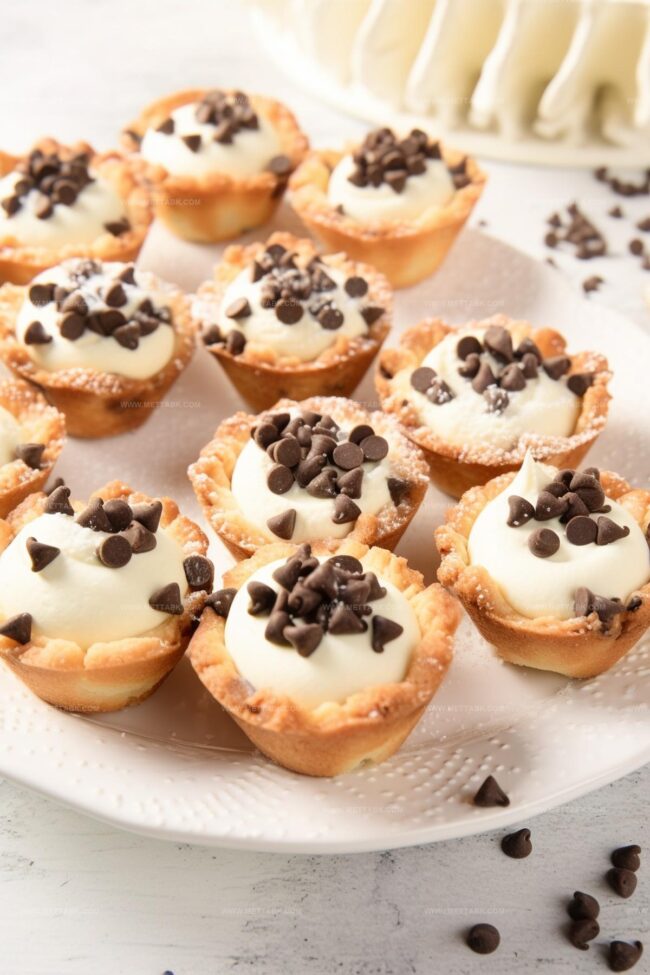
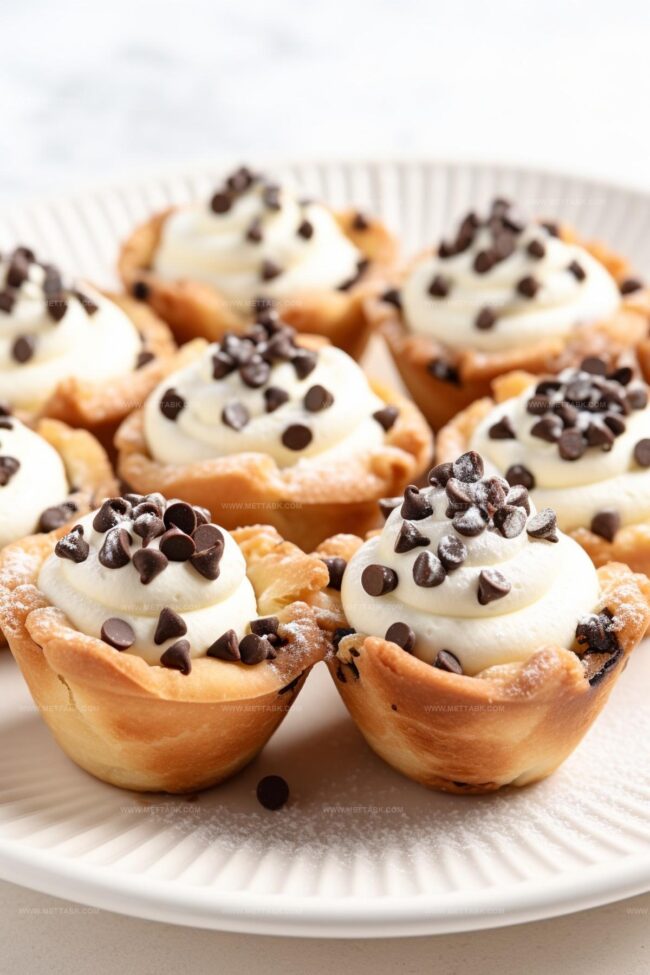
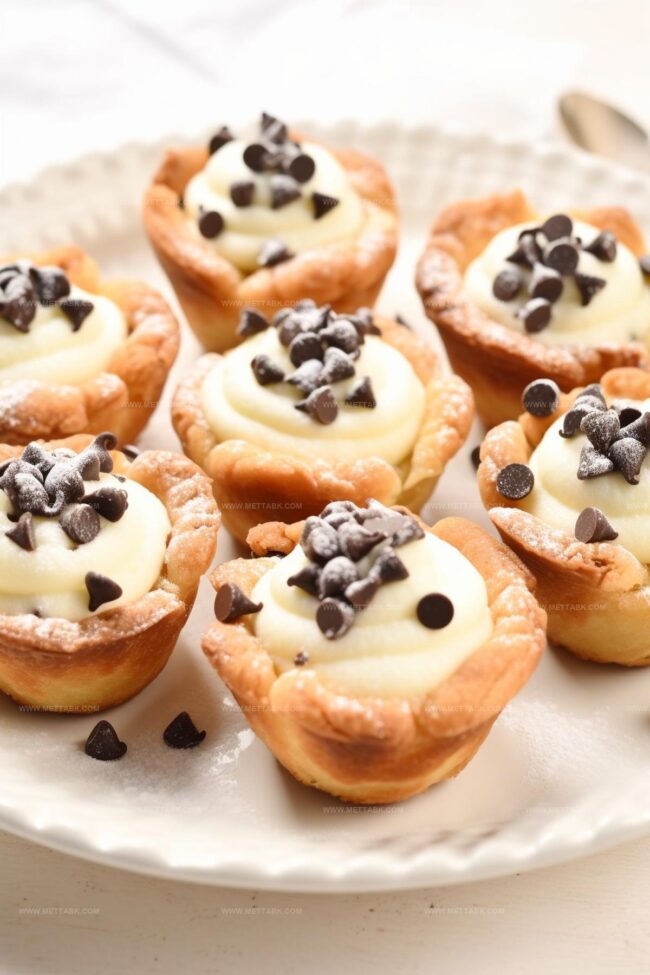
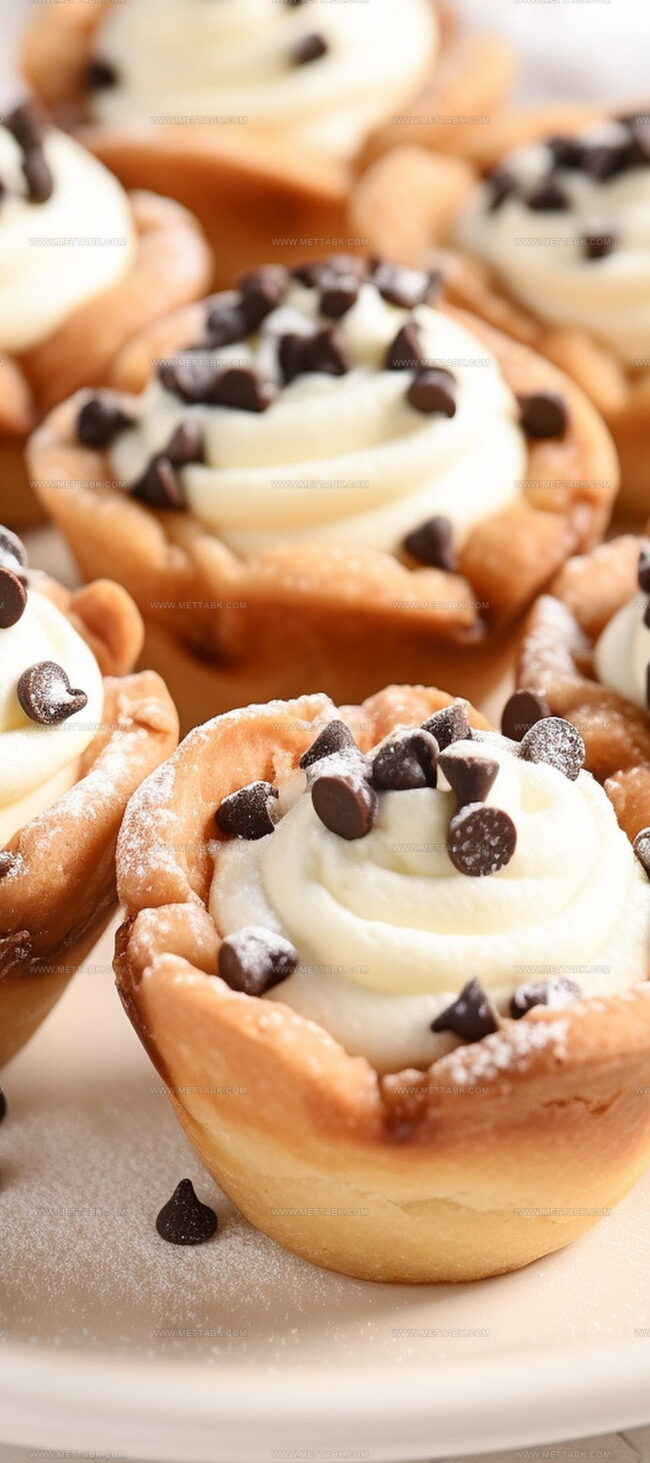
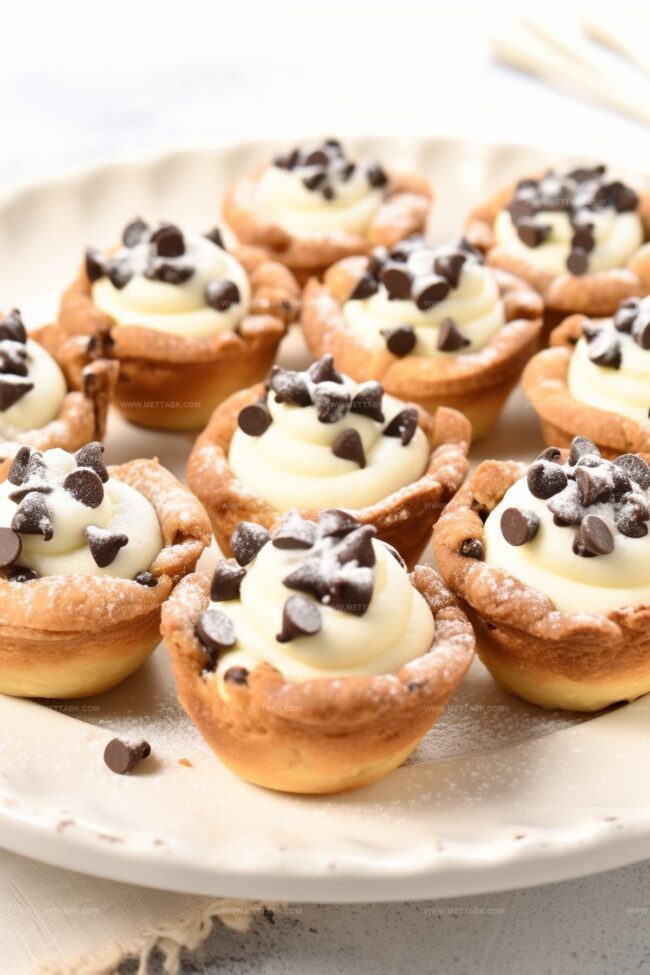
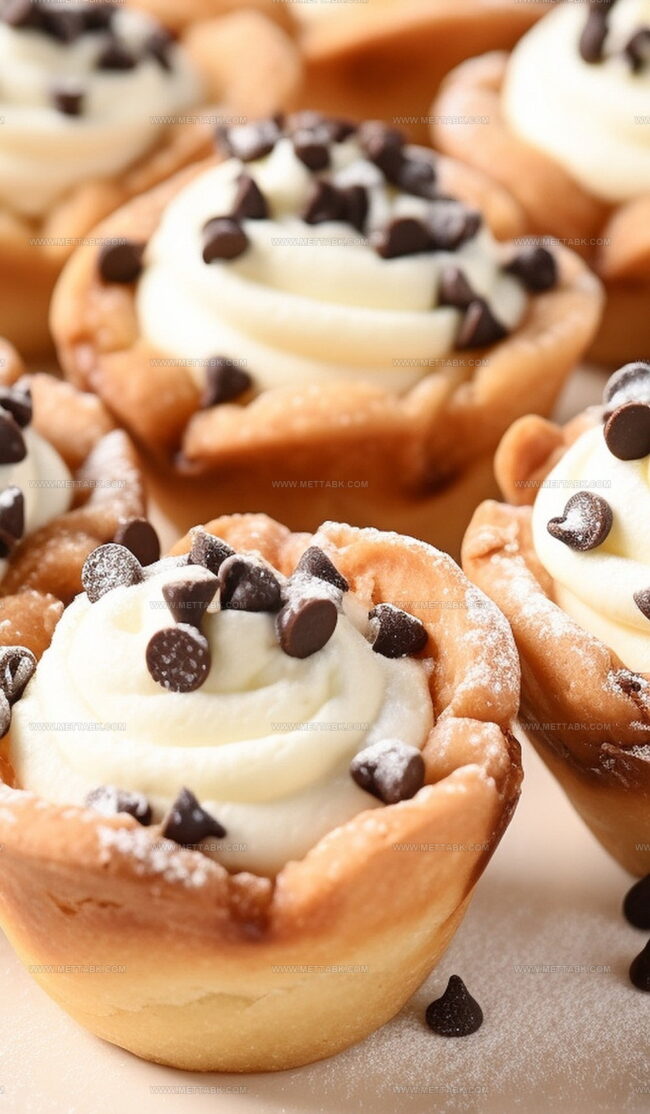
Sweet ricotta cheese and delicate pastry shells create a perfect handheld treat.
Crisp edges and creamy centers promise pure indulgence with every bite.
Homemade pastry might sound intimidating, but this straightforward method makes baking simple.
Chocolate chips and pistachios add delightful crunch and unexpected flavor layers.
Your guests will adore these bite-sized delicacies that pack all the traditional cannoli charm into one irresistible morsel.
Prepare to impress with this charming dessert that transforms an evening into a celebration.
Mini Cannoli Cups That Impress

Ingredients to Make Mini Cannoli Cups
Pie Crust Base:Filling Ingredients:Garnish and Toppings:How to Prepare Mini Cannoli Cups
Step 1: Warm Up the Oven
Set your oven to a toasty 425°F. This high temperature will help create perfectly crispy pastry shells for your delightful treats.
Step 2: Transform Pie Crusts
Spread out your pie crusts on a lightly floured surface. Generously dust the crusts with:Use a rolling pin to gently press the sweet spices into the dough.
Grab a 2½-inch cookie cutter and create round pastry shapes. Press each round into ungreased mini muffin cups.
Keep cutting and fitting rounds until you have 48 cute little cups.
Step 3: Bake the Pastry Shells
Slide the muffin pans into the hot oven.
Bake for about 10 minutes until the edges turn a beautiful golden brown. Let the shells cool completely in the pan for 15 minutes, then transfer to a wire rack to finish cooling.
Step 4: Whip Up the Creamy Filling
In a large mixing bowl, blend together:Whip with an electric mixer until smooth and creamy. Transfer the filling to a large zip-top bag and chill in the refrigerator.
Step 5: Assemble the Delightful Cups
Just before serving, snip a corner of the filling bag. Pipe a generous dollop into each cooled pastry shell.
Sprinkle with:Dust with a light layer of powdered sugar for extra elegance.
Step 6: Serve and Enjoy
Present these mini cannoli cups immediately.
The crisp shells and creamy filling are best enjoyed fresh and at their most delicious moment.
Tips to Perfect Mini Cannoli Cups
Variations to Refresh Mini Cannoli Cups
Pairing Suggestions for Mini Cannoli Cups
Storage Tips for Mini Cannoli Cups
FAQs
Pie crusts offer a quick and easy alternative to traditional cannoli shells, providing a similar crispy texture while saving time and reducing complexity in preparation.
Yes, you can prepare the ricotta filling up to 2 days in advance and store it in the refrigerator in a sealed bag or container until you’re ready to assemble the cannoli cups.
Bake the pie crust cups completely until golden brown and let them cool entirely before adding the filling. This helps maintain their crisp texture and prevents sogginess.
Print
Mini Cannoli Cups Recipe
- Total Time: 30 minutes
- Yield: 4 1x
Description
Sicilian-inspired mini cannoli cups bring creamy ricotta and crisp pastry together in one delightful bite. Chocolate-dipped edges and sweet filling create an irresistible dessert you can savor with friends and family.
Ingredients
- 1 container (15 oz or 425 g) whole-milk ricotta cheese
- 1 box (2 count) refrigerated pie crusts
- 3 tbsps turbinado sugar (raw sugar)
- 1/2 cup powdered sugar
- 2 tbsps granulated sugar
- 1/4 cup miniature semisweet chocolate chips or finely chopped pistachios
- 1 tsp ground cinnamon
- 1 tsp finely grated orange or lemon zest
- 1/2 tsp vanilla extract
- Additional powdered sugar (as required)
Instructions
- Preheat the oven to 425°F, creating an ideal environment for transforming delicate pie crusts into crisp, golden vessels.
- Dust pie crusts with turbinado sugar and ground cinnamon, gently pressing the aromatic mixture into the dough using a rolling pin. Strategically cut 2½-inch rounds and carefully nestle each into ungreased mini muffin cups, repurposing dough scraps to maximize yield.
- Bake pastry rounds for 10 minutes until achieving a rich golden hue. Allow cups to cool completely in the muffin pan for 15 minutes, then transfer to a wire rack to ensure thorough cooling and maintain structural integrity.
- Create a luxurious filling by whipping ricotta cheese with powdered sugar, granulated sugar, citrus zest, and vanilla extract using an electric mixer. Blend until achieving a smooth, creamy consistency. Transfer mixture to a zip-top bag and refrigerate until serving time.
- Moments before presentation, pipe approximately 1 tablespoon of chilled filling into each crisp pastry cup. Embellish with mini chocolate chips or chopped pistachios, then dust generously with powdered sugar for an elegant finishing touch.
- Serve immediately to experience the perfect harmony of crisp pastry and creamy filling, ensuring maximum flavor and textural enjoyment.
Notes
- Embrace the art of gentle rolling when embedding sugar and cinnamon into pie crusts to prevent tearing and ensure even distribution.
- Opt for whole-milk ricotta to achieve a richer, creamier filling that provides authentic Italian cannoli texture and depth of flavor.
- Chill the filling beforehand to help it set and maintain structural integrity when piping into delicate pastry cups.
- For gluten-free variations, substitute pie crusts with almond flour or gluten-free pastry dough to accommodate dietary restrictions without compromising taste.
- Prep Time: 20 minutes
- Cook Time: 10 minutes
- Category: Desserts, Snacks
- Method: Baking
- Cuisine: Italian
Nutrition
- Serving Size: 4
- Calories: 417 kcal
- Sugar: 33 g
- Sodium: 323 mg
- Fat: 23 g
- Saturated Fat: 12 g
- Unsaturated Fat: 9 g
- Trans Fat: 0.2 g
- Carbohydrates: 39 g
- Fiber: 1 g
- Protein: 8 g
- Cholesterol: 65 mg
Clara Bennett
Contributing Recipe Developer & Food Writer
Expertise
Baking and Pastry Development, Gluten-Free and Allergy-Friendly Recipe Creation, Culinary Storytelling and Food Journalism, Recipe Testing and Standardization, Southern Comfort Foods and Modern Twists
Education
Sullivan University – National Center for Hospitality Studies
Associate Degree in Culinary Arts
Focus: Baking and Pastry Arts, Recipe Testing, and Culinary Journalism.
Clara specialized in crafting desserts that blend classic Southern comfort with modern techniques, while developing strong writing skills to tell the story behind every dish.
Lane Community College (Certificate Program)
Certificate in Food Writing and Photography
Focus: Culinary storytelling, recipe formatting, food styling, and visual presentation.
Clara’s love of baking started young, powered by homemade pies, biscuits, and stories passed around the family table.
After earning her degree at Sullivan University and a food writing certificate at Lane Community College, she turned her passion into a craft: sharing recipes that are simple, soulful, and always full of heart.
She’s big on bold flavors, flexible ideas, and creating sweets that fit any table (yes, even if you’re gluten-free). When she’s not baking, you’ll find her wandering farmers’ markets, styling food for the next photo shoot, or working on her ever-growing recipe journal.