Irresistible Mini Coffee Cheesecake Recipe for Sweet Moments
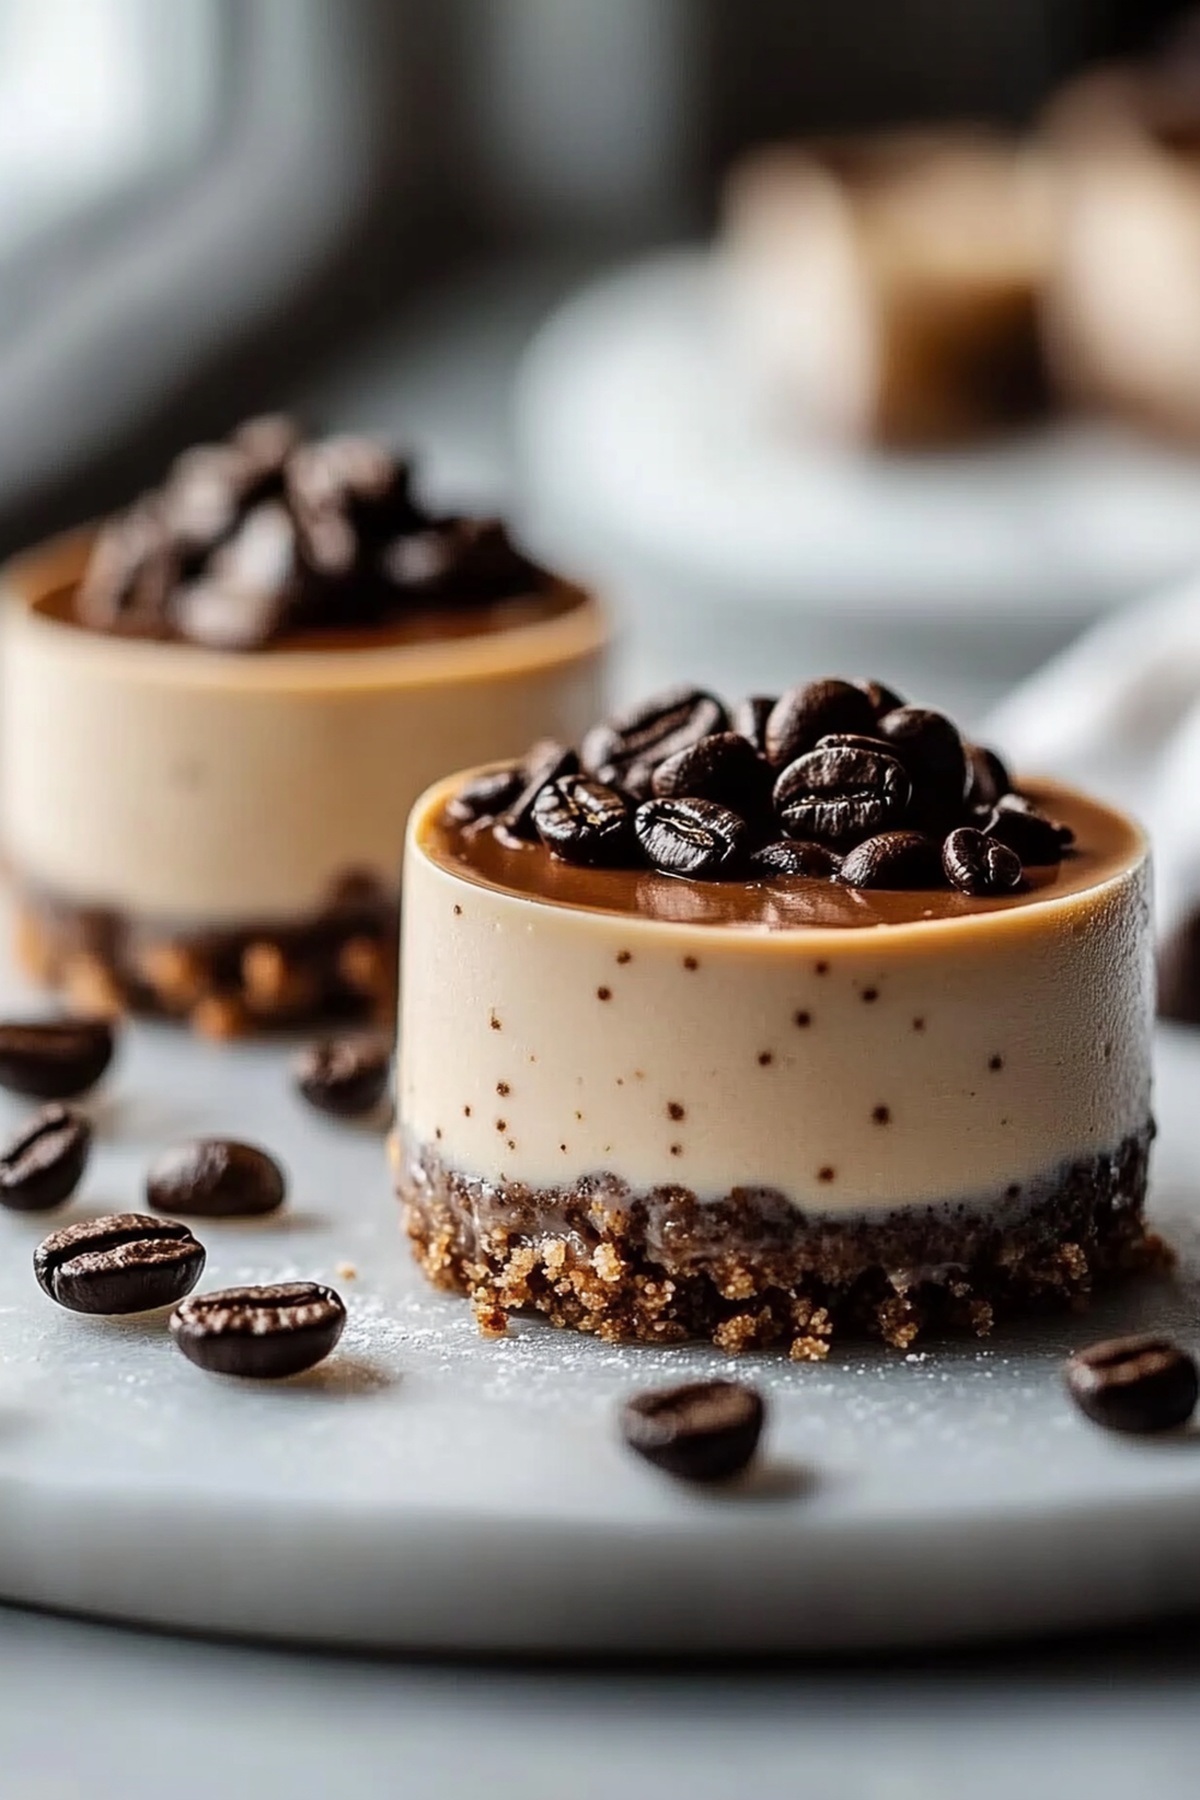
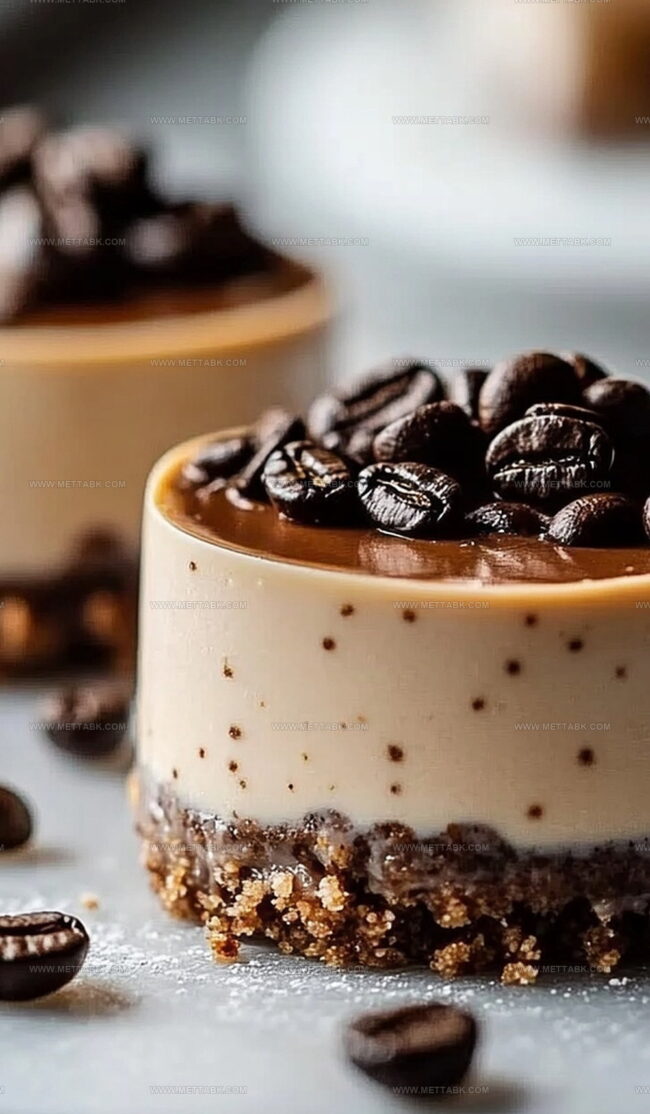
Coffee lovers rejoice over this delightful mini coffee cheesecake that promises pure indulgence in every bite.
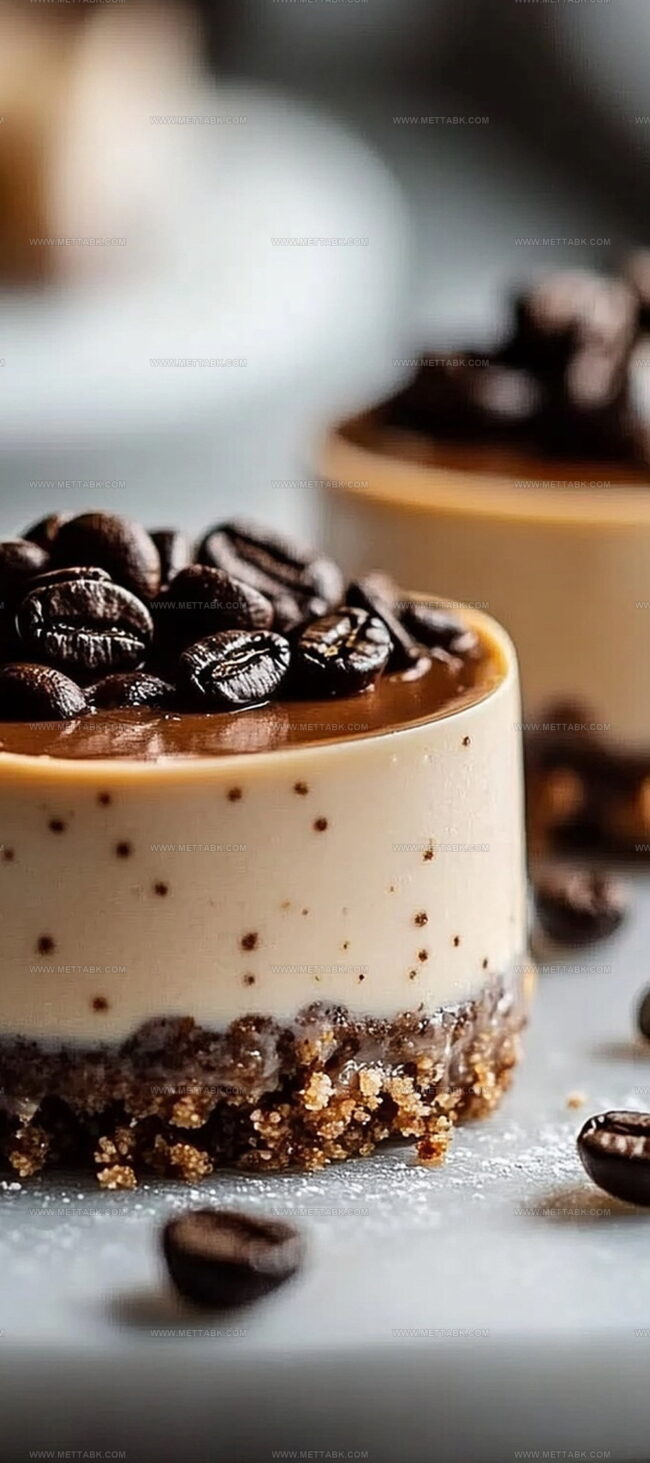
Creamy textures blend seamlessly with rich espresso notes.
Compact desserts bring maximum flavor without overwhelming your palate.
Small yet mighty, these miniature treats pack an incredible punch of decadence.
Delicate graham cracker crusts provide the perfect foundation for smooth, velvety filling.
No fancy equipment needed, just simple ingredients and a dash of passion.
You’ll fall in love with these irresistible little cheesecakes that make dessert feel like a personal celebration.
Mini Coffee Cheesecakes Made Quick and Easy
Ingredients to Build Mini Coffee Cheesecakes
Base:Filling:Topping:How to Prepare Quick Mini Coffee Cheesecakes
Step 1: Craft the Crumbly Base
Warm up your oven to 325°F. Grab a mixing bowl and combine graham cracker crumbs, melted butter, and sugar until they form a delightful sandy mixture.
Press this delectable base into the bottom of each muffin tin cavity, creating a perfect foundation for your mini cheesecakes. Pop the tin into the oven and bake for 5 minutes to set the crust, then let it cool down completely.
Step 2: Whip Up the Creamy Filling
In a large mixing bowl, beat cream cheese and sugar together until they transform into a silky smooth blend. Add an egg, freshly brewed coffee, and a splash of vanilla extract.
Mix everything until the filling becomes perfectly uniform and luscious.
Step 3: Fill and Bake the Mini Cheesecakes
Carefully spoon the coffee-infused cheesecake mixture over the cooled crusts, filling each cup about three-quarters full.
Slide the muffin tin into the oven and bake for 18-20 minutes. You’ll know they’re ready when the centers look set and slightly firm.
Step 4: Chill and Decorate
Allow the mini cheesecakes to cool completely at room temperature. Transfer them to the refrigerator and let them chill for at least 2 hours to develop their rich, creamy texture.
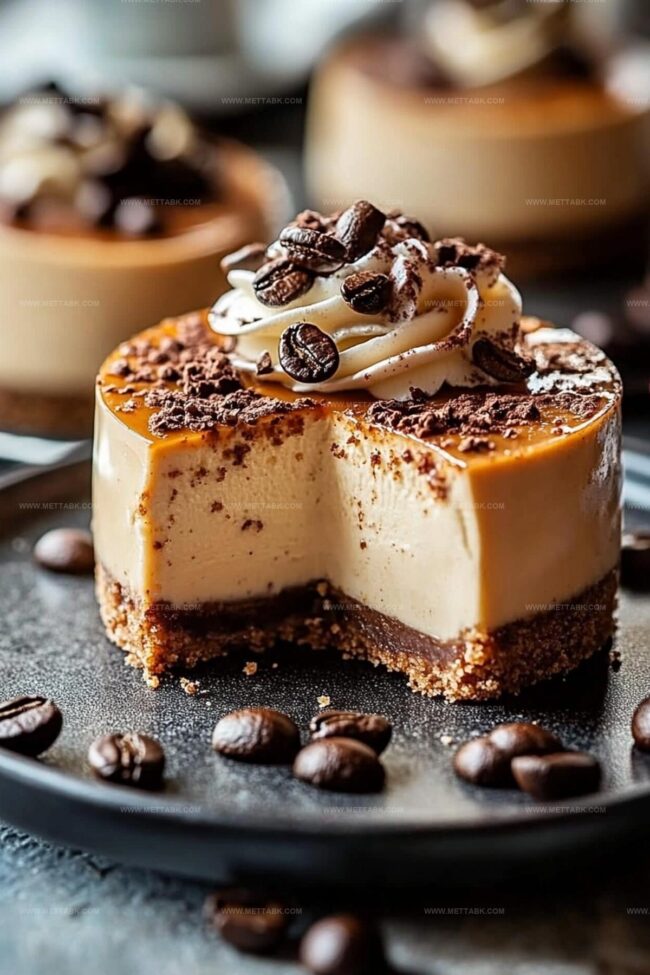
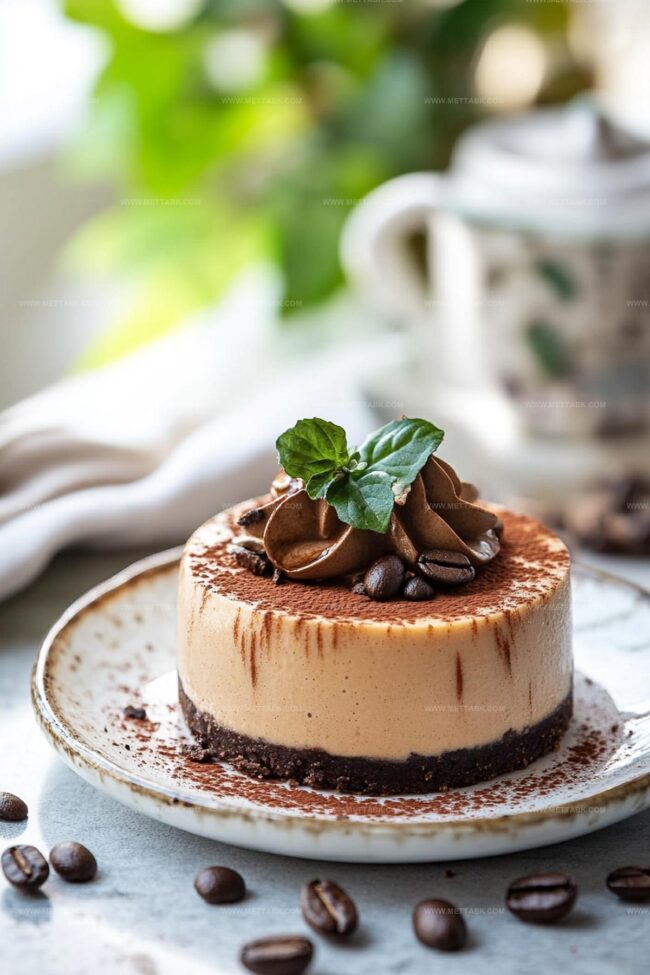
Before serving, crown each mini cheesecake with a dollop of whipped cream and dust with cocoa powder or sprinkle chocolate shavings for an elegant finish.
Tips to Perfect Mini Coffee Cheesecakes
Flavorful Twists on Mini Coffee Cheesecakes
Pairings That Enhance Mini Coffee Cheesecakes
Storage Advice for Mini Coffee Cheesecakes
FAQs
Yes, dissolve instant coffee granules in a small amount of hot water before adding to the cheesecake mixture to ensure even distribution and strong coffee flavor.
Avoid overmixing the batter, bake at the correct temperature, and don’t overbake. Remove from oven when centers are slightly jiggly but set.
A standard muffin tin works perfectly. Use cupcake liners for easy removal and clean-up, which also helps maintain the cheesecakes’ shape.
Print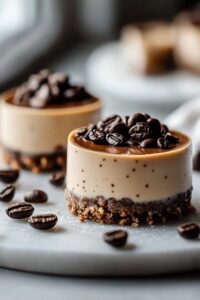
Mini Coffee Cheesecake Recipe
- Total Time: 45 minutes
- Yield: 12 1x
Description
Coffee lovers will adore this mini coffee cheesecake, a delightful dessert combining rich espresso notes with creamy cheesecake texture. Sophisticated palates will appreciate its elegant balance of flavors and smooth, indulgent finish.
Ingredients
- 1 cup graham cracker crumbs
- 4 tbsps unsalted butter, melted
- 16 oz cream cheese, softened
- 1/2 cup granulated sugar
- 1 large egg
- 2 tablespoons sour cream
- 1 tablespoon instant coffee powder
- 1 teaspoon vanilla extract
- 1/4 cup heavy cream (whipped)
- 2 tablespoons chocolate shavings
- 1 tablespoon powdered sugar (for topping)
Instructions
- Preheat the oven to 325°F and prepare a muffin tin with liners, ensuring even spacing for uniform mini cheesecakes.
- Combine graham cracker crumbs, melted butter, and sugar in a mixing bowl, creating a cohesive and slightly moistened crust mixture.
- Press the crumb mixture firmly into the bottom of each muffin liner, compacting it evenly to form a solid base.
- Briefly bake the crust for 5 minutes to set, then remove and allow to cool completely at room temperature.
- In a separate mixing bowl, thoroughly beat cream cheese and sugar until achieving a smooth, lump-free consistency.
- Incorporate the egg, coffee, and vanilla extract into the cream cheese mixture, blending until fully integrated and uniform in color.
- Carefully spoon the coffee-infused cheesecake filling into each prepared crust, filling approximately 3/4 of each liner’s volume.
- Bake for 18-20 minutes, monitoring until the centers appear set and the edges show slight firmness.
- Remove from the oven and allow the mini cheesecakes to cool completely at room temperature.
- Refrigerate for a minimum of 2 hours to ensure proper setting and enhanced flavor development.
- Before serving, garnish with a delicate dollop of whipped cream and dust lightly with cocoa powder or sprinkle chocolate shavings on top.
Notes
- Swap graham crackers with gluten-free alternatives like almond flour or crushed gluten-free cookies for those with dietary restrictions.
- Use instant espresso powder for a more intense coffee flavor that elevates the cheesecake’s richness without adding extra liquid.
- Prevent cracking by avoiding overmixing the cheesecake batter and baking in a water bath for more even, gentle heat distribution.
- Experiment with flavor variations by adding a splash of kahlua or replacing vanilla with almond extract for a unique twist on the classic recipe.
- Prep Time: 20 minutes
- Cook Time: 25 minutes
- Category: Desserts
- Method: Baking
- Cuisine: American
Nutrition
- Serving Size: 12
- Calories: 284
- Sugar: 13.0 g
- Sodium: 194 mg
- Fat: 21.6 g
- Saturated Fat: 12.7 g
- Unsaturated Fat: 8.9 g
- Trans Fat: 0.1 g
- Carbohydrates: 19.3 g
- Fiber: 0.3 g
- Protein: 4.1 g
- Cholesterol: 74 mg
Clara Bennett
Contributing Recipe Developer & Food Writer
Expertise
Baking and Pastry Development, Gluten-Free and Allergy-Friendly Recipe Creation, Culinary Storytelling and Food Journalism, Recipe Testing and Standardization, Southern Comfort Foods and Modern Twists
Education
Sullivan University – National Center for Hospitality Studies
Associate Degree in Culinary Arts
Focus: Baking and Pastry Arts, Recipe Testing, and Culinary Journalism.
Clara specialized in crafting desserts that blend classic Southern comfort with modern techniques, while developing strong writing skills to tell the story behind every dish.
Lane Community College (Certificate Program)
Certificate in Food Writing and Photography
Focus: Culinary storytelling, recipe formatting, food styling, and visual presentation.
Clara’s love of baking started young, powered by homemade pies, biscuits, and stories passed around the family table.
After earning her degree at Sullivan University and a food writing certificate at Lane Community College, she turned her passion into a craft: sharing recipes that are simple, soulful, and always full of heart.
She’s big on bold flavors, flexible ideas, and creating sweets that fit any table (yes, even if you’re gluten-free). When she’s not baking, you’ll find her wandering farmers’ markets, styling food for the next photo shoot, or working on her ever-growing recipe journal.