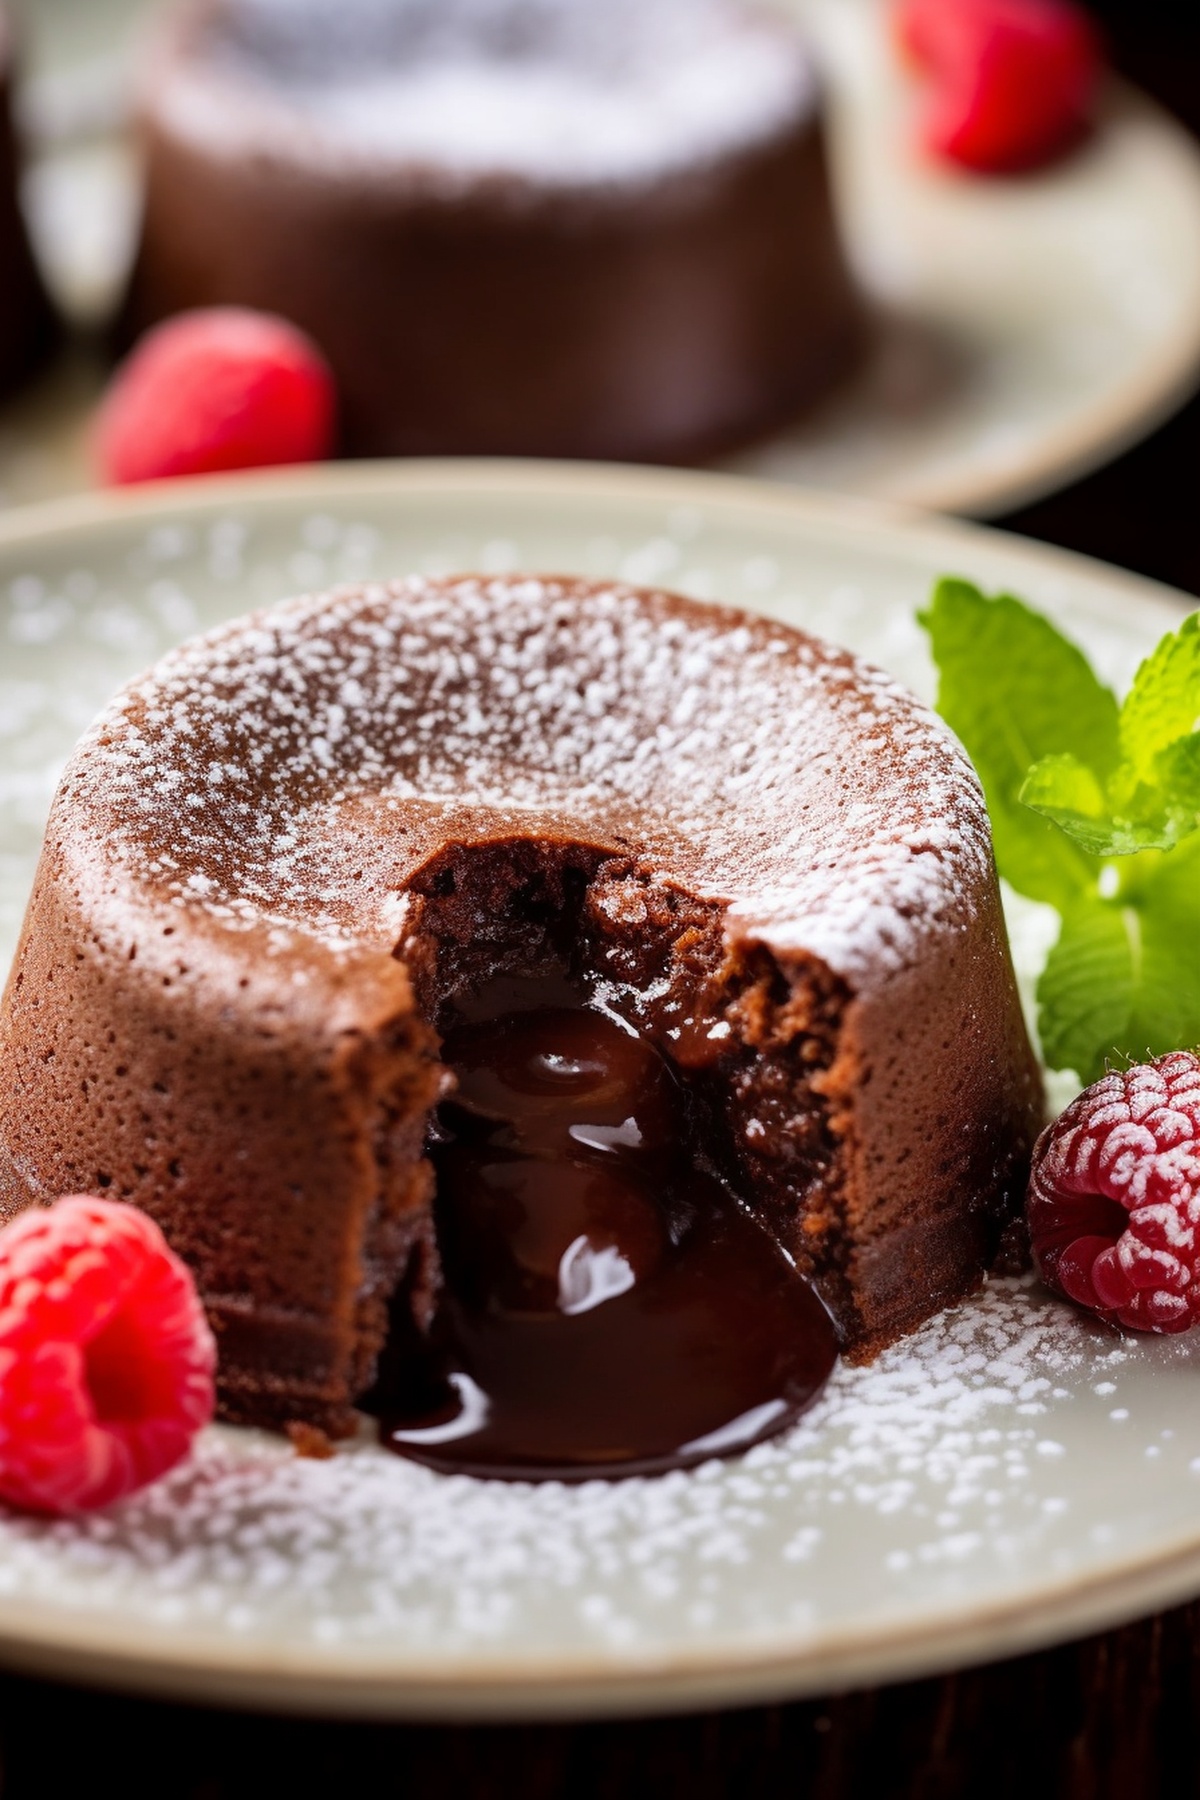
The Dreamy Molten Chocolate Lava Cakes Recipe Everyone Loves
Decadent molten chocolate lava cakes have been my secret weapon for impressing dinner guests for years.
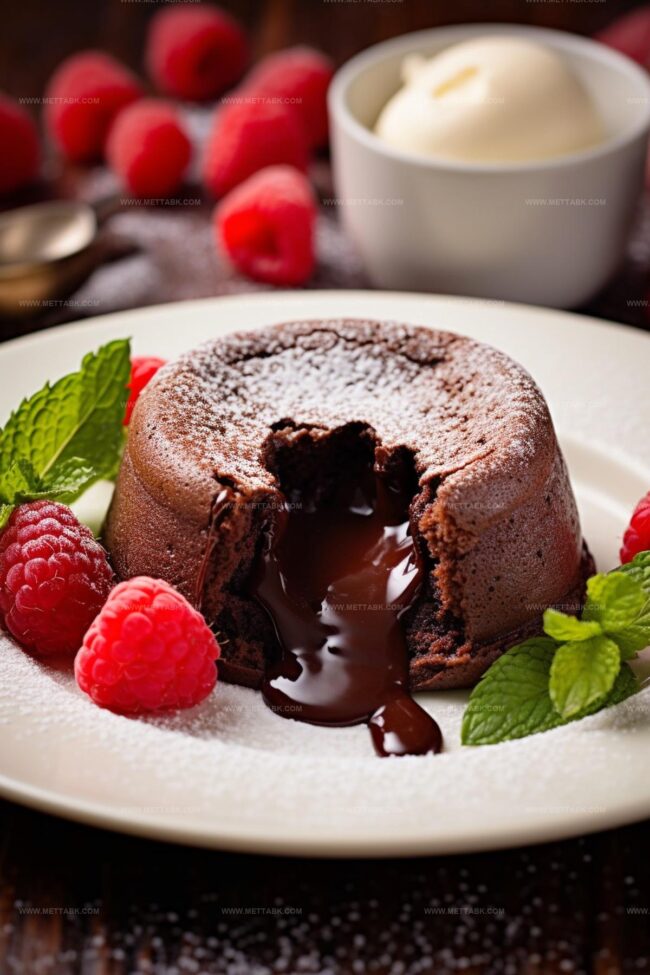
Rich cocoa flavors burst through a delicate exterior with every spoonful.
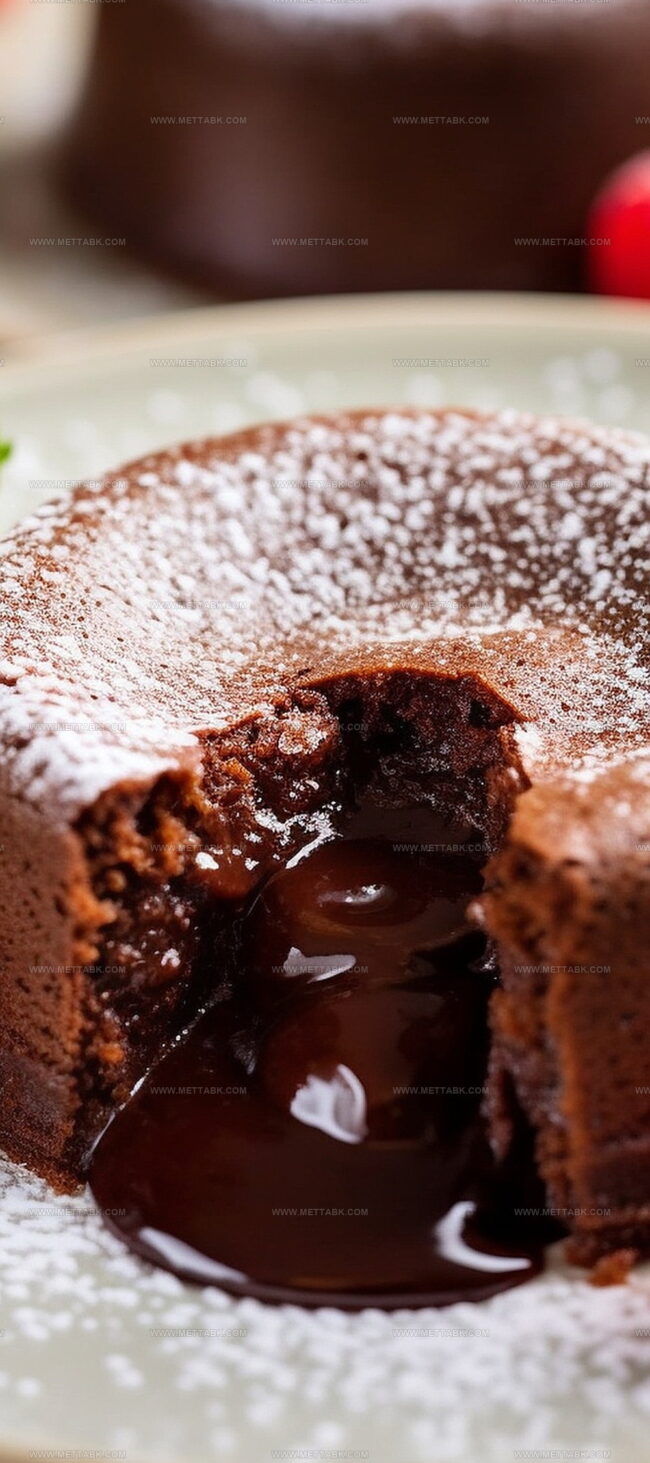
Silky chocolate centers create pure magic on your plate.
Surprisingly simple techniques help even novice bakers craft these elegant desserts.
Small ramekins become vessels of pure indulgence when you master this technique.
Creamy, intense chocolate flows like liquid gold when you break through the tender cake surface.
What Makes Molten Chocolate Lava Cakes an Irresistible Dessert

Ingredients for Molten Chocolate Lava Cakes
How to Bake Molten Chocolate Lava Cakes
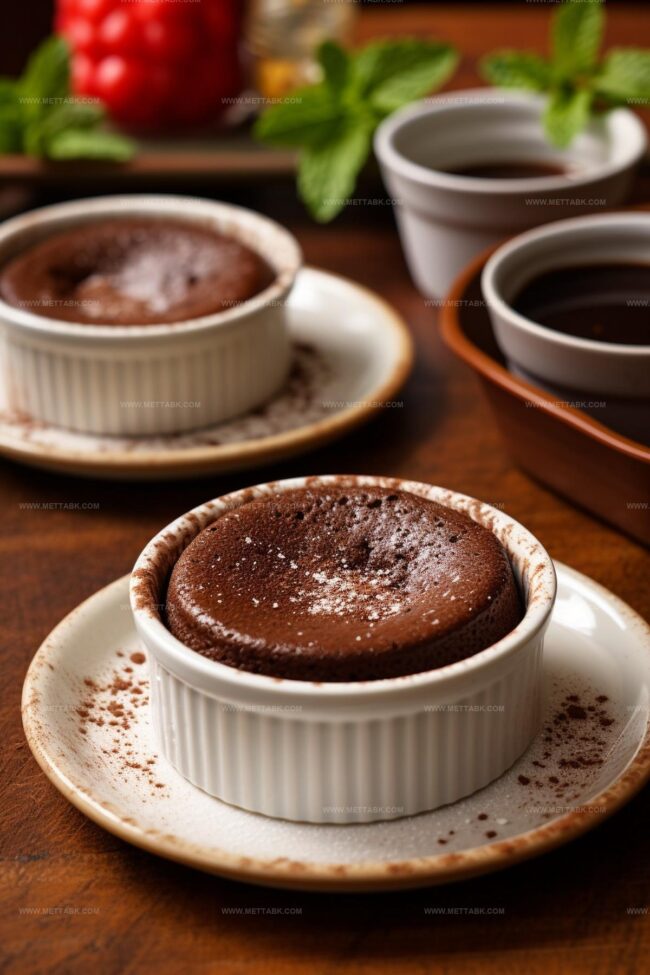
Step 1: Prepare Ramekins
Grab your ramekins and get ready to create magic. Generously coat the inside of each ramekin with butter, making sure every nook and cranny is covered.
Sprinkle a light dusting of flour inside, then tap out any excess to create a perfect non-stick surface.
Step 2: Melt Chocolate and Butter
Set up a double boiler by placing a heatproof bowl over a saucepan with simmering water.
Ensure the bowl doesn’t touch the water. Add:Stir gently until the mixture transforms into a smooth, glossy pool of chocolatey goodness.
Remove from heat and let it cool slightly.
Step 3: Whip Up the Egg Mixture
Grab another bowl and combine:Whip these ingredients with an electric mixer on high speed.
Beat until the mixture becomes thick and turns a beautiful pale yellow color, about 5 minutes.
Step 4: Create the Batter
Slowly pour the slightly cooled chocolate mixture into the egg mixture.
Add vanilla extract and gently fold everything together. Sprinkle in the flour and fold until the batter looks smooth and consistent.
Step 5: Bake to Perfection
Divide the batter evenly among the prepared ramekins. Slide them into a preheated oven at 450°F.
Bake for 10-12 minutes. You’re looking for a firm exterior with a center that’s still wonderfully gooey.
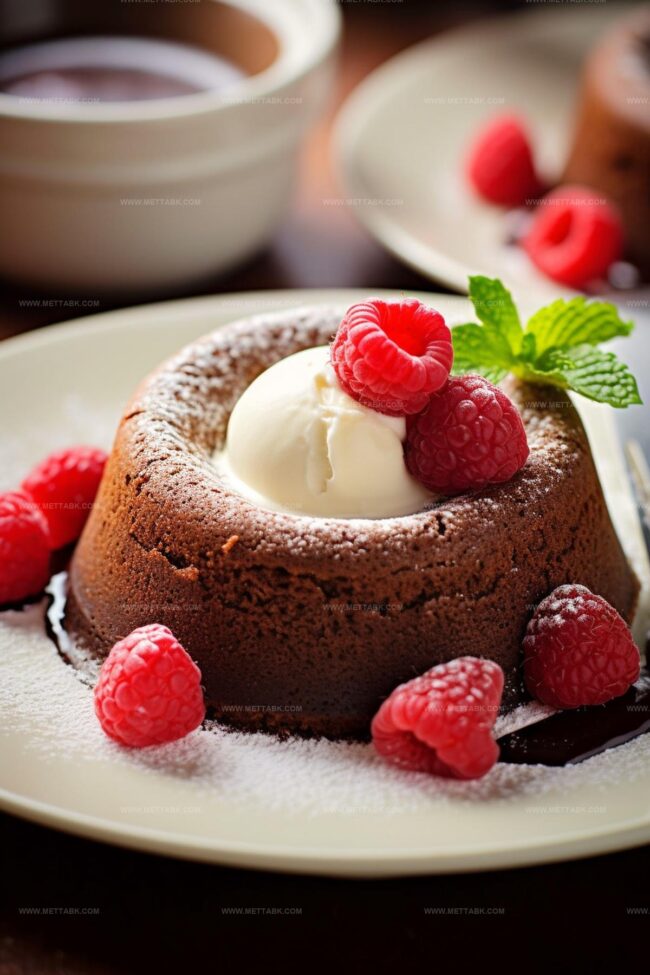
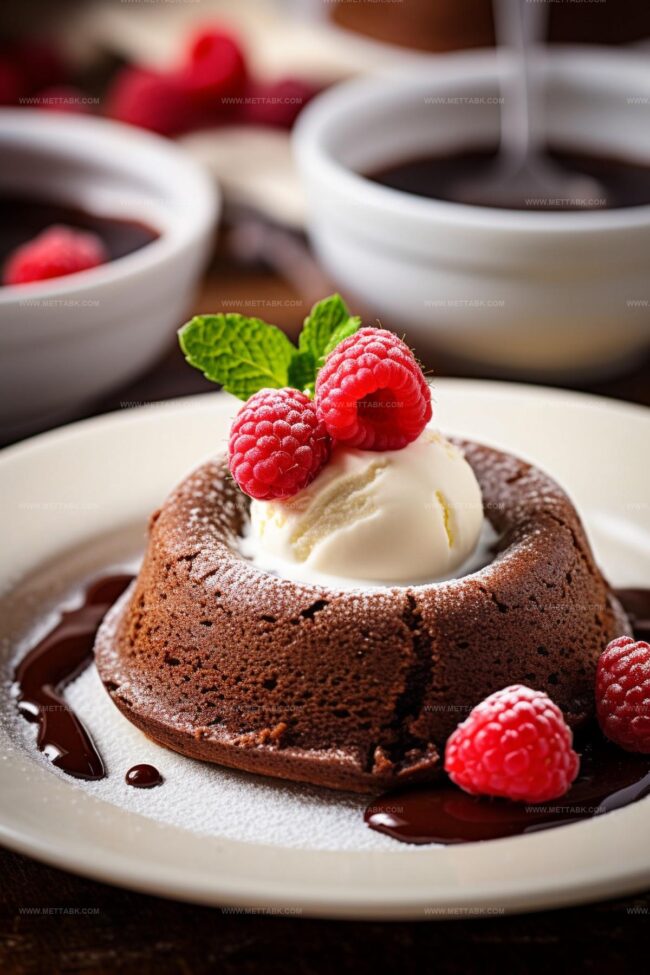
Step 6: Serve and Enjoy
After removing from the oven, let the cakes rest for a minute. Carefully run a knife around the edges if needed.
Flip each cake onto a serving plate. If you’re feeling fancy, dust with a sprinkle of powdered sugar.
Serve immediately while warm and watch the chocolate ooze out with the first spoonful.
Pro Tips for Gooey and Rich Molten Chocolate Lava Cakes

Flavor Variations on Molten Chocolate Lava Cakes
Pairings That Enhance Molten Chocolate Lava Cakes
Storage Tips for Molten Chocolate Lava Cakes
FAQs

The water bath (double boiler) method helps melt chocolate gently and evenly, preventing burning or seizing. It provides indirect, controlled heat that ensures smooth chocolate without scorching.
Look for a firm exterior with a slightly jiggly center. The edges should appear set and dry, while the middle remains soft. Baking time is crucial – 10-12 minutes ensures the classic molten center.
Yes, you can prepare the batter up to 4 hours before baking. Cover and refrigerate the filled ramekins, then bring to room temperature before baking. This makes it perfect for dinner parties or entertaining.
Print
Molten Chocolate Lava Cakes Recipe
- Total Time: 32 minutes
- Yield: 2 1x
Description
Rich chocolate lava cakes melt hearts with their gooey center and elegant presentation. Passionate bakers discover a simple dessert that impresses guests and satisfies chocolate cravings in minutes.
Ingredients
- 6 oz semisweet chocolate chips
- 8 tbsps unsalted butter (sliced, with additional for greasing the ramekins)
- 2 large whole eggs
- 2 large egg yolks
- 1/4 cup granulated sugar
- 3 tbsps all-purpose flour (with additional for dusting the ramekins)
- 1 tsp pure vanilla extract
- 1/4 tsp salt
Instructions
- Prepare four ramekins by generously coating the interior with unsalted butter, then lightly dust with all-purpose flour, tapping out any excess to create a non-stick surface.
- Create a double boiler by placing a mixing bowl over a saucepan with simmering water, ensuring the bowl doesn’t touch the water. Melt semisweet chocolate chips and butter together, stirring consistently until smooth and glossy. Remove from heat and let cool slightly.
- In a separate bowl, whisk together whole eggs, egg yolks, granulated sugar, and salt. Use an electric mixer to beat the mixture on high speed for 5 minutes until it becomes pale and thick, creating a light, voluminous texture.
- Carefully fold the slightly cooled chocolate mixture into the egg mixture, incorporating vanilla extract. Gently add all-purpose flour, mixing until the batter becomes uniform and no flour streaks remain.
- Evenly divide the batter among the prepared ramekins. Bake in a preheated oven at 450°F for 10-12 minutes, watching for a set exterior with a slightly jiggly center – this ensures the signature molten interior.
- After removing from the oven, let the cakes rest for 1 minute. Run a small knife around the edges to loosen, then carefully invert onto serving plates. Optionally dust with powdered sugar and serve immediately while warm and oozing with chocolate.
Notes
- Butter and flour the ramekins generously to prevent sticking and ensure easy cake removal.
- Use high-quality semisweet chocolate for a rich, decadent flavor that melts smoothly.
- Beat egg mixture thoroughly until light and fluffy to create a delicate, airy texture in the lava cakes.
- Check baking time carefully to maintain the signature molten center without overcooking.
- Prep Time: 20 minutes
- Cook Time: 12 minutes
- Category: Desserts
- Method: Baking
- Cuisine: American
Nutrition
- Serving Size: 2
- Calories: 440 kcal
- Sugar: 30 g
- Sodium: 115 mg
- Fat: 32 g
- Saturated Fat: 19 g
- Unsaturated Fat: 11 g
- Trans Fat: 0.5 g
- Carbohydrates: 36 g
- Fiber: 4 g
- Protein: 7 g
- Cholesterol: 210 mg
Clara Bennett
Contributing Recipe Developer & Food Writer
Expertise
Baking and Pastry Development, Gluten-Free and Allergy-Friendly Recipe Creation, Culinary Storytelling and Food Journalism, Recipe Testing and Standardization, Southern Comfort Foods and Modern Twists
Education
Sullivan University – National Center for Hospitality Studies
Associate Degree in Culinary Arts
Focus: Baking and Pastry Arts, Recipe Testing, and Culinary Journalism.
Clara specialized in crafting desserts that blend classic Southern comfort with modern techniques, while developing strong writing skills to tell the story behind every dish.
Lane Community College (Certificate Program)
Certificate in Food Writing and Photography
Focus: Culinary storytelling, recipe formatting, food styling, and visual presentation.
Clara’s love of baking started young, powered by homemade pies, biscuits, and stories passed around the family table.
After earning her degree at Sullivan University and a food writing certificate at Lane Community College, she turned her passion into a craft: sharing recipes that are simple, soulful, and always full of heart.
She’s big on bold flavors, flexible ideas, and creating sweets that fit any table (yes, even if you’re gluten-free). When she’s not baking, you’ll find her wandering farmers’ markets, styling food for the next photo shoot, or working on her ever-growing recipe journal.