
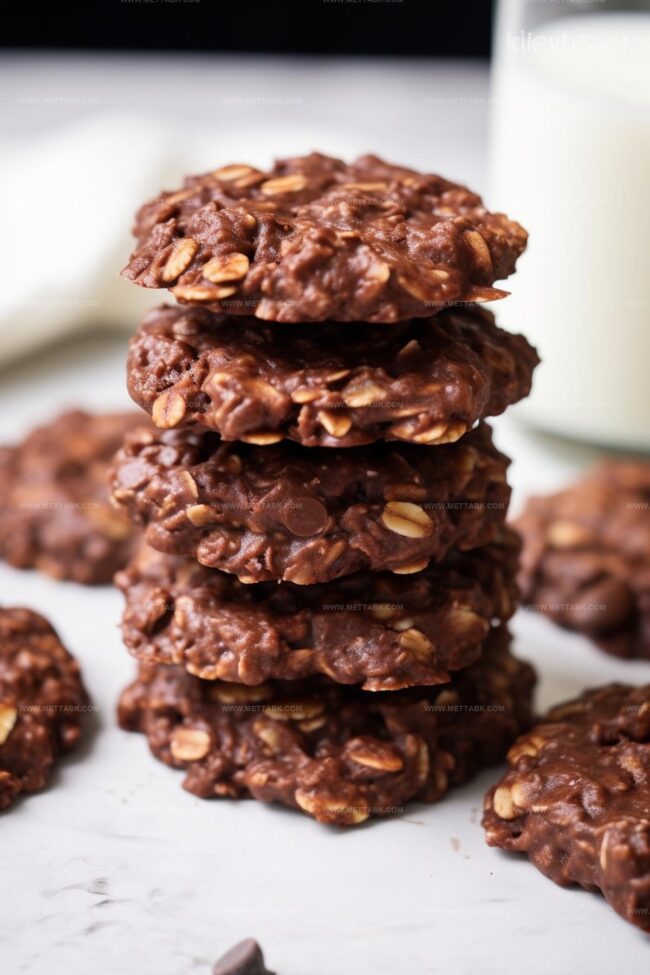
The Effortless No Bake Cookies Recipe for Sweet Success
Whipping up delectable no bake cookies doesn’t require advanced culinary skills or intimidating kitchen equipment.
Surprisingly simple ingredients can create magic in your mixing bowl.
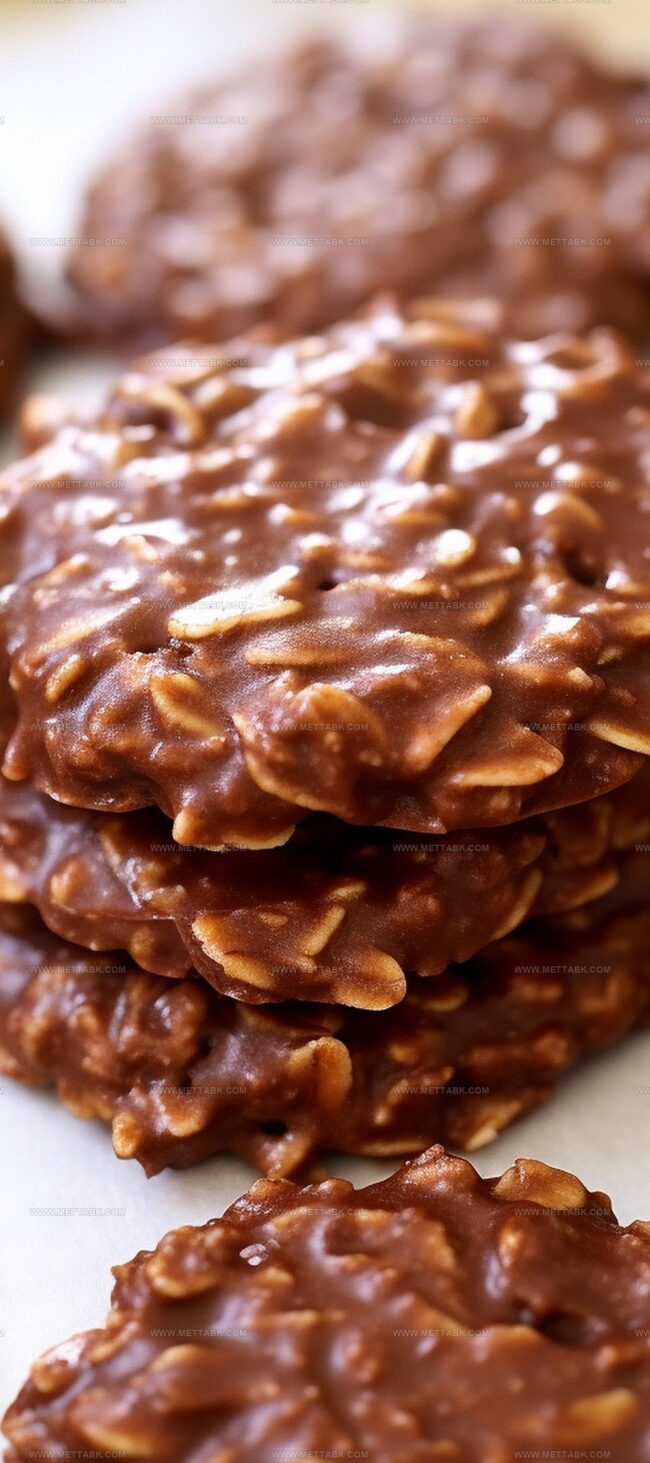
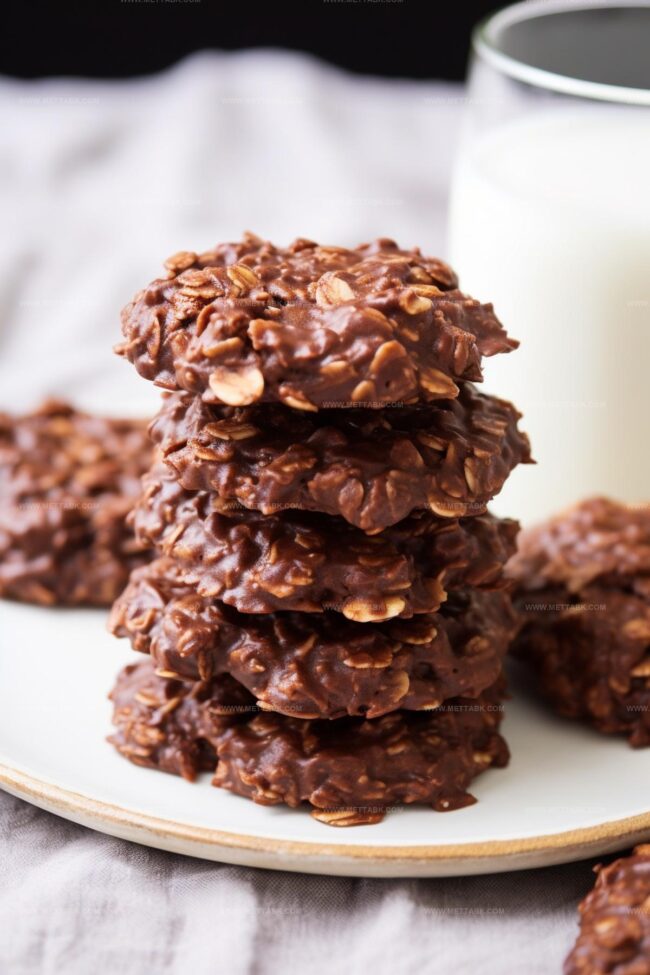
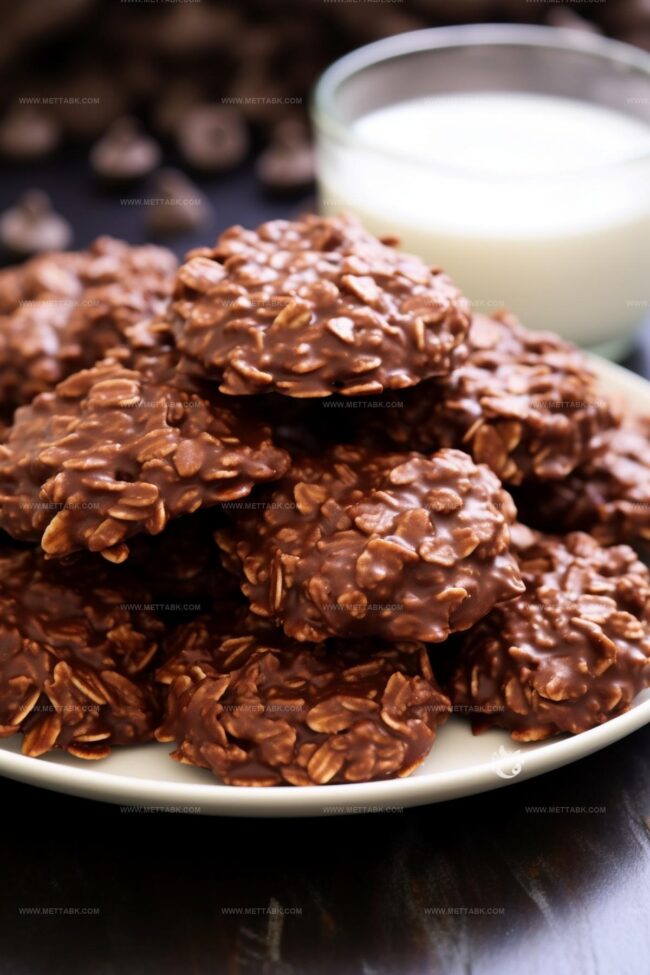
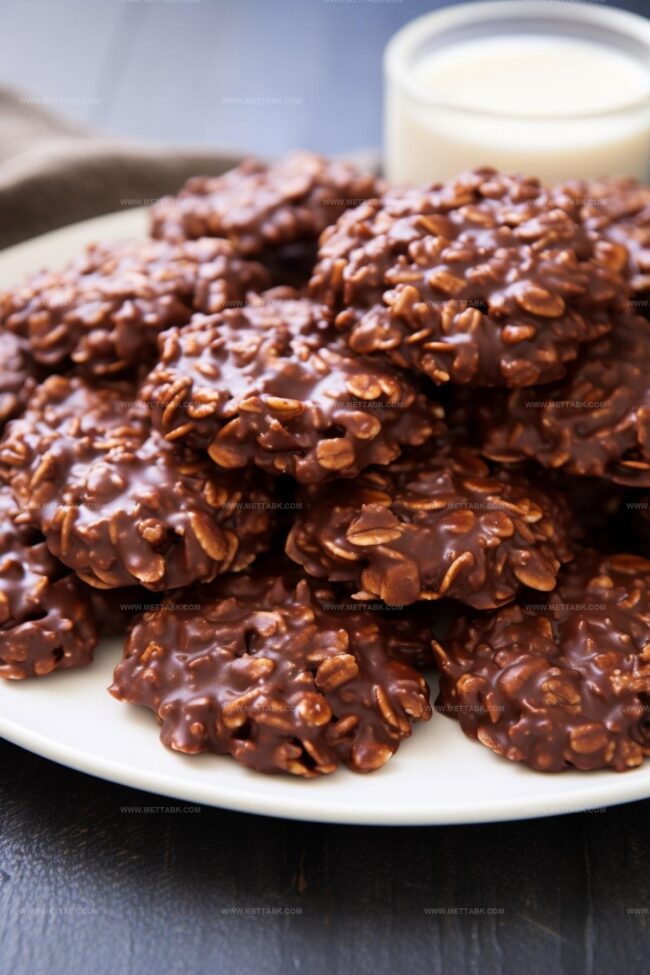
Sweet chocolate and oatmeal combine into a dreamy treat that comes together faster than traditional baked desserts.
Kids adore helping mix these no-fuss delights, which emerge creamy and rich without ever touching an oven.
Pantry staples like peanut butter, cocoa, and rolled oats turn ordinary moments into delightful experiences.
Cool countertops become your workspace for crafting these irresistible morsels.
You’ll fall in love with how quickly these cookies transform humble ingredients into something extraordinary.
Let’s jump right in and create a batch that disappears within minutes!
Quick Treat: No Bake Cookies
Ingredients for No Bake Cookies
Instructions to Prepare No Bake Cookies
Step 1: Create Your Cookie Landing Zone
Grab parchment paper and line your baking sheets. Alternatively, set out cupcake liners across a flat surface for easy cookie placement.
Step 2: Build the Chocolatey Base
Gather your ingredients in a medium saucepan:Place the pan over medium heat and start stirring.
Step 3: Bring the Mixture to a Rolling Boil
Keep stirring the ingredients until they reach a vigorous, bubbling boil.
Watch the mixture transform into a rich, glossy liquid.
Step 4: Hold the Boil
Let the mixture boil exactly one minute without stirring.
This precise timing helps create the perfect cookie texture.
Step 5: Blend in Flavor Enhancers
Remove pan from heat and quickly mix in:Stir until everything looks evenly combined and deliciously glossy.
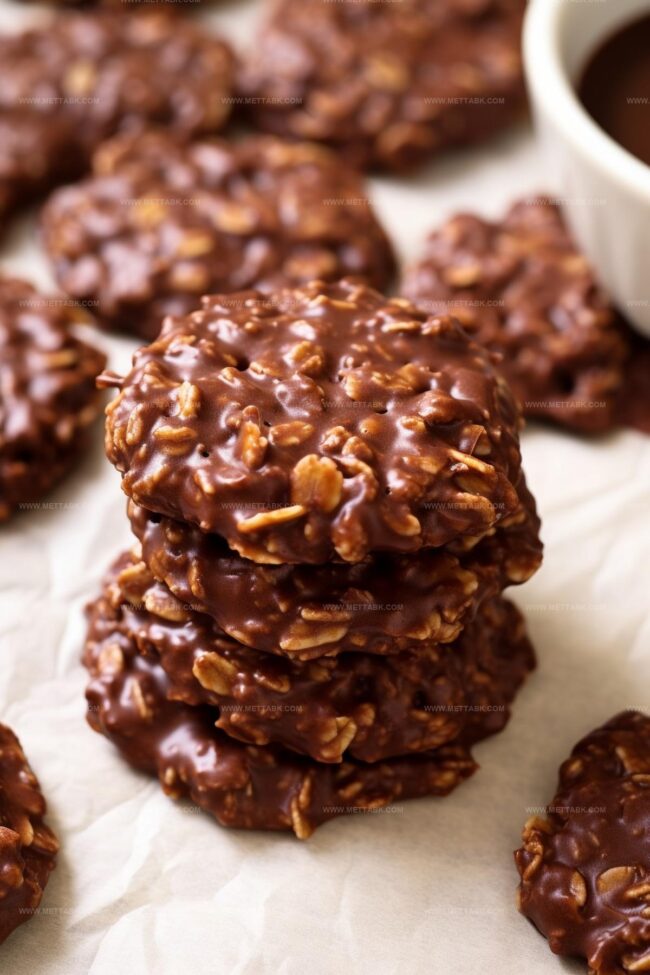
Step 6: Shape Your Cookies
Use a cookie scoop or two spoons to drop mixture onto prepared surfaces. Create uniform mounds of chocolatey goodness.
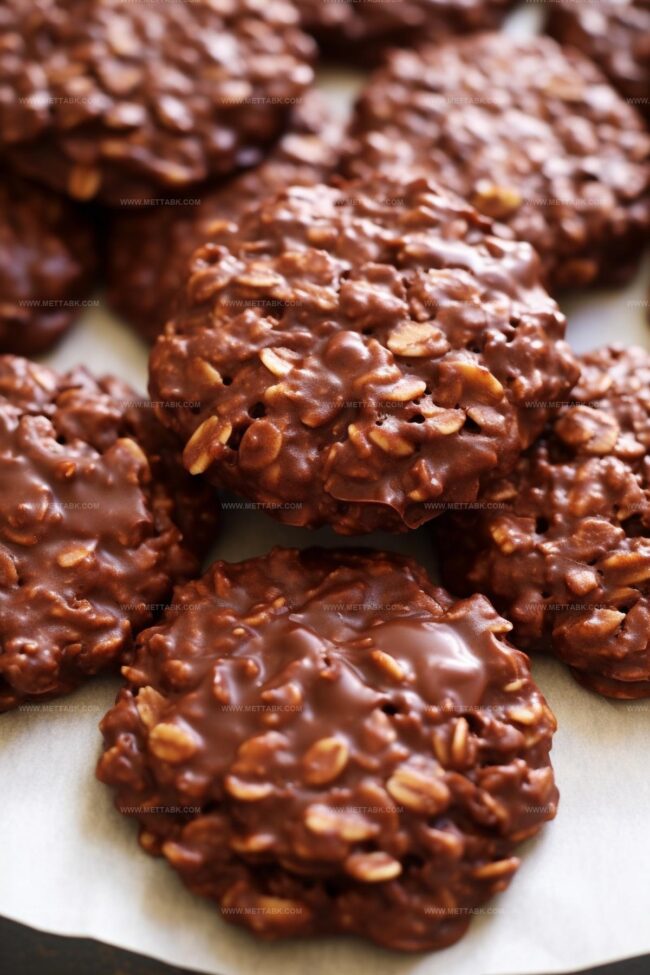
Step 7: Allow Cookies to Set
Let cookies rest at room temperature for 20-30 minutes. For speedier results, pop them in the refrigerator.
Step 8: Store and Enjoy
Transfer cookies to an airtight container. Keep at room temperature and enjoy your no-bake treats throughout the week.
Pro Tips for No Bake Cookies
Variations of No Bake Cookies
Pairing Ideas to Serve with No Bake Cookies
Storing Tips for No Bake Cookies
FAQs

The combination of chocolate, peanut butter, and oats creates a rich, satisfying flavor that’s both sweet and slightly nutty, making these cookies irresistibly tasty.
These cookies are incredibly easy to prepare. With just a few simple steps and no baking required, even beginner cooks can successfully make them in under 30 minutes.
You can swap peanut butter with almond butter or sunflower seed butter for different flavors. For dairy-free options, use non-dairy milk and dairy-free butter alternatives.
Print
No Bake Cookies Recipe
- Total Time: 25 minutes
- Yield: 24 1x
Description
Irresistible no bake cookies blend chocolate, peanut butter, and oats into a quick dessert loved by families everywhere. Sweet treats come together without an oven, delivering simple pleasure in minutes.
Ingredients
- 350 grams (12.35 oz) granulated sugar
- 113 grams (4 oz) salted butter
- 120 milliliters (1/2 cup) milk
- 32 grams (1/3 cup) unsweetened cocoa powder
- 160 grams (2/3 cup) creamy peanut butter
- 1 teaspoon vanilla extract
- 275 grams (3 cups) quick oats (note: old fashioned oats are not recommended for this recipe)
Instructions
- Prepare parchment-lined baking sheets or arrange cupcake liners to create a landing zone for the no-bake cookies.
- Combine butter, sugar, cocoa powder, and milk in a medium saucepan, heating over medium temperature until the mixture begins to bubble vigorously.
- Allow the mixture to reach a full rolling boil, maintaining constant heat without stirring for precisely 60 seconds.
- Remove the saucepan from heat immediately after boiling, swiftly introducing vanilla extract, peanut butter, and quick oats while stirring until completely integrated.
- Utilize a cookie scoop or two spoons to transfer the glossy mixture onto prepared surfaces, creating uniform droplets of chocolatey goodness.
- Let the cookies rest at room temperature for 20-30 minutes, allowing them to solidify naturally, or accelerate the process by placing them in the refrigerator.
- Once completely set and firm, transfer the cookies to an airtight container, preserving their rich texture and preventing moisture absorption.
Notes
- Precision matters when boiling the mixture exactly 60 seconds to achieve the perfect no-bake cookie texture without becoming too dry or soft.
- Opt for quick oats instead of rolled oats to ensure the right consistency and help cookies set properly without becoming crumbly.
- Experiment with different nut butters like almond or sunflower seed butter for alternative dietary needs or flavor variations.
- Chill cookies in the refrigerator for faster setting and a firmer texture, especially in humid environments where room temperature setting might take longer.
- Prep Time: 15 minutes
- Cook Time: 10 minutes
- Category: Snacks, Desserts
- Method: Boiling
- Cuisine: American
Nutrition
- Serving Size: 24
- Calories: 174 kcal
- Sugar: 15 g
- Sodium: 58 mg
- Fat: 9 g
- Saturated Fat: 3 g
- Unsaturated Fat: 5 g
- Trans Fat: 0.1 g
- Carbohydrates: 21 g
- Fiber: 2 g
- Protein: 4 g
- Cholesterol: 14 mg
Clara Bennett
Contributing Recipe Developer & Food Writer
Expertise
Baking and Pastry Development, Gluten-Free and Allergy-Friendly Recipe Creation, Culinary Storytelling and Food Journalism, Recipe Testing and Standardization, Southern Comfort Foods and Modern Twists
Education
Sullivan University – National Center for Hospitality Studies
Associate Degree in Culinary Arts
Focus: Baking and Pastry Arts, Recipe Testing, and Culinary Journalism.
Clara specialized in crafting desserts that blend classic Southern comfort with modern techniques, while developing strong writing skills to tell the story behind every dish.
Lane Community College (Certificate Program)
Certificate in Food Writing and Photography
Focus: Culinary storytelling, recipe formatting, food styling, and visual presentation.
Clara’s love of baking started young, powered by homemade pies, biscuits, and stories passed around the family table.
After earning her degree at Sullivan University and a food writing certificate at Lane Community College, she turned her passion into a craft: sharing recipes that are simple, soulful, and always full of heart.
She’s big on bold flavors, flexible ideas, and creating sweets that fit any table (yes, even if you’re gluten-free). When she’s not baking, you’ll find her wandering farmers’ markets, styling food for the next photo shoot, or working on her ever-growing recipe journal.