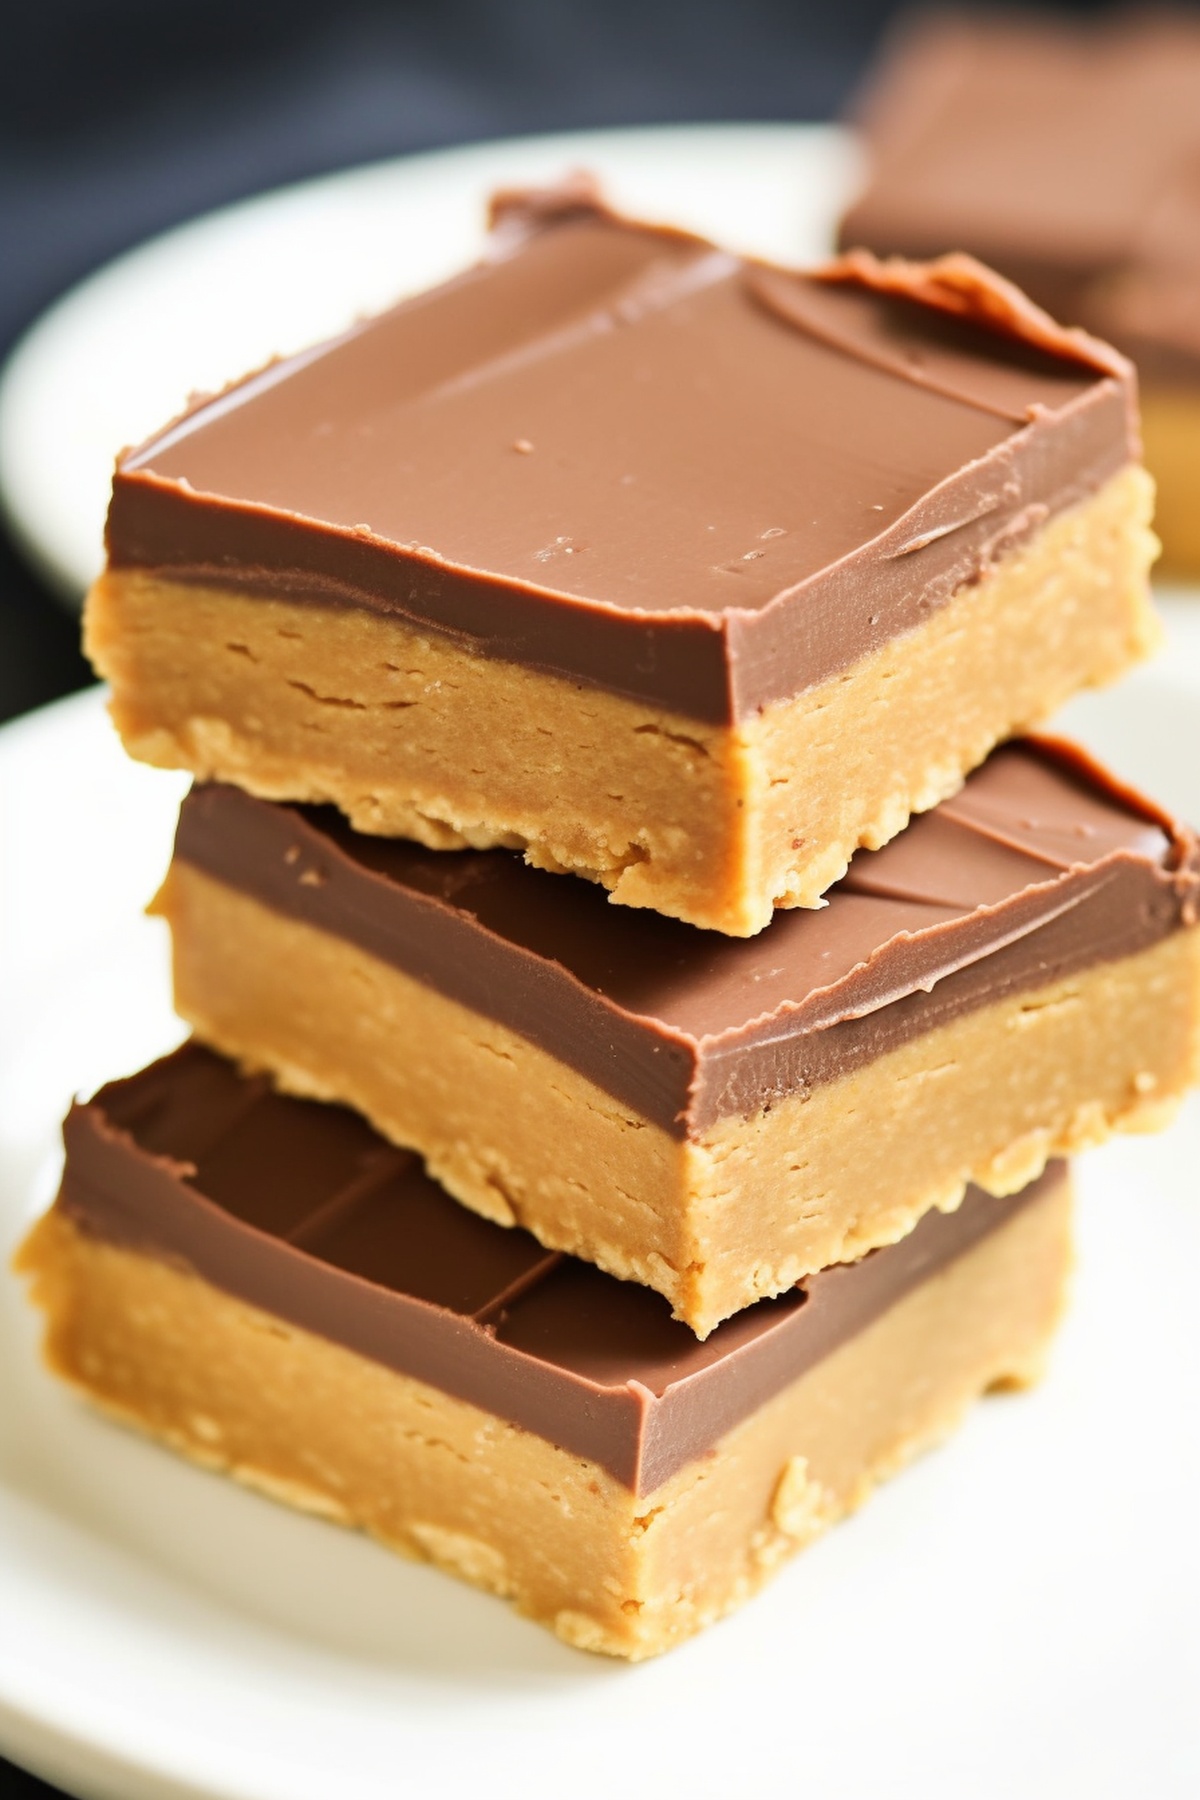
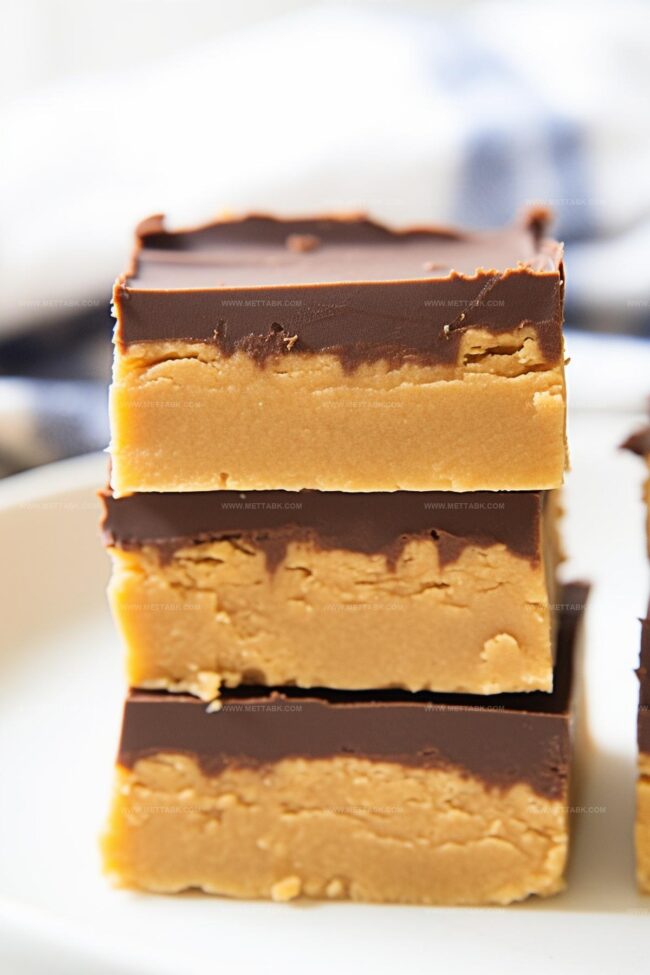
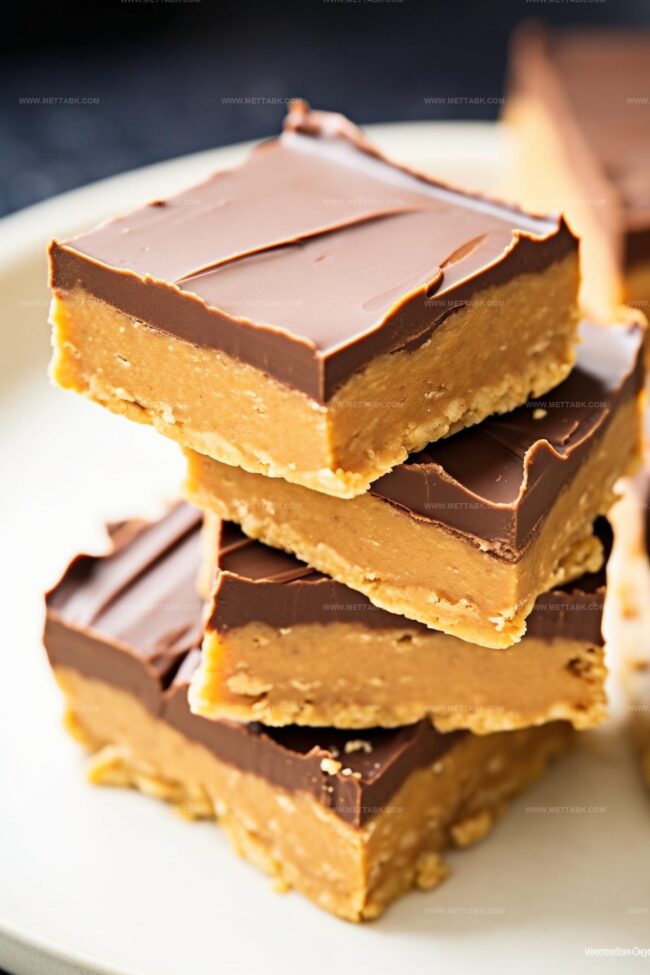
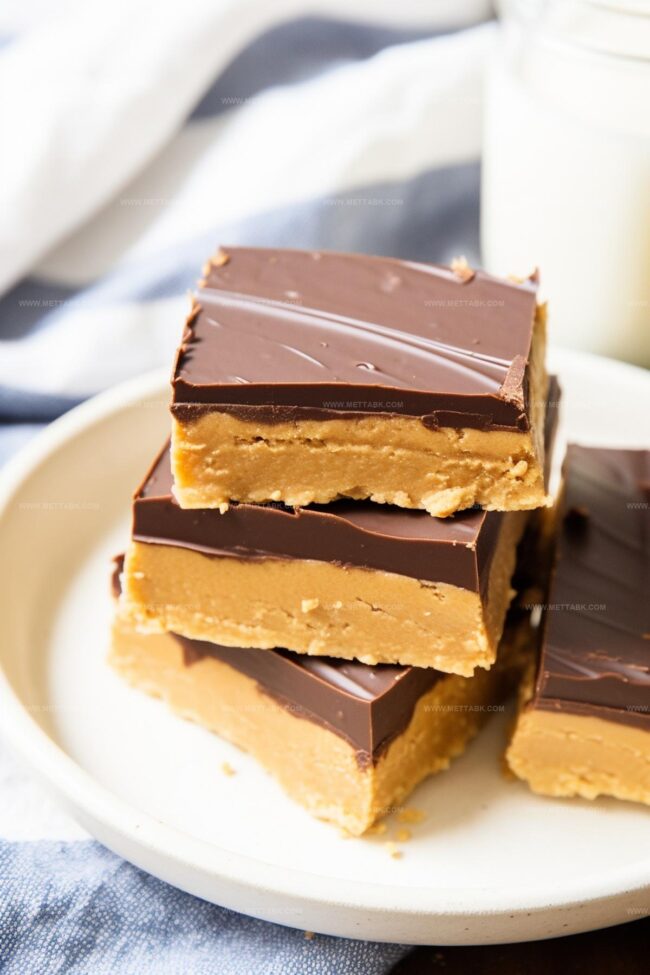
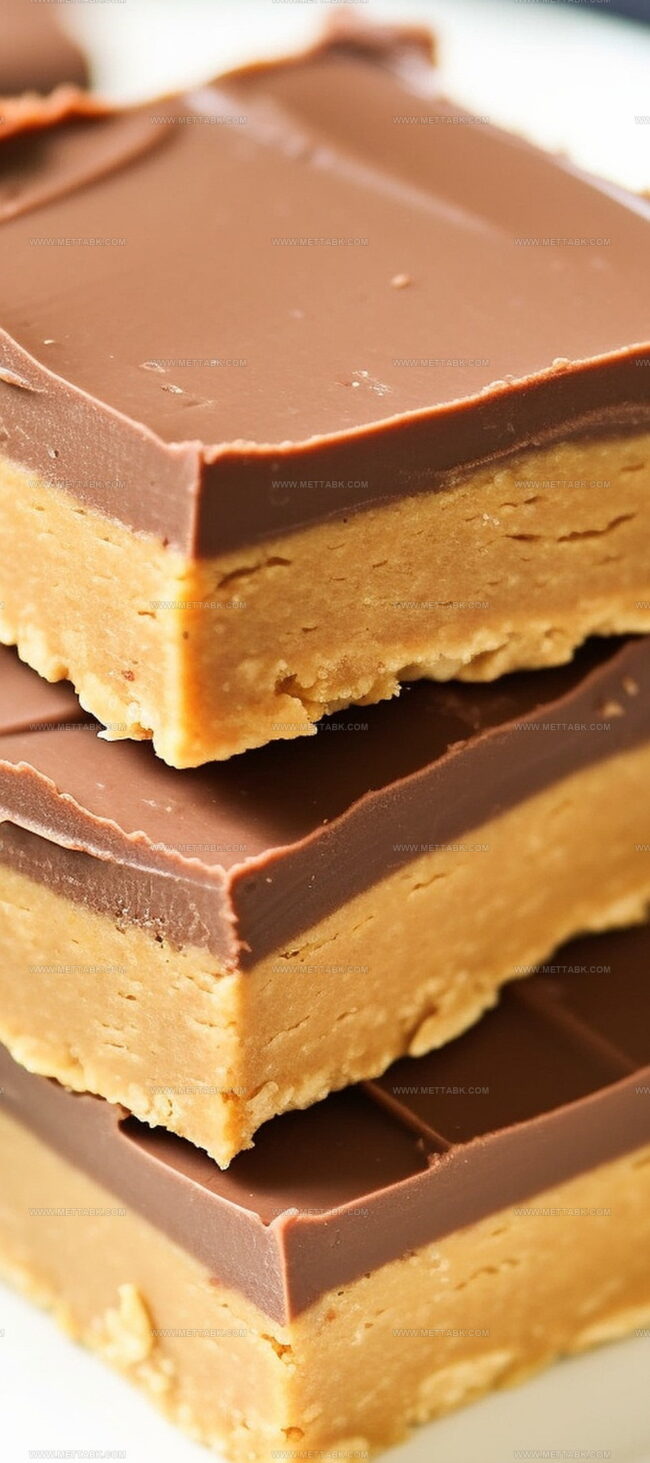
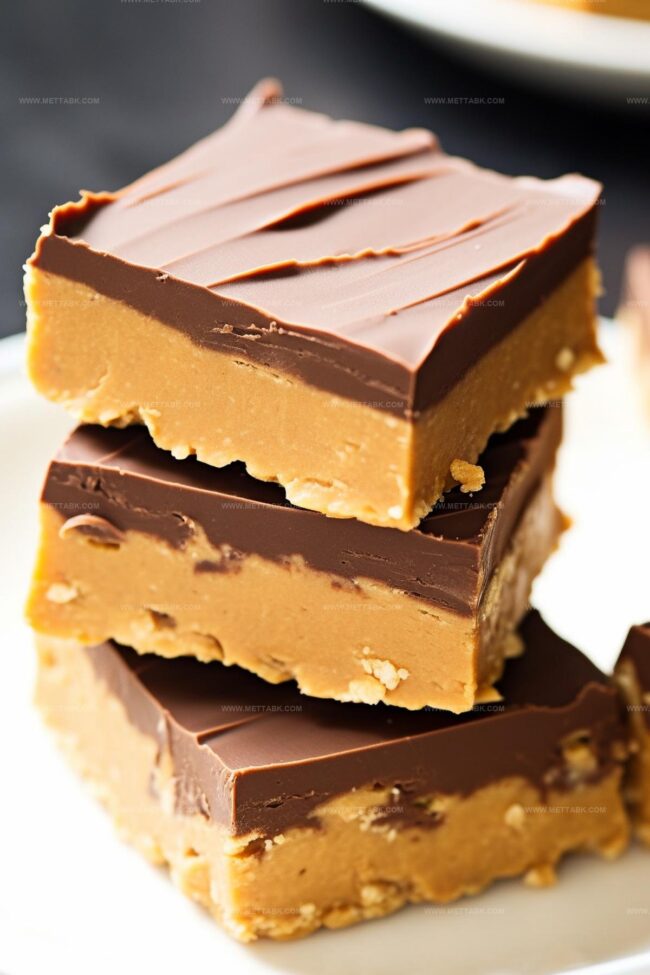
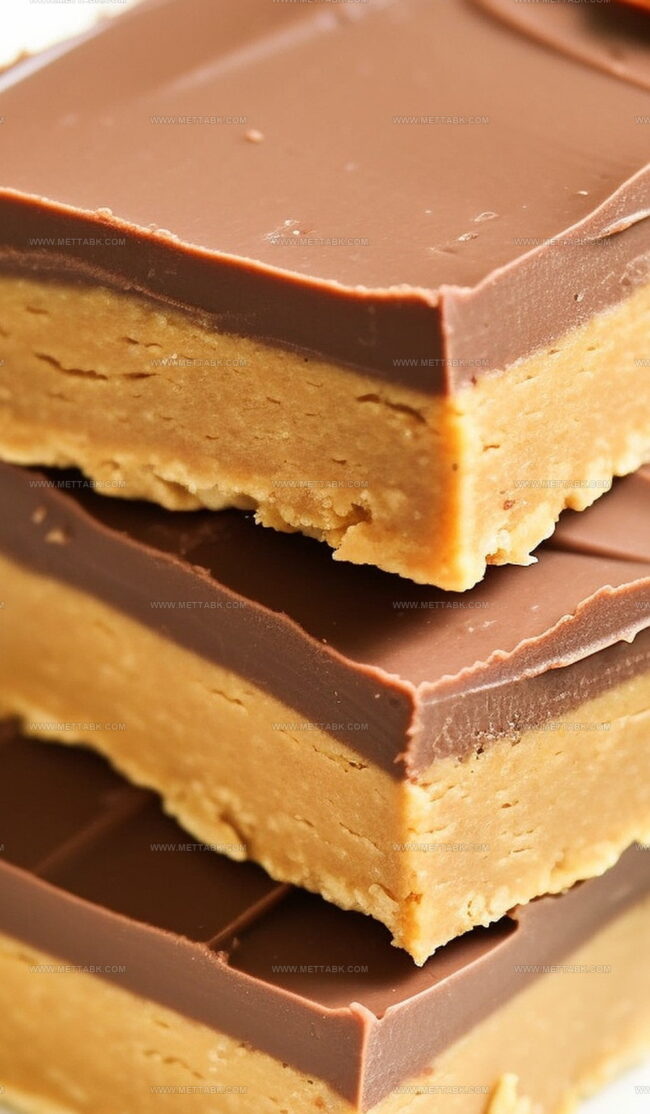
Effortless No Bake Peanut Butter Bars Recipe: Sweet Bliss in Every Bite
Creamy peanut butter bars offer a delightful twist on classic dessert cravings.
Sweet and simple ingredients come together without turning on the oven.
Chocolatey layers promise pure indulgence for anyone who loves quick treats.
No complicated techniques or special skills required to craft these decadent bars.
Rich flavors melt together, creating a smooth and irresistible combination.
Minimal effort delivers maximum satisfaction with this crowd-pleasing recipe.
You will want to bookmark this absolute crowd-pleaser for future snack moments.
No Bake Peanut Butter Bars That Satisfy

Ingredients for No Bake Peanut Butter Bars
Base Ingredients:Chocolate Topping Ingredients:Preparation Ingredients:How to Make No Bake Peanut Butter Bars
Step 1: Prepare Baking Surface
Line a square baking pan with parchment paper, letting the edges hang over the sides. This will help you lift out the bars easily when they’re ready.
Step 2: Create Creamy Base
Whisk together melted butter and peanut butter in a large mixing bowl until the mixture looks smooth and fully combined. The texture should be completely uniform.
Step 3: Blend Sweet Powder
Gradually sift powdered sugar into the butter mixture. Stir consistently to ensure no lumps remain and the mixture looks silky and well-integrated.
Step 4: Add Crunchy Texture
Fold graham cracker crumbs into the mixture in two separate additions. Mix thoroughly until the dough looks consistent and holds together nicely.
Step 5: Form Solid Foundation
Transfer the mixture into the prepared pan. Press down firmly with your hands or a flat utensil to create an even, compact base layer.
Pay extra attention to the corners and edges.
Step 6: Melt Chocolate Topping
Combine chocolate chips and peanut butter in a microwave-safe bowl.
Heat in short 30-second bursts, stirring between each interval, until the mixture becomes completely smooth and glossy.
Step 7: Spread Chocolate Layer
Pour the melted chocolate mixture over the prepared base.
Use a rubber spatula to spread it evenly across the entire surface, ensuring complete coverage.
Step 8: Chill and Set
Refrigerate the pan for at least 1 hour and 30 minutes.
The bars are ready when the chocolate layer feels firm and completely set.
Step 9: Slice and Enjoy
Remove the bars from the pan using the parchment paper edges.
Cut into squares or rectangles of your preferred size. Serve and savor the delicious treat!
Tips to Nail No Bake Peanut Butter Bars
Variations to Refresh Peanut Butter Bars
Pairing Ideas for No Bake Peanut Butter Bars
Storage Tips for Peanut Butter Bars
FAQs
Natural peanut butter can work, but it might make the bars slightly less stable. Opt for a smooth, well-stirred variety with minimal separation for best results.
Make sure to press the base layer firmly and evenly into the pan. Chilling helps set the bars and reduces crumbling when cutting and serving.
Yes! Simply substitute graham cracker crumbs with gluten-free graham crackers or crushed gluten-free cookies to create a similar texture and taste.
Semi-sweet or milk chocolate chips melt smoothly and provide a classic flavor. You can also use dark chocolate for a richer, less sweet version of the bars.
Print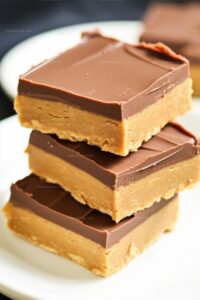
No Bake Peanut Butter Bars Recipe
- Total Time: 1 hour 50 minutes
- Yield: 16 1x
Description
Homemade no bake peanut butter bars combine classic graham cracker crust with creamy peanut butter and chocolate layers. Quick dessert crafted in minutes chills perfectly for chocolate lovers seeking simple sweet indulgence.
Ingredients
- 1 cup (237 ml) creamy peanut butter
- 1 cup (227 g) salted butter, melted
- 2 cups (250 g) powdered sugar
- 2 cups (240 g) graham cracker crumbs
- 1 cup (175 g) chocolate chips
- 2 tbsps (30 ml) creamy peanut butter
Instructions
- Prepare a 9-inch square pan by lining it with parchment paper, allowing excess to hang over the sides for easy removal.
- Melt butter and whisk together with peanut butter until creating a smooth, uniform mixture.
- Gradually sift powdered sugar into the butter-peanut butter blend, stirring consistently to create a cohesive mixture.
- Incorporate graham cracker crumbs in two stages, mixing thoroughly to develop a consistent dough-like consistency.
- Transfer the mixture into the prepared pan, pressing firmly and evenly to create a compact base layer, ensuring complete coverage of the pan’s bottom.
- Create the chocolate topping by microwaving chocolate chips and peanut butter in 30-second intervals, stirring between each until completely melted and silky.
- Carefully pour the melted chocolate mixture over the base, using a spatula to distribute evenly across the entire surface.
- Refrigerate for approximately 90 minutes, or until the chocolate layer becomes completely solid and firm.
- Remove the dessert from the refrigerator and lift out of the pan using the overhanging parchment paper.
- Slice into desired bar sizes, serving chilled for optimal texture and flavor.
Notes
- Customize the bars by using dark, milk, or white chocolate for varied flavor profiles and visual appeal.
- Swap regular peanut butter with almond or cashew butter for a unique twist and to accommodate nut allergies.
- Crush gluten-free graham crackers to make the recipe completely gluten-free and suitable for those with wheat sensitivities.
- Enhance texture by sprinkling sea salt, chopped nuts, or mini chocolate chips on top of the chocolate layer for added crunch and depth.
- Prep Time: 20 minutes
- Cook Time: 1 hour 30 minutes
- Category: Snacks, Desserts
- Method: Chilling
- Cuisine: American
Nutrition
- Serving Size: 16
- Calories: 320
- Sugar: 20 g
- Sodium: 150 mg
- Fat: 22 g
- Saturated Fat: 7 g
- Unsaturated Fat: 13 g
- Trans Fat: 0.2 g
- Carbohydrates: 28 g
- Fiber: 2 g
- Protein: 6 g
- Cholesterol: 25 mg
Clara Bennett
Contributing Recipe Developer & Food Writer
Expertise
Baking and Pastry Development, Gluten-Free and Allergy-Friendly Recipe Creation, Culinary Storytelling and Food Journalism, Recipe Testing and Standardization, Southern Comfort Foods and Modern Twists
Education
Sullivan University – National Center for Hospitality Studies
Associate Degree in Culinary Arts
Focus: Baking and Pastry Arts, Recipe Testing, and Culinary Journalism.
Clara specialized in crafting desserts that blend classic Southern comfort with modern techniques, while developing strong writing skills to tell the story behind every dish.
Lane Community College (Certificate Program)
Certificate in Food Writing and Photography
Focus: Culinary storytelling, recipe formatting, food styling, and visual presentation.
Clara’s love of baking started young, powered by homemade pies, biscuits, and stories passed around the family table.
After earning her degree at Sullivan University and a food writing certificate at Lane Community College, she turned her passion into a craft: sharing recipes that are simple, soulful, and always full of heart.
She’s big on bold flavors, flexible ideas, and creating sweets that fit any table (yes, even if you’re gluten-free). When she’s not baking, you’ll find her wandering farmers’ markets, styling food for the next photo shoot, or working on her ever-growing recipe journal.