Timeless Old-Fashioned Chocolate Pie Recipe: Sweet Nostalgia
Sweet memories of grandma’s kitchen come flooding back with this old-fashioned chocolate pie that promises pure comfort.
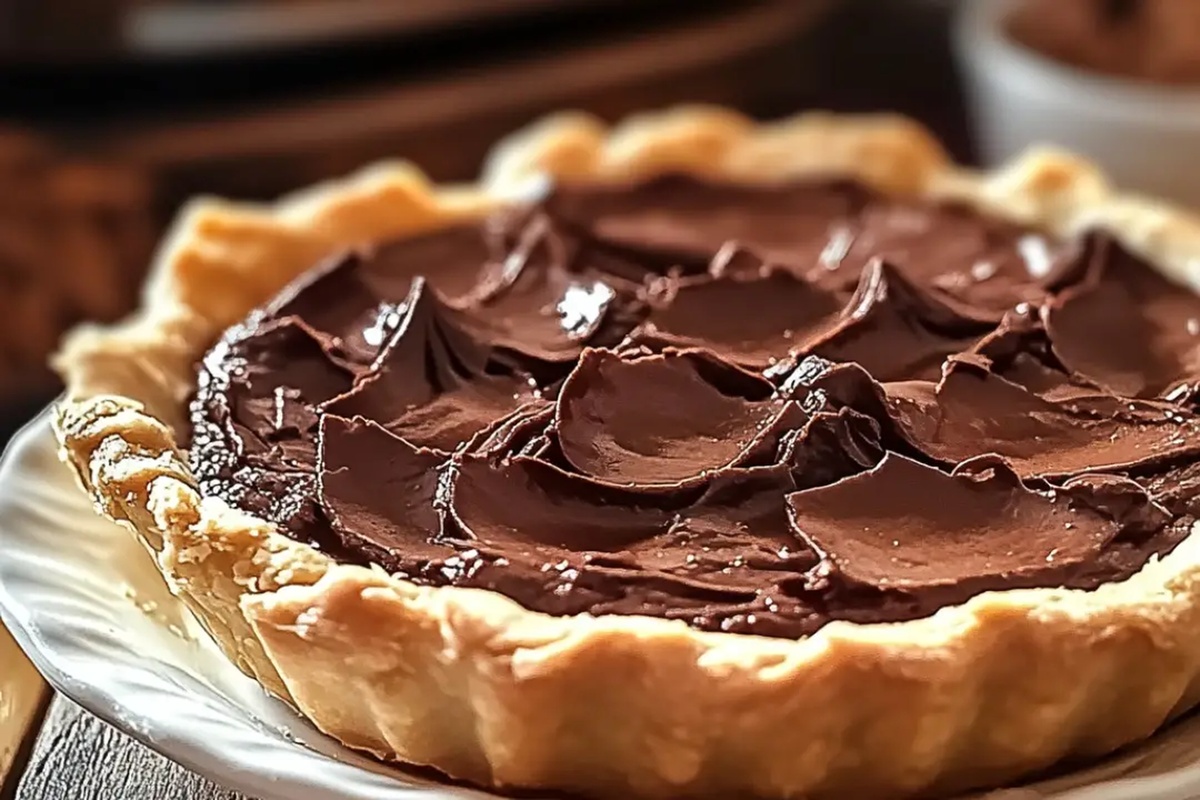
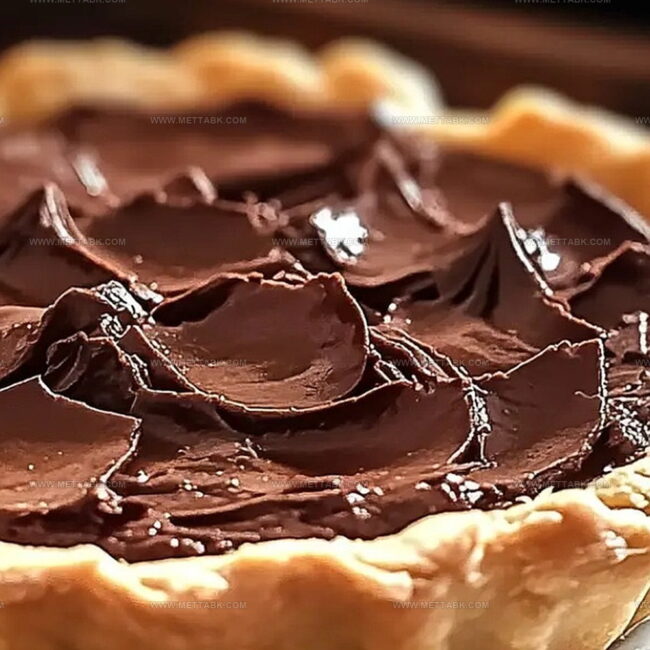
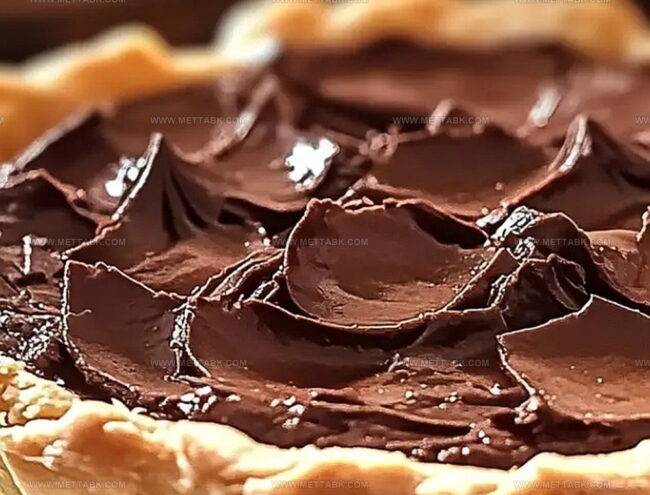
Soft chocolate custard nestles inside a flaky, golden crust waiting to melt on your tongue.
Generations have savored this classic dessert, passing down its rich, velvety secrets.
Simple ingredients transform into something magical with careful mixing and patient baking.
Creamy textures and deep cocoa flavors create a dessert that feels like a warm embrace.
Modest yet magnificent, this pie connects us to cherished culinary traditions.
Grab a fork and rediscover why this timeless treat continues to capture hearts.
What Makes Old-Fashioned Chocolate Pie Great

Ingredients for Old-Fashioned Chocolate Pie
For the Pie Crust:For the Filling Base:For the Liquid Components:For the Meringue Topping:How to Prepare Old-Fashioned Chocolate Pie
Step 1: Warm Up the Oven
Set your oven to a cozy 350°F (175°C) and let it start heating while you prepare the delicious chocolate pie.
Step 2: Create Chocolate Base
In a saucepan, gently melt the butter over medium heat.
Whisk together:Slowly blend the dry ingredients into the melted butter, stirring carefully to avoid any pesky lumps.
Step 3: Smooth Out the Mixture
Pour milk into the saucepan gradually, stirring continuously until the mixture becomes silky smooth.
Step 4: Thicken the Filling
Cook the chocolate mixture for 5-7 minutes, stirring constantly. Watch for the moment it transforms into a rich, thick consistency.
Remove from heat once thickened.
Step 5: Incorporate Egg Yolks
In a separate bowl, whisk the egg yolks.
Carefully add a spoonful of hot chocolate mixture to the yolks to warm them up. Slowly stir the tempered yolks back into the saucepan.
Step 6: Final Cooking Stage
Return the saucepan to heat and cook for 2-3 minutes, stirring constantly. Splash in vanilla extract and remove from heat.
Step 7: Fill the Pie Crust
Pour the luscious chocolate filling into a pre-baked pie crust, spreading it evenly across the surface.
Step 8: Whip Up Meringue Magic
In a clean bowl, beat egg whites and cream of tartar until soft peaks form.
Gradually add sugar and continue beating until stiff, glossy peaks emerge.
Step 9: Crown the Pie
Spread the fluffy meringue over the chocolate filling, making sure to seal the edges of the pie crust completely.
Step 10: Golden Brown Finish
Bake the pie for 10-12 minutes until the meringue turns a beautiful golden brown color.
Step 11: Patient Cooling
Allow the pie to cool completely before serving.
This crucial resting time helps the filling set perfectly and enhances the flavors.
Tips for Rich Old-Fashioned Chocolate Pie
Variations of Old-Fashioned Chocolate Pie
Pairings That Go with Old-Fashioned Chocolate Pie
Storing Old-Fashioned Chocolate Pie Properly
Store the chocolate pie in an airtight container in the refrigerator for up to 3-4 days. Cover loosely with plastic wrap to prevent the meringue from sticking.
Wrap the chocolate filling tightly in plastic wrap and freeze for up to 2 months. Thaw overnight in the refrigerator before using.
Warm individual slices gently in the microwave for 15-20 seconds on low power. Avoid overheating to prevent meringue from becoming rubbery.
Let the pie sit at room temperature for 15-20 minutes before serving to soften the filling and improve flavor.
FAQs
Yes, cocoa powder works perfectly in this recipe and provides rich chocolate flavor without needing actual chocolate bars.
Use fresh egg whites, add sugar gradually while beating, and ensure the sugar is completely dissolved to create a stable meringue that won’t separate.
Tempering prevents eggs from scrambling by slowly raising their temperature, which helps create a smooth, creamy chocolate filling without lumps.
You can prepare the pie a day in advance and store it in the refrigerator, but add the meringue topping just before serving to maintain its fresh, fluffy texture.
Print
Old-Fashioned Chocolate Pie Recipe
- Total Time: 45 minutes
- Yield: 8 1x
Description
Creamy chocolate fills this classic old-fashioned chocolate pie with rich, silky indulgence. Southern kitchens love this nostalgic dessert that delivers pure comfort with each luxurious chocolate-laden slice you’ll savor.
Ingredients
Main Ingredients:
- 2 cups milk
- 1/2 cup cocoa powder
- 3 egg yolks
- 3 egg whites
Filling Ingredients:
- 1 cup sugar
- 1/4 cup butter
- 1/4 cup flour
- 1 teaspoon vanilla extract
Topping Ingredients:
- 1/2 cup sugar (for meringue)
- 1/4 teaspoon cream of tartar
- 1 pre-baked pie crust
Instructions
- Warm the oven to 350F (175C) to prepare for baking.
- Melt butter gently in a medium saucepan over low heat until completely liquefied.
- Combine sugar, flour, and cocoa powder in a separate mixing bowl, creating a uniform dry mixture.
- Gradually incorporate the dry ingredients into the melted butter, whisking continuously to eliminate potential lumps.
- Stream milk slowly into the saucepan while stirring, ensuring a smooth, consistent texture develops.
- Simmer the chocolate mixture for 5-7 minutes, stirring constantly until the consistency thickens significantly.
- Separate egg yolks into a clean bowl and carefully temper them by adding a small amount of hot chocolate mixture, whisking thoroughly.
- Gently reintroduce the tempered egg yolks back into the saucepan, stirring to integrate completely.
- Return the saucepan to heat, cooking for an additional 2-3 minutes while maintaining constant movement.
- Remove from heat and fold in vanilla extract, creating a rich, glossy filling.
- Transfer the silky chocolate mixture into a pre-baked pie crust, spreading evenly to the edges.
- Whip egg whites and cream of tartar until soft peaks form, gradually adding sugar to create a glossy meringue.
- Delicately spread meringue across the chocolate surface, ensuring complete coverage and sealed edges.
- Bake for 10-12 minutes until meringue turns a beautiful golden brown.
- Allow pie to cool completely at room temperature, permitting the filling to set perfectly before serving.
Notes
- Select high-quality cocoa powder for richer chocolate flavor and deeper color.
- Temper egg yolks carefully to prevent scrambling and ensure smooth, silky filling texture.
- Use room temperature ingredients to help create consistent mixture without lumps.
- For gluten-free version, replace wheat flour with cornstarch or gluten-free flour blend.
- Create stable meringue by ensuring mixing bowl is completely grease-free and egg whites are at room temperature.
- Check pie doneness by watching meringue color – golden brown indicates perfect caramelization.
- Add pinch of salt to chocolate filling to enhance overall chocolate depth and balance sweetness.
- Consider chilling pie for 2-3 hours before serving to help filling set more firmly.
- Prep Time: 25 minutes
- Cook Time: 20 minutes
- Category: Desserts
- Method: Baking
- Cuisine: American
Nutrition
- Serving Size: 8
- Calories: 272 kcal
- Sugar: 22 g
- Sodium: 80 mg
- Fat: 15 g
- Saturated Fat: 9 g
- Unsaturated Fat: 5 g
- Trans Fat: 0.5 g
- Carbohydrates: 29 g
- Fiber: 2 g
- Protein: 4 g
- Cholesterol: 110 mg
Nate Harper
Founder & Recipe Curator
Expertise
Single-Recipe Development, Farm-to-Table Cooking, Seasonal Menu Planning, Culinary Storytelling, Home Kitchen Innovation
Education
Cascade Culinary Institute – Central Oregon Community College
Certificate in Culinary Arts
Focus: Farm-to-table cuisine, sustainable cooking practices, and seasonal recipe creation.
Nate studied under experienced chefs who emphasized local sourcing, minimal waste, and building recipes from fresh, simple ingredients.
Nate Harper is the founder and creative force behind Make, Take, Bake. Raised in the wild beauty of Oregon’s high desert, Nate grew up surrounded by family gardens, farmers’ markets, and home kitchens that celebrated the seasons.
His early love for simple, honest food evolved into a professional passion when he attended Cascade Culinary Institute, where he sharpened his skills in creating recipes that are sustainable, satisfying, and made for everyday life.
Nate’s goal is to make cooking feel accessible, free of fuss, and full of flavor. He believes a single, thoughtfully built dish can stand alone, and sometimes even steal the show.