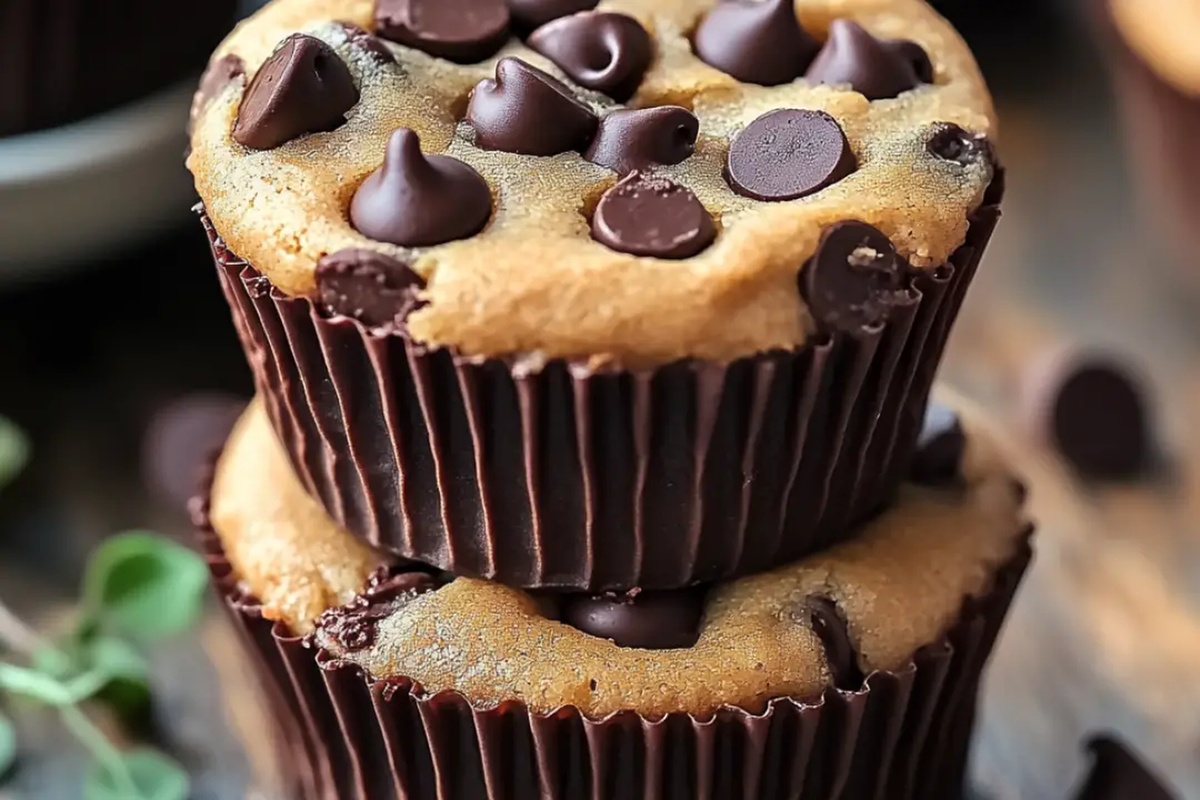
Homemade Peanut Butter Chocolate Chip Cookie Cups Recipe
Crafting a delightful peanut butter chocolate chip cookie cups treat brings pure joy to any kitchen adventure.
Soft, gooey centers melt with rich chocolate and creamy peanut butter notes.
Homemade desserts often surprise us with their incredible simplicity.
Baking these miniature delights requires minimal effort but delivers maximum satisfaction.
Small cups of pure indulgence wait to transform your afternoon snack into something magical.
Sweet-toothed friends will absolutely adore these irresistible bite-sized wonders.
Don’t wait another moment, let’s create deliciousness together!
Peanut Butter Chocolate Chip Cookie Cups Temptation
Ingredients for Peanut Butter Chocolate Chip Cups
For the Base:For the Sweeteners and Fats:For the Binding and Flavor Enhancers:How to Bake Peanut Butter Chocolate Chip Cups
Step 1: Fire Up the Oven
Crank your oven to a toasty 350F (175C). Grab a mini muffin tin and give it a generous spray of non-stick magic or a quick butter massage.
Step 2: Craft the Cookie Dough
In a medium bowl, blend these dry ingredients:Grab a large mixing bowl and cream together:Until the mixture looks light and fluffy. Toss in the egg and vanilla extract, mixing until everything plays nice together.
Slowly incorporate the dry ingredients, stirring just until combined. Gently fold in a heap of chocolate chips.
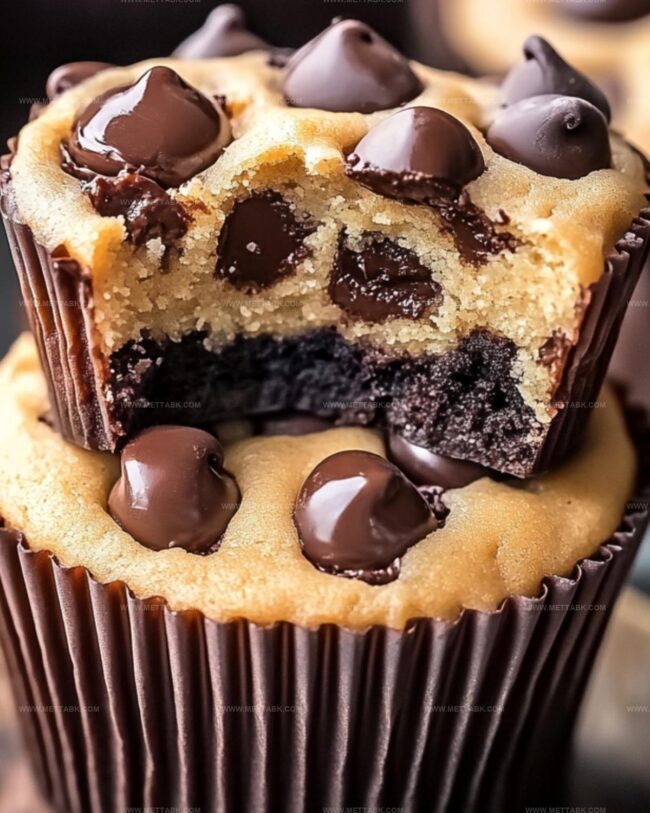
Step 3: Prepare the Peanut Butter Surprise
In a small bowl, smooth out peanut butter and powdered sugar until they become best friends.
Step 4: Build Your Cookie Cups
Scoop a dollop of cookie dough into each muffin cup.
Use your thumb or a spoon to create a cozy little pocket in the center of each dough ball. Fill these pockets with a tiny spoonful of peanut butter mixture.
Top with a small piece of dough, pinching the edges to seal in the goodness. Sprinkle the remaining chocolate chips on top for extra excitement.
Step 5: Bake to Perfection
Slide the tin into the oven and bake for 10-12 minutes. Look for golden-brown edges that scream “I’m delicious!” Let the cookie cups chill in the tin for 5 minutes, then transfer to a wire rack to cool completely. Get ready to devour these heavenly treats!
Tips to Perfect Peanut Butter Chocolate Chip Cups
Variations on Peanut Butter Chocolate Chip Cups
Pairings to Enhance Peanut Butter Chocolate Chip Cups
Proper Storage for Peanut Butter Chocolate Chip Cups
Store cooled cookie cups in an airtight container lined with parchment paper. Keep refrigerated for up to 5 days, ensuring layers are separated to prevent sticking.
Wrap individual cookie cups tightly in plastic wrap, then place in a freezer-safe container. Freeze for maximum 2 months. Label with date for easy tracking.
Keep in sealed container at room temperature for 2-3 days. Place a piece of bread inside to maintain moisture and softness.
Warm refrigerated or thawed cookie cups in microwave for 10-15 seconds. Alternatively, reheat in preheated oven at 300F for 3-4 minutes until slightly warm and crispy edges return.
FAQs
Natural peanut butter might be too runny. Stick with creamy, conventional peanut butter for the best texture and stability in the filling.
Generously grease the mini muffin tin with non-stick spray or butter before adding the dough. This ensures easy removal of the cookie cups after baking.
Chill the cookie dough in the refrigerator for 15-20 minutes. This will make it easier to handle and prevent spreading during baking.
Yes, you can prepare the dough and filling in advance. Store them separately in the refrigerator and assemble just before baking for the freshest results.
Print
Peanut Butter Chocolate Chip Cookie Cups Recipe
- Total Time: 37 minutes
- Yield: 12 1x
Description
Indulgent peanut butter chocolate chip cookie cups promise a delightful dessert adventure that melts hearts with rich, creamy goodness. Cookie lovers will savor each bite of these irresistible treats that blend classic flavors into a perfect handheld delight.
Ingredients
Primary Ingredients:
- 1 1/4 cups (156 grams) all-purpose flour
- 1/2 cup (113 grams) unsalted butter, softened
- 3/4 cup (128 grams) chocolate chips
- 1/2 cup (128 grams) creamy peanut butter
Cookie Base Dry Ingredients:
- 1/2 teaspoon baking soda
- 1/4 teaspoon salt
- 1/2 cup (100 grams) brown sugar
- 1/4 cup (50 grams) granulated sugar
Additional Ingredients:
- 1 egg
- 1 teaspoon vanilla extract
- 1/4 cup (30 grams) powdered sugar
- 1/4 cup (42 grams) chocolate chips (for topping)
Instructions
- Prepare the workspace by heating the oven to 350F (175C) and generously coating a mini muffin tin with non-stick spray.
- Create the cookie base by combining dry ingredients in a medium bowl, whisking flour, baking soda, and salt until evenly mixed.
- In a separate large bowl, cream butter with brown and granulated sugars until the mixture becomes light and airy, developing a fluffy texture.
- Incorporate egg and vanilla extract into the butter mixture, blending thoroughly until smooth and consistent.
- Gradually fold dry ingredients into the wet mixture, stirring gently to maintain a soft dough consistency.
- Gently mix most of the chocolate chips into the cookie dough, reserving some for topping.
- Prepare the peanut butter filling by blending peanut butter with powdered sugar until achieving a silky, uniform texture.
- Distribute approximately one tablespoon of cookie dough into each muffin cavity, creating a uniform base.
- Using your thumb or a small spoon, create a gentle indentation in the center of each dough portion.
- Fill the indentations with a teaspoon of peanut butter mixture, ensuring even distribution.
- Cover the peanut butter filling by placing a small piece of dough on top or pinching edges to seal.
- Sprinkle remaining chocolate chips over each cookie cup for additional flavor and visual appeal.
- Bake for 10-12 minutes until edges turn golden brown and appear slightly crisp.
- Allow cookie cups to rest in the tin for 5 minutes, then carefully transfer to a wire rack for complete cooling.
Notes
- Ensure your butter is softened at room temperature for easier mixing and smoother cookie dough texture.
- Use a cookie scoop or tablespoon to create uniform-sized cookie cups for consistent baking.
- For gluten-free option, substitute all-purpose flour with a 1:1 gluten-free baking blend.
- Reduce sugar content by using natural peanut butter without added sweeteners and cutting granulated sugar by 25%.
- Prep Time: 25 minutes
- Cook Time: 12 minutes
- Category: Snacks, Desserts
- Method: Baking
- Cuisine: American
Nutrition
- Serving Size: 12
- Calories: 191 kcal
- Sugar: 14 g
- Sodium: 97 mg
- Fat: 11 g
- Saturated Fat: 4 g
- Unsaturated Fat: 6 g
- Trans Fat: 0.1 g
- Carbohydrates: 20 g
- Fiber: 1 g
- Protein: 4 g
- Cholesterol: 27 mg
Nate Harper
Founder & Recipe Curator
Expertise
Single-Recipe Development, Farm-to-Table Cooking, Seasonal Menu Planning, Culinary Storytelling, Home Kitchen Innovation
Education
Cascade Culinary Institute – Central Oregon Community College
Certificate in Culinary Arts
Focus: Farm-to-table cuisine, sustainable cooking practices, and seasonal recipe creation.
Nate studied under experienced chefs who emphasized local sourcing, minimal waste, and building recipes from fresh, simple ingredients.
Nate Harper is the founder and creative force behind Make, Take, Bake. Raised in the wild beauty of Oregon’s high desert, Nate grew up surrounded by family gardens, farmers’ markets, and home kitchens that celebrated the seasons.
His early love for simple, honest food evolved into a professional passion when he attended Cascade Culinary Institute, where he sharpened his skills in creating recipes that are sustainable, satisfying, and made for everyday life.
Nate’s goal is to make cooking feel accessible, free of fuss, and full of flavor. He believes a single, thoughtfully built dish can stand alone, and sometimes even steal the show.