
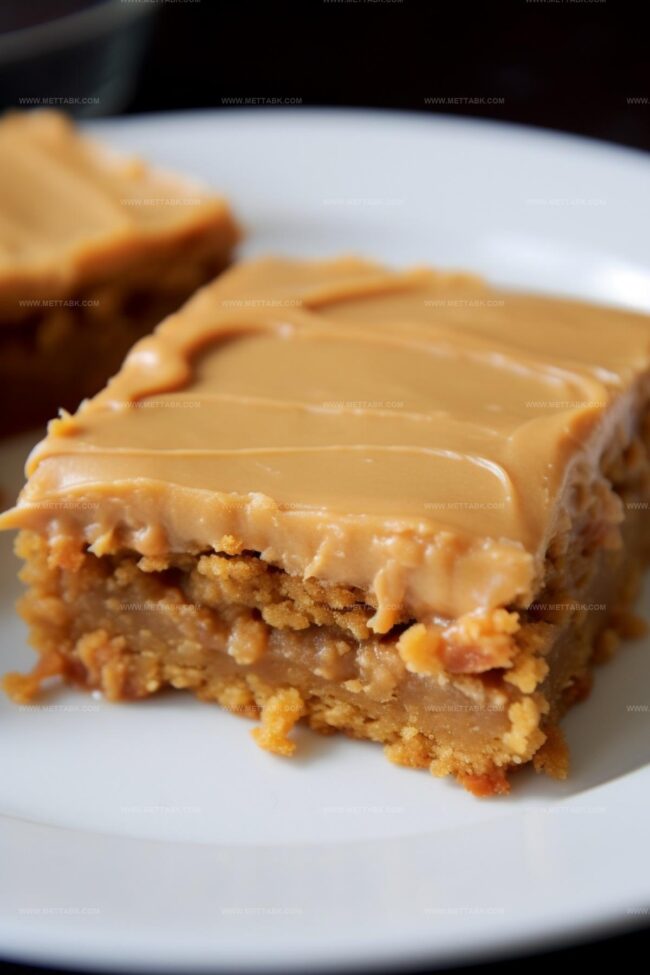
Gooey Peanut Butter Lunch Lady Cookie Bars Recipe
Nostalgic peanut butter lunch lady cookie bars spark memories of cafeteria comfort from childhood afternoons.
School memories dance with sweet anticipation of thick, chewy dessert squares.
Memories of classic treats blend perfectly with modern baking techniques.
Classic recipes like these connect generations through simple, delightful ingredients.
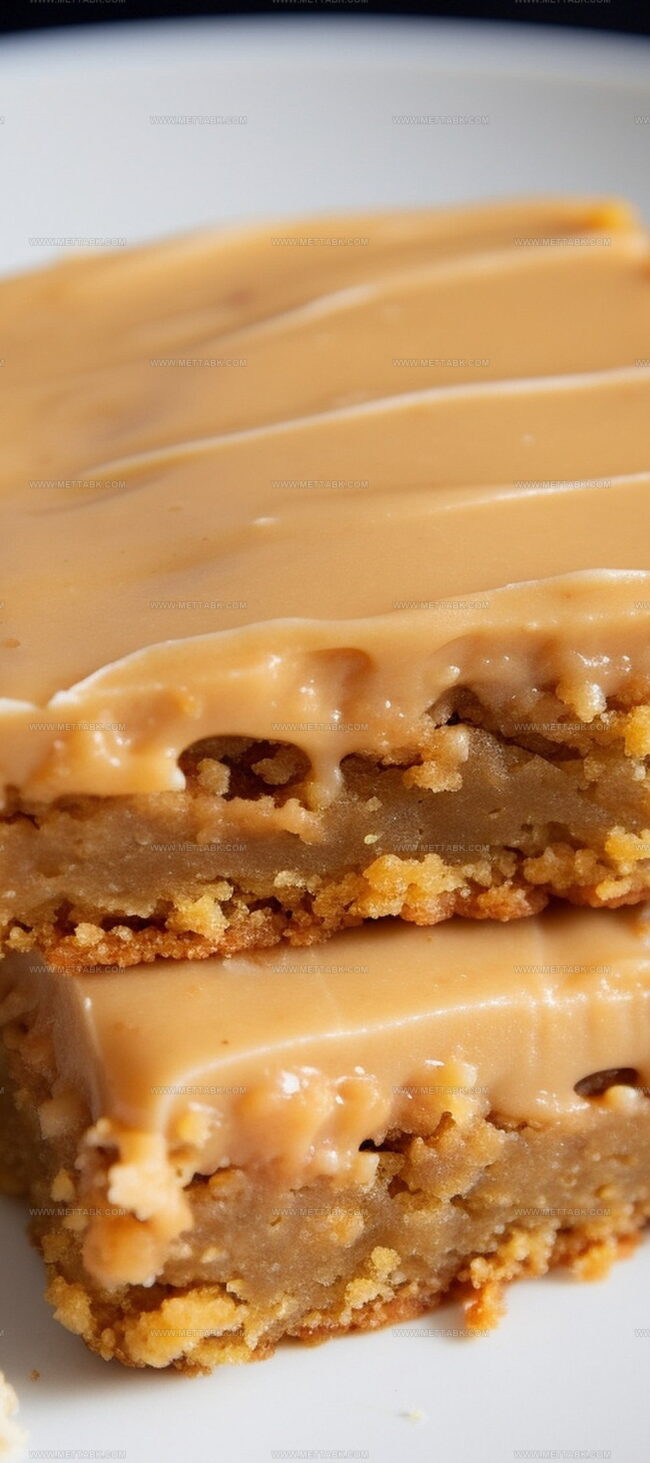
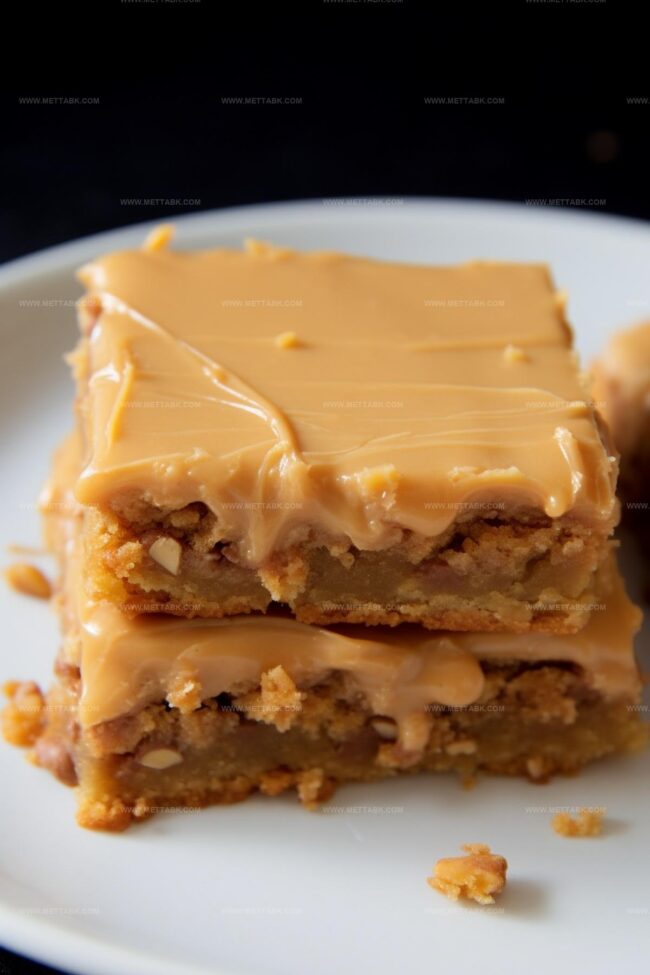
Soft, rich layers promise indulgence that transports you back to carefree school days.
Baking these bars becomes a delicious journey through tasty recollections.
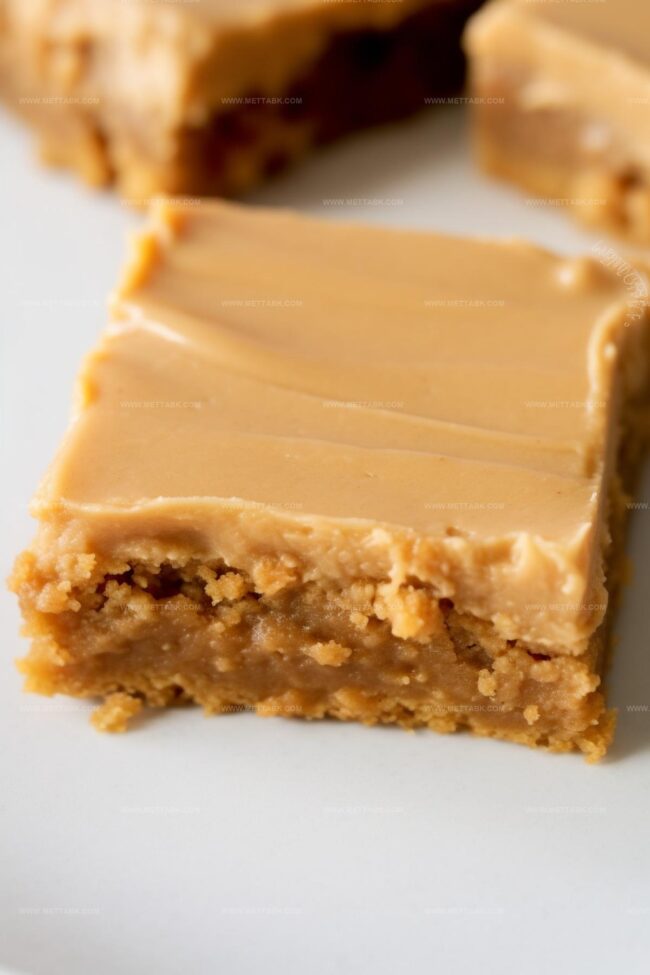
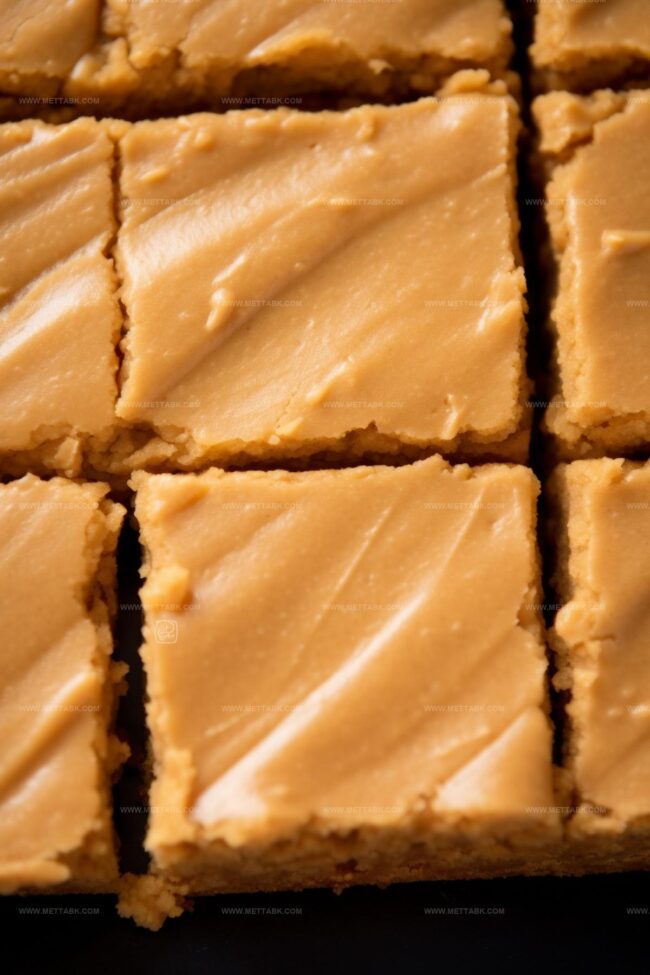
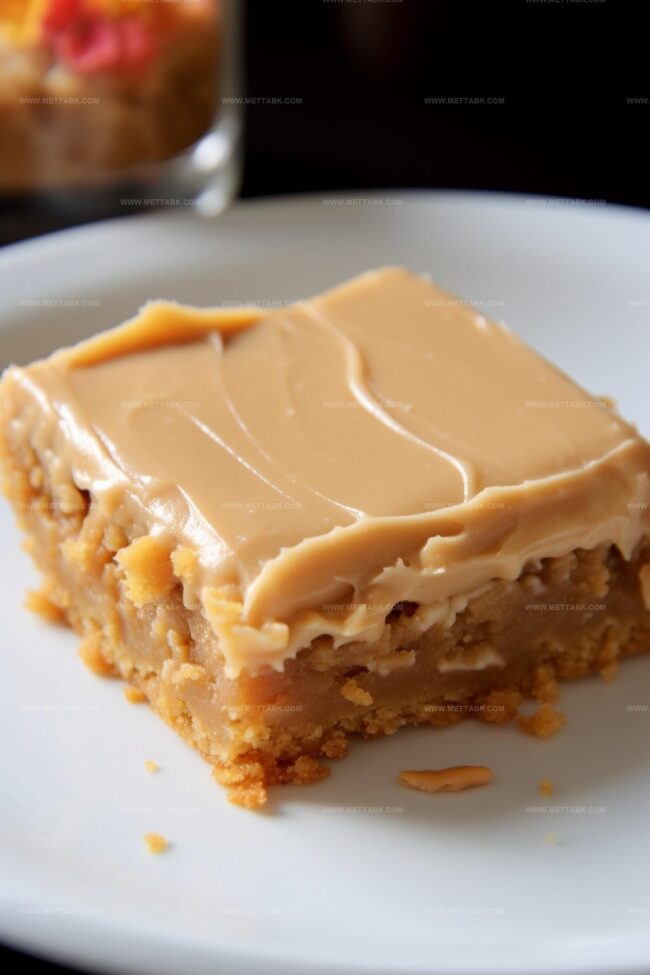
Peanut Butter Lunch Lady Cookie Bars

Ingredients for Peanut Butter Lunch Lady Cookie Bars
Instructions to Make Peanut Butter Lunch Lady Cookie Bars
Step 1: Warm Up the Oven
Crank the oven to a toasty 400°F. Prepare your baking sheet by giving it a light coating of grease or laying down a protective parchment paper blanket.
Step 2: Blend Dry Ingredients
Grab a mixing bowl and combine:Whisk these dry friends together until they’re well acquainted.
Step 3: Whip Wet Ingredients
In a separate bowl, mix together:Blend until smooth and creamy.
Step 4: Create Magical Base
Grab a saucepan and melt together:Bring this delicious combo to a gentle boil. Remove from heat and gradually fold in the flour mixture, then slowly incorporate the milk and egg blend.
Stir until everything is perfectly combined.
Step 5: Bake to Perfection
Pour the batter onto your prepared baking sheet, spreading it evenly to every corner.
Slide into the preheated oven and bake for about 20 minutes. Check doneness by inserting a toothpick – it should come out clean.
Let the bars cool completely before moving to the next stage.
Step 6: Craft Decadent Frosting
In a saucepan, combine:Bring to a boil, then add:Gradually mix in powdered sugar until the frosting reaches a smooth, spreadable consistency.
Pour over the cooled bars, ensuring an even coverage. Allow the frosting to set before cutting and serving.
Tips for Peanut Butter Lunch Lady Cookie Bars
Variations of Peanut Butter Lunch Lady Cookie Bars
Pairing Suggestions for Peanut Butter Lunch Lady Cookie Bars
Storage Guidelines for Peanut Butter Lunch Lady Cookie Bars
FAQs
These bars are a nostalgic recreation of the classic peanut butter desserts served in school cafeterias by lunch ladies, known for their deliciously simple and comforting homemade treats.
Yes, but stabilize natural peanut butter by stirring it well and potentially adding a little extra to ensure the right consistency in the batter and frosting.
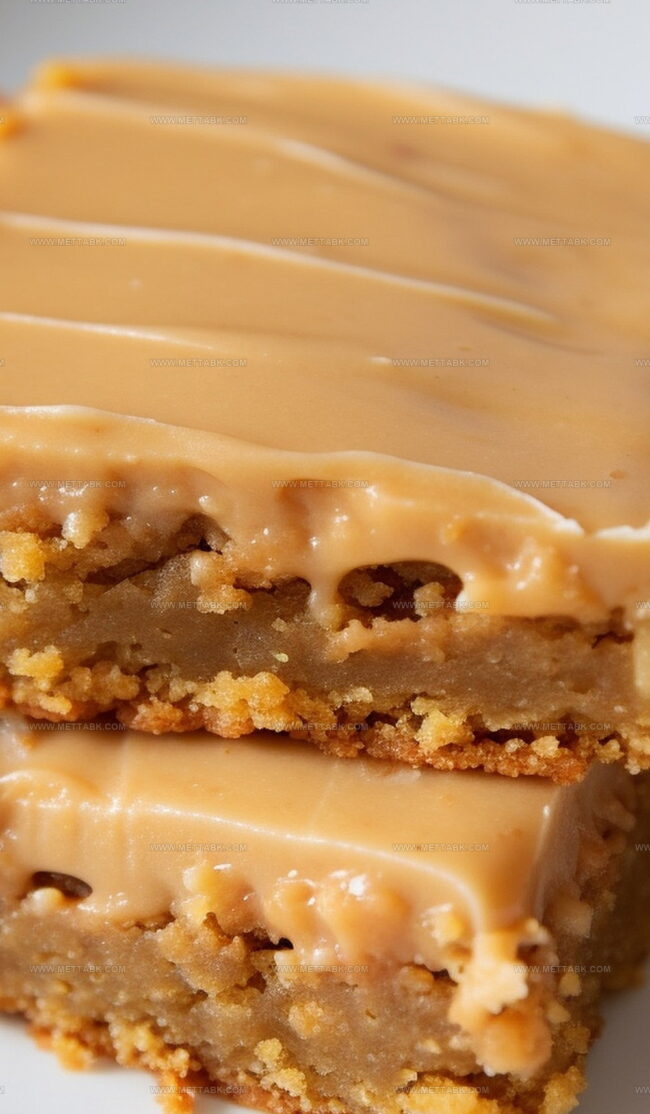
The batter should be smooth and well-combined without any dry flour pockets, with a consistent light brown color and creamy texture.
Print
Peanut Butter Lunch Lady Cookie Bars Recipe
- Total Time: 45 minutes
- Yield: 16 1x
Description
Nostalgic peanut butter lunch lady cookie bars blend school cafeteria memories with homemade comfort. Rich, chewy bars promise sweet satisfaction that connects generations of dessert enthusiasts.
Ingredients
- 1 1/2 cups (340 g) unsalted butter, softened
- 1 1/2 cups (375 ml) peanut butter (divided)
- 2 cups (400 g) sugar
- 4 cups (480 g) powdered sugar
- 2 cups (240 g) flour
- 2 large eggs (beaten)
- 1/2 cup + 2 tbsps (150 ml) milk (divided)
- 1 tsp vanilla extract
- 1 tsp baking soda
- 1 tsp salt
Instructions
- Warm the oven to 400°F and prepare a large baking sheet by applying cooking spray or lining with parchment paper.
- Combine all dry ingredients in a mixing bowl, ensuring thorough blending of flour, sugar, baking soda, and salt. Set the mixture aside.
- Create a separate liquid mixture by whisking milk, vanilla extract, and eggs until smooth and well incorporated.
- In a saucepan, gently melt butter and peanut butter together, allowing the mixture to reach a rolling boil. Remove from heat immediately.
- Gradually incorporate the flour mixture into the melted butter and peanut butter, stirring continuously to prevent lumps.
- Slowly add the milk and egg mixture to the batter, stirring until all ingredients are completely integrated and the texture is uniform.
- Transfer the batter to the prepared baking sheet, using a spatula to distribute evenly and reach all edges of the pan.
- Slide the baking sheet into the preheated oven and bake for approximately 20 minutes, or until a toothpick inserted in the center emerges clean.
- Allow the baked bars to cool completely before preparing the frosting.
- For the frosting, combine butter and peanut butter in a saucepan, bringing the mixture to a boil.
- Remove from heat and blend in milk, then gradually mix in powdered sugar until the frosting reaches a smooth, spreadable consistency.
- Pour the frosting over the cooled bars, using a spatula to create an even layer that covers the entire surface.
- Let the frosting set and cool completely before slicing and serving the peanut butter bars.
Notes
- Swap out regular flour with gluten-free flour blend for those with wheat sensitivities.
- Use alternative milk like almond or oat milk to make the recipe dairy-free and accommodate different dietary needs.
- Reduce sugar content by using monk fruit sweetener or stevia for a lower-calorie version that still maintains delicious flavor.
- Consider adding chopped nuts or chocolate chips to the batter for extra texture and a gourmet twist on the classic lunch lady bar.
- Prep Time: 25 minutes
- Cook Time: 20 minutes
- Category: Desserts, Snacks
- Method: Baking
- Cuisine: American
Nutrition
- Serving Size: 16
- Calories: 363
- Sugar: 28 g
- Sodium: 170 mg
- Fat: 22 g
- Saturated Fat: 7 g
- Unsaturated Fat: 14 g
- Trans Fat: 0.2 g
- Carbohydrates: 40 g
- Fiber: 2 g
- Protein: 6 g
- Cholesterol: 35 mg
Clara Bennett
Contributing Recipe Developer & Food Writer
Expertise
Baking and Pastry Development, Gluten-Free and Allergy-Friendly Recipe Creation, Culinary Storytelling and Food Journalism, Recipe Testing and Standardization, Southern Comfort Foods and Modern Twists
Education
Sullivan University – National Center for Hospitality Studies
Associate Degree in Culinary Arts
Focus: Baking and Pastry Arts, Recipe Testing, and Culinary Journalism.
Clara specialized in crafting desserts that blend classic Southern comfort with modern techniques, while developing strong writing skills to tell the story behind every dish.
Lane Community College (Certificate Program)
Certificate in Food Writing and Photography
Focus: Culinary storytelling, recipe formatting, food styling, and visual presentation.
Clara’s love of baking started young, powered by homemade pies, biscuits, and stories passed around the family table.
After earning her degree at Sullivan University and a food writing certificate at Lane Community College, she turned her passion into a craft: sharing recipes that are simple, soulful, and always full of heart.
She’s big on bold flavors, flexible ideas, and creating sweets that fit any table (yes, even if you’re gluten-free). When she’s not baking, you’ll find her wandering farmers’ markets, styling food for the next photo shoot, or working on her ever-growing recipe journal.