
Festive Peppermint Crunch White Chocolate Graham Crackers Recipe
Whipping up some delightful peppermint crunch white chocolate covered graham crackers might just become your new favorite holiday tradition.
Sweet memories start with simple ingredients waiting to sparkle.
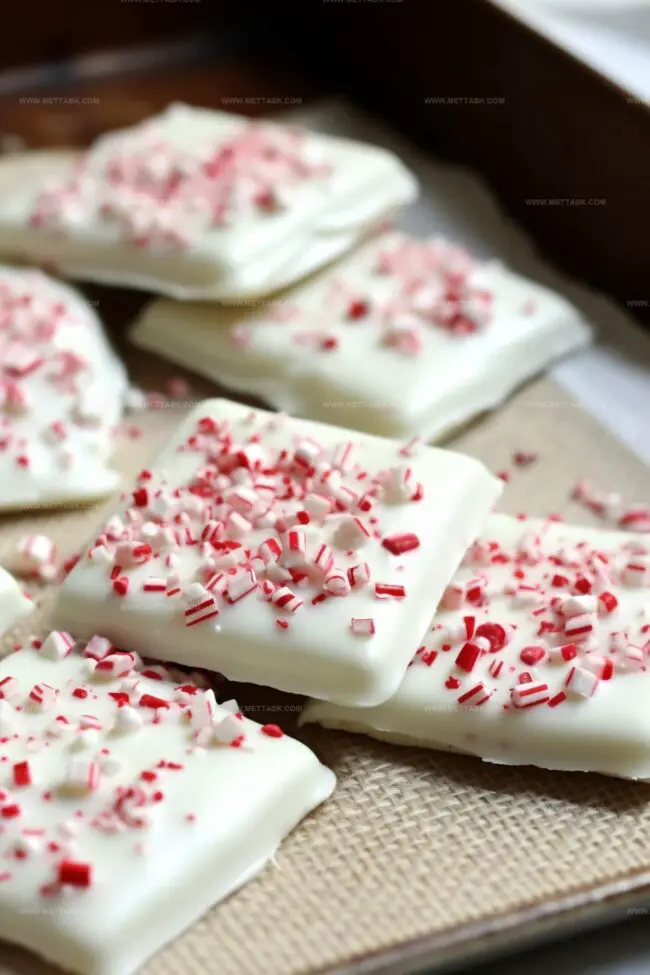
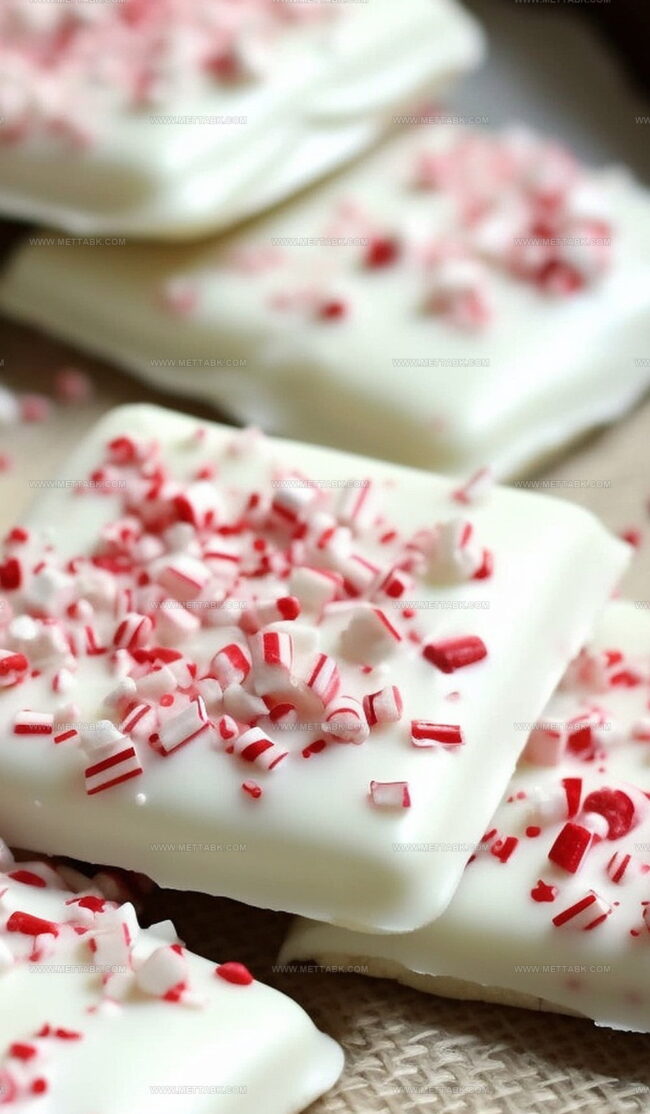
Crisp graham crackers transform into magical treats that dance between crunchy and smooth textures.
Festive flavors blend perfectly when peppermint meets rich white chocolate.
Delicate candy cane pieces create stunning visual contrast against creamy surfaces.
Each bite promises a delectable journey through winter’s most beloved dessert sensations.
Festive Peppermint Crunch White Chocolate Graham Crackers
Ingredients for Peppermint Crunch White Chocolate Graham Crackers
Chocolate Base:Graham Cracker:Topping:How to Prepare Peppermint Crunch White Chocolate Graham Crackers
Step 1: Melt the Chocolate
Grab your Ghirardelli White Chocolate Melting Wafers and pop them into a microwave-safe bowl. Warm them up in the microwave for about a minute.
Stir the chocolate gently – it might look solid, but a good mix will help it melt smoothly. If needed, give it a few more 15-second zaps, always stirring between rounds.
Watch carefully to prevent burning.
Step 2: Dip and Coat Crackers
Take your graham crackers and dive them into the melted white chocolate.
Use a fork to help you dunk each cracker, making sure both sides get a luxurious chocolate bath. Gently lift and let the excess chocolate drip off.
Place the coated crackers on a parchment-lined surface.
Step 3: Sprinkle Peppermint Magic
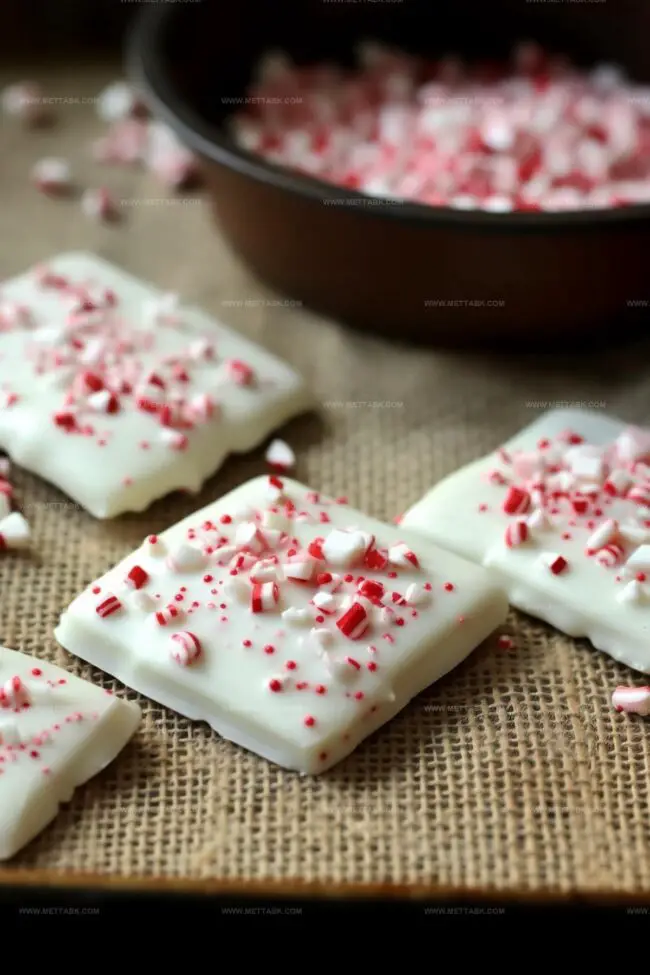
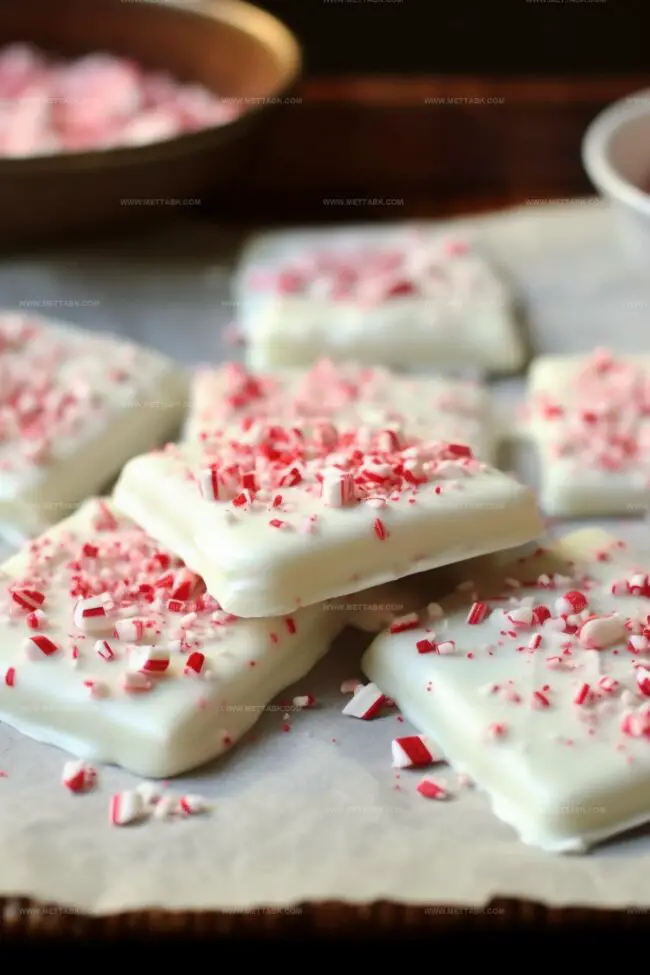
While the chocolate is still wet and glossy, shower the crackers with crushed peppermint.
Scatter those festive red and white bits generously across the surface. The peppermint will stick beautifully to the soft chocolate.
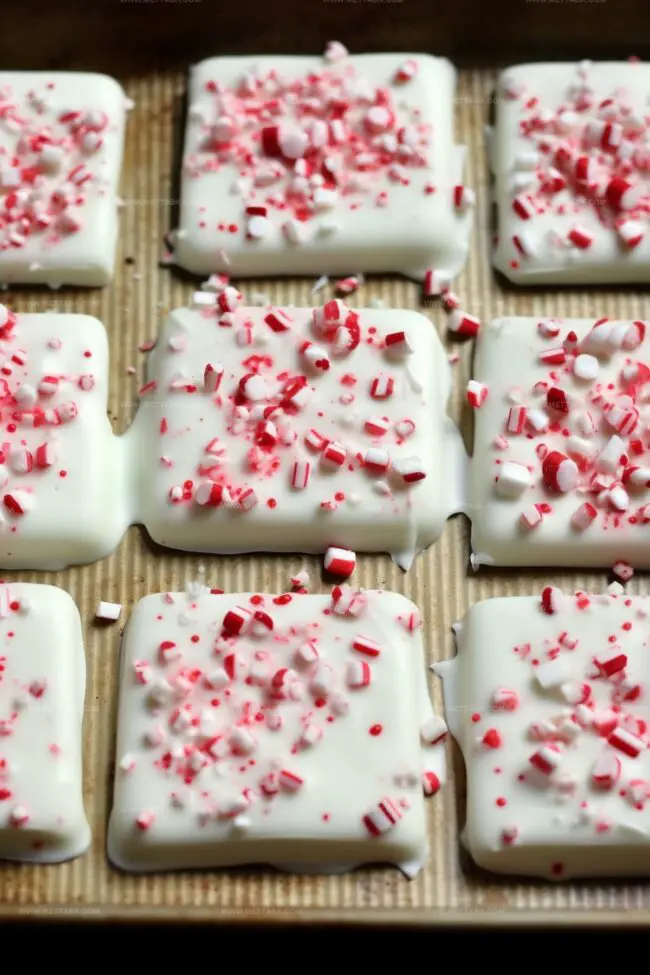
Step 4: Let Them Set
Leave the crackers at room temperature. Give them time to chill and let the chocolate harden completely.
This typically takes about 30 minutes to an hour. Once set, they’ll have a beautiful, crisp white chocolate shell with a pepperminty crunch.
Pro Tips for Holiday Peppermint Treats
Variations on Peppermint Crunch Graham Crackers
Pairing Suggestions for Peppermint Crunch Graham Crackers
Storage Tips for Peppermint Crunch Graham Crackers
FAQs
Yes, you can substitute Ghirardelli White Chocolate Melting Wafers with other white chocolate brands or even milk/dark chocolate if preferred.
Crush the peppermint into small, consistent pieces about the size of coarse salt or sand for the best texture and even distribution on the crackers.
A microwave-safe bowl, fork, parchment paper, and a way to crush peppermint are the only tools required. No complex equipment is necessary.
When stored in an airtight container at room temperature, these treats will remain fresh for about 5-7 days, maintaining their crisp texture and flavor.
Print
Peppermint Crunch White Chocolate Covered Graham Crackers Recipe
- Total Time: 55 minutes
- Yield: 8 1x
Description
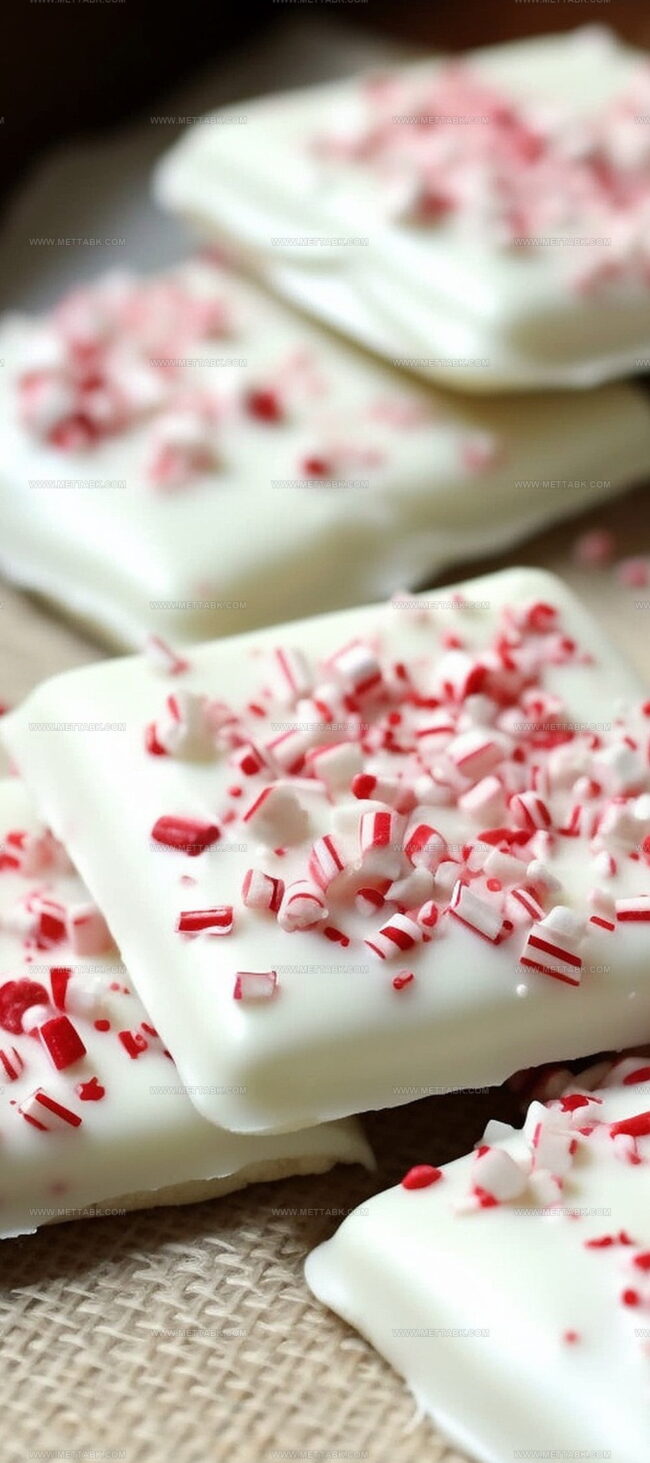
Homemade peppermint crunch white chocolate covered graham crackers combine festive flavors for holiday dessert magic. Crisp graham bases drizzled with melted white chocolate create irresistible seasonal treats you’ll crave all winter long.
Ingredients
- 8 (whole) graham crackers
- 10 oz (280 g) Ghirardelli white chocolate melting wafers
- Crushed peppermint (as required for topping)
Instructions
- Prepare a microwave-safe container and place Ghirardelli White Chocolate Melting Wafers inside, ready for melting process.
- Microwave chocolate for 1 minute, then stir thoroughly. If chocolate hasn’t completely melted, continue microwaving in 15-second intervals, stirring between each interval. Take care to prevent burning.
- Use a fork to dip each graham cracker into melted white chocolate, ensuring comprehensive coverage on both sides. Allow excess chocolate to drip off before transferring to parchment paper.
- While chocolate remains wet and glossy, immediately scatter crushed peppermint pieces generously across the surface of each coated graham cracker.
- Let chocolatey treats rest at room temperature, approximately 30-45 minutes, until chocolate hardens completely and peppermint pieces adhere firmly.
Notes
- Optimize chocolate melting by using short, frequent intervals to prevent burning and ensure smooth consistency.
- Gently tap the fork on the bowl’s edge after dipping to remove excess chocolate, creating a cleaner, more even coating.
- Select high-quality peppermint candies or candy canes for a more intense and fresh flavor profile when crushing.
- Store finished treats in an airtight container at cool room temperature to maintain crisp texture and prevent chocolate bloom.
- Prep Time: 10 minutes
- Cook Time: 45 minutes
- Category: Snacks, Desserts
- Method: Melting
- Cuisine: American
Nutrition
- Serving Size: 8
- Calories: 280
- Sugar: 20g
- Sodium: 85mg
- Fat: 15g
- Saturated Fat: 9g
- Unsaturated Fat: 5g
- Trans Fat: 0g
- Carbohydrates: 30g
- Fiber: 1g
- Protein: 2g
- Cholesterol: 10mg
Clara Bennett
Contributing Recipe Developer & Food Writer
Expertise
Baking and Pastry Development, Gluten-Free and Allergy-Friendly Recipe Creation, Culinary Storytelling and Food Journalism, Recipe Testing and Standardization, Southern Comfort Foods and Modern Twists
Education
Sullivan University – National Center for Hospitality Studies
Associate Degree in Culinary Arts
Focus: Baking and Pastry Arts, Recipe Testing, and Culinary Journalism.
Clara specialized in crafting desserts that blend classic Southern comfort with modern techniques, while developing strong writing skills to tell the story behind every dish.
Lane Community College (Certificate Program)
Certificate in Food Writing and Photography
Focus: Culinary storytelling, recipe formatting, food styling, and visual presentation.
Clara’s love of baking started young, powered by homemade pies, biscuits, and stories passed around the family table.
After earning her degree at Sullivan University and a food writing certificate at Lane Community College, she turned her passion into a craft: sharing recipes that are simple, soulful, and always full of heart.
She’s big on bold flavors, flexible ideas, and creating sweets that fit any table (yes, even if you’re gluten-free). When she’s not baking, you’ll find her wandering farmers’ markets, styling food for the next photo shoot, or working on her ever-growing recipe journal.