Festive Peppermint Kiss Cookies Recipe: Holiday Magic in Every Bite
Sweet memories dance around this delightful peppermint kiss cookies recipe that promises pure holiday magic.
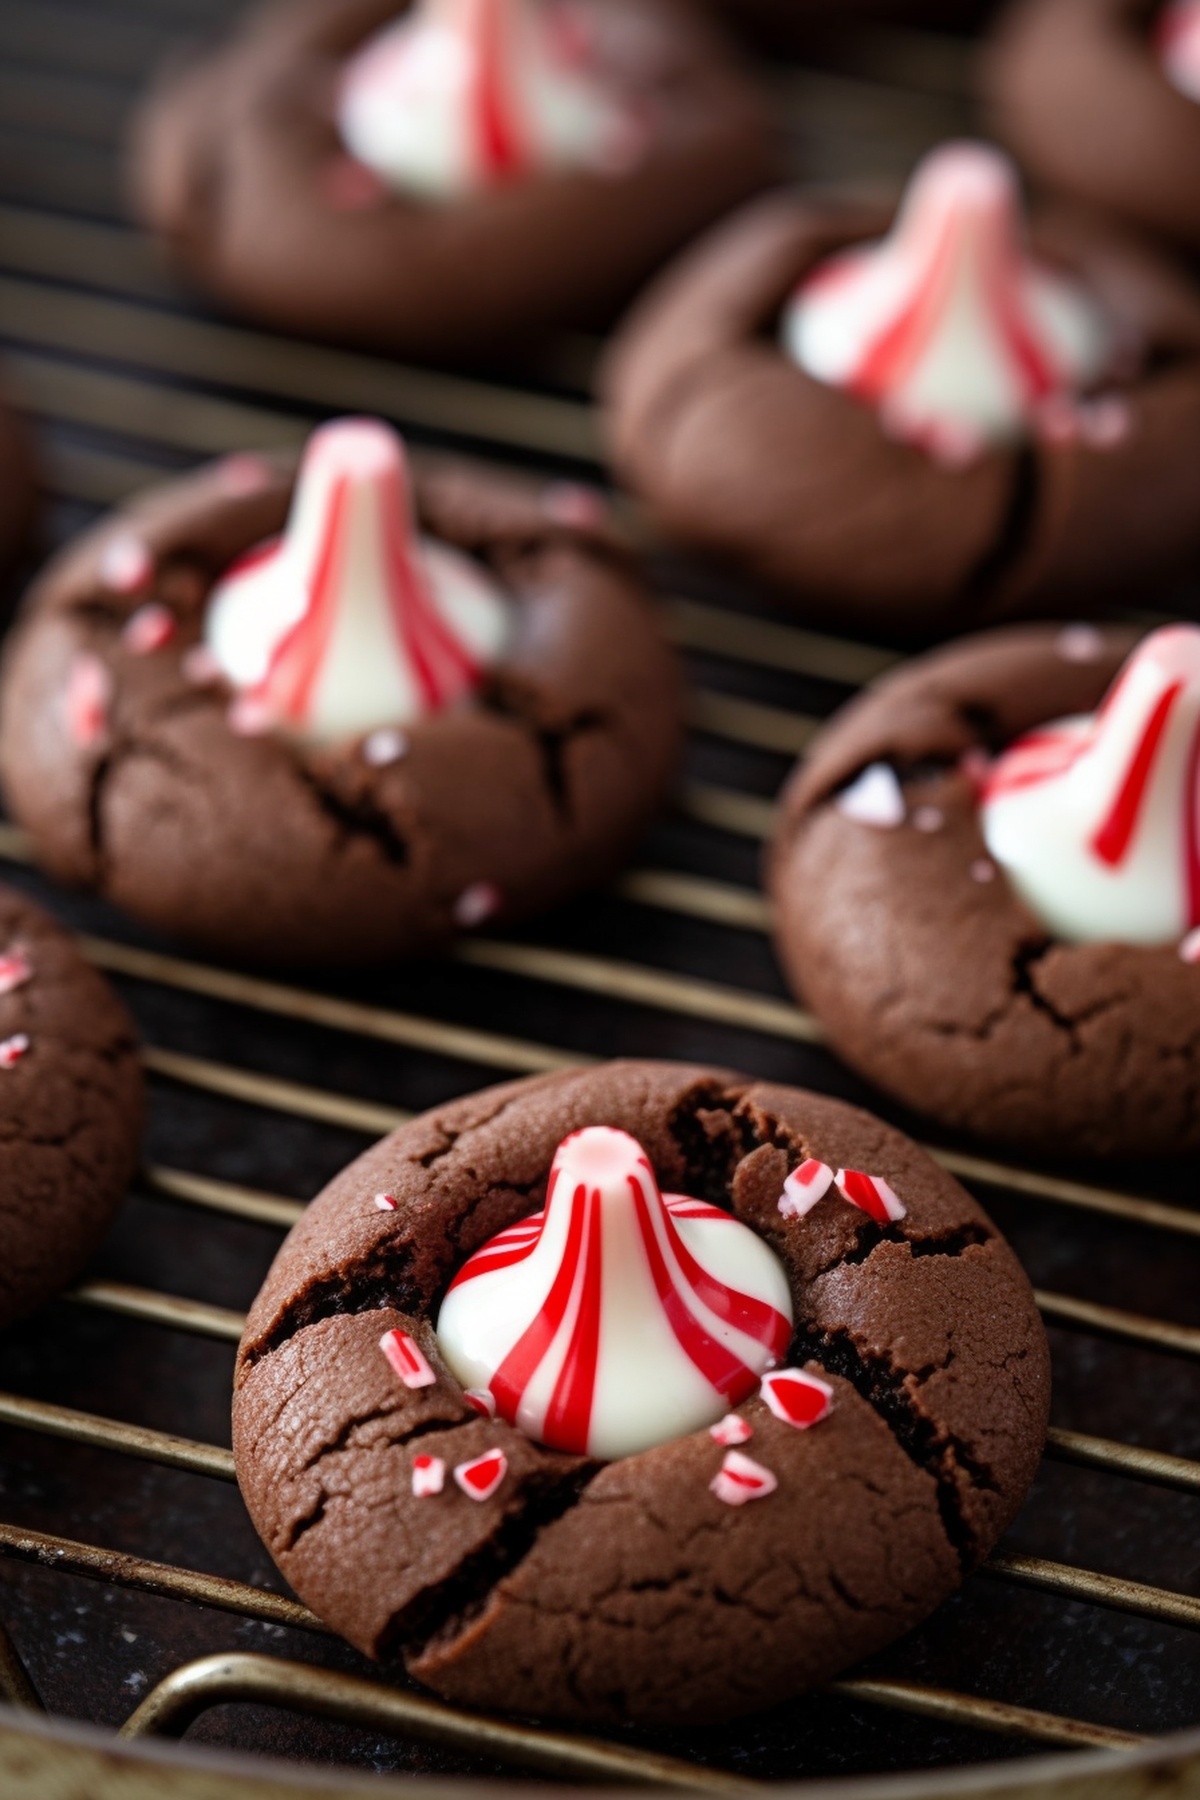
Chocolate and mint create an irresistible flavor combination perfect for chilly afternoons.
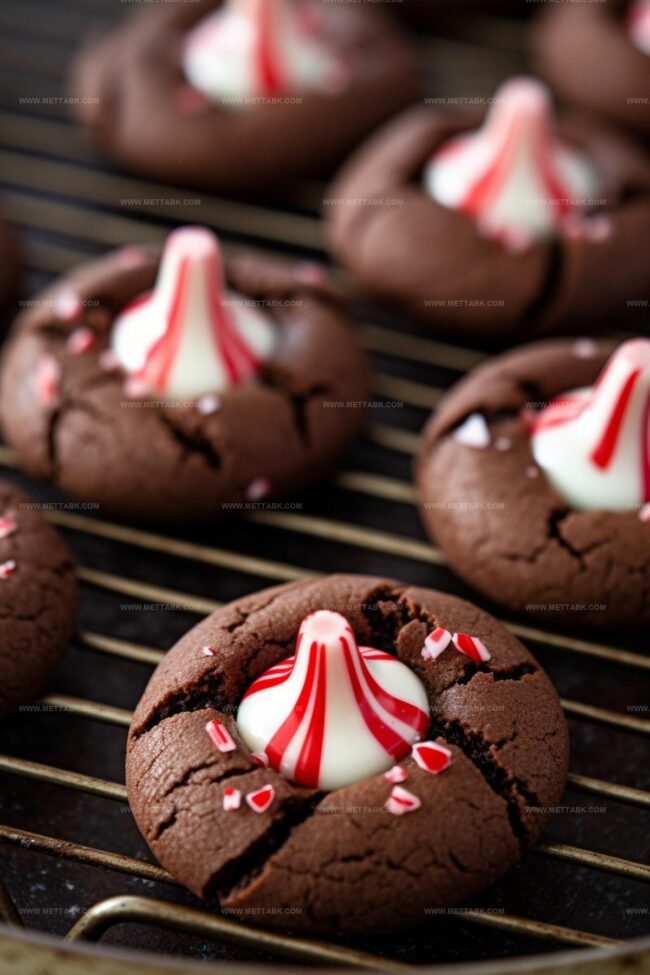
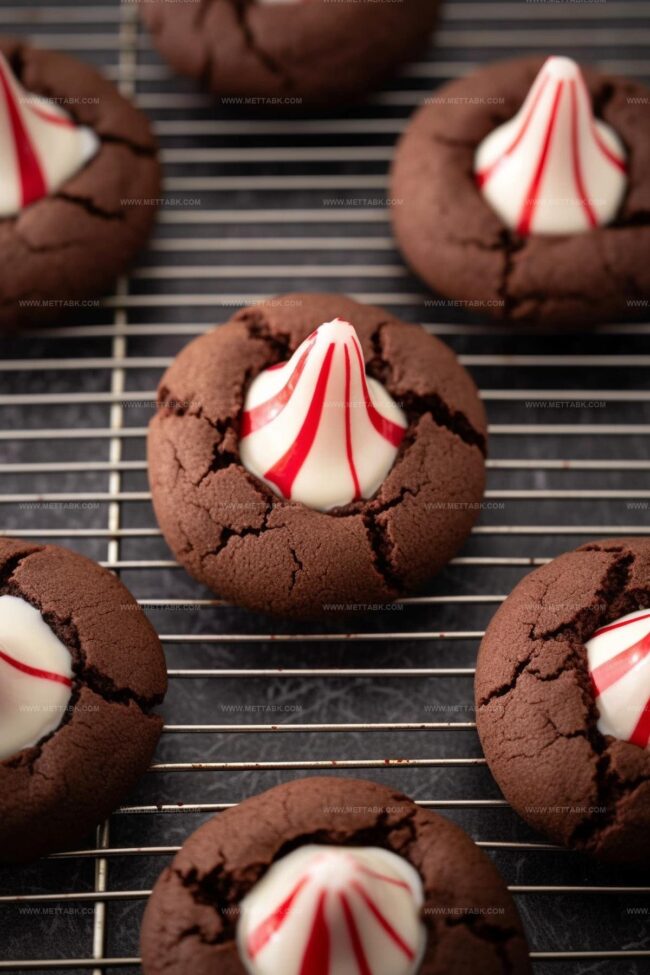
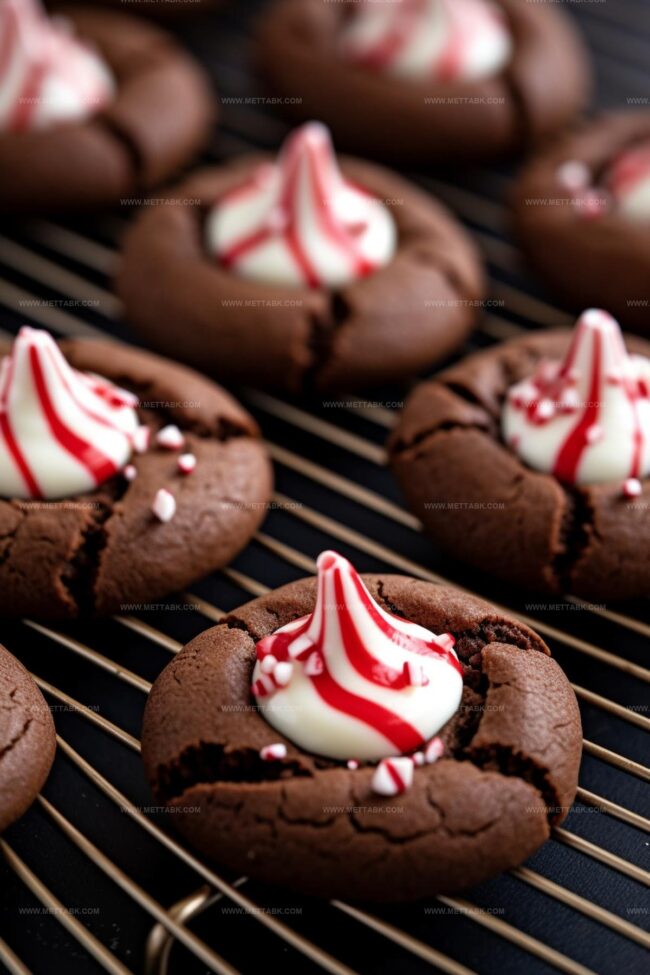
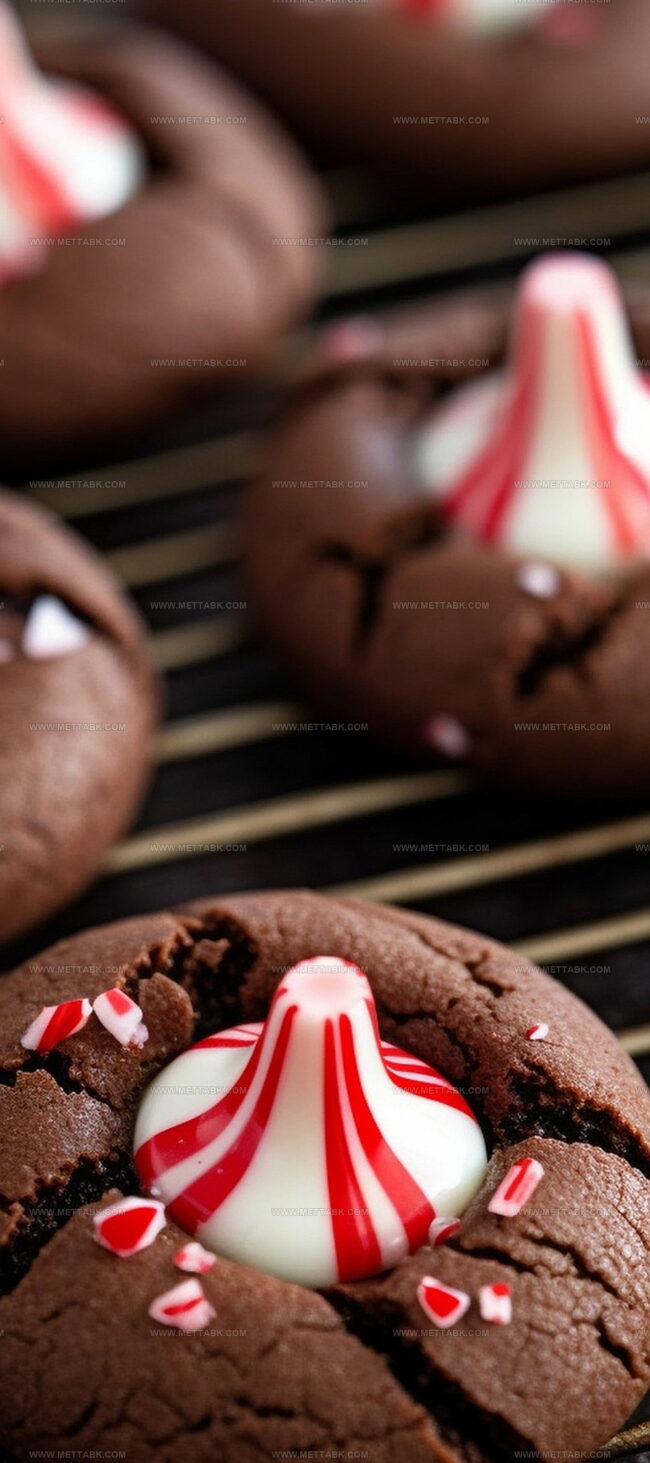
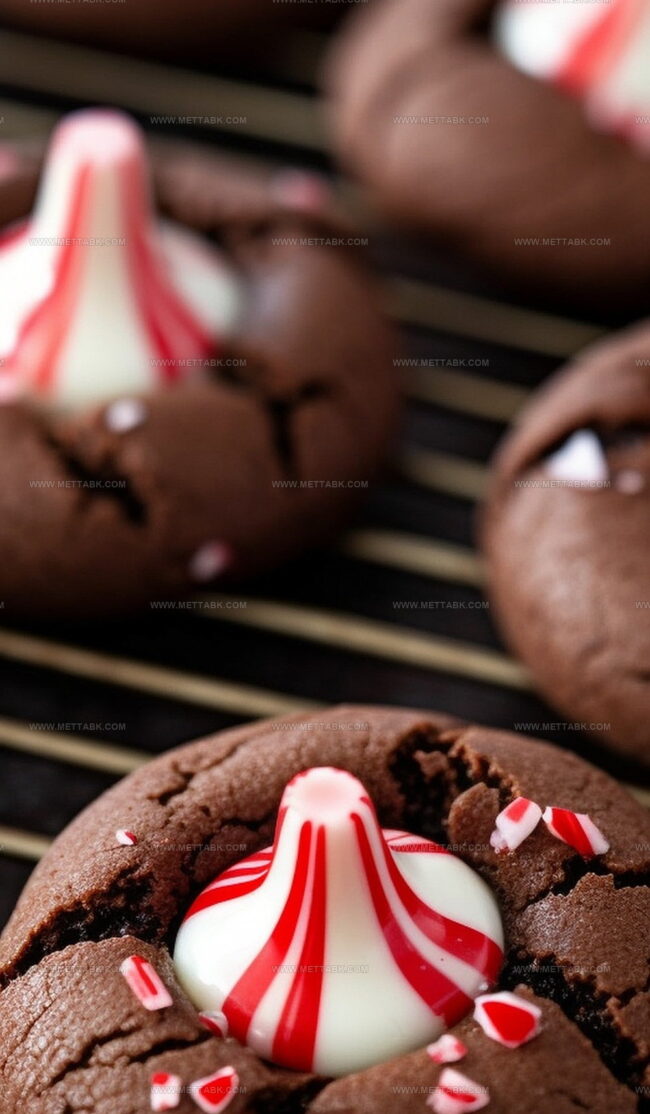
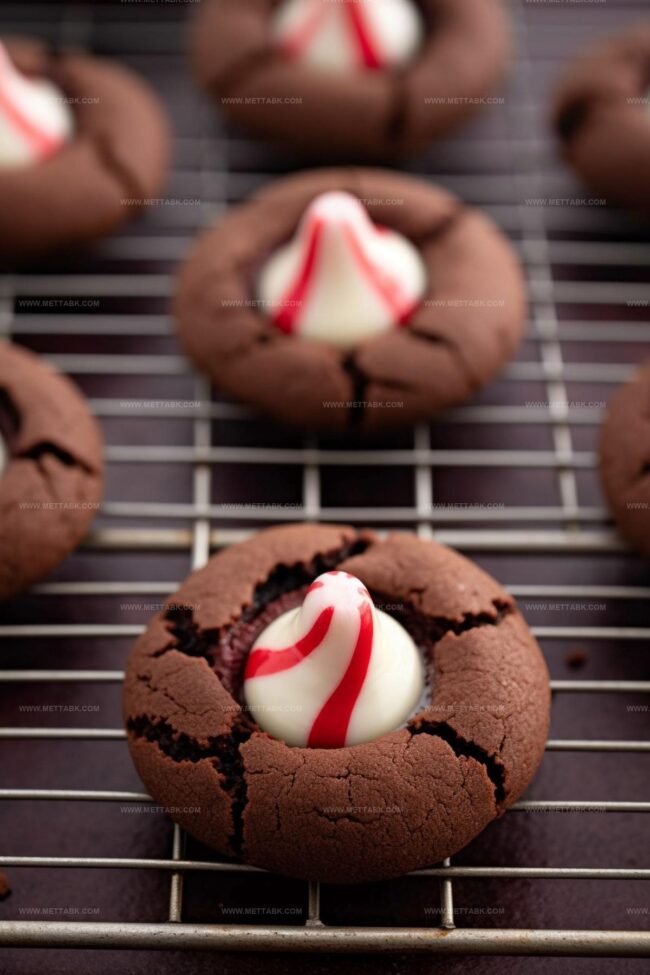
Soft, chewy cookie bases welcome delicate chocolate kisses nestled right in their center.
Festive baking brings such joy to winter kitchens and warm gatherings.
Kids adore helping press those silver-wrapped chocolate morsels into freshly baked rounds.
Crisp peppermint notes shine through each delectable bite, inviting smiles and cheerful moments.
Whip up a batch and watch everyone’s faces light with sugary delight.
Peppermint Kiss Cookies That Shine
Ingredients Behind Peppermint Kiss Cookies
Main Ingredients:Binding and Leavening Ingredients:Flavoring Ingredients:Preparation Ingredients:Step-by-Step Peppermint Kiss Cookies Guide
Step 1: Prep Your Baking Space
Get your oven ready by heating it to 350° Fahrenheit. Grab two cookie sheets and cover them with parchment paper for a smooth baking experience.
Step 2: Mix Dry Ingredients
Grab a medium bowl and toss in:Whisk these ingredients together until they’re perfectly blended.
Step 3: Create Creamy Butter Base
In a larger bowl, grab your electric mixer and beat butter and sugar together.
Keep mixing until the mixture looks light and fluffy like a cloud.
Step 4: Add Liquid Goodness
Drop in one egg and a splash of vanilla extract.
Mix these into your buttery base until everything looks smooth and combined.
Step 5: Bring Mixtures Together
Slowly add the dry ingredient blend into the wet mixture.
Mix on low speed until the dough starts to come together with a crumbly texture.
Step 6: Shape Cookie Balls
Use a cookie scoop to grab dough portions.
Roll them into perfect little balls and place them on the prepared cookie sheets. Keep about 2 inches between each cookie.
Step 7: Create Cookie Centers
Press a measuring teaspoon gently into the center of each dough ball. Don’t worry if small cracks appear – that’s totally normal!
Step 8: Bake to Perfection
Slide the cookie sheet into the oven and bake for 15 minutes. The cookies should look slightly risen and ready to go.
Step 9: Add Peppermint Kiss Topping
After baking, let cookies rest for 5 minutes. While they’re still warm, press a peppermint kiss right into the center of each cookie.
Step 10: Cool and Enjoy
Let the cookies cool completely. This helps the flavors meld and gives them the perfect texture for munching.
Pro Tips for Peppermint Kiss Cookies
Variations to Refresh Peppermint Kiss Cookies
Pairing Suggestions for Peppermint Kiss Cookies
Storage Tips for Peppermint Kiss Cookies
FAQs
No, these cookies are beginner-friendly and require basic baking skills. The recipe involves simple mixing techniques and straightforward steps that even novice bakers can successfully execute.
Yes, you can use other chocolate candies like Rolos or caramel-filled chocolates. However, the peppermint flavor will change, so choose a candy that complements the chocolate cookie base.
Pressing the center creates a small indentation that helps the peppermint kiss sit perfectly in the cookie after baking. This technique ensures the candy stays in place and looks visually appealing.
Print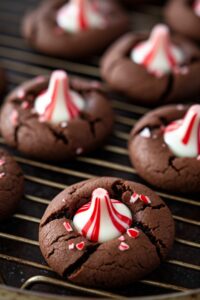
Peppermint Kiss Cookies Recipe
- Total Time: 35 minutes
- Yield: 24 1x
Description
Peppermint kiss cookies bring festive cheer with chocolate and mint perfection. Chocolate lovers will delight in this simple holiday treat that melts hearts and creates sweet memories.
Ingredients
- 22 peppermint kisses candies
- 1 large egg (room temperature)
- 1 cup granulated sugar
- 1/2 cup unsalted butter (1 stick, room temperature)
- 1 3/4 cups all-purpose flour (properly spooned and leveled)
- 2/3 cup unsweetened cocoa powder
- 1 tbsp cornstarch
- 1/2 tsp baking powder
- 1/4 tsp salt
- 1 tsp vanilla extract
Instructions
- Preheat the oven to 350° Fahrenheit and line two cookie sheets with parchment paper for optimal baking preparation.
- In a medium bowl, whisk together flour, cocoa powder, cornstarch, baking powder, and salt until thoroughly combined and lump-free.
- Using an electric mixer, cream butter and sugar in a separate large bowl until light and fluffy, approximately 2-3 minutes.
- Incorporate the egg and vanilla extract into the creamed mixture, blending until smooth and uniform.
- Gradually fold the dry ingredient mixture into the wet ingredients, mixing on low speed until a cohesive dough forms.
- Using a cookie scoop, portion out dough and roll into uniform balls, placing them 2 inches apart on prepared cookie sheets.
- Create a gentle indentation in the center of each dough ball using the back of a measuring teaspoon, allowing for slight natural cracking.
- Bake for 15 minutes, or until cookies have slightly risen and edges appear set, rotating the sheet midway for even cooking.
- Remove cookies from the oven and let them rest on the baking sheet for 5 minutes, maintaining a warm temperature.
- Delicately press a peppermint kiss into the center of each warm cookie, ensuring a secure placement.
- Transfer cookies to a wire rack and allow to cool completely, enabling the chocolate kiss to set and flavors to meld.
Notes
- Ensure butter is softened at room temperature for smoother creaming and better cookie texture.
- Chill the dough for 30 minutes before baking to prevent excessive spreading and maintain cookie shape.
- Use a light-colored baking sheet to prevent cookie bottoms from over-browning.
- Gluten-free alternative can be achieved by substituting all-purpose flour with a 1:1 gluten-free baking blend.
- Replace peppermint kisses with dark chocolate for a more intense chocolate experience.
- Store cookies in an airtight container at room temperature for up to 5 days to maintain freshness.
- For a vegan version, swap butter with coconut oil and use egg replacement like aquafaba or flax egg.
- Add a sprinkle of crushed candy canes on top for extra festive crunch and peppermint flavor.
- Prep Time: 20 minutes
- Cook Time: 15 minutes
- Category: Desserts, Snacks
- Method: Baking
- Cuisine: American
Nutrition
- Serving Size: 24
- Calories: 110 kcal
- Sugar: 8 g
- Sodium: 50 mg
- Fat: 5 g
- Saturated Fat: 3 g
- Unsaturated Fat: 2 g
- Trans Fat: 0 g
- Carbohydrates: 16 g
- Fiber: 1 g
- Protein: 1 g
- Cholesterol: 20 mg
Clara Bennett
Contributing Recipe Developer & Food Writer
Expertise
Baking and Pastry Development, Gluten-Free and Allergy-Friendly Recipe Creation, Culinary Storytelling and Food Journalism, Recipe Testing and Standardization, Southern Comfort Foods and Modern Twists
Education
Sullivan University – National Center for Hospitality Studies
Associate Degree in Culinary Arts
Focus: Baking and Pastry Arts, Recipe Testing, and Culinary Journalism.
Clara specialized in crafting desserts that blend classic Southern comfort with modern techniques, while developing strong writing skills to tell the story behind every dish.
Lane Community College (Certificate Program)
Certificate in Food Writing and Photography
Focus: Culinary storytelling, recipe formatting, food styling, and visual presentation.
Clara’s love of baking started young, powered by homemade pies, biscuits, and stories passed around the family table.
After earning her degree at Sullivan University and a food writing certificate at Lane Community College, she turned her passion into a craft: sharing recipes that are simple, soulful, and always full of heart.
She’s big on bold flavors, flexible ideas, and creating sweets that fit any table (yes, even if you’re gluten-free). When she’s not baking, you’ll find her wandering farmers’ markets, styling food for the next photo shoot, or working on her ever-growing recipe journal.