Zesty Homemade Pepperoni Mini Pizzas Recipe for Fun Snacking
Crafting delectable pepperoni mini pizzas can turn an ordinary evening into a culinary adventure.
Small bites pack incredible flavor for any gathering.
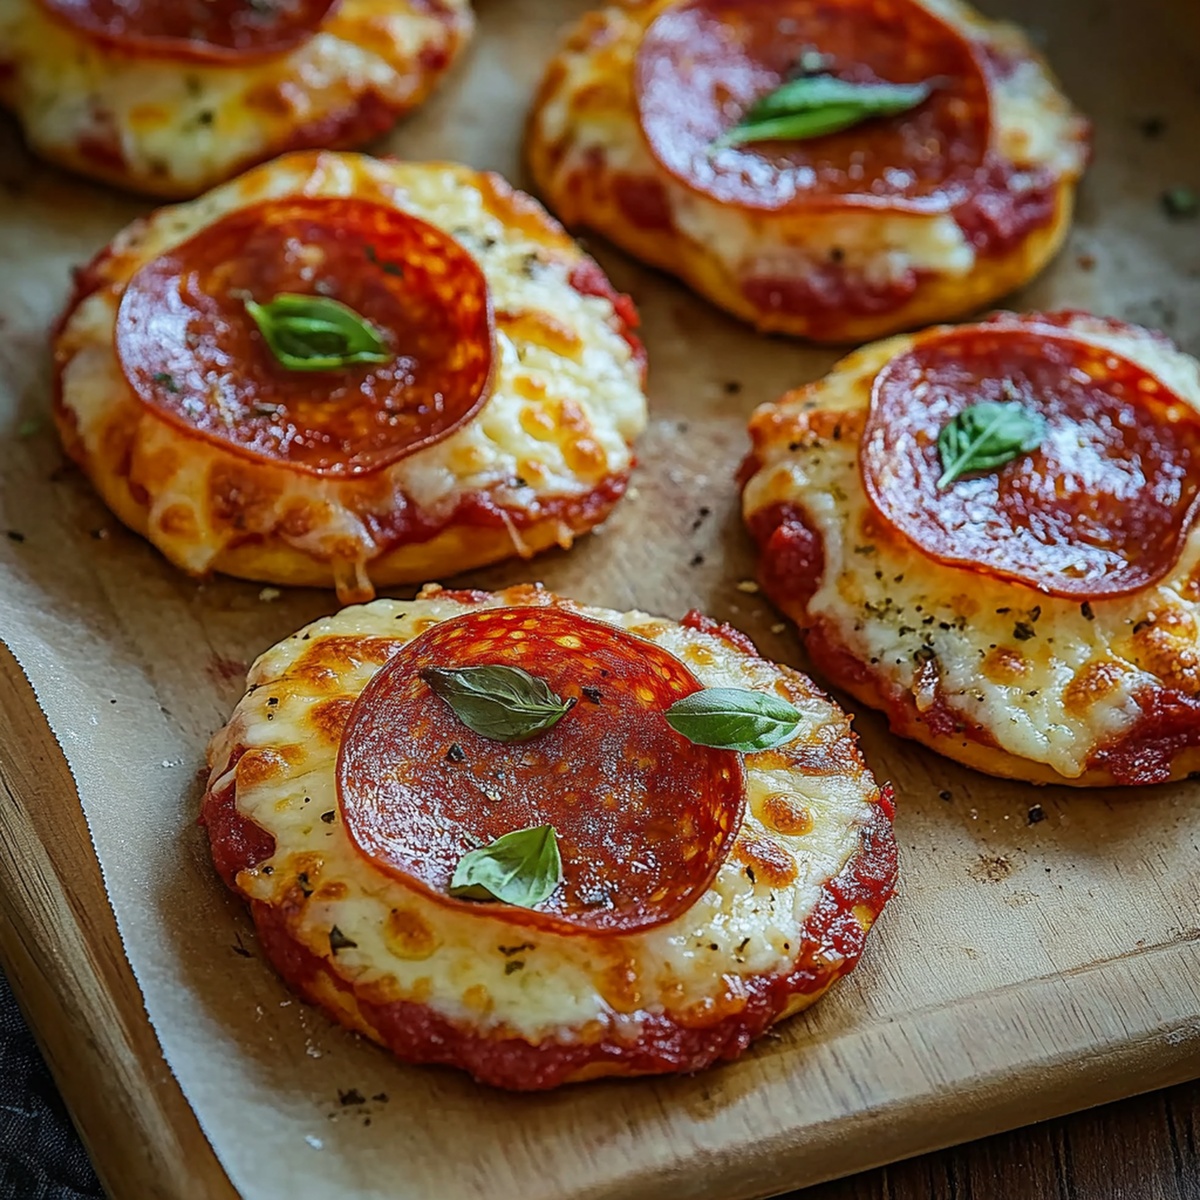
Crispy edges and melted cheese create irresistible appeal that makes everyone smile.
Homemade versions beat store-bought alternatives by miles.
Kids adore these bite-sized treats, and adults find them equally compelling.
Quick preparation means you can whip up a batch in minutes.
Let’s make some magic happen in your kitchen and create memories one mini pizza at a time.
Pepperoni Mini Pizzas That Are Bite-Sized Fun
Ingredients to Build Tasty Pepperoni Mini Pizzas
Pizza Base:Sauce and Cheese:Toppings:How to Bake Pepperoni Mini Pizzas to Perfection
Step 1: Fire Up The Oven
Crank the oven to a toasty 375°F and get ready for some mini pizza magic.
Step 2: Prepare Pizza Base
Lay out your pita bread or split English muffins on a baking sheet lined with parchment paper.
Step 3: Spread The Sauce
Grab your pizza sauce and dollop it across each base, making sure to leave a tiny border around the edges for that perfect crispy look.
Step 4: Layer With Deliciousness
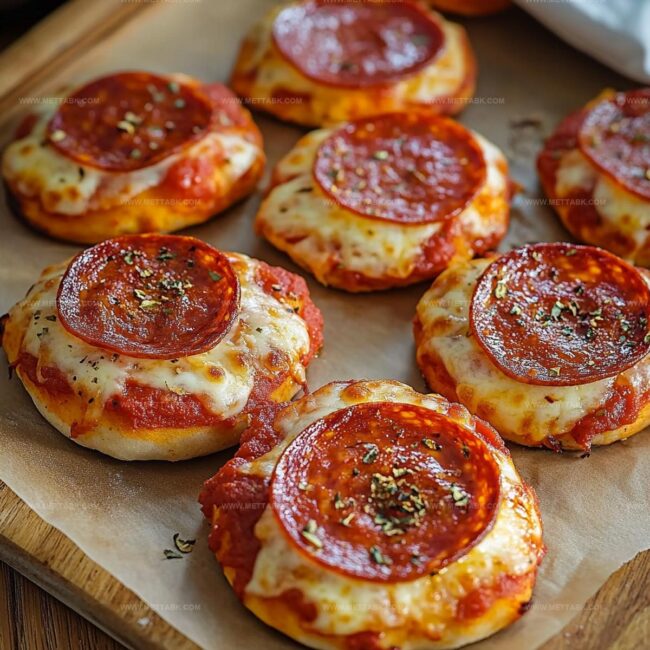
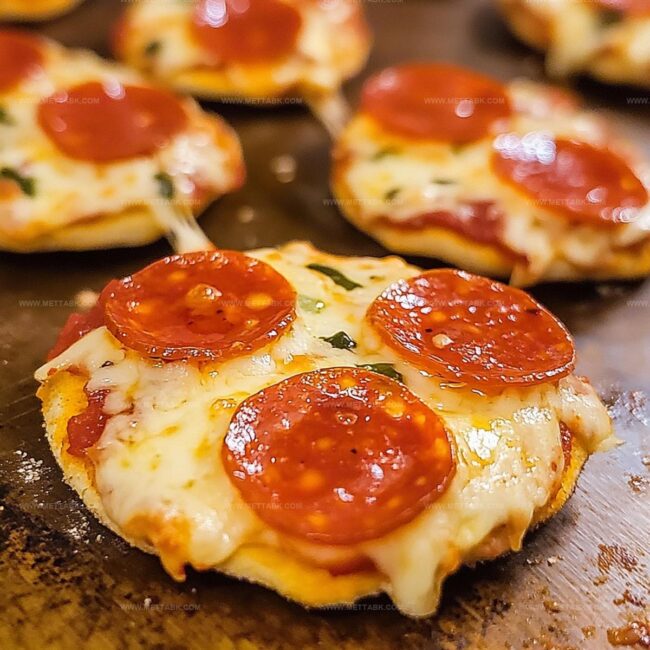
Top your saucy base with a generous sprinkle of ingredients:Step 5: Bake To Perfection
Slide the baking sheet into the hot oven and let those mini pizzas cook for 10-12 minutes.
Watch for the cheese to turn golden and bubbly, creating an irresistible melted masterpiece.
Step 6: Serve And Enjoy
Pull out your crispy, cheesy creations from the oven.
Let them cool just a moment, then slice if you want, and dive right into these quick and tasty mini pizzas. Enjoy them hot and fresh straight from the oven!
Helpful Tips for Crispy and Flavorful Mini Pizzas

Fun Twists on Pepperoni Mini Pizzas to Try

Pairings That Match Pepperoni Mini Pizzas Well
How to Keep Pepperoni Mini Pizzas Fresh Longer
FAQs
Yes, you can use flatbread, tortillas, or even pre-made pizza crust as alternatives to pita bread or English muffins.
Absolutely! Replace pepperoni with vegetables like bell peppers, mushrooms, olives, or plant-based pepperoni alternatives.
Use whole wheat pita or English muffins, opt for low-fat mozzarella, add extra vegetables, and control the portion of pepperoni.
You can assemble them before baking and store in the refrigerator for a few hours, but bake just before serving to maintain crisp texture.
Print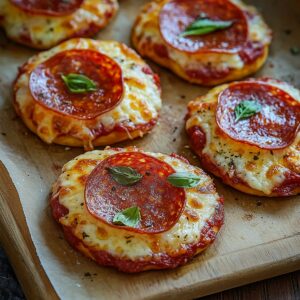
Pepperoni Mini Pizzas Recipe
- Total Time: 22 minutes
- Yield: 4 1x
Description
Mini pepperoni pizzas delight taste buds with crispy crusts and savory toppings. Cheese melts perfectly, creating irresistible bites you’ll crave at every gathering.
Ingredients
- 4 pita bread or English muffins
- 1/2 cup (120 ml) pizza sauce
- 1 cup (240 g) shredded mozzarella cheese
- 16 pepperoni slices
- 1 tsp (5 g) Italian seasoning
Instructions
- Heat the oven to 375°F and prepare a baking sheet with parchment paper or silicone liner.
- Arrange pita bread or split English muffins on the prepared baking sheet, creating individual pizza bases.
- Distribute pizza sauce across each base, carefully leaving a small border around the edges to prevent overflow.
- Generously cover the sauce with shredded mozzarella cheese, ensuring even distribution.
- Layer pepperoni slices over the cheese, creating a consistent coverage across each mini pizza.
- Sprinkle Italian seasoning evenly to enhance the flavor profile of the mini pizzas.
- Transfer the baking sheet to the preheated oven and bake for 10-12 minutes until the cheese melts completely and turns golden with slightly crispy edges.
- Remove from the oven and allow the mini pizzas to cool for 2-3 minutes to set the melted cheese.
- Optional: Slice each mini pizza into smaller sections for easier serving.
- Serve immediately while the cheese remains warm and the crust is crisp.
Notes
- Make sure your baking sheet is lined with parchment paper or a silicone mat to prevent sticking and ensure easy cleanup.
- Choose whole wheat pita or English muffins for a healthier twist, adding more fiber and nutrients to your mini pizzas.
- Customize toppings by adding fresh herbs like basil or oregano after baking for a burst of fresh flavor and aromatic appeal.
- For a vegetarian version, swap pepperoni with sliced bell peppers, mushrooms, or plant-based pepperoni alternatives to suit different dietary preferences.
- Prep Time: 10 minutes
- Cook Time: 12 minutes
- Category: Appetizer, Snacks, Lunch, Dinner
- Method: Baking
- Cuisine: Italian
Nutrition
- Serving Size: 4
- Calories: 280 kcal
- Sugar: 4 g
- Sodium: 700 mg
- Fat: 15 g
- Saturated Fat: 7 g
- Unsaturated Fat: 6 g
- Trans Fat: 0.5 g
- Carbohydrates: 25 g
- Fiber: 2 g
- Protein: 14 g
- Cholesterol: 30 mg
Clara Bennett
Contributing Recipe Developer & Food Writer
Expertise
Baking and Pastry Development, Gluten-Free and Allergy-Friendly Recipe Creation, Culinary Storytelling and Food Journalism, Recipe Testing and Standardization, Southern Comfort Foods and Modern Twists
Education
Sullivan University – National Center for Hospitality Studies
Associate Degree in Culinary Arts
Focus: Baking and Pastry Arts, Recipe Testing, and Culinary Journalism.
Clara specialized in crafting desserts that blend classic Southern comfort with modern techniques, while developing strong writing skills to tell the story behind every dish.
Lane Community College (Certificate Program)
Certificate in Food Writing and Photography
Focus: Culinary storytelling, recipe formatting, food styling, and visual presentation.
Clara’s love of baking started young, powered by homemade pies, biscuits, and stories passed around the family table.
After earning her degree at Sullivan University and a food writing certificate at Lane Community College, she turned her passion into a craft: sharing recipes that are simple, soulful, and always full of heart.
She’s big on bold flavors, flexible ideas, and creating sweets that fit any table (yes, even if you’re gluten-free). When she’s not baking, you’ll find her wandering farmers’ markets, styling food for the next photo shoot, or working on her ever-growing recipe journal.