
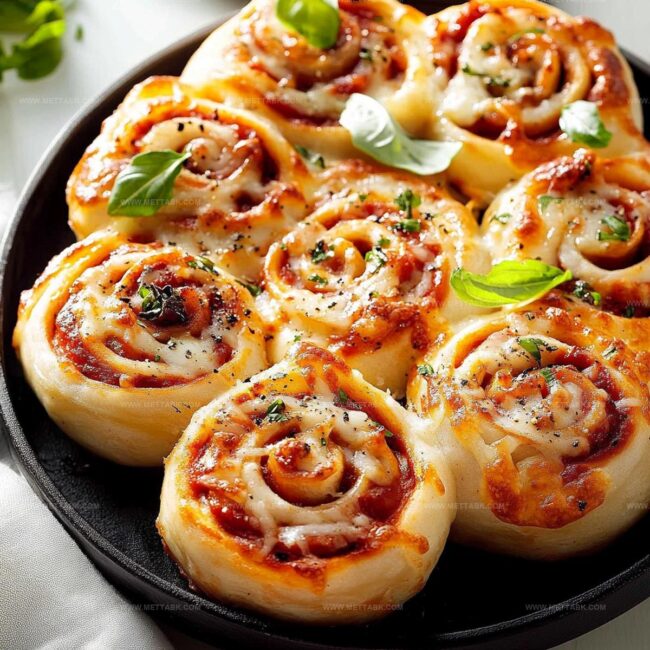
The Ultimate Pizza Rolls Recipe for Cheesy Snack Bliss
Crispy, golden pizza rolls have become my absolute obsession lately.
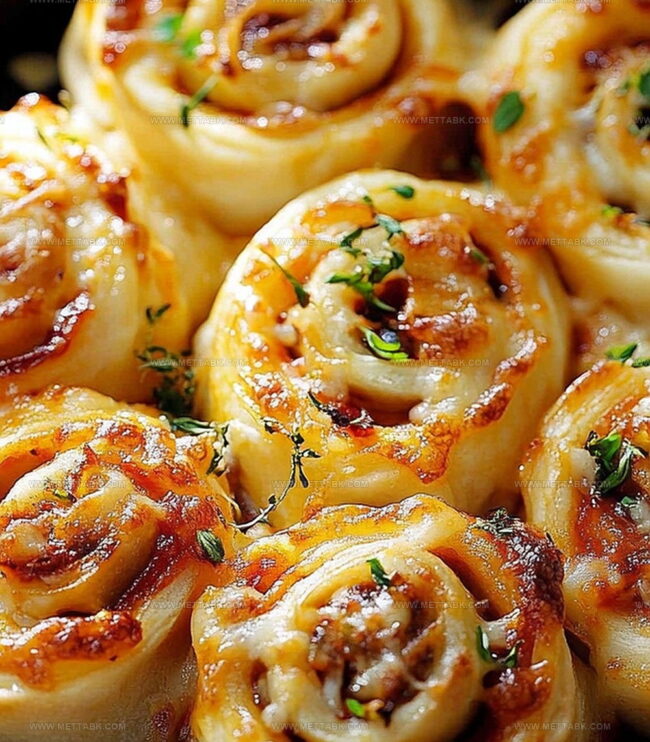
Munching on these bite-sized delights brings back memories of late-night snacking adventures.
Cheese oozes from each perfectly wrapped morsel, creating a mouthwatering experience that feels like comfort in every bite.
Small gatherings or solo movie nights suddenly become special with these little parcels of joy.
Fresh ingredients make all the difference when crafting these crowd-pleasing treats.
Simple techniques can turn an ordinary afternoon into a culinary celebration.
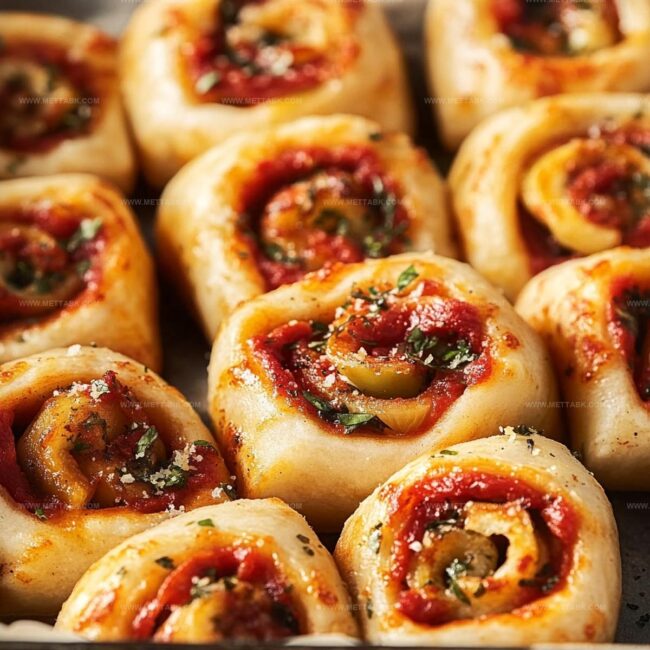
Pizza Rolls That Bring Fun to Every Bite
Ingredients to Make Delicious Pizza Rolls
Main Ingredients:Sauce and Seasoning:Preparation Essentials:How to Prepare Pizza Rolls with Crispy Perfection
Step 1: Warm Up The Oven
Crank the oven to a toasty 400°F and slide a sheet of parchment paper onto your baking tray to prevent any sticky situations.
Step 2: Flatten The Dough
Dust your work surface with a light sprinkle of flour and roll out the pizza dough until it’s thin and smooth, almost like a delicate blanket about 1/8 inch thick.
Step 3: Create Perfect Squares
Grab a sharp knife or pizza cutter and slice the dough into neat 3-inch squares, making sure each piece looks uniform and ready for deliciousness.
Step 4: Load Up With Tasty Fillings
In the center of each square, add your dream team of ingredients:Step 5: Craft Delightful Triangles
Fold each square into a perfect triangle, pressing the edges with your fingers or crimping with a fork to seal in all those mouthwatering flavors.
Step 6: Bake To Golden Perfection
Arrange the pizza rolls on the prepared baking sheet and slide them into the hot oven. Bake for 15-20 minutes until they turn a gorgeous golden brown that makes your mouth water.
Handy Tips for Pizza Rolls You’ll Crave Again
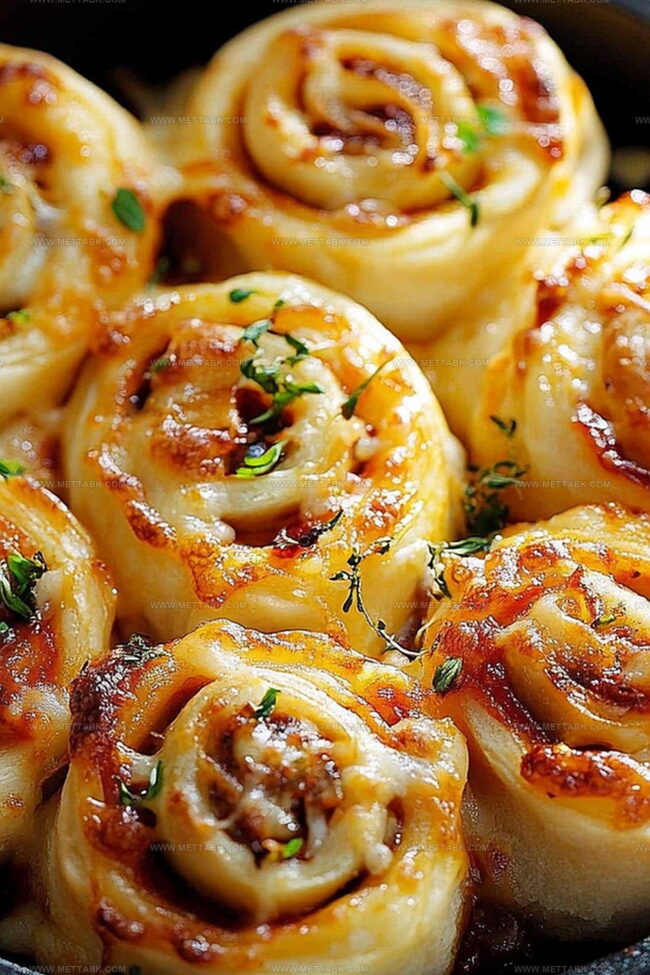
Flavorful Variations on Classic Pizza Rolls
Pairings That Match Pizza Rolls Beautifully
Best Ways to Keep Pizza Rolls Fresh and Crispy
FAQs
Yes! Try ham and Swiss cheese, BBQ chicken, or vegetarian options like spinach and ricotta. Mix and match ingredients to create your favorite combinations.
Seal the edges firmly by pinching or crimping with a fork. Make sure no filling touches the edges before sealing to create a tight seal.
No special equipment is needed. A basic rolling pin, knife or pizza cutter, and baking sheet will work perfectly for this recipe.
Absolutely! Prepare and assemble the rolls, then refrigerate for up to 24 hours before baking. You can also freeze uncooked rolls for up to one month.
Print
Pizza Rolls Recipe
- Total Time: 40 minutes
- Yield: 4 1x
Description
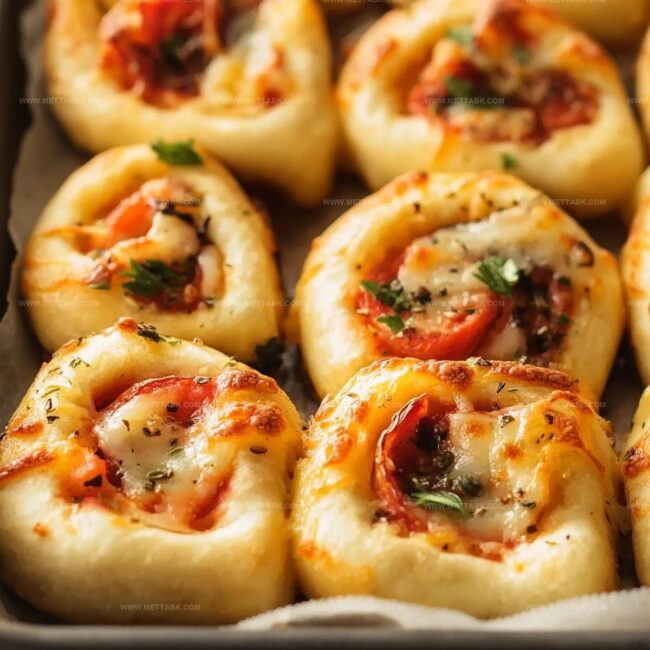
Homemade cheesy pizza rolls deliver irresistible comfort from Italian kitchens to your dinner table. Crispy golden edges and melted mozzarella center promise a delightful snack you’ll crave again and again.
Ingredients
- 1 cup pizza dough (store-bought or homemade)
- 1/2 cup mozzarella cheese (shredded)
- 10 slices pepperoni
- 1 tsp Italian seasoning
- 1/4 cup pasta sauce (for filling and dipping)
Instructions
- Warm the oven to 400°F and prepare a baking sheet with parchment paper for optimal non-stick surface.
- Dust a clean workspace with flour and gently stretch pizza dough into a thin, uniform layer approximately 1/8 inch thick.
- Transform the dough into precise 3-inch geometric segments using a sharp knife or pizza wheel for consistent sizing.
- Position mozzarella cheese at the center of each dough segment, layering with pepperoni slices for robust flavor profile.
- Drizzle a modest amount of pasta sauce across the cheese and meat, then dust with aromatic Italian seasoning to enhance overall taste.
- Carefully fold each dough square into triangular pockets, pressing edges firmly with fingertips or crimping with a fork to create secure seals.
- Distribute the sealed pizza rolls evenly across the prepared baking sheet, ensuring minimal contact between rolls for balanced heat circulation.
- Transfer the baking sheet to the preheated oven and roast for 15-20 minutes, monitoring until rolls transform into a rich golden-brown color with crispy exterior.
Notes
- Chilling the dough beforehand helps prevent sticking and makes rolling easier.
- Experiment with different fillings like spinach, mushrooms, or ham to create variety and cater to different dietary preferences.
- Use a pastry brush to lightly coat the rolls with olive oil before baking for extra golden and crispy edges.
- For a gluten-free version, substitute regular pizza dough with cauliflower or almond flour-based alternatives to accommodate dietary restrictions.
- Prep Time: 20 minutes
- Cook Time: 20 minutes
- Category: Lunch, Dinner, Appetizer, Snacks
- Method: Baking
- Cuisine: Italian-American
Nutrition
- Serving Size: 4
- Calories: 250 kcal
- Sugar: 3 g
- Sodium: 600 mg
- Fat: 12 g
- Saturated Fat: 5 g
- Unsaturated Fat: 6 g
- Trans Fat: 0.1 g
- Carbohydrates: 25 g
- Fiber: 2 g
- Protein: 12 g
- Cholesterol: 30 mg
Clara Bennett
Contributing Recipe Developer & Food Writer
Expertise
Baking and Pastry Development, Gluten-Free and Allergy-Friendly Recipe Creation, Culinary Storytelling and Food Journalism, Recipe Testing and Standardization, Southern Comfort Foods and Modern Twists
Education
Sullivan University – National Center for Hospitality Studies
Associate Degree in Culinary Arts
Focus: Baking and Pastry Arts, Recipe Testing, and Culinary Journalism.
Clara specialized in crafting desserts that blend classic Southern comfort with modern techniques, while developing strong writing skills to tell the story behind every dish.
Lane Community College (Certificate Program)
Certificate in Food Writing and Photography
Focus: Culinary storytelling, recipe formatting, food styling, and visual presentation.
Clara’s love of baking started young, powered by homemade pies, biscuits, and stories passed around the family table.
After earning her degree at Sullivan University and a food writing certificate at Lane Community College, she turned her passion into a craft: sharing recipes that are simple, soulful, and always full of heart.
She’s big on bold flavors, flexible ideas, and creating sweets that fit any table (yes, even if you’re gluten-free). When she’s not baking, you’ll find her wandering farmers’ markets, styling food for the next photo shoot, or working on her ever-growing recipe journal.