Dreamy Raspberry Cheesecake Thumbprint Cookies Recipe
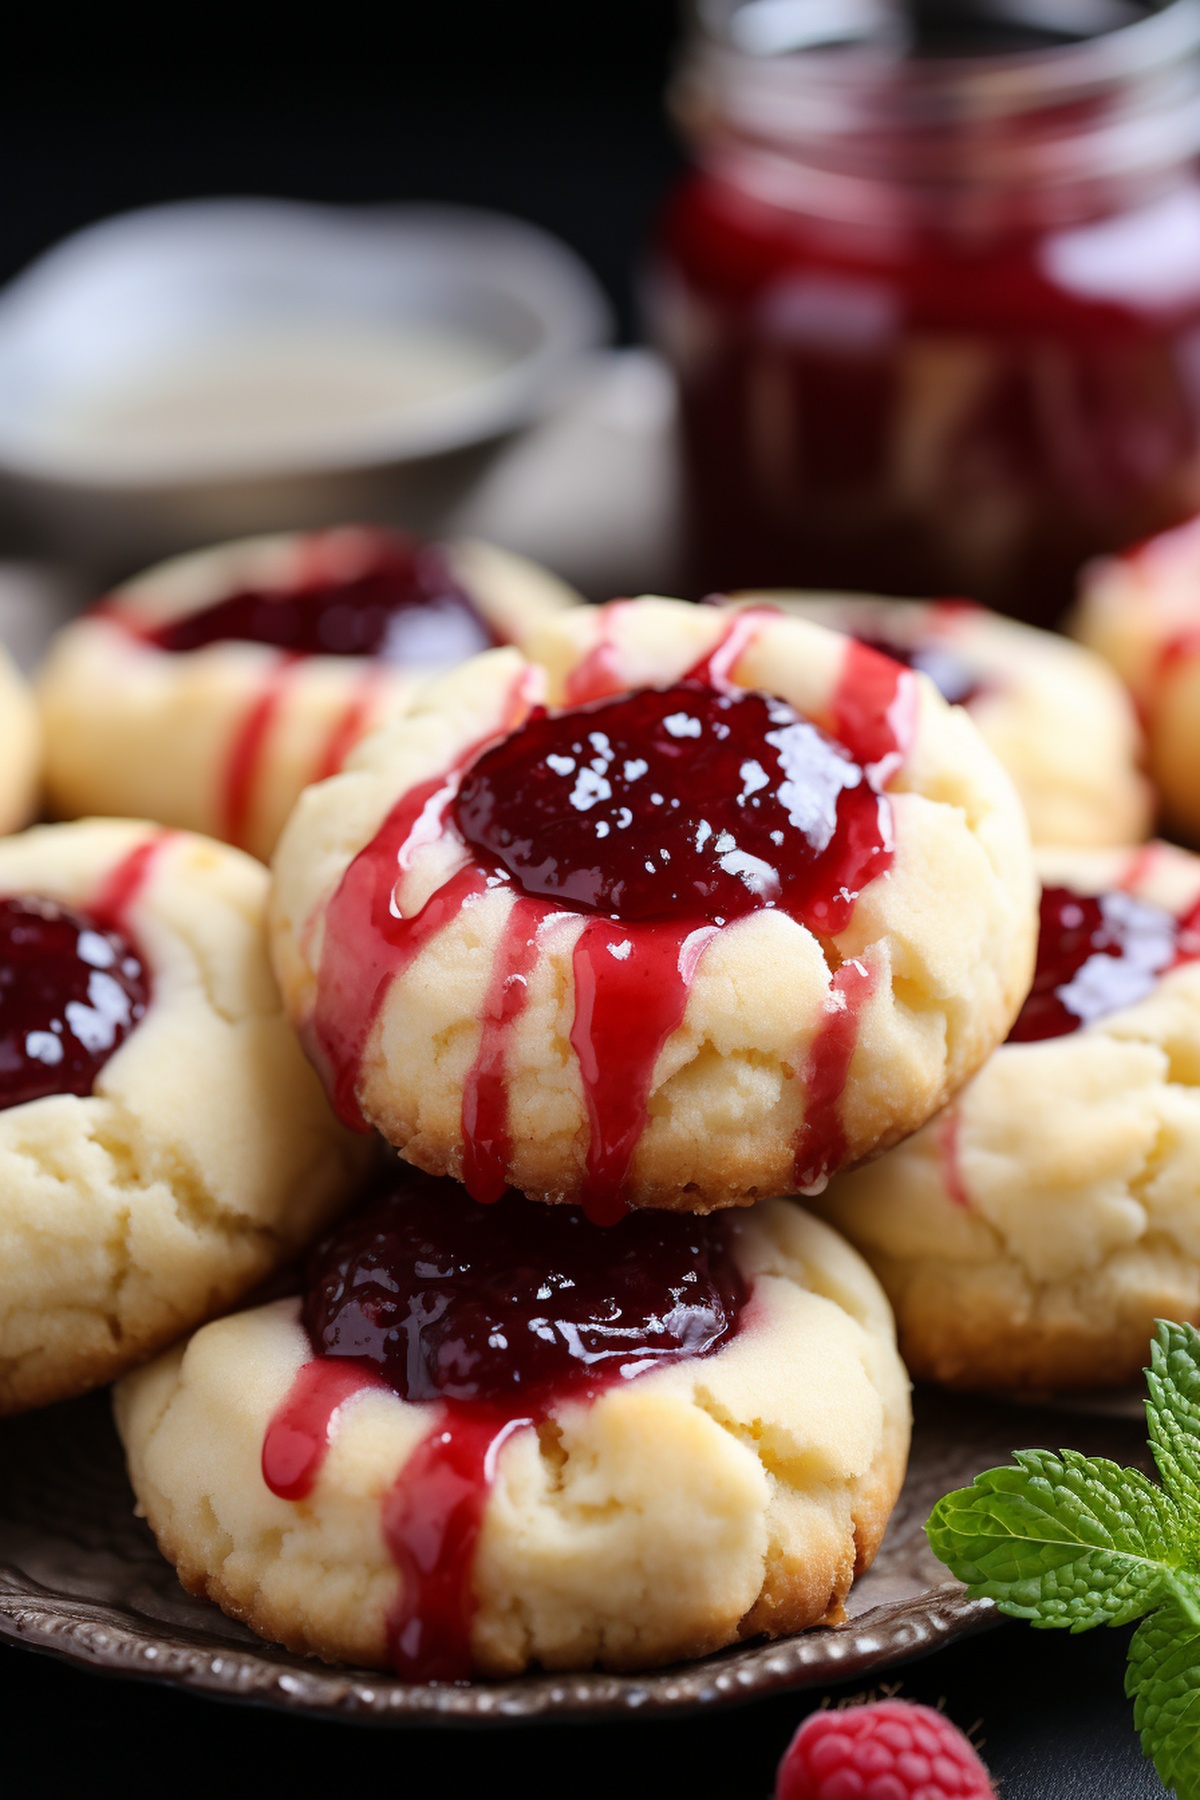
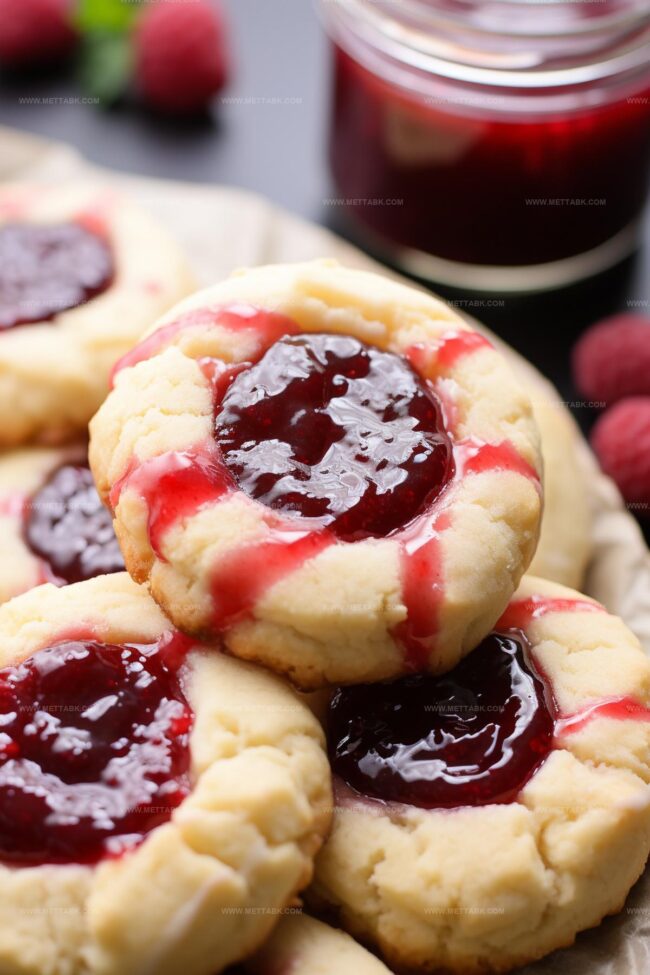
Sweet raspberry cheesecake thumbprint cookies bring a delightful twist to classic dessert traditions.
Creamy cheese swirls perfectly complement the vibrant fruit centers.
Soft, buttery cookie bases create an irresistible foundation for each delectable bite.
Unexpected flavor combinations make these treats stand out from ordinary recipes.
Baking enthusiasts will adore the simple yet elegant approach to crafting these miniature delights.
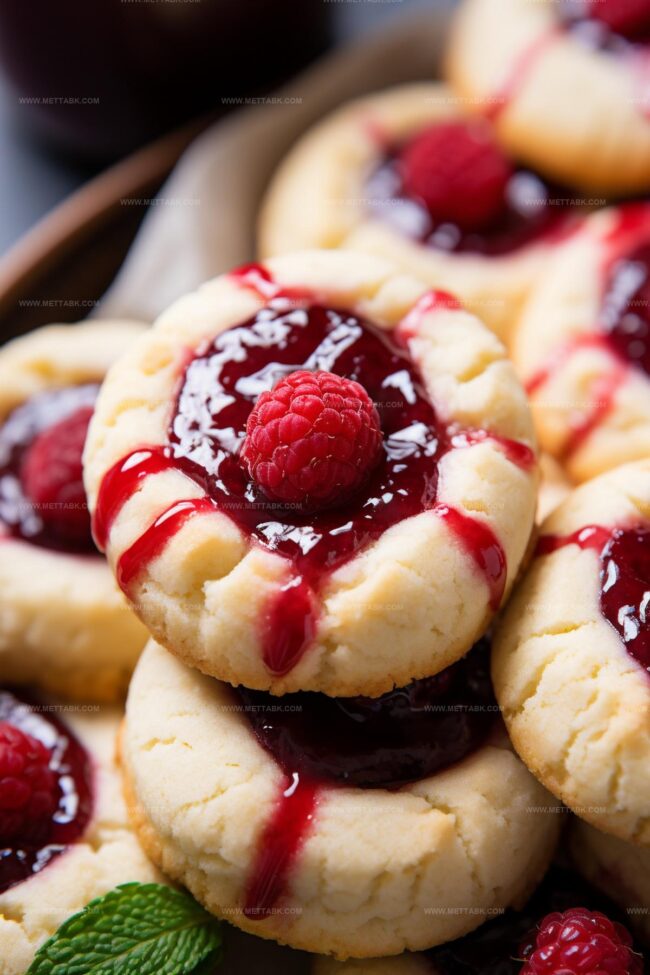
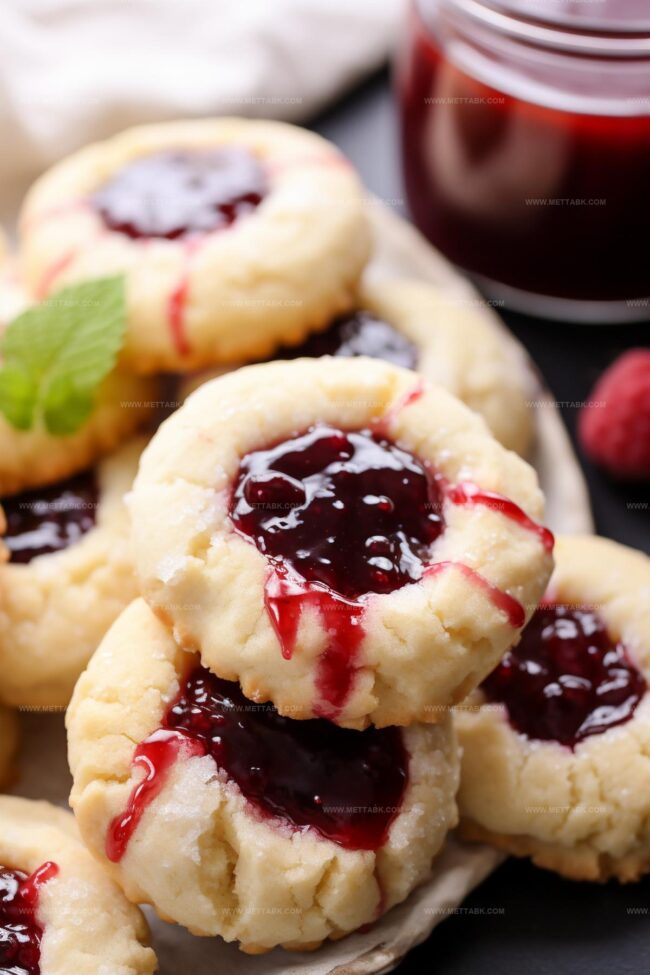
Guests cannot resist the charming appearance and rich taste of these small, elegant cookies.
Whip up a batch and watch smiles spread across everyone’s faces.
Delightful Raspberry Cheesecake Thumbprint Cookies

Ingredients for Raspberry Cheesecake Thumbprint Cookies
Base Ingredients:Filling and Flavor Ingredient:Baking Essentials:Step-by-Step Raspberry Cheesecake Thumbprint Cookies
Step 1: Whip the Base
Beat cream cheese and butter in a stand mixer with a paddle attachment until light and fluffy. Scrape down the bowl sides to ensure everything mixes evenly.
Step 2: Sweeten the Mixture
Add sugar to the cream cheese and butter blend. Continue mixing until the sugar dissolves completely and the mixture becomes airy and smooth.
Step 3: Fold in the Flour
Gently incorporate flour into the mixture using low mixer speed. Mix just until the flour is combined to prevent overworking the dough.
Step 4: Chill the Dough
Cover the mixing bowl with plastic wrap. Refrigerate the dough for 45 minutes to 2 hours, allowing it to firm up and develop better flavor.
Step 5: Prepare for Baking
Preheat the oven to 375°F (190°C). Line a baking sheet with parchment paper to prevent sticking.
Step 6: Shape the Cookies
Use a cookie scoop to create uniform dough balls. Roll each portion into a smooth sphere and place on the prepared baking sheet.
Create a gentle thumb indent in the center of each cookie. Fill the indentations with:Step 7: Bake to Perfection
Slide the baking sheet into the preheated oven.
Bake for 11-12 minutes until the edges turn golden. The cookies will appear soft when removed from the oven.
Step 8: Cool and Set
Let the cookies rest on the baking sheet for 10 minutes. Carefully transfer to a cooling rack to cool completely, allowing them to set properly.
Pro Tips for Raspberry Cheesecake Thumbprint Cookies
Variations to Try on Raspberry Cheesecake Thumbprint Cookies
Best Pairings with Raspberry Cheesecake Thumbprint Cookies
Storage Advice for Raspberry Cheesecake Thumbprint Cookies
FAQs
Full-fat cream cheese is recommended as it provides the richest flavor and creamiest texture for the thumbprint cookies.
Yes, a hand mixer works perfectly fine. Just ensure you mix thoroughly and scrape down the sides of the bowl to incorporate all ingredients evenly.
Chilling the dough before forming cookies helps maintain the thumbprint indentation. Make sure to refrigerate the dough for at least 45 minutes before shaping and baking.
Absolutely! While raspberry preserves are traditional, you can substitute with strawberry, apricot, or any other fruit preserve you enjoy for a personalized touch.
Print
Raspberry Cheesecake Thumbprint Cookies Recipe
- Total Time: 32 minutes
- Yield: 24 1x
Description
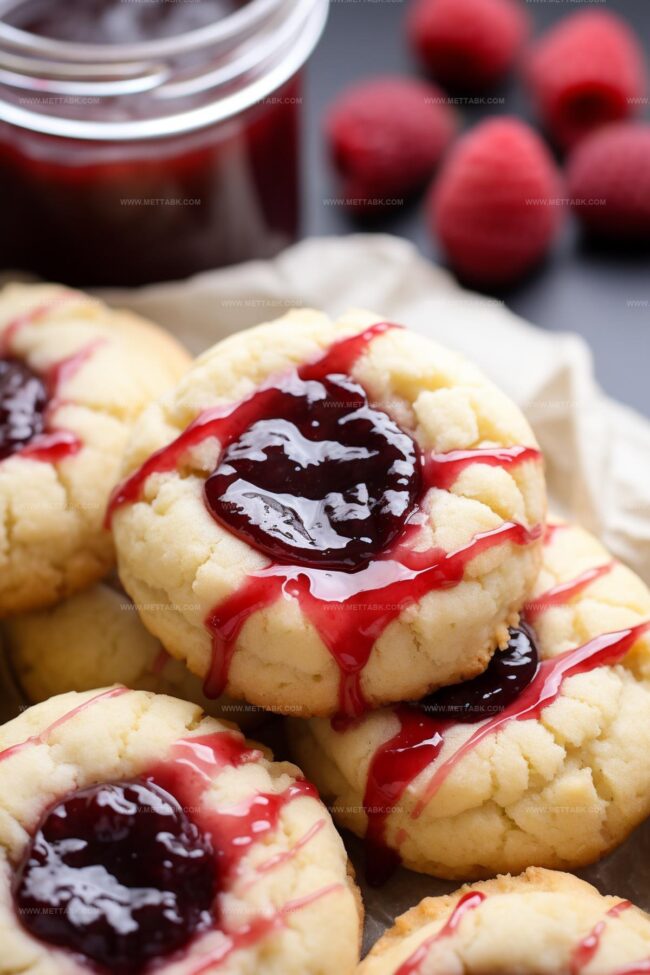
Delightful raspberry cheesecake thumbprint cookies combine creamy cheesecake and tangy raspberry flavors in one irresistible treat. Bakers will love the simple method and impressive results for special occasions or everyday indulgence.
Ingredients
- 8 tbsps salted butter (at room temperature)
- 4 oz cream cheese (softened)
- 1/2 cup plus 3 tbsps sugar
- 1 cup plus 3 tbsps all-purpose flour
- 1/4 cup raspberry preserves
Instructions
- In a stand mixer with paddle attachment, cream cream cheese and butter until light and fluffy, meticulously scraping bowl sides during mixing.
- Gradually incorporate sugar, beating until mixture becomes smooth and well-aerated.
- Fold in flour at low speed, mixing just until combined to prevent dough toughening.
- Wrap dough and refrigerate for 45-120 minutes to enhance texture and facilitate handling.
- Preheat oven to 375°F and line baking sheet with parchment paper 30 minutes before baking.
- Scoop dough into tablespoon-sized portions, roll into smooth spheres, and create centered thumb indentations on each cookie.
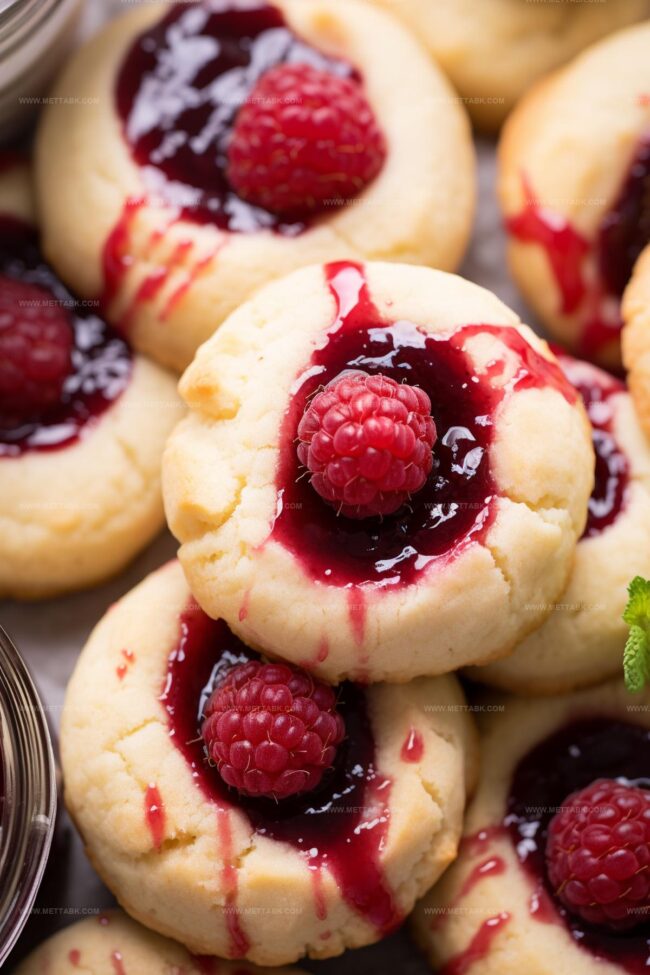
- Delicately fill each indentation with raspberry preserves, ensuring even distribution.
- Bake for 11-12 minutes until edges turn golden, understanding cookies will remain soft immediately after removal.
- Rest cookies on baking sheet for 10 minutes, then carefully transfer to wire rack for complete cooling and structural stabilization.
Notes
- Soft butter and cream cheese at room temperature create a smoother, more uniform texture that prevents lumpy cookie dough.
- Sift flour before measuring to eliminate clumps and ensure precise, light cookie consistency that won’t become dense or tough.
- Refrigeration helps cookies maintain shape, prevents spreading, and enhances flavor development by allowing ingredients to meld together.
- Use the back of a rounded measuring spoon to create uniform, clean indentations instead of your thumb for more professional-looking cookies.
- Prep Time: 20 minutes
- Cook Time: 12 minutes
- Category: Snacks, Desserts
- Method: Baking
- Cuisine: American
Nutrition
- Serving Size: 24
- Calories: 136 kcal
- Sugar: 7 g
- Sodium: 43 mg
- Fat: 8 g
- Saturated Fat: 5 g
- Unsaturated Fat: 2 g
- Trans Fat: 0.1 g
- Carbohydrates: 15 g
- Fiber: 0.3 g
- Protein: 1 g
- Cholesterol: 18 mg
Clara Bennett
Contributing Recipe Developer & Food Writer
Expertise
Baking and Pastry Development, Gluten-Free and Allergy-Friendly Recipe Creation, Culinary Storytelling and Food Journalism, Recipe Testing and Standardization, Southern Comfort Foods and Modern Twists
Education
Sullivan University – National Center for Hospitality Studies
Associate Degree in Culinary Arts
Focus: Baking and Pastry Arts, Recipe Testing, and Culinary Journalism.
Clara specialized in crafting desserts that blend classic Southern comfort with modern techniques, while developing strong writing skills to tell the story behind every dish.
Lane Community College (Certificate Program)
Certificate in Food Writing and Photography
Focus: Culinary storytelling, recipe formatting, food styling, and visual presentation.
Clara’s love of baking started young, powered by homemade pies, biscuits, and stories passed around the family table.
After earning her degree at Sullivan University and a food writing certificate at Lane Community College, she turned her passion into a craft: sharing recipes that are simple, soulful, and always full of heart.
She’s big on bold flavors, flexible ideas, and creating sweets that fit any table (yes, even if you’re gluten-free). When she’s not baking, you’ll find her wandering farmers’ markets, styling food for the next photo shoot, or working on her ever-growing recipe journal.