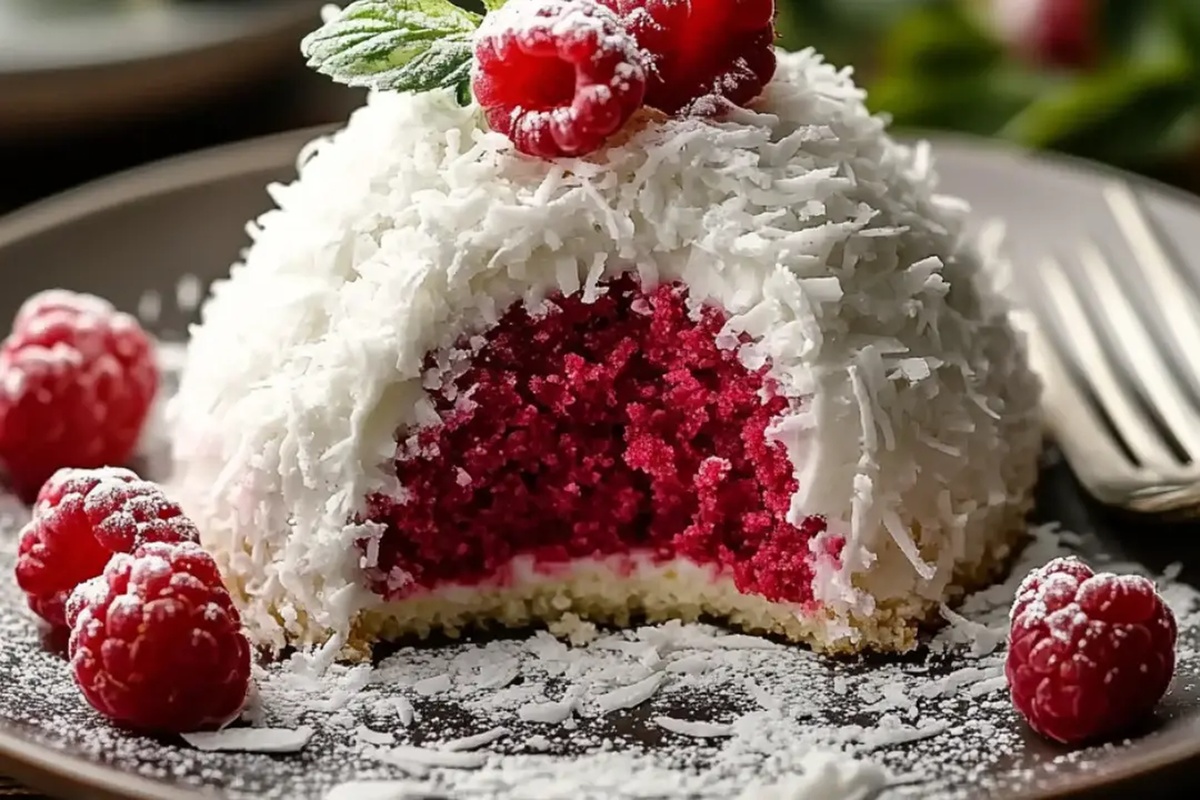
Dreamy Raspberry Swirl Coconut Snowball Cake Recipe for Bakers
Sweet raspberry dreams dance through this delightful coconut snowball cake that promises pure magic.
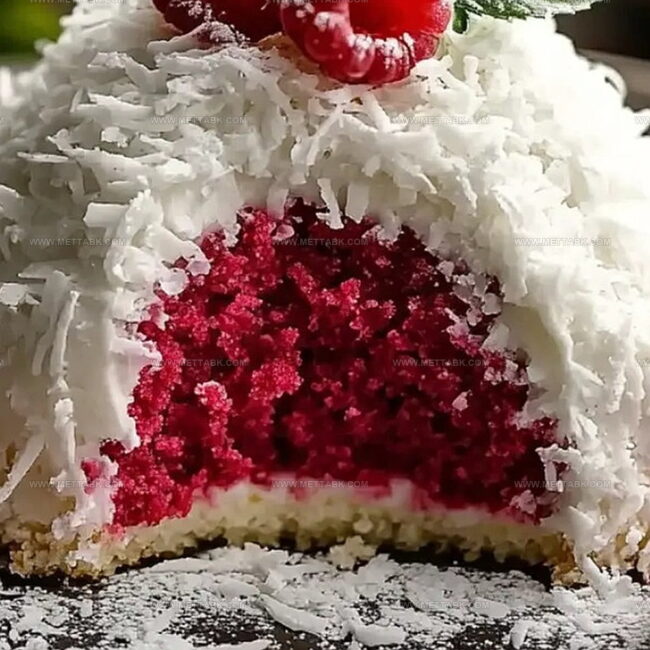
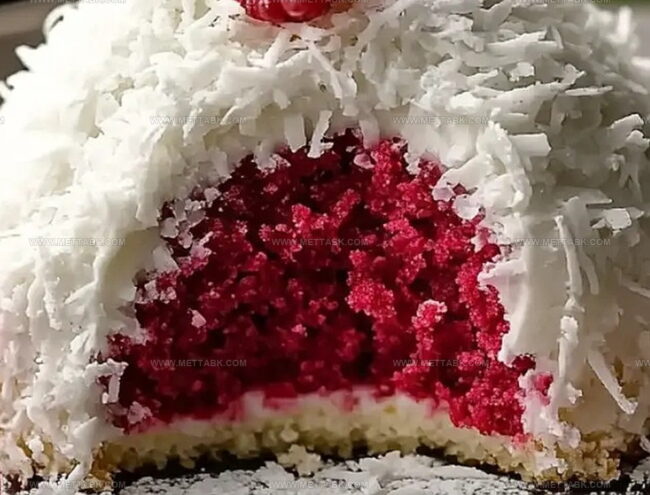
Soft layers of tender coconut embrace vibrant raspberry swirls with unexpected charm.
Delicate frosting adds a cloud-like dimension to each decadent slice.
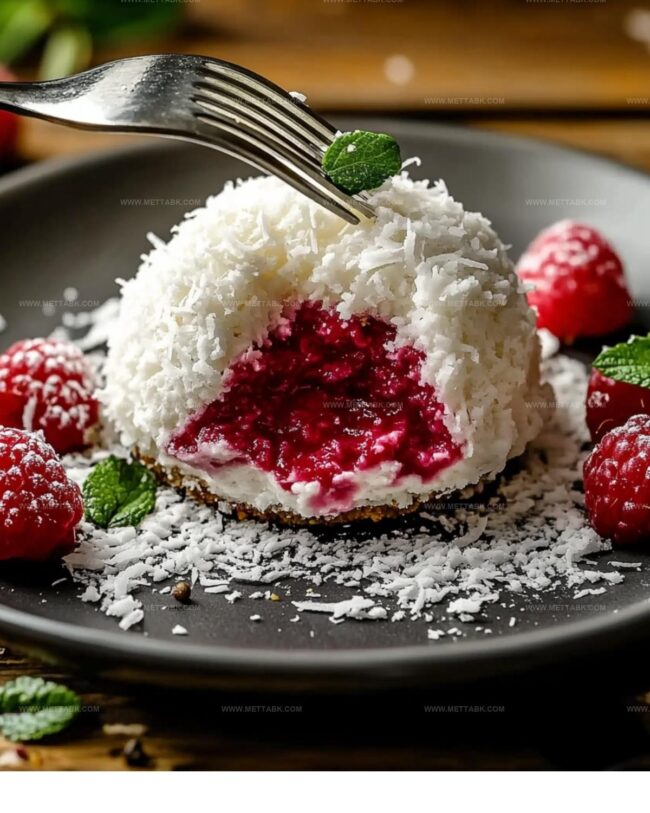
Seasonal berries peek through creamy white surfaces, creating visual excitement.
Bakers seeking something extraordinary will fall in love with this stunning dessert.
Unexpected flavor combinations make this cake a guaranteed conversation starter at any gathering.
We can’t wait for you to experience this delectable masterpiece that blends tropical and fruity notes into one incredible treat.
Why This Coconut Snowball Cake Is So Memorable
Ingredients for Raspberry Swirl Coconut Snowball Cake
For the Cake Base:For the Wet Ingredients:For the Flavor and Decoration:How to Make This Snowball Cake Step-by-Step
Step 1: Prepare Baking Setup
Get your oven ready by heating it to 350°F. Grab a 9-inch round cake pan and coat it with cooking spray or butter to prevent sticking.
Step 2: Mix Dry Ingredients
Grab a mixing bowl and combine flour, baking powder, and salt. Whisk these ingredients together until they’re perfectly blended.
Step 3: Create Creamy Base
In a separate large bowl, cream butter and sugar until the mixture becomes light and fluffy. Add eggs one at a time, mixing thoroughly after each addition.
Pour in vanilla extract and blend smoothly.
Step 4: Combine Wet and Dry Mixtures
Slowly incorporate the dry flour mixture into the wet ingredients.
Alternate adding flour and milk, stirring gently to create a silky, smooth batter.
Step 5: Add Coconut Texture
Fold shredded coconut into the batter, ensuring it’s evenly distributed throughout the mixture.
Step 6: Create Raspberry Swirl
Drizzle raspberry jam across the batter. Use a knife or spatula to create beautiful marbled swirls, mixing lightly to maintain the pattern.
Step 7: Bake the Cake
Transfer the batter into the prepared pan. Slide the pan into the preheated oven and bake for 25-30 minutes.
Check doneness by inserting a toothpick – it should come out clean when the cake is ready.
Step 8: Cool and Decorate
Allow the cake to cool completely at room temperature.
Once cooled, gently press shredded coconut around the cake’s edges and top, creating a snowy appearance.
Step 9: Final Touch
Dust the cake with powdered sugar, giving it a delicate, wintry finish that resembles freshly fallen snow.
Best Tips for Coconut Cake With Raspberry Swirl
Flavorful Spins on Coconut Snowball Layered Cake
What Goes Well With Coconut Snowball Cake
How to Store Coconut Swirl Cake Properly
FAQs
Yes, thaw and drain frozen raspberries completely before swirling into the batter to prevent excess moisture.
Gently fold the jam in light, quick strokes and avoid overmixing to keep the swirl distributed throughout the cake.
You can substitute with desiccated coconut or leave it out, but the cake will lose some texture and coconut flavor.
Be careful not to overbake and measure ingredients precisely. Using room temperature ingredients also helps create a tender crumb.
Print
Raspberry Swirl Coconut Snowball Cake Recipe
- Total Time: 55 minutes
- Yield: 8 1x
Description
Raspberry swirl coconut snowball cake whisks classic dessert flavors into a delightful tropical paradise. Cool creamy coconut layers dance with tangy raspberry ribbons, creating sweet bliss that draws you into pure indulgence.
Ingredients
Main Ingredients:
- 1 1/2 cups all-purpose flour
- 1/2 cup unsalted butter, softened
- 1 cup sugar
- 2 eggs
- 1/2 cup milk
- 1/2 cup shredded coconut
Dry Ingredients:
- 1 1/2 teaspoons baking powder
- 1/4 teaspoon salt
Flavoring and Topping Ingredients:
- 1 teaspoon vanilla extract
- 1/4 cup raspberry jam
- 1 cup shredded coconut
- 1/4 cup powdered sugar
Instructions
- Prepare the oven at 350F (175C) and thoroughly coat a 9-inch round cake pan with grease to prevent sticking.
- Combine the dry ingredients – flour, baking powder, and salt – in a mixing bowl, whisking until well incorporated.
- Using an electric mixer, cream the butter and sugar until the mixture becomes light, fluffy, and pale in color.
- Incorporate eggs individually into the butter mixture, ensuring each is fully blended before adding the next, then gently stir in the vanilla extract.
- Gradually introduce the flour mixture into the wet ingredients, alternating with milk, and mix until a smooth, consistent batter forms.
- Delicately fold the shredded coconut into the batter, maintaining the mixture’s airiness.
- Create a marbled effect by gently swirling the raspberry jam through the batter, using a light folding technique to preserve the pattern.
- Transfer the batter into the prepared cake pan, spreading it evenly to ensure uniform baking.
- Bake for 25-30 minutes, checking doneness by inserting a toothpick into the center – it should emerge clean and dry.
- Allow the cake to cool completely at room temperature, which prevents the coconut coating from melting.
- Once cooled, carefully press shredded coconut around the cake’s edges and top surface, creating a snow-like coverage.
- Finish by lightly dusting the cake with powdered sugar for an elegant, wintry presentation.
Notes
- Toast the coconut before adding to the batter for a deeper, nuttier flavor that enhances the overall taste profile.
- Swap raspberry jam with other fruit preserves like strawberry or blackberry for varied flavor combinations.
- Use dairy-free milk and vegan butter alternatives to make this recipe completely plant-based and suitable for lactose-intolerant or vegan diets.
- Prevent coconut from burning by using fresh, high-quality shredded coconut and gently pressing it onto the cake’s surface.
- Prep Time: 25 minutes
- Cook Time: 30 minutes
- Category: Desserts
- Method: Baking
- Cuisine: American
Nutrition
- Serving Size: 8
- Calories: 333
- Sugar: 24 g
- Sodium: 120 mg
- Fat: 18 g
- Saturated Fat: 14 g
- Unsaturated Fat: 4 g
- Trans Fat: 0.2 g
- Carbohydrates: 38 g
- Fiber: 2 g
- Protein: 3 g
- Cholesterol: 55 mg
Nate Harper
Founder & Recipe Curator
Expertise
Single-Recipe Development, Farm-to-Table Cooking, Seasonal Menu Planning, Culinary Storytelling, Home Kitchen Innovation
Education
Cascade Culinary Institute – Central Oregon Community College
Certificate in Culinary Arts
Focus: Farm-to-table cuisine, sustainable cooking practices, and seasonal recipe creation.
Nate studied under experienced chefs who emphasized local sourcing, minimal waste, and building recipes from fresh, simple ingredients.
Nate Harper is the founder and creative force behind Make, Take, Bake. Raised in the wild beauty of Oregon’s high desert, Nate grew up surrounded by family gardens, farmers’ markets, and home kitchens that celebrated the seasons.
His early love for simple, honest food evolved into a professional passion when he attended Cascade Culinary Institute, where he sharpened his skills in creating recipes that are sustainable, satisfying, and made for everyday life.
Nate’s goal is to make cooking feel accessible, free of fuss, and full of flavor. He believes a single, thoughtfully built dish can stand alone, and sometimes even steal the show.