
The Magic of Raspberry Swirl Cookies: A Dreamy Recipe
Sweet memories swirl through my kitchen whenever I bake these delightful raspberry swirl cookies.
My grandmother’s cherished recipe inspired this delectable treat that connects generations.
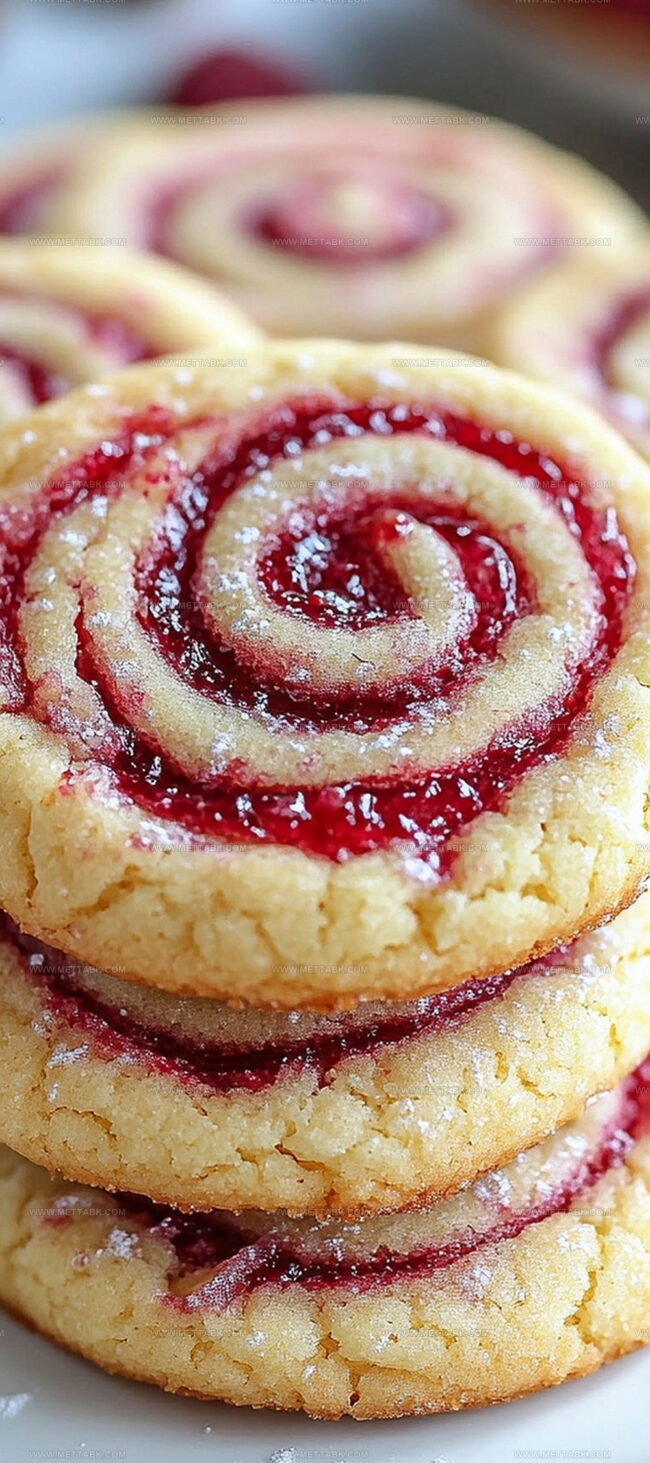
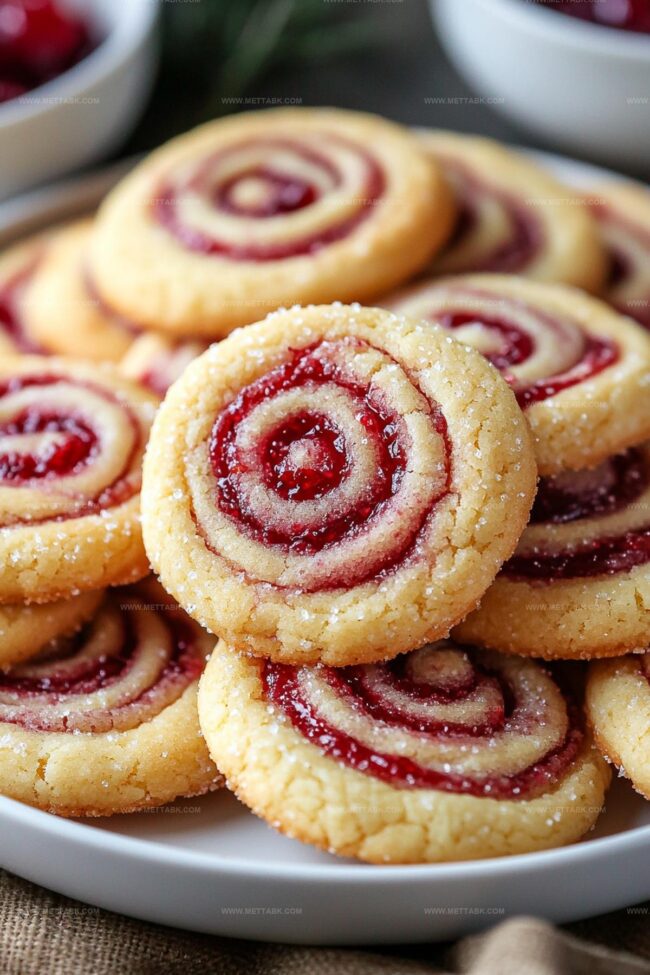
Buttery dough intertwines with vibrant raspberry jam, creating stunning marbled patterns.
Soft and crumbly edges invite you to savor each delicate bite.
Delicate swirls peek through golden-brown surfaces, promising incredible flavor combinations.
Baking these cookies feels like painting edible art with seasonal ingredients.
Every cookie tells a story of comfort and creativity.
Start mixing, and you’ll discover pure joy in every delectable morsel.
Raspberry Swirl Cookies to Savor

Ingredients Needed for Raspberry Swirl Cookies
How to Bake Raspberry Swirl Cookies
Step 1: Whip Up the Dough
Grab a spacious mixing bowl and cream softened butter with cream cheese until silky smooth. Gradually fold in flour and kosher salt, mixing until the ingredients transform into a unified dough ball.
Step 2: Shape and Chill the Dough
Place the dough on a clean surface and flatten into a disc. Wrap it snugly in plastic and park in the refrigerator for half an hour.
This cooling time helps the dough become more manageable.
Step 3: Roll Out the Canvas
Sprinkle flour generously on your work surface.
Unleash the chilled dough and roll it into a rectangular shape about 10 by 12 inches. Continue rolling until you achieve a larger rectangle measuring 10 by 30 inches.
Step 4: Spread the Sweet Layer
Distribute raspberry jam across the dough’s surface, leaving a small bare strip along one short edge. This naked edge will help seal your cookie roll.
Starting from the jam-covered side, carefully roll the dough into a tight log, ending with the clean edge.
Step 5: Chill and Slice
Refrigerate the log for 15 minutes.
Use sewing thread or a sharp knife to slice the log into thin 1/4-inch cookies. This technique ensures clean, precise cuts.
Step 6: Bake to Golden Perfection
Warm the oven to 375 degrees Fahrenheit. Arrange cookie slices on a parchment-lined baking sheet, keeping them separate.
Bake for 17 to 20 minutes until edges turn a delicate golden brown.
Step 7: Cool and Dust
Transfer cookies to a wire rack and let them cool completely.
Finish by sprinkling a delicate snowfall of powdered sugar over the top. Serve and enjoy these delightful swirled treats!
Pro Tips for Raspberry Swirl Cookies
Variations on Raspberry Swirl Cookies

Pairing Ideas for Raspberry Swirl Cookies
Storage Advice for Raspberry Swirl Cookies
FAQs
Cream cheese adds richness, moisture, and a subtle tanginess to the dough, creating a softer and more tender cookie texture that melts in your mouth.
While raspberry jam is classic, you can substitute with strawberry, apricot, or seedless blackberry jam to create your own unique flavor profile.
Always use plenty of flour on your work surface and rolling pin. Dust the dough with additional flour and work on a cool, clean surface to prevent sticking and ensure smooth rolling.
Print
Raspberry Swirl Cookies Recipe
- Total Time: 1 hour 5 minutes
- Yield: 24 1x
Description
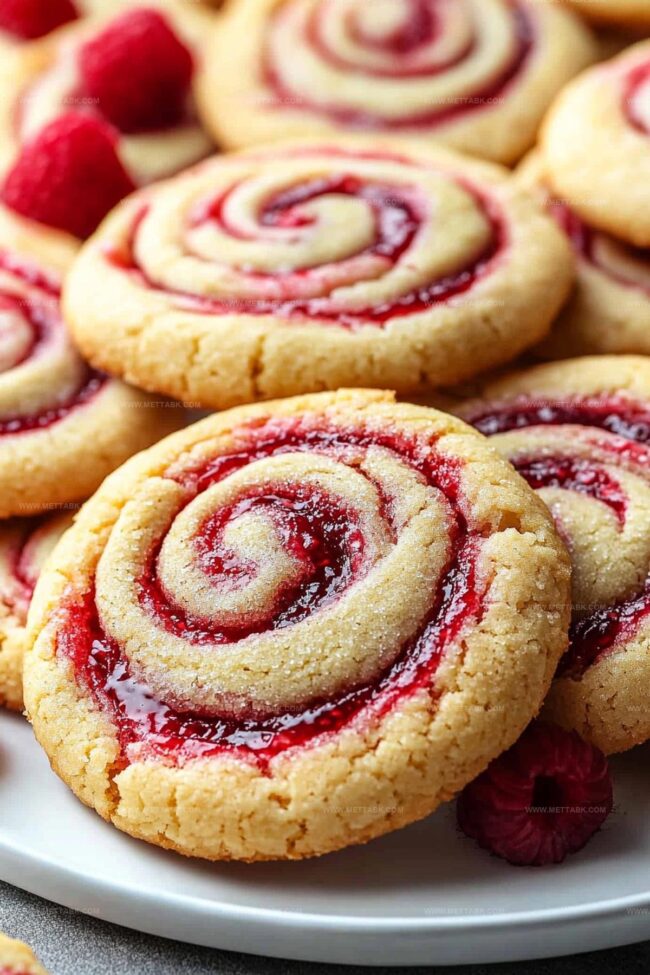
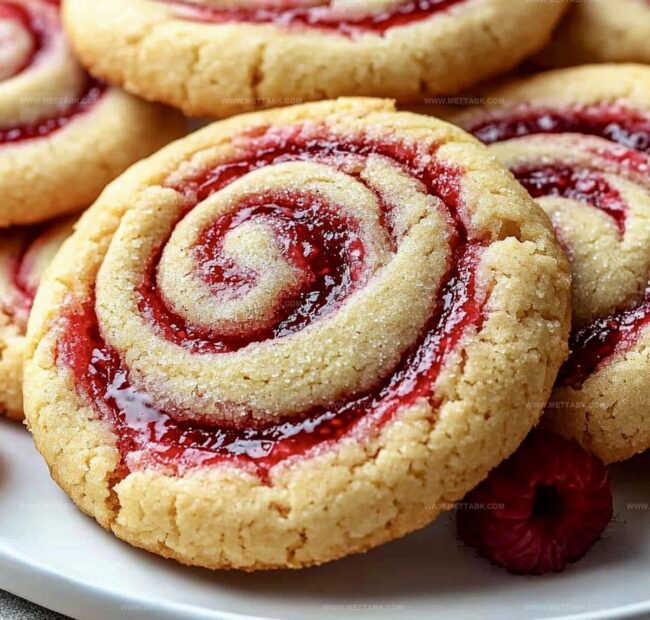
Delightful raspberry swirl cookies blend sweet buttery dough with tangy raspberry preserves for a classic bakery-style treat. Crisp edges and jammy swirls promise pure comfort with each delectable bite you’ll savor.
Ingredients
- 8 oz (226 g) cream cheese, softened
- 1/2 cup (113 g) unsalted butter, softened
- 1 1/2 cups (180 g) all-purpose flour, sifted
- 1/2 tsp (2.5 ml) kosher salt
- 1/3 cup (80 ml) seedless raspberry jam
- powdered sugar (for dusting)
Instructions
- In a large bowl, cream softened butter and cream cheese until smooth and uniform. Gradually mix in sifted flour and kosher salt, combining until the ingredients form a cohesive dough ball.
- Shape the dough into a flattened disc on a clean surface. Wrap in plastic and refrigerate for 30 minutes to firm up, which will make rolling easier.
- Generously flour a work surface and roll out the chilled dough into a thin rectangle stretching approximately 10 inches by 30 inches. Ensure an even thickness throughout.
- Spread raspberry jam across the dough’s surface, leaving a half-inch margin along one shorter edge. This margin will help seal the log when rolling. Carefully roll the dough from the jam-covered end, ensuring the unjammed edge is positioned last to create a tight seal.
- Chill the rolled log in the refrigerator for 15 minutes to stabilize its shape. Preheat the oven to 375°F during this resting period.
- Using sewing thread or a sharp knife, slice the chilled log into 1/4-inch thick cookie rounds. Place cookies flat on a parchment-lined baking sheet, keeping them slightly separated.
- Bake for 17-20 minutes until edges turn light golden brown. Transfer cookies to a wire rack and allow complete cooling. Finish by dusting with powdered sugar before serving.
Notes
- Chill the dough thoroughly to prevent spreading and maintain the swirl pattern during baking.
- Use high-quality seedless raspberry jam for a smoother, more elegant cookie texture.
- Slice cookies with dental floss or sewing thread for clean, precise cuts without squishing the delicate dough.
- Swap raspberry jam with alternative preserves like apricot or strawberry for flavor variations that complement the buttery cookie base.
- Prep Time: 45 minutes
- Cook Time: 20 minutes
- Category: Snacks, Desserts
- Method: Baking
- Cuisine: American
Nutrition
- Serving Size: 24
- Calories: 115
- Sugar: 6 g
- Sodium: 70 mg
- Fat: 7 g
- Saturated Fat: 4 g
- Unsaturated Fat: 3 g
- Trans Fat: 0.1 g
- Carbohydrates: 12 g
- Fiber: 0.5 g
- Protein: 2 g
- Cholesterol: 20 mg
Clara Bennett
Contributing Recipe Developer & Food Writer
Expertise
Baking and Pastry Development, Gluten-Free and Allergy-Friendly Recipe Creation, Culinary Storytelling and Food Journalism, Recipe Testing and Standardization, Southern Comfort Foods and Modern Twists
Education
Sullivan University – National Center for Hospitality Studies
Associate Degree in Culinary Arts
Focus: Baking and Pastry Arts, Recipe Testing, and Culinary Journalism.
Clara specialized in crafting desserts that blend classic Southern comfort with modern techniques, while developing strong writing skills to tell the story behind every dish.
Lane Community College (Certificate Program)
Certificate in Food Writing and Photography
Focus: Culinary storytelling, recipe formatting, food styling, and visual presentation.
Clara’s love of baking started young, powered by homemade pies, biscuits, and stories passed around the family table.
After earning her degree at Sullivan University and a food writing certificate at Lane Community College, she turned her passion into a craft: sharing recipes that are simple, soulful, and always full of heart.
She’s big on bold flavors, flexible ideas, and creating sweets that fit any table (yes, even if you’re gluten-free). When she’s not baking, you’ll find her wandering farmers’ markets, styling food for the next photo shoot, or working on her ever-growing recipe journal.