
Dreamy Red Velvet Cake Recipe: A Heavenly Sweet Delight
Crafting a delectable red velvet cake blends nostalgic Southern charm with modern baking magic.
Crimson layers whisper stories of classic dessert traditions.
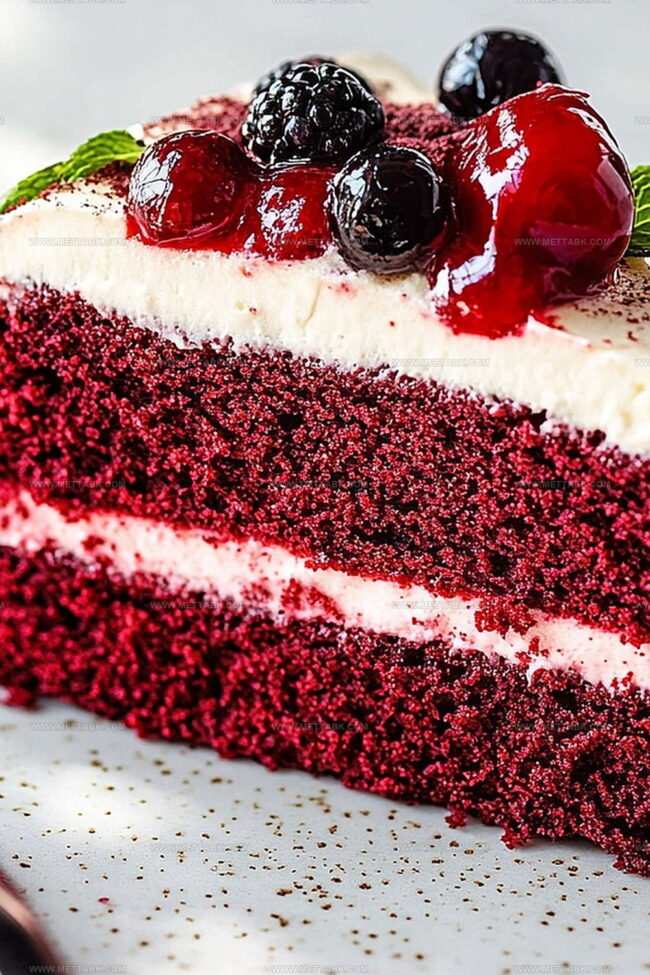
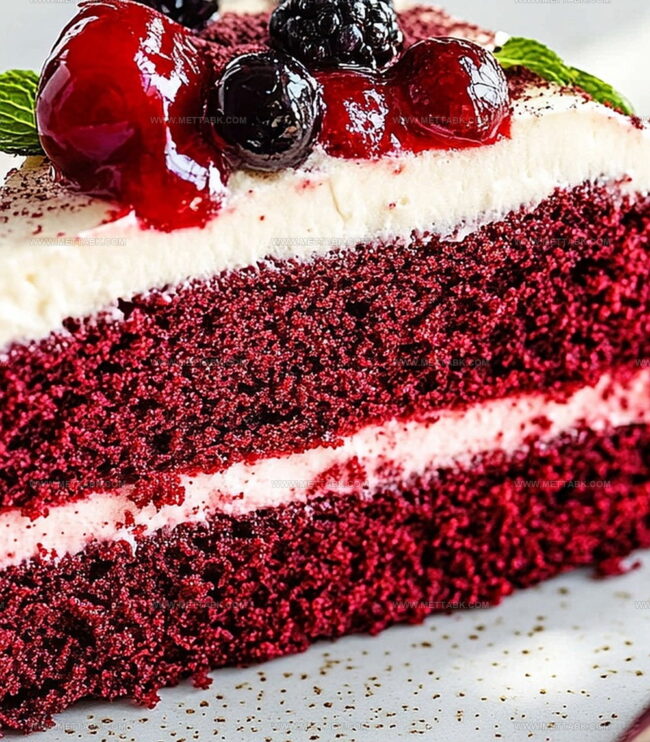
Soft cocoa undertones create a rich, velvety texture that melts on your tongue.
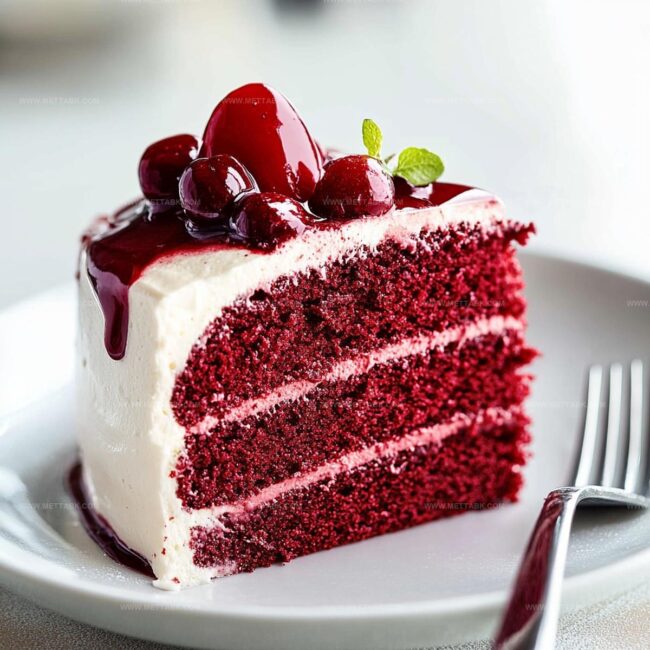
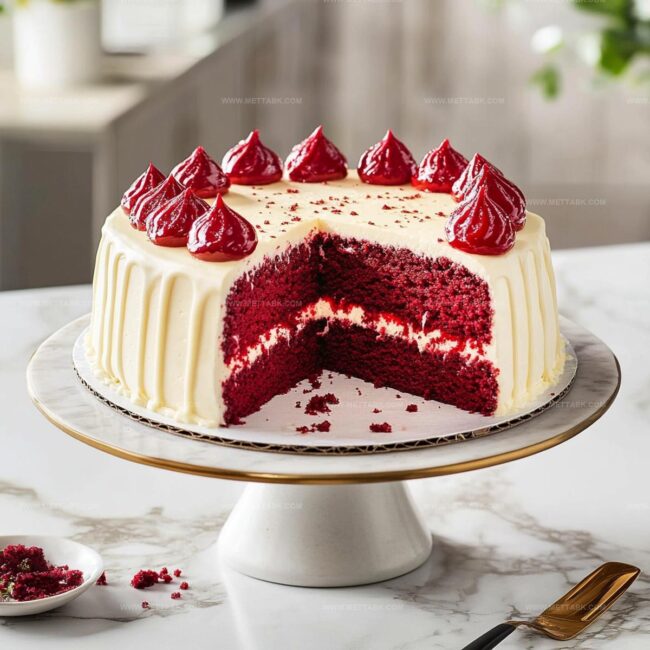
Cream cheese frosting adds a luxurious complement to each tender crumb.
Baking this classic treat becomes an adventure of flavor and technique.
Simple ingredients transform into a stunning dessert that impresses without complexity.
You’ll fall in love with every decadent slice of this irresistible cake.
Classic Red Velvet Cake That Charms
Ingredients for Soft and Moist Red Velvet Cake
Dry Ingredients:Wet Ingredients:Frosting Ingredients:How to Bake Classic Red Velvet Cake
Step 1: Warm Up the Oven
Crank the oven to 350°F (175°C) and generously coat two 9-inch round cake pans with cooking spray or butter to prevent sticking.
Step 2: Mix Dry Ingredients
Grab a large mixing bowl and whisk together the following ingredients until perfectly blended:Step 3: Create Wet Ingredient Base
In a separate bowl, blend sugar and oil until smooth and creamy.
Crack in eggs and pour vanilla extract, mixing until the combination looks silky and well-incorporated.
Step 4: Combine Color and Liquid
Stir buttermilk with vibrant red food coloring until you achieve a rich, deep red hue.
Slowly incorporate this colorful liquid and the dry ingredient mixture into the sugar mixture, alternating between the two. Mix gently until just combined to maintain a tender cake texture.
Step 5: Bake the Cake
Evenly distribute the batter between the prepared cake pans. Slide into the preheated oven and bake for 30-35 minutes.
Check doneness by inserting a toothpick – it should come out clean with no wet batter.
Step 6: Cool and Prepare for Frosting
Remove cakes from the oven and let them cool completely on wire racks.
Once cooled, they’re ready to be adorned with luscious cream cheese frosting.
Tips to Perfect Red Velvet Cake Every Time
Creative Variations on Red Velvet Cake
Pairings That Complement Red Velvet Cake Beautifully
Storage Suggestions for Red Velvet Cake
FAQs
The vibrant red color comes from adding red food coloring to the batter, which creates the cake’s signature bright appearance.
Buttermilk helps create a tender, moist texture and adds a subtle tangy flavor that balances the sweetness of the cake.
Insert a toothpick into the center of the cake – if it comes out clean with no wet batter, the cake is done baking.
The combination of cocoa powder, buttermilk, and oil creates a uniquely soft, velvety texture that sets it apart from other cake varieties.
Print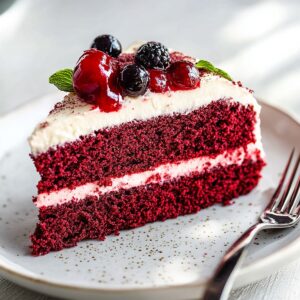
Red Velvet Cake Recipe
- Total Time: 55 minutes
- Yield: 12 1x
Description
Red velvet cake brings luxurious Southern charm to dessert tables with rich cocoa and buttermilk notes. Crimson layers topped with silky cream cheese frosting create an irresistible classic that delights you.
Ingredients
- 2 large eggs
- 1 cup vegetable oil
- 1 cup buttermilk
- 2 tbsps red food coloring
- 2 tsps vanilla extract
- 2 1/2 cups all-purpose flour (60 g/cup)
- 1 1/2 cups granulated sugar
- 1/4 cup unsweetened cocoa powder
- 1 tsp baking soda
- 1 tsp baking powder
Instructions
- Prepare the oven by heating to 350F (175C) and coating two 9-inch round cake pans with a light grease layer.
- Create a dry ingredient blend by whisking flour, cocoa powder, baking soda, and baking powder in a mixing bowl until thoroughly combined.
- In a separate large bowl, cream sugar and oil until smooth and glossy, then incorporate eggs and vanilla extract, mixing until uniform.
- Whisk buttermilk with vibrant red food coloring to achieve a rich crimson hue.
- Gradually fold the dry ingredient mixture and colored buttermilk into the sugar-oil base, alternating between additions and stirring gently to maintain a smooth, consistent batter.
- Evenly distribute the batter between the prepared cake pans, ensuring balanced coverage.
- Bake in the preheated oven for 30-35 minutes, checking doneness by inserting a toothpick into the center – it should emerge clean without wet batter.
- Remove cakes from oven and allow them to cool completely on wire cooling racks, which prevents condensation and maintains the cake’s delicate texture.
- Once fully cooled, frost with classic cream cheese frosting, creating a decadent red velvet cake.
Notes
- Enhance the cake’s richness by using full-fat buttermilk for a more velvety texture and deeper flavor profile.
- Achieve vibrant red color by using gel food coloring instead of liquid, which provides more intense pigmentation without thinning the batter.
- Prevent dry cake by carefully monitoring baking time and avoiding overmixing, which can develop excess gluten and create a tough texture.
- Accommodate dietary needs by substituting gluten-free flour blend and using plant-based cream cheese for a vegan-friendly version of this classic dessert.
- Prep Time: 20 minutes
- Cook Time: 35 minutes
- Category: Desserts
- Method: Baking
- Cuisine: American
Nutrition
- Serving Size: 12
- Calories: 313 kcal
- Sugar: 21 g
- Sodium: 233 mg
- Fat: 14 g
- Saturated Fat: 2 g
- Unsaturated Fat: 12 g
- Trans Fat: 0 g
- Carbohydrates: 43 g
- Fiber: 1.5 g
- Protein: 3.5 g
- Cholesterol: 37 mg
Clara Bennett
Contributing Recipe Developer & Food Writer
Expertise
Baking and Pastry Development, Gluten-Free and Allergy-Friendly Recipe Creation, Culinary Storytelling and Food Journalism, Recipe Testing and Standardization, Southern Comfort Foods and Modern Twists
Education
Sullivan University – National Center for Hospitality Studies
Associate Degree in Culinary Arts
Focus: Baking and Pastry Arts, Recipe Testing, and Culinary Journalism.
Clara specialized in crafting desserts that blend classic Southern comfort with modern techniques, while developing strong writing skills to tell the story behind every dish.
Lane Community College (Certificate Program)
Certificate in Food Writing and Photography
Focus: Culinary storytelling, recipe formatting, food styling, and visual presentation.
Clara’s love of baking started young, powered by homemade pies, biscuits, and stories passed around the family table.
After earning her degree at Sullivan University and a food writing certificate at Lane Community College, she turned her passion into a craft: sharing recipes that are simple, soulful, and always full of heart.
She’s big on bold flavors, flexible ideas, and creating sweets that fit any table (yes, even if you’re gluten-free). When she’s not baking, you’ll find her wandering farmers’ markets, styling food for the next photo shoot, or working on her ever-growing recipe journal.