Irresistible Red Velvet Cheesecake Brownies Recipe for Sweet Lovers
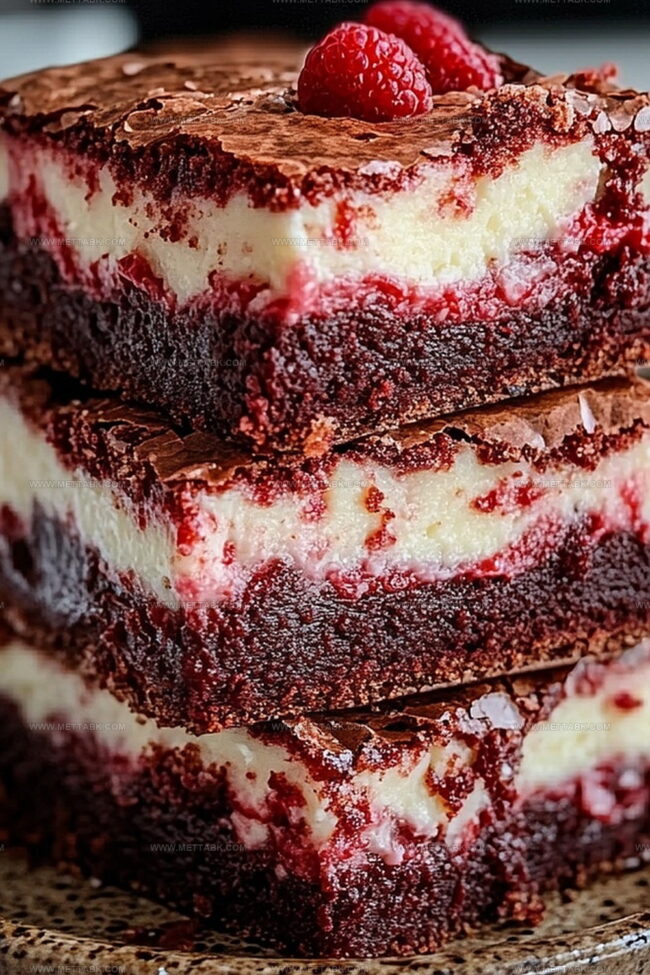
Decadent red velvet cheesecake brownies promise an irresistible dessert adventure that blends rich chocolate with creamy swirls.
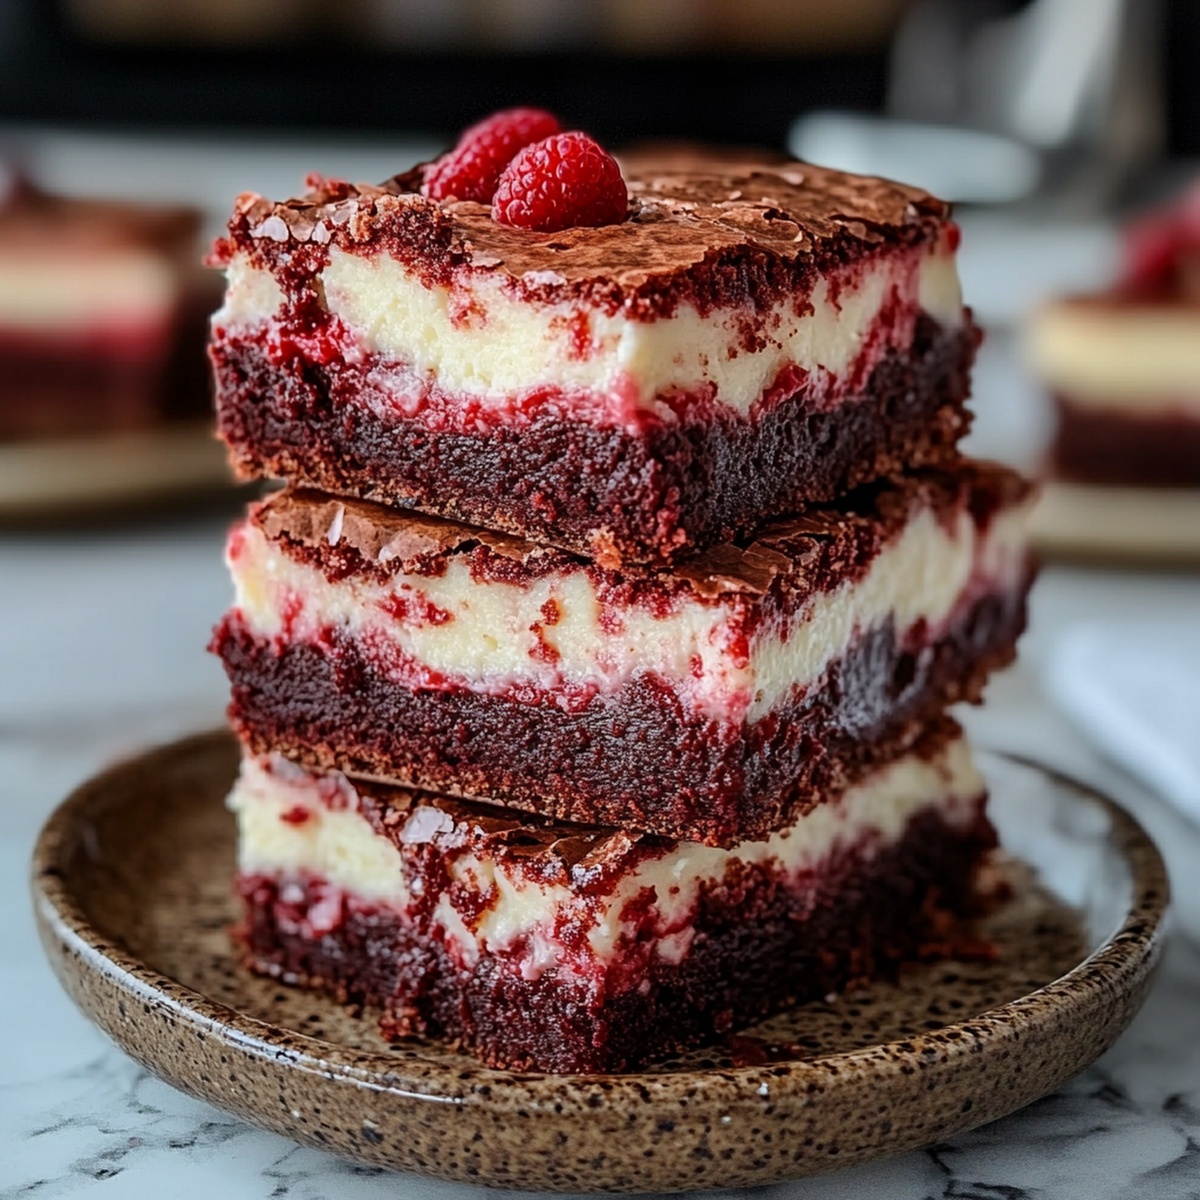
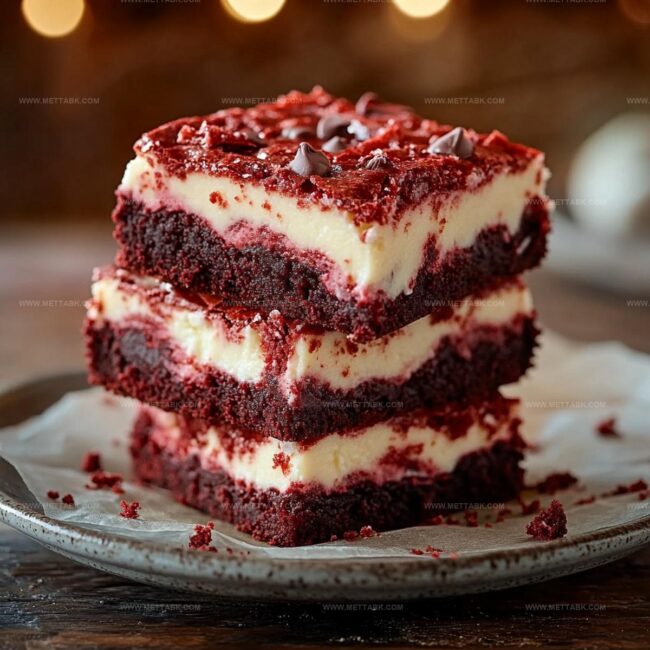
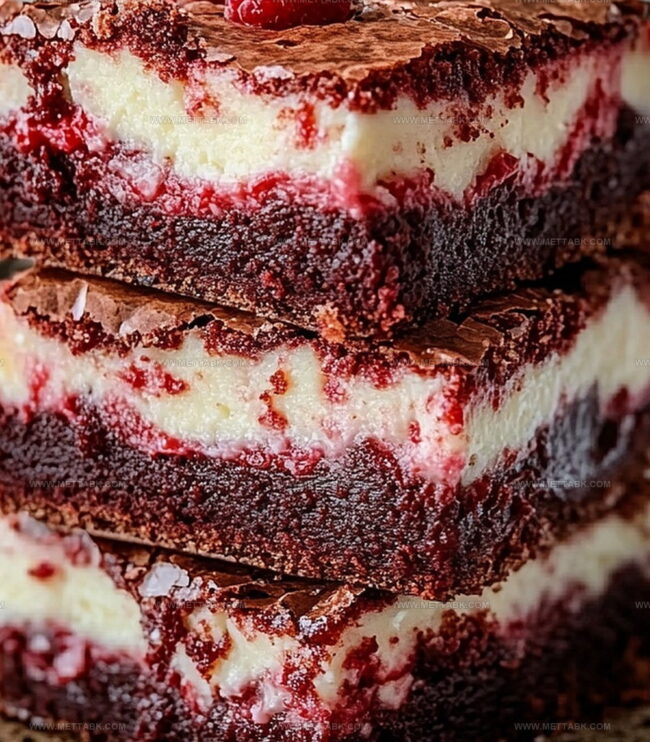
Layers of crimson and ivory melt together in a stunning visual masterpiece.
Chocolate lovers will swoon over this indulgent treat that combines classic brownie depth with tangy cream cheese.
Soft, fudgy textures create a sensational contrast in every single bite.
Minimal ingredients and straightforward techniques make this recipe accessible for bakers of all skill levels.
Each slice delivers a dramatic mix of flavors that dance across your palate.
You won’t believe how simple it is to create such a showstopping dessert that looks like it came from a professional bakery.
Red Velvet Cheesecake Brownies That Wow Every Time
Ingredients for Rich Red Velvet Cheesecake Brownies
Main Ingredients:Sugars and Sweeteners:Flavor Enhancers:How to Bake Red Velvet Cheesecake Brownies Perfectly
Step 1: Prepare Baking Setup
Warm up the oven to 350°F. Grab an 8×8 inch baking pan and either coat it with cooking spray or line it with parchment paper for easy removal.
Step 2: Create Brownie Base
Gently melt butter in a saucepan over low heat. Remove from stove and mix in:Stir until everything blends smoothly and looks well combined.
Step 3: Build Brownie Batter
Gradually fold in:Mix until the batter looks silky. Add red food coloring and stir until you get a rich, vibrant red shade.
Step 4: Whip Cream Cheese Layer
In a separate bowl, blend cream cheese with powdered sugar. Beat until the mixture becomes creamy and free of lumps.
Step 5: Layer and Swirl
Pour half the brownie batter into the prepared pan. Drop spoonfuls of cream cheese mixture across the surface.
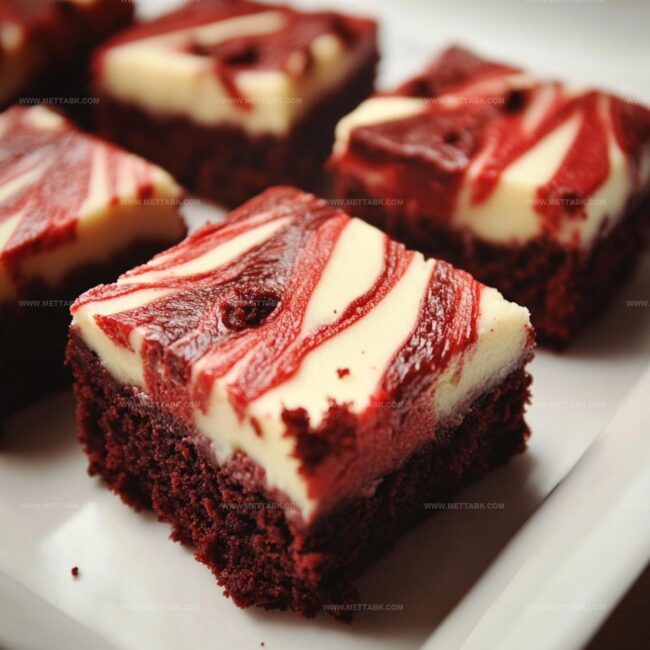
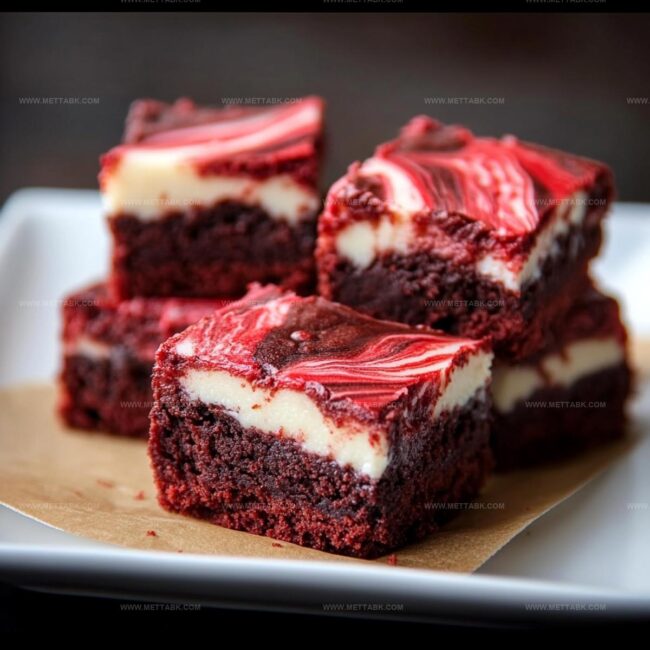
Use a knife to create beautiful swirls and patterns throughout the batter. Cover with remaining brownie batter.
Step 6: Bake and Cool
Slide the pan into the oven and bake for 30–35 minutes. The center should look slightly fudgy but set.
Let the brownies cool completely before slicing into delectable squares.
Tips for Red Velvet Cheesecake Brownies Success
Flavorful Variations on Red Velvet Cheesecake Brownies
Pairings That Enhance Red Velvet Cheesecake Brownies
Best Ways to Store Red Velvet Cheesecake Brownies
FAQs
Look for a set edges with a slightly jiggly center. A toothpick inserted near the edge should come out with a few moist crumbs, indicating a fudgy texture.
No, stick to natural cocoa powder as it reacts better with the other ingredients and helps maintain the brownie’s rich chocolate flavor and texture.
The red food coloring creates the signature red velvet appearance, giving the brownies a distinctive and visually appealing look that sets them apart from traditional chocolate brownies.
Print
Red Velvet Cheesecake Brownies Recipe
- Total Time: 55 minutes
- Yield: 12 1x
Description
Red velvet cheesecake brownies blend rich chocolate and tangy cream cheese into a delightful dessert. Chocolate lovers will savor each luxurious bite of this Southern-inspired sweet treat.
Ingredients
- 1/2 cup (113 g) unsalted butter, melted
- 1 cup (200 g) granulated sugar
- 1/4 cup (50 g) brown sugar
- 2 large eggs
- 1 cup (120 g) all-purpose flour
- 1/4 cup (25 g) unsweetened cocoa powder
- 2 tbsps red food coloring
- 1 tsp vanilla extract
- 8 oz (226 g) cream cheese, softened
- 1/2 cup (60 g) powdered sugar
Instructions
- Preheat the oven to 350°F and prepare an 8×8 inch baking dish with grease or parchment paper.
- Melt butter in a saucepan over low heat, then remove from stove and whisk in sugars, vanilla, and eggs until thoroughly integrated.
- Fold cocoa powder and flour into the mixture, creating a uniform batter. Incorporate red food coloring to achieve a vibrant crimson hue.
- In a separate mixing bowl, whip cream cheese and powdered sugar until achieving a silky, lump-free consistency.
- Transfer half the brownie batter into the prepared dish, strategically placing cream cheese mixture in dollops across the surface.
- Use a knife to create elegant swirls, blending cream cheese and brownie batters in a marbled pattern.
- Carefully pour remaining brownie batter over the swirled layer, ensuring even distribution.
- Bake for 30-35 minutes, watching for a set texture with a slightly fudgy center.
- Remove from oven and allow complete cooling before slicing into square portions.
Notes
- Choose high-quality cocoa powder for a rich, deep chocolate flavor that elevates the entire dessert.
- Ensure cream cheese is at room temperature to create smooth, lump-free swirls throughout the brownies.
- Customize the red color intensity by adjusting food coloring drops, keeping the vibrant appearance balanced with chocolate depth.
- Consider using parchment paper with overhanging edges for easy removal and clean, precise brownie cutting.
- Prep Time: 20 minutes
- Cook Time: 35 minutes
- Category: Desserts, Snacks
- Method: Baking
- Cuisine: American
Nutrition
- Serving Size: 12
- Calories: 320 kcal
- Sugar: 25 g
- Sodium: 150 mg
- Fat: 18 g
- Saturated Fat: 10 g
- Unsaturated Fat: 7 g
- Trans Fat: 0.5 g
- Carbohydrates: 35 g
- Fiber: 2 g
- Protein: 4 g
- Cholesterol: 50 mg
Clara Bennett
Contributing Recipe Developer & Food Writer
Expertise
Baking and Pastry Development, Gluten-Free and Allergy-Friendly Recipe Creation, Culinary Storytelling and Food Journalism, Recipe Testing and Standardization, Southern Comfort Foods and Modern Twists
Education
Sullivan University – National Center for Hospitality Studies
Associate Degree in Culinary Arts
Focus: Baking and Pastry Arts, Recipe Testing, and Culinary Journalism.
Clara specialized in crafting desserts that blend classic Southern comfort with modern techniques, while developing strong writing skills to tell the story behind every dish.
Lane Community College (Certificate Program)
Certificate in Food Writing and Photography
Focus: Culinary storytelling, recipe formatting, food styling, and visual presentation.
Clara’s love of baking started young, powered by homemade pies, biscuits, and stories passed around the family table.
After earning her degree at Sullivan University and a food writing certificate at Lane Community College, she turned her passion into a craft: sharing recipes that are simple, soulful, and always full of heart.
She’s big on bold flavors, flexible ideas, and creating sweets that fit any table (yes, even if you’re gluten-free). When she’s not baking, you’ll find her wandering farmers’ markets, styling food for the next photo shoot, or working on her ever-growing recipe journal.