
Homemade Red Velvet Cookies Recipe: Luscious Sweet Treats
Sweet and seductive red velvet cookies dance between decadence and comfort, promising a delightful treat that melts in you palate.
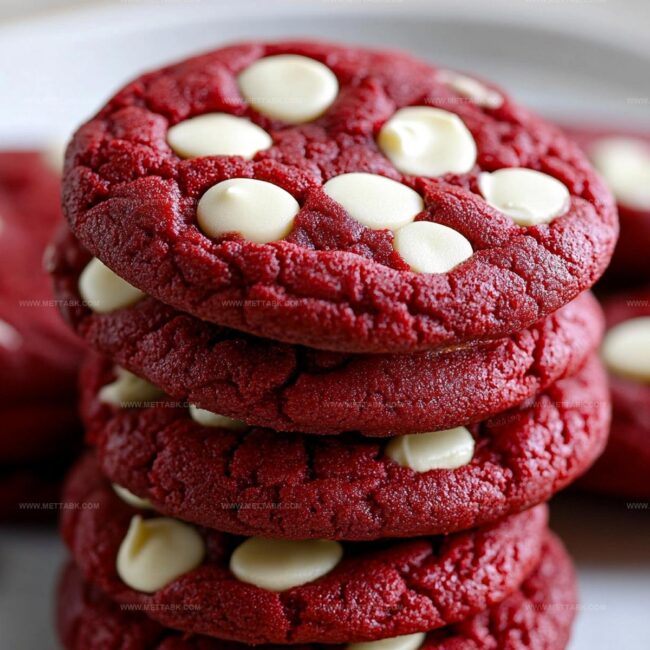
Crimson-hued morsels bring classic southern charm to your dessert table.
Soft, pillowy textures blend rich cocoa undertones with creamy hints of vanilla.
Cream cheese frosting adds luxurious complexity to these elegant cookies.
Minimal ingredients and straightforward techniques mean anyone can master this delectable dessert.
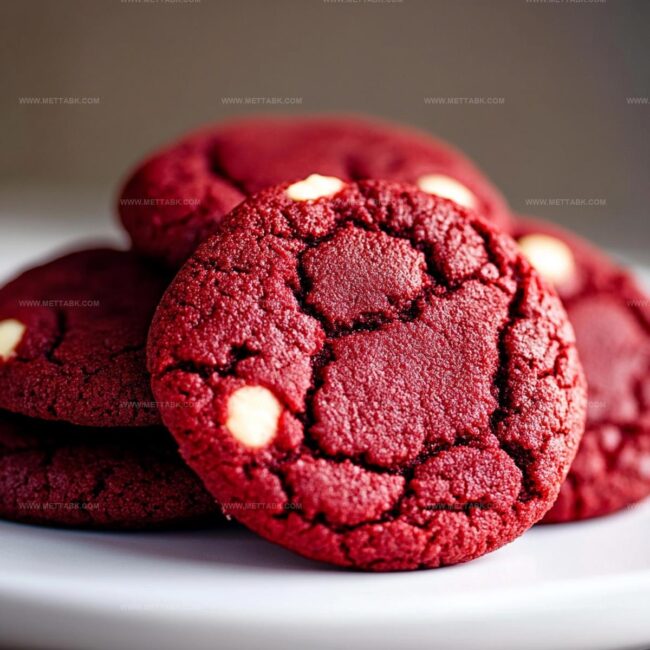
Simple yet sophisticated, these treats spark instant joy with their vibrant color and irresistible taste.
Bake a batch and watch faces light up with pure delight.
Soft and Chewy Red Velvet Cookies
Ingredients for Classic Red Velvet Cookies
Main Ingredients:Wet Ingredients:Dry Ingredients:How to Bake Red Velvet Cookies to Perfection
Step 1: Warm Up the Oven
Crank your oven to a toasty 350°F (175°C). Grab a baking sheet and cover it with parchment paper to create a non-stick surface for your delightful cookies.
Step 2: Whip Up the Base
In a roomy mixing bowl, blend softened butter and sugar together until the mixture looks light and airy. Use an electric mixer or strong arm muscles to create a creamy texture.
Step 3: Add Wet Ingredients
Pour in these delicious elements:Mix everything until the ingredients dance together smoothly and create a vibrant red hue.
Step 4: Create the Dry Mix
In a separate bowl, combine:Gently fold the dry ingredients into the wet mixture.
Stir just until everything is incorporated – don’t overwork the dough.
Step 5: Bake to Perfection
Scoop spoonfuls of cookie dough onto the prepared baking sheet.
Place in the preheated oven and bake for 10-12 minutes. The edges should look set and slightly firm.
Let the cookies cool completely before enjoying their rich, velvety goodness.
Tips to Keep Red Velvet Cookies Fresh and Soft
Creative Variations on Red Velvet Cookies
Pairings That Go Well with Red Velvet Cookies
Storage Ideas for Red Velvet Cookies
FAQs
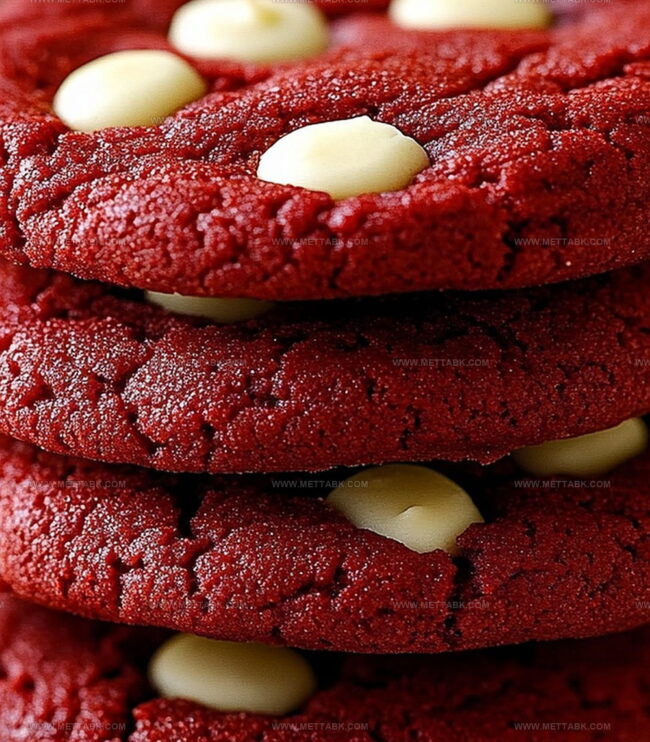
The red food coloring creates the vibrant red hue, while cocoa powder adds a subtle chocolate flavor that’s characteristic of red velvet treats.
While food coloring gives the classic red look, you can use natural alternatives like beetroot powder or skip the coloring for a more natural brown cookie with the same delicious taste.
Look for set edges and a slightly soft center. The cookies will continue to firm up as they cool, so don’t overbake them to maintain a soft, chewy texture.
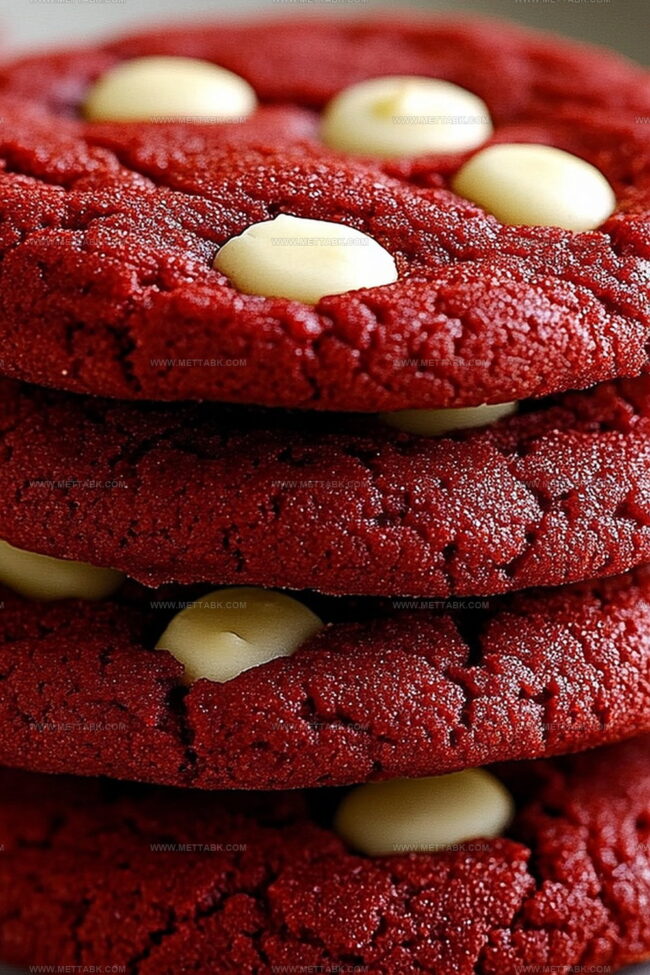
The combination of butter, buttermilk, and careful mixing creates a tender, soft cookie with a rich, velvety texture that melts in your mouth.
Print
Red Velvet Cookies Recipe
- Total Time: 32 minutes
- Yield: 24 1x
Description
Red velvet cookies bring rich, chocolatey elegance to classic dessert lovers. Signature cream cheese frosting and crimson hue make these treats irresistible for sharing with friends and family.
Ingredients
- 2 cups (480 ml) all-purpose flour
- 1 cup (200 g) granulated sugar
- 1/2 cup (113 g) unsalted butter, softened
- 1 large egg
- 1/4 cup (60 ml) buttermilk
- 2 tbsps unsweetened cocoa powder
- 2 tbsps red food coloring
- 1 tsp vanilla extract
- Pinch of salt
Instructions
- Heat oven to 350F (175C) and prepare baking sheets with parchment paper for optimal cookie placement.
- Combine softened butter and sugar in a mixing bowl, whipping until the mixture becomes airy and pale, creating a smooth base for the cookies.
- Incorporate egg, buttermilk, vanilla extract, and red food coloring, blending thoroughly to achieve a vibrant and consistent liquid mixture.
- Separately combine flour, cocoa powder, and salt, ensuring even distribution of dry ingredients through gentle whisking.
- Gently fold dry ingredients into wet mixture, mixing until just incorporated to maintain a tender cookie texture without overmixing.
- Use a spoon to drop uniform cookie dough portions onto prepared baking sheets, spacing them evenly to allow proper spreading during baking.
- Bake for 10-12 minutes, watching for set edges and slight firmness as indicators of perfect doneness.
- Remove from oven and let cookies cool completely on baking sheets, allowing them to firm up and develop a delicate, soft texture before serving.
Notes
- Add extra red food coloring for a more vibrant color, ensuring the cocoa powder doesn’t dull the bright red hue.
- Chill the dough for 30 minutes before baking to prevent spreading and create thicker, chewier cookies.
- Swap buttermilk with Greek yogurt or sour cream for a tangier flavor and slightly different texture.
- Use natural cocoa powder instead of Dutch-processed for a more authentic red velvet taste and better color development.
- Prep Time: 20 minutes
- Cook Time: 12 minutes
- Category: Snacks, Desserts
- Method: Baking
- Cuisine: American
Nutrition
- Serving Size: 24
- Calories: 123 kcal
- Sugar: 7 g
- Sodium: 45 mg
- Fat: 6 g
- Saturated Fat: 3 g
- Unsaturated Fat: 3 g
- Trans Fat: 0.1 g
- Carbohydrates: 17 g
- Fiber: 1 g
- Protein: 2 g
- Cholesterol: 20 mg
Clara Bennett
Contributing Recipe Developer & Food Writer
Expertise
Baking and Pastry Development, Gluten-Free and Allergy-Friendly Recipe Creation, Culinary Storytelling and Food Journalism, Recipe Testing and Standardization, Southern Comfort Foods and Modern Twists
Education
Sullivan University – National Center for Hospitality Studies
Associate Degree in Culinary Arts
Focus: Baking and Pastry Arts, Recipe Testing, and Culinary Journalism.
Clara specialized in crafting desserts that blend classic Southern comfort with modern techniques, while developing strong writing skills to tell the story behind every dish.
Lane Community College (Certificate Program)
Certificate in Food Writing and Photography
Focus: Culinary storytelling, recipe formatting, food styling, and visual presentation.
Clara’s love of baking started young, powered by homemade pies, biscuits, and stories passed around the family table.
After earning her degree at Sullivan University and a food writing certificate at Lane Community College, she turned her passion into a craft: sharing recipes that are simple, soulful, and always full of heart.
She’s big on bold flavors, flexible ideas, and creating sweets that fit any table (yes, even if you’re gluten-free). When she’s not baking, you’ll find her wandering farmers’ markets, styling food for the next photo shoot, or working on her ever-growing recipe journal.