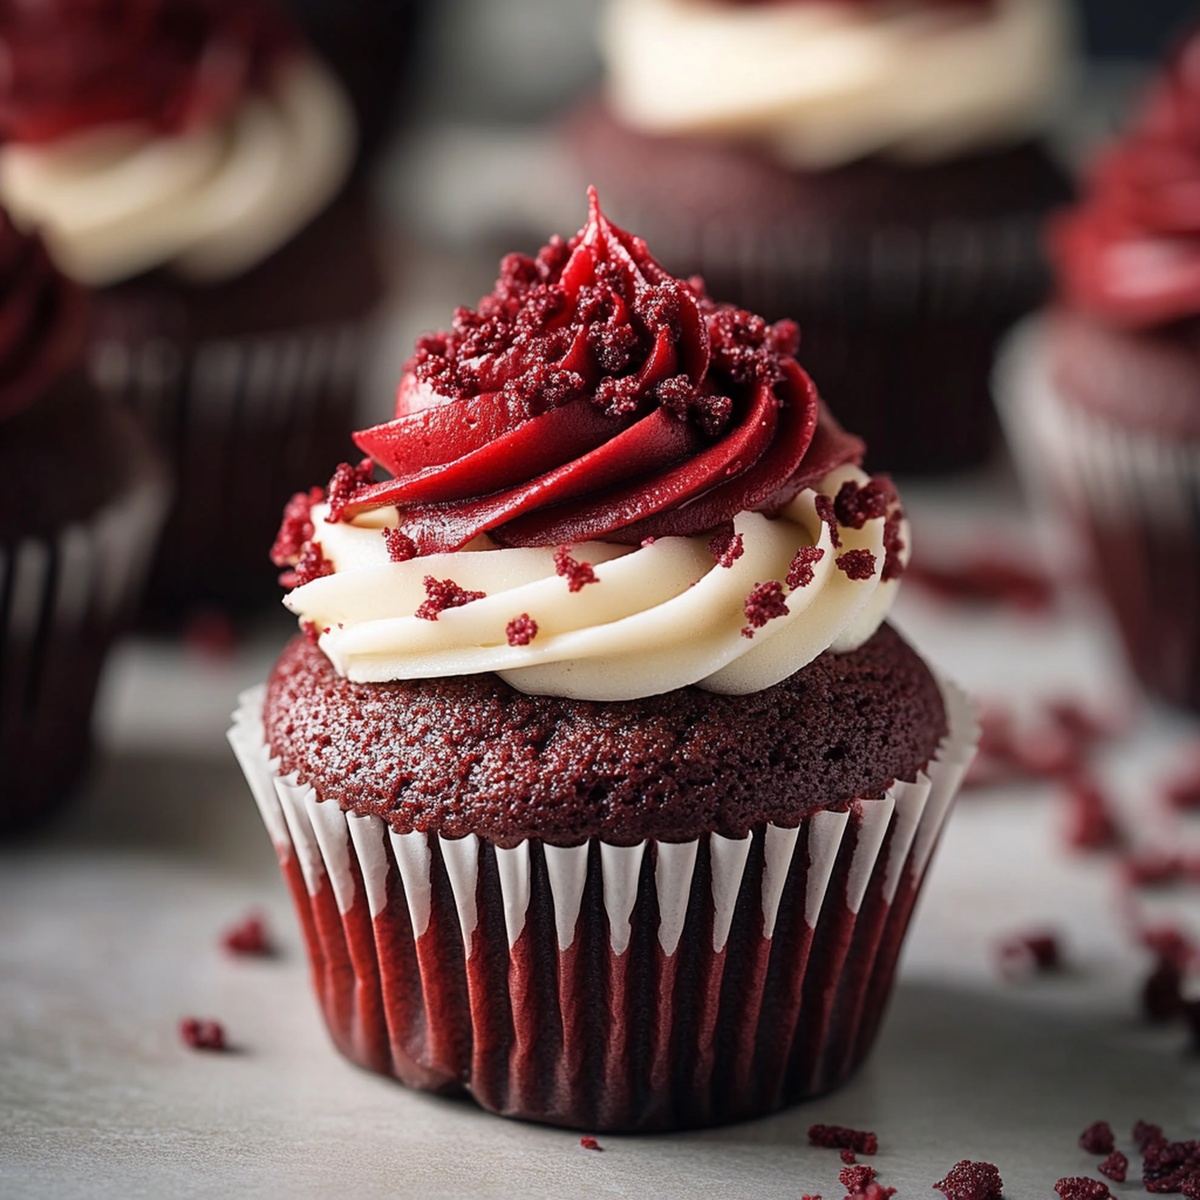
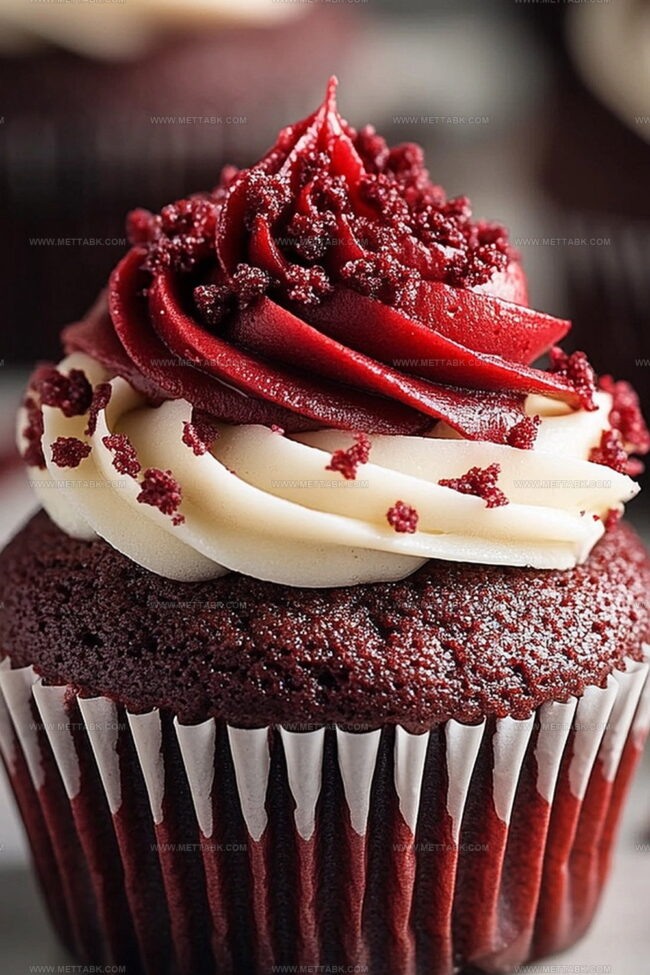
Irresistible Red Velvet Cupcakes Recipe: Sweet Homemade Joy
Baking delectable red velvet cupcakes can transport you to a world of rich, velvety indulgence.
Soft crimson layers whisper tales of Southern charm and culinary passion.
Cocoa’s subtle embrace mingles with cream cheese frosting, creating a dessert that feels like a warm hug.
Each bite promises a delightful dance of flavors that melts effortlessly on your tongue.
Vibrant and luxurious, these cupcakes turn ordinary moments into celebrations of sweetness.
Gathering ingredients becomes an adventure of anticipation and joy.
Get ready to craft a dessert that will make everyone at the table swoon with delight.
Red Velvet Cupcakes That Impress Every Crowd
Ingredients for Irresistible Red Velvet Cupcakes
Dry Ingredients:Wet Ingredients:Coloring and Frosting Ingredients:How to Bake Red Velvet Cupcakes Perfectly
Step 1: Prepare Baking Space
Warm up the oven to 350F (175C). Grab your cupcake tin and line it with cute paper liners, creating the perfect cozy home for your delicious cupcakes.
Step 2: Mix Dry Ingredients
Grab a mixing bowl and whisk together your dry ingredients:Blend these ingredients until they’re perfectly combined and smooth.
Step 3: Create Wet Mixture
In a separate bowl, start your magical mixing process.
Combine:Whip these together until they become light and fluffy. Add eggs one at a time, mixing thoroughly after each addition.
Pour in buttermilk and vanilla, stirring until everything is beautifully blended.
Step 4: Add Vibrant Color
Splash in your red food coloring, stirring until the mixture turns a gorgeous deep red.
Slowly fold in the dry ingredients, mixing gently until just combined. Don’t overmix – you want your cupcakes to be tender and light!
Step 5: Bake to Perfection
Carefully fill each cupcake liner about two-thirds full with your crimson batter. Slide the tin into the preheated oven and bake for approximately 20 minutes.
To check doneness, insert a toothpick – it should come out clean with just a few crumbs.
Step 6: Cool and Frost
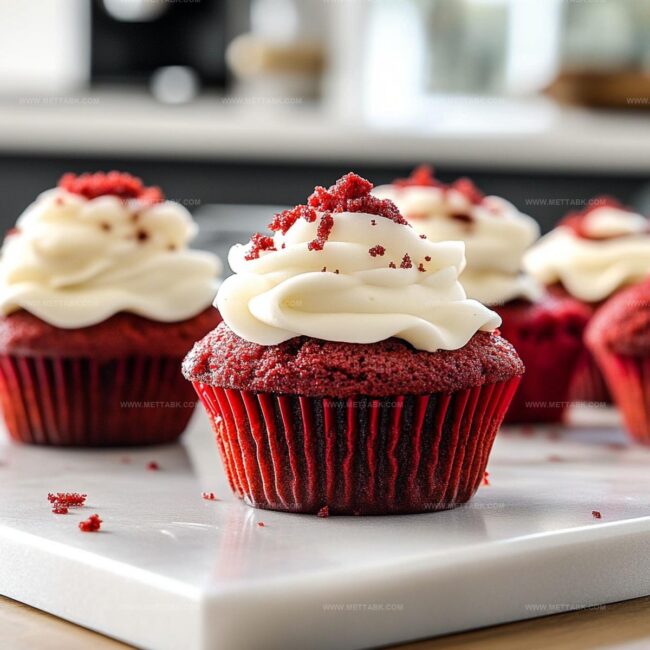
Let your cupcakes cool completely on a wire rack.
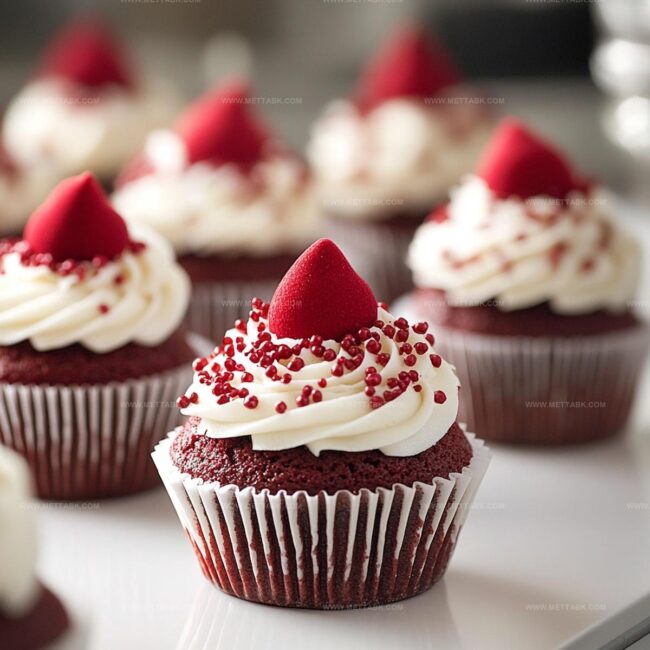
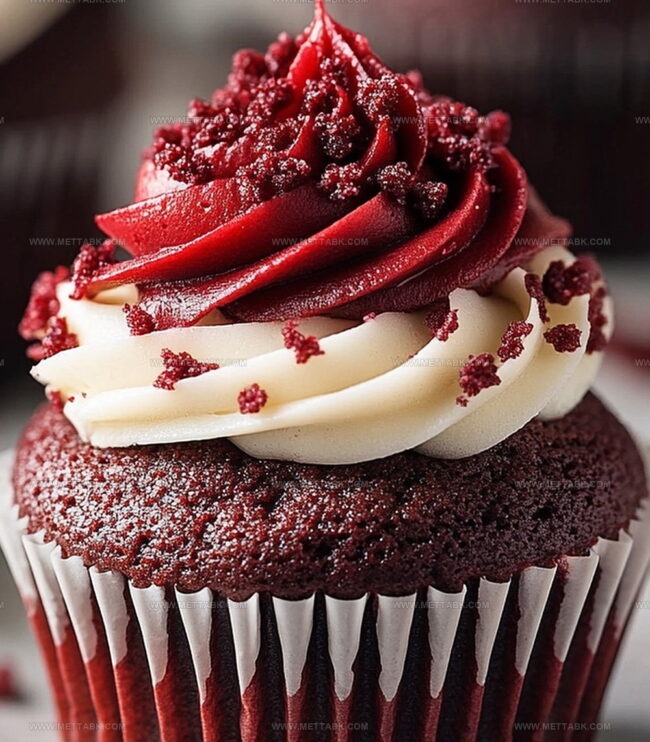
Once cooled, crown them with luscious cream cheese frosting, creating a dreamy dessert that’ll make everyone’s mouth water.
Tips to Keep Red Velvet Cupcakes Moist and Fluffy
Creative Variations on Red Velvet Cupcakes
Pairings That Elevate Red Velvet Cupcakes
Storage Ideas for Red Velvet Cupcakes
FAQs
Buttermilk helps create a tender, moist texture and adds a subtle tangy flavor that enhances the richness of red velvet cupcakes. It also reacts with baking soda to help the cupcakes rise and become fluffy.
While traditional red food coloring gives red velvet its signature color, you can use natural alternatives like beetroot powder or reduced natural food coloring for a less intense red hue. The classic recipe typically uses red food coloring for the most vibrant result.
Don’t overmix the batter and be careful not to overbake. Remove cupcakes from the oven as soon as a toothpick comes out clean, and let them cool completely before frosting to maintain moisture.
Print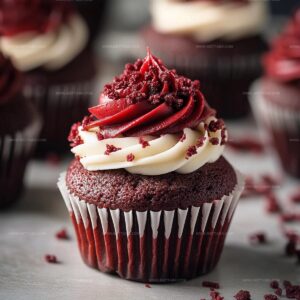
Red Velvet Cupcakes Recipe
- Total Time: 40 minutes
- Yield: 12 1x
Description
Red velvet cupcakes bring Southern charm to dessert tables with classic cocoa and buttermilk magic. Crimson cakes topped with silky cream cheese frosting promise pure indulgence you’ll savor with delight.
Ingredients
- 2 cups (480 ml) all-purpose flour
- 1 1/2 cups (300 g) granulated sugar
- 1 cup (240 ml) vegetable oil
- 1 cup (240 ml) buttermilk
- 2 large eggs (room temperature)
- 2 tbsps (30 ml) red food coloring
- 1 tbsp unsweetened cocoa powder
- 1 tsp vanilla extract
- 1 tsp baking soda
- 1/2 tsp salt
- 8 oz (225 g) cream cheese
- 1/2 cup (115 g) butter
- 4 cups (480 g) powdered sugar
Instructions
- Prepare the oven by heating to 350F (175C) and arrange paper liners in a cupcake tin.
- Create a dry mixture by combining flour, cocoa powder, baking soda, and salt in a mixing bowl, whisking thoroughly to ensure even distribution.
- In a separate large bowl, cream vegetable oil and sugar until light and airy, creating a smooth base for the cupcakes.
- Incorporate eggs individually into the oil-sugar mixture, blending completely after each addition to maintain a consistent texture.
- Pour buttermilk and vanilla into the wet ingredients, stirring until fully integrated and smooth.
- Add vibrant red food coloring, mixing until the batter achieves a rich, uniform crimson hue.
- Gently fold dry ingredients into the wet mixture, stirring just until combined to prevent overmixing and maintain a tender crumb.
- Distribute batter evenly into cupcake liners, filling each approximately two-thirds full to allow room for rising.
- Bake in the preheated oven for 18-22 minutes, checking doneness by inserting a toothpick that should emerge clean when removed.
- Remove cupcakes from oven and let cool completely on a wire rack before applying cream cheese frosting.
Notes
- Swap buttermilk with dairy-free alternatives like almond milk mixed with apple cider vinegar for a vegan-friendly version.
- Reduce food coloring amount or use natural beetroot powder for a healthier, chemical-free red hue.
- Ensure ingredients are room temperature to create a smoother, more evenly mixed batter that rises perfectly.
- Store unfrosted cupcakes in an airtight container for up to three days to maintain maximum moisture and freshness.
- Prep Time: 20 minutes
- Cook Time: 20 minutes
- Category: Desserts
- Method: Baking
- Cuisine: American
Nutrition
- Serving Size: 12
- Calories: 357 kcal
- Sugar: 34 g
- Sodium: 261 mg
- Fat: 20 g
- Saturated Fat: 7 g
- Unsaturated Fat: 13 g
- Trans Fat: 0.5 g
- Carbohydrates: 44 g
- Fiber: 1 g
- Protein: 4 g
- Cholesterol: 45 mg
Clara Bennett
Contributing Recipe Developer & Food Writer
Expertise
Baking and Pastry Development, Gluten-Free and Allergy-Friendly Recipe Creation, Culinary Storytelling and Food Journalism, Recipe Testing and Standardization, Southern Comfort Foods and Modern Twists
Education
Sullivan University – National Center for Hospitality Studies
Associate Degree in Culinary Arts
Focus: Baking and Pastry Arts, Recipe Testing, and Culinary Journalism.
Clara specialized in crafting desserts that blend classic Southern comfort with modern techniques, while developing strong writing skills to tell the story behind every dish.
Lane Community College (Certificate Program)
Certificate in Food Writing and Photography
Focus: Culinary storytelling, recipe formatting, food styling, and visual presentation.
Clara’s love of baking started young, powered by homemade pies, biscuits, and stories passed around the family table.
After earning her degree at Sullivan University and a food writing certificate at Lane Community College, she turned her passion into a craft: sharing recipes that are simple, soulful, and always full of heart.
She’s big on bold flavors, flexible ideas, and creating sweets that fit any table (yes, even if you’re gluten-free). When she’s not baking, you’ll find her wandering farmers’ markets, styling food for the next photo shoot, or working on her ever-growing recipe journal.