Luscious Red Velvet Whoopie Pies Recipe: Irresistibly Sweet Treats
Sweet dreams converge with red velvet whoopie pies that blend nostalgic comfort and playful dessert magic.
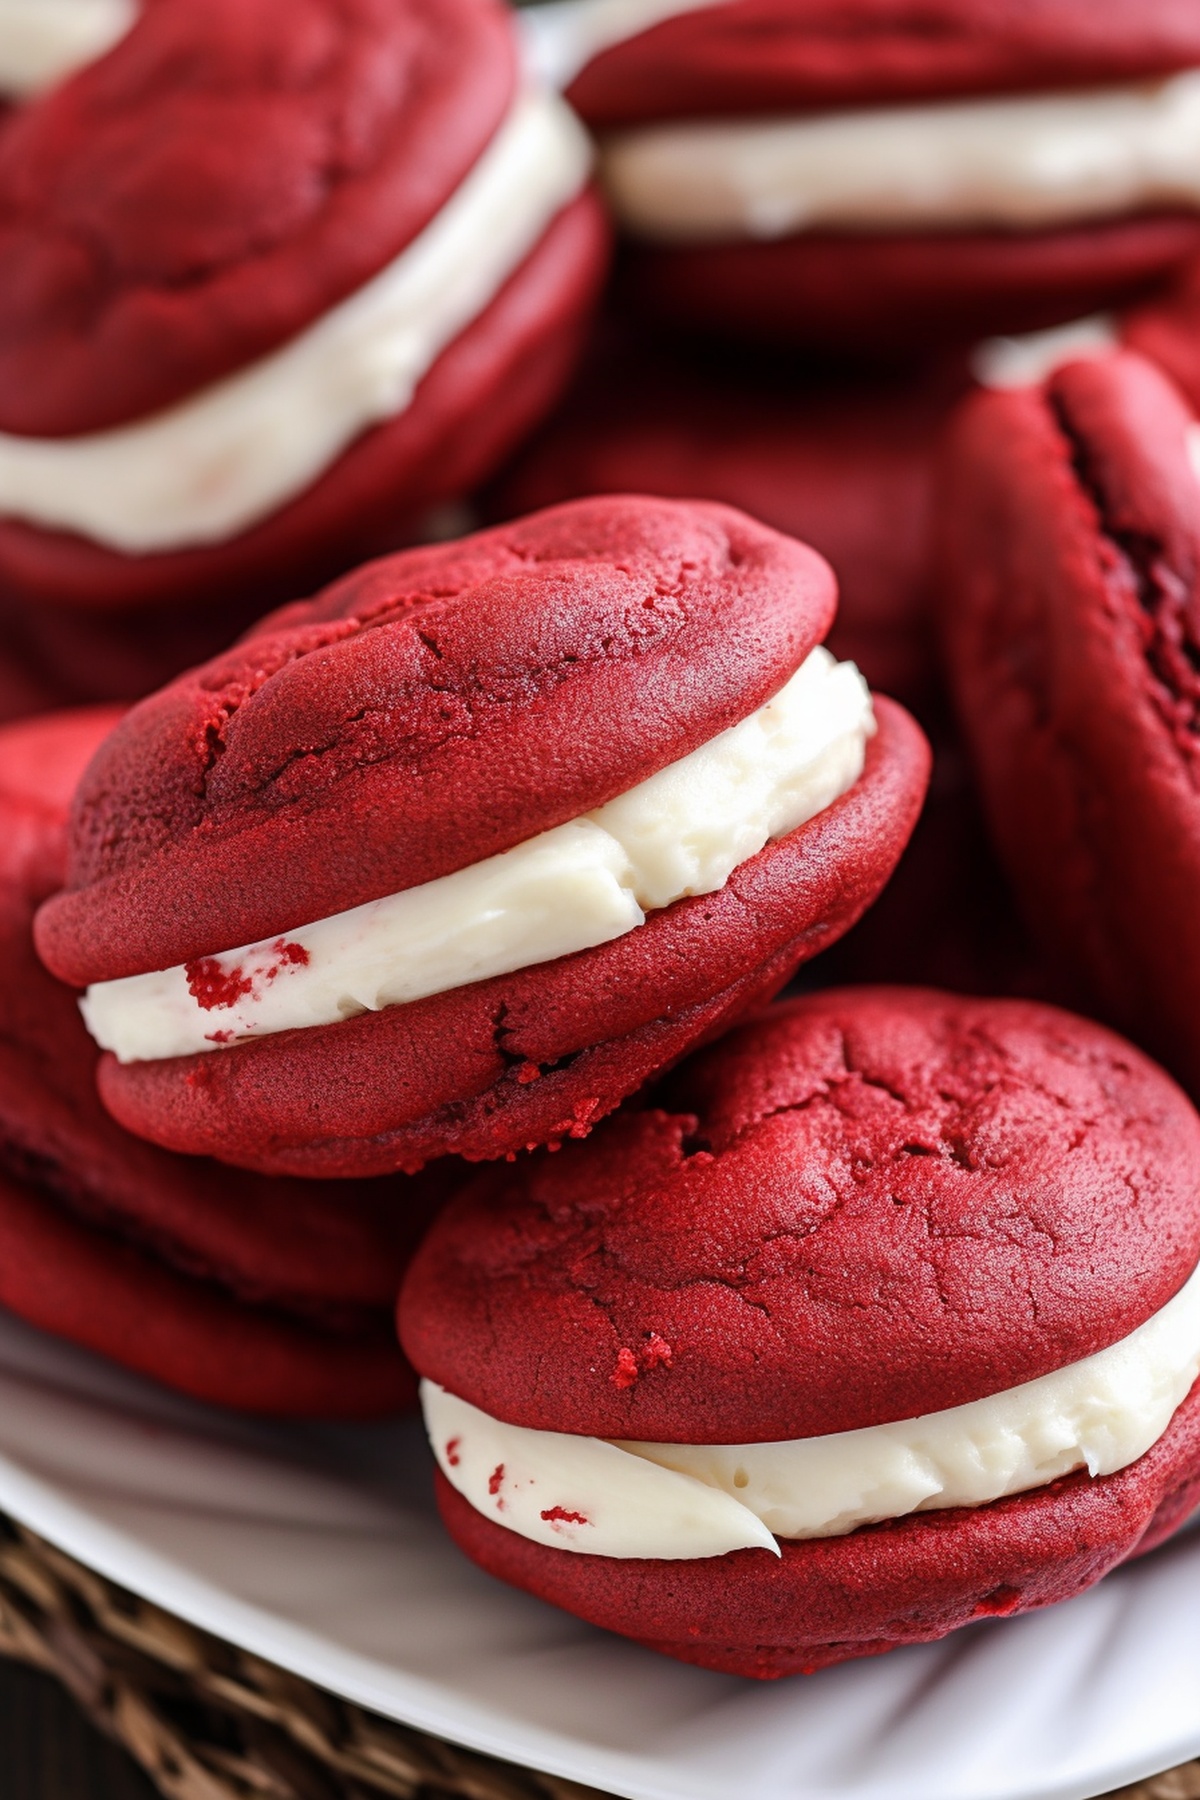
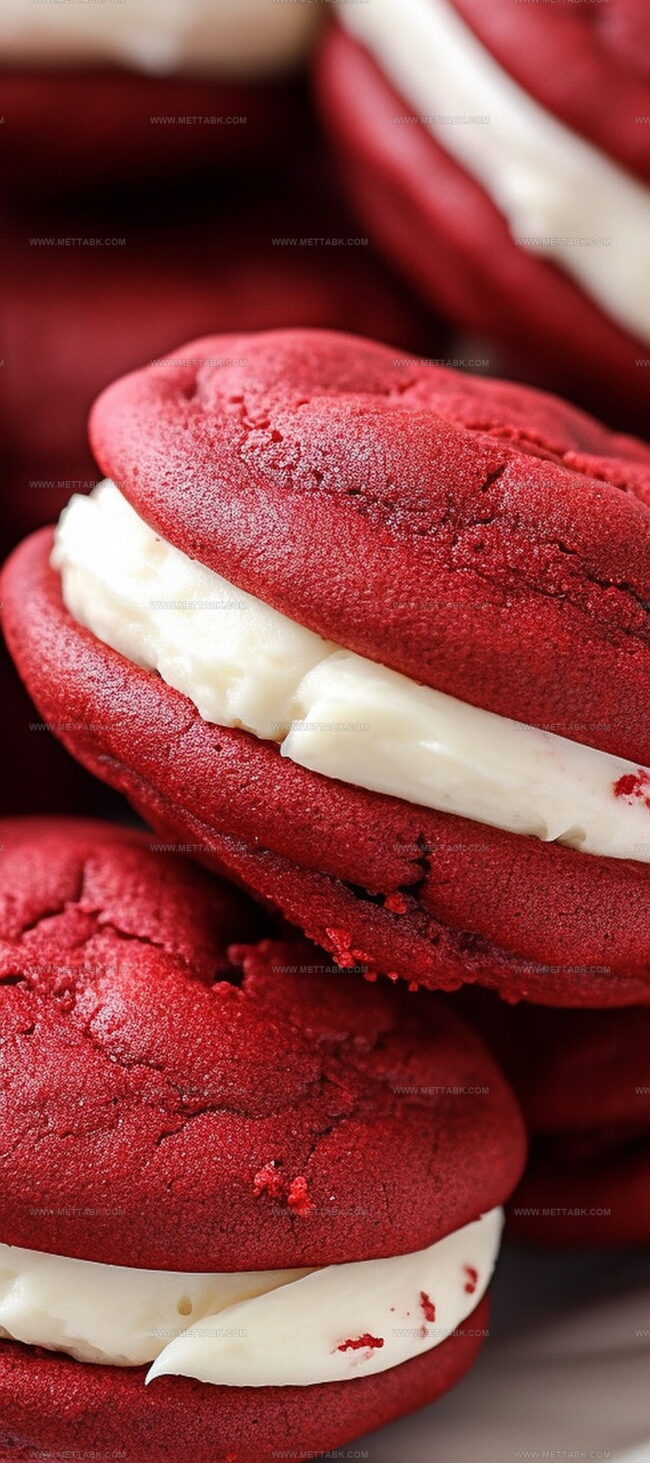
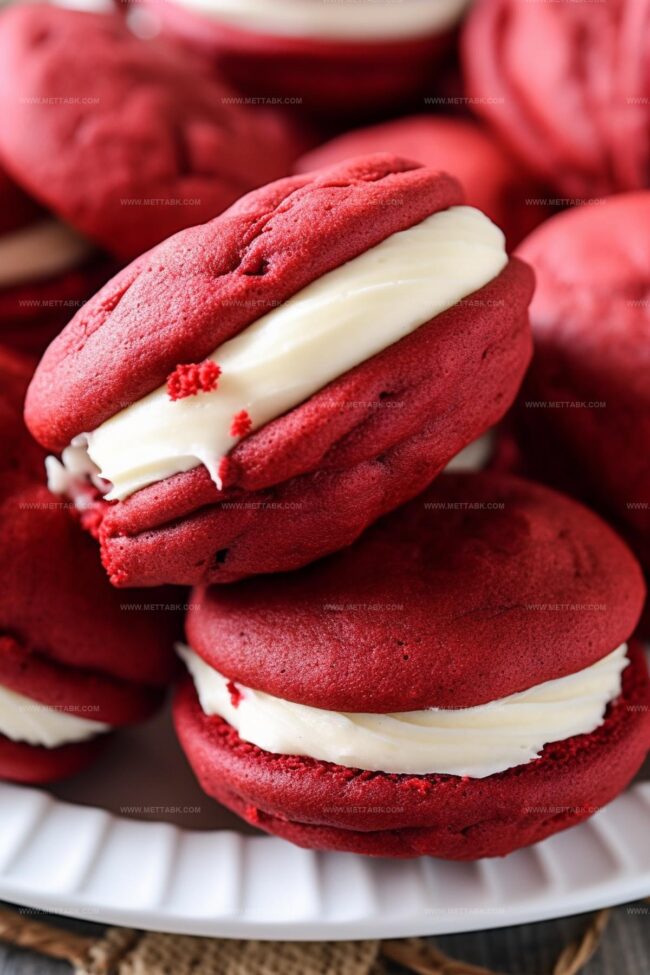
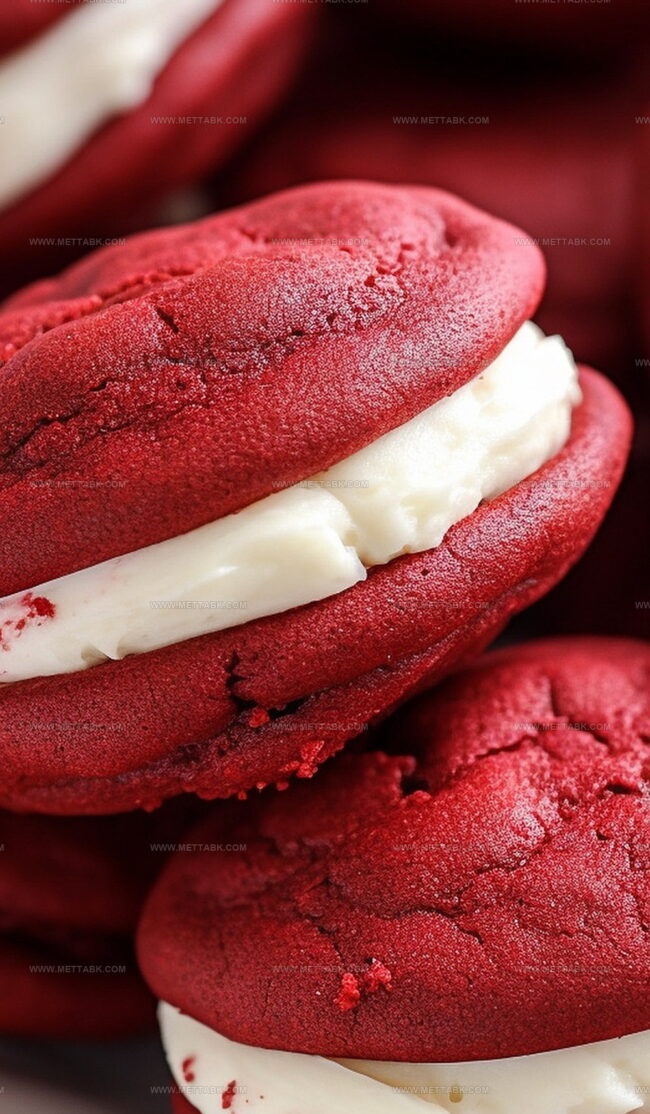
Soft crimson cakes sandwich creamy filling, creating a delightful handheld treat.
Rich cocoa notes dance through each pillowy bite, promising indulgence without complexity.
Bakery-style charm meets homemade warmth in these irresistible little pies.
Classic southern charm meets modern dessert innovation with each tender morsel.
Compact yet decadent, these whoopie pies invite you to savor every velvety moment.
Prepare to experience a dessert that whispers pure deliciousness.
Red Velvet Whoopie Pies That Delight

Ingredients for Red Velvet Whoopie Pies
Dry Ingredients:Wet Ingredients:Filling and Sweeteners:How to Bake Red Velvet Whoopie Pies
Step 1: Prepare Baking Station
Set the oven to 350°F. Line two baking sheets with parchment paper, creating a clean workspace for your delicious treats.
Step 2: Create Dry Ingredient Blend
Combine in a small bowl:Whisk these ingredients until they’re perfectly mixed and lump-free.
Step 3: Whip Butter and Sugars
In a large mixing bowl, cream together butter, granulated sugar, and brown sugar.
Beat until the mixture becomes light, fluffy, and pale in color.
Step 4: Incorporate Eggs and Vanilla
Add eggs to the butter-sugar mixture one at a time.
Beat thoroughly after each addition. Pour in vanilla extract and mix until the batter becomes smooth and airy.
Step 5: Add Vibrant Color
Splash in red food coloring, stirring carefully to create a rich, deep red color. Scrape down the bowl’s sides to ensure even color distribution.
Step 6: Combine Wet and Dry Ingredients
Alternate adding buttermilk and dry ingredient mixture to the batter. Start and end with buttermilk, mixing gently to create a smooth, consistent batter.
Step 7: Scoop and Arrange Batter
Use a cookie scoop to drop batter onto prepared baking sheets. Space each scoop about 2 inches apart to allow room for spreading.
Step 8: Bake to Perfection
Slide the baking sheets into the oven. Bake for 10 minutes or until cakes spring back when lightly touched.
Step 9: Cool the Cakes
Let cakes rest on baking sheets for 3-4 minutes. Transfer to a cooling rack to cool completely.
Step 10: Whip Creamy Filling
Beat together:Mix until smooth and well combined.
Step 11: Create Fluffy Frosting
Gradually add powdered sugar to the cream cheese mixture.
Beat until light and fluffy.
Step 12: Adjust Filling Consistency
Slowly incorporate heavy cream, one tablespoon at a time, until the filling reaches a spreadable consistency.
Step 13: Assemble Whoopie Pies
Use cookie scoop to portion filling onto the flat side of one cake. Gently place a second cake on top, pressing lightly to spread filling to the edges.
Step 14: Serve and Enjoy
Serve immediately or store in an airtight container in the refrigerator. These delightful treats are perfect for any occasion!
Pro Tips for Red Velvet Whoopie Pies
Variations to Customize Whoopie Pies
Pairings to Serve with Red Velvet Whoopie Pies
Storage Advice for Red Velvet Whoopie Pies
FAQs
Red velvet whoopie pies have a softer, cake-like texture and are sandwiched with cream cheese frosting, creating a portable and handheld dessert that’s easier to eat than traditional cupcakes.
Yes, you can prepare the cakes and frosting in advance. Store the cakes and frosting separately in the refrigerator, and assemble them just before serving to maintain the best texture and freshness.
Use gel food coloring instead of liquid, as it provides a more vibrant red color without thinning the batter. Add the coloring gradually and mix thoroughly to achieve an even, rich red hue.
Print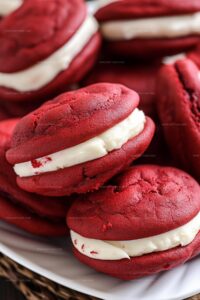
Red Velvet Whoopie Pies Recipe
- Total Time: 37 minutes
- Yield: 12 1x
Description
Red velvet whoopie pies combine classic Southern charm with playful dessert design. Cream cheese frosting nestled between two pillowy chocolate-tinged cakes creates irresistible handheld treats you’ll savor with pure delight.
Ingredients
- 3 cups (720 ml) all-purpose flour
- 6 tbsps unsweetened cocoa powder
- 2 large eggs
- 1 cup (240 ml) buttermilk
- 1 cup (200 g) light brown sugar (packed)
- 1/2 cup (115 g) salted butter (softened)
- 1/3 cup (67 g) granulated sugar
- 2 tsps vanilla extract
- 1 tbsp red liquid or gel food coloring
- 1 1/2 tsps baking soda
- 1/2 tsp salt
- 8 oz (225 g) cream cheese (softened)
- 1/2 cup (115 g) salted butter (softened)
- 3 cups (360 g) powdered sugar (sifted)
- 1 tsp vanilla extract
- 2–3 tbsps heavy cream
Instructions
- Preheat oven to 350°F and prepare two parchment-lined baking sheets.
- Sift together flour, cocoa powder, salt, and baking soda in a separate bowl.
- Cream butter with granulated and brown sugars until light and fluffy.
- Incorporate eggs into the butter mixture, mixing until smooth and aerated.
- Blend in vanilla extract and red food coloring, ensuring a rich, vibrant crimson tone.
- Gradually alternate adding buttermilk and dry ingredient mixture to the batter, mixing until just combined.
- Drop batter onto prepared sheets using a cookie scoop, spacing each mound approximately 2 inches apart.
- Bake for 10-12 minutes until cakes are slightly springy and edges appear set.
- Cool cakes on baking sheets for 3-4 minutes, then transfer to wire rack.
- Whip cream cheese, butter, and vanilla until smooth and creamy.
- Slowly add powdered sugar, mixing until frosting becomes thick and spreadable.
- Adjust frosting consistency by incorporating heavy cream one tablespoon at a time.
- Flip half of the cooled cakes flat-side up and generously spread filling.
- Gently sandwich remaining cakes on top of filled surfaces.
- Refrigerate or serve immediately, storing any leftovers in an airtight container.
Notes
- Ensure buttermilk is at room temperature for smoother batter incorporation and better cake texture.
- Sift dry ingredients thoroughly to prevent cocoa powder and flour clumps for a more uniform cake.
- Use gel food coloring for more vibrant red color without altering batter consistency.
- When filling whoopie pies, chill cream cheese frosting briefly for easier spreading and more stable structure.
- Prep Time: 25 minutes
- Cook Time: 12 minutes
- Category: Desserts, Snacks
- Method: Baking
- Cuisine: American
Nutrition
- Serving Size: 12
- Calories: 312 kcal
- Sugar: 34 g
- Sodium: 160 mg
- Fat: 15 g
- Saturated Fat: 9 g
- Unsaturated Fat: 5 g
- Trans Fat: 0.3 g
- Carbohydrates: 41 g
- Fiber: 1.5 g
- Protein: 4 g
- Cholesterol: 50 mg
Clara Bennett
Contributing Recipe Developer & Food Writer
Expertise
Baking and Pastry Development, Gluten-Free and Allergy-Friendly Recipe Creation, Culinary Storytelling and Food Journalism, Recipe Testing and Standardization, Southern Comfort Foods and Modern Twists
Education
Sullivan University – National Center for Hospitality Studies
Associate Degree in Culinary Arts
Focus: Baking and Pastry Arts, Recipe Testing, and Culinary Journalism.
Clara specialized in crafting desserts that blend classic Southern comfort with modern techniques, while developing strong writing skills to tell the story behind every dish.
Lane Community College (Certificate Program)
Certificate in Food Writing and Photography
Focus: Culinary storytelling, recipe formatting, food styling, and visual presentation.
Clara’s love of baking started young, powered by homemade pies, biscuits, and stories passed around the family table.
After earning her degree at Sullivan University and a food writing certificate at Lane Community College, she turned her passion into a craft: sharing recipes that are simple, soulful, and always full of heart.
She’s big on bold flavors, flexible ideas, and creating sweets that fit any table (yes, even if you’re gluten-free). When she’s not baking, you’ll find her wandering farmers’ markets, styling food for the next photo shoot, or working on her ever-growing recipe journal.