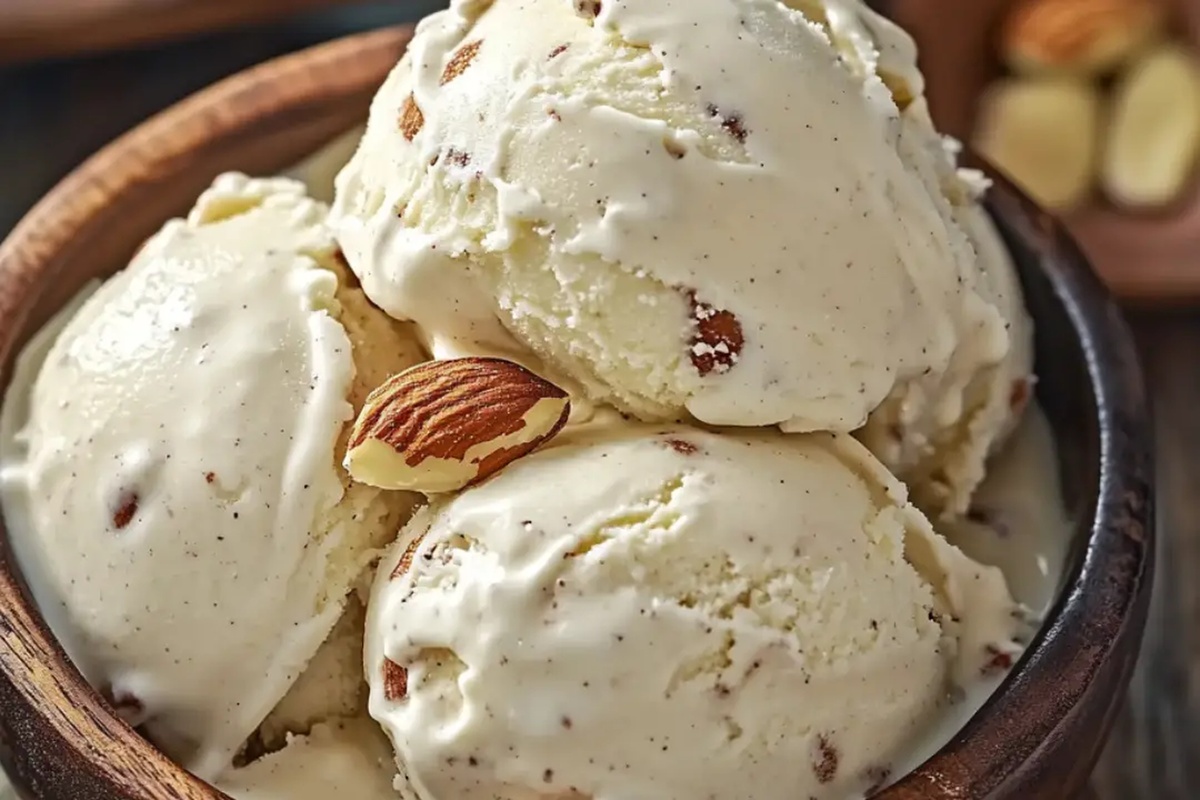
Dreamy Roasted Almond & White Chocolate No-Churn Ice Cream Recipe
Creamy white chocolate dances with roasted almonds in this irresistible no-churn ice cream sensation.
Nutty aromas promise a delightful dessert adventure waiting to unfold.
Sweet memories of summer cool down with each silky spoonful.
Minimal ingredients combine into a luxurious treat that feels like pure magic.
Simplicity meets indulgence through a recipe that requires zero churning expertise.
Smooth, rich flavors will transport you to a decadent dessert paradise.
You won’t believe how easily such an elegant dessert comes together.
Prepare to impress everyone with this effortless culinary masterpiece.
Roasted Almond & White Chocolate No-Churn Ice Cream Bliss

Ingredients for No-Churn Almond Chocolate Ice Cream
For the Base Ingredients:For the Flavor Enhancers:For the Textural Elements:How to Make Creamy Roasted Almond Ice Cream
Step 1: Toasting Nutty Goodness
Heat your oven to a cozy 350F (175C). Spread almonds across a baking sheet in a single layer.
Roast them until they turn golden and release an irresistible aroma, about 8-10 minutes. Let the almonds cool completely, then chop them into delightful small pieces.
Step 2: Melting Silky White Chocolate
Place white chocolate in a microwave-safe bowl. Melt it gradually using 15-second bursts, stirring between each interval until the chocolate transforms into a smooth, glossy liquid.
Allow the chocolate to cool slightly and lose its intense heat.
Step 3: Whipping Up the Creamy Base
Grab a large mixing bowl and whip heavy cream using a hand mixer.
Continue until soft, billowy peaks form. Gently fold in:Pour the slightly cooled white chocolate into the mixture, folding carefully until everything blends harmoniously.
Step 4: Introducing Roasted Crunch
Fold the chopped roasted almonds into the creamy mixture. Set aside a handful of almonds for a beautiful final garnish.
Step 5: Freezing Your Dreamy Dessert
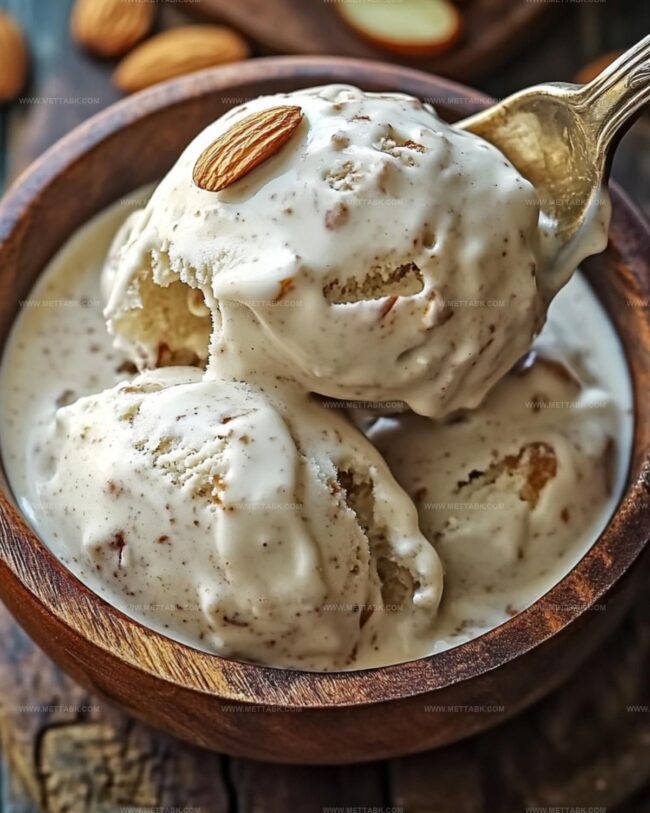
Transfer the luscious mixture into a loaf pan or airtight container. Sprinkle the reserved almonds across the top for an extra crunch.
Cover the container and let it hibernate in the freezer for at least 6 hours or overnight. When ready, scoop out this creamy, nutty, chocolatey marvel and indulge in pure dessert bliss!
Tips to Nail Texture and Flavor

Variations to Try with Almond Ice Cream
Pairing Ideas to Enjoy with Ice Cream
Proper Storage for No-Churn Ice Cream
FAQs
Yes, you can use raw almonds, but roasting brings out a deeper, nuttier flavor that enhances the overall taste of the ice cream.
While a hand mixer works best, you can use a stand mixer or whisk the cream manually, though it will require more effort and time to achieve soft peaks.
Stir the chocolate between 15-second microwave intervals and stop when it’s smooth and completely liquid, with no solid chunks remaining.
You can substitute with a mixture of heavy cream and sugar, but sweetened condensed milk provides the best creamy texture and sweetness for no-churn ice cream.
Print
Roasted Almond & White Chocolate No-Churn Ice Cream Recipe
- Total Time: 8 hours 20 minutes
- Yield: 8 1x
Description
Smooth roasted almond & white chocolate no-churn ice cream delivers creamy indulgence without an ice cream maker. Cool dessert lovers will savor rich flavors melding nutty almonds with sweet white chocolate in each luxurious spoonful.
Ingredients
Primary Ingredients:
- 2 cups (480 milliliters) heavy whipping cream
- 1 can (14 ounces/395 grams) sweetened condensed milk
- 1/2 cup white chocolate, melted
- 1/2 cup roasted almonds, chopped
Flavor Enhancers:
- 1 teaspoon vanilla extract
- 1 pinch of salt
Instructions
- Prepare almonds by roasting them in a 350F (175C) oven for 8-10 minutes until golden and aromatic, releasing their rich nutty essence.
- Allow roasted almonds to cool completely, then meticulously chop into delicate, crunchy fragments.
- Create a smooth white chocolate base by gently melting in microwave, stirring every 15 seconds until completely liquid and glossy.
- Whip heavy cream to soft, billowy peaks using a hand mixer, creating a light and airy foundation.
- Incorporate sweetened condensed milk, vanilla extract, and a subtle salt pinch into the whipped cream, blending gently to maintain volume.
- Drizzle melted white chocolate into the cream mixture, folding carefully to create a marbled, creamy texture.
- Fold most of the chopped roasted almonds into the ice cream base, distributing them evenly for consistent crunch.
- Transfer the luxurious mixture into a loaf pan or freezer-safe container, ensuring smooth surface.
- Garnish the top with remaining almond pieces for visual appeal and extra texture.
- Freeze for 6-8 hours or overnight until the ice cream sets into a creamy, scoopable consistency.
- Serve chilled, revealing a decadent dessert with layers of roasted almond and white chocolate flavors.
Notes
- Roast almonds carefully to enhance their nutty flavor without burning, watching closely during the last few minutes of toasting.
- Allow melted white chocolate to cool slightly before adding to prevent curdling or deflating the whipped cream.
- Use room temperature ingredients for smoother mixing and better incorporation of white chocolate into the ice cream base.
- Fold ingredients gently to maintain the light, airy texture of the whipped cream, preserving the ice cream’s creamy consistency.
- Prep Time: 20 minutes
- Cook Time: 8 hours (on Low) or 4 hours (on High)
- Category: Desserts
- Method: Roasting
- Cuisine: American
Nutrition
- Serving Size: 8
- Calories: 456
- Sugar: 38 g
- Sodium: 47 mg
- Fat: 32 g
- Saturated Fat: 16 g
- Unsaturated Fat: 14 g
- Trans Fat: 0.5 g
- Carbohydrates: 37 g
- Fiber: 2 g
- Protein: 7 g
- Cholesterol: 102 mg
Nate Harper
Founder & Recipe Curator
Expertise
Single-Recipe Development, Farm-to-Table Cooking, Seasonal Menu Planning, Culinary Storytelling, Home Kitchen Innovation
Education
Cascade Culinary Institute – Central Oregon Community College
Certificate in Culinary Arts
Focus: Farm-to-table cuisine, sustainable cooking practices, and seasonal recipe creation.
Nate studied under experienced chefs who emphasized local sourcing, minimal waste, and building recipes from fresh, simple ingredients.
Nate Harper is the founder and creative force behind Make, Take, Bake. Raised in the wild beauty of Oregon’s high desert, Nate grew up surrounded by family gardens, farmers’ markets, and home kitchens that celebrated the seasons.
His early love for simple, honest food evolved into a professional passion when he attended Cascade Culinary Institute, where he sharpened his skills in creating recipes that are sustainable, satisfying, and made for everyday life.
Nate’s goal is to make cooking feel accessible, free of fuss, and full of flavor. He believes a single, thoughtfully built dish can stand alone, and sometimes even steal the show.