
Heavenly Russian Tea Balls Recipe: A Sweet Winter Delight
Nestled in culinary traditions, these russian tea balls sparkle with a delicate, powdery charm that whispers of cozy winter afternoons.
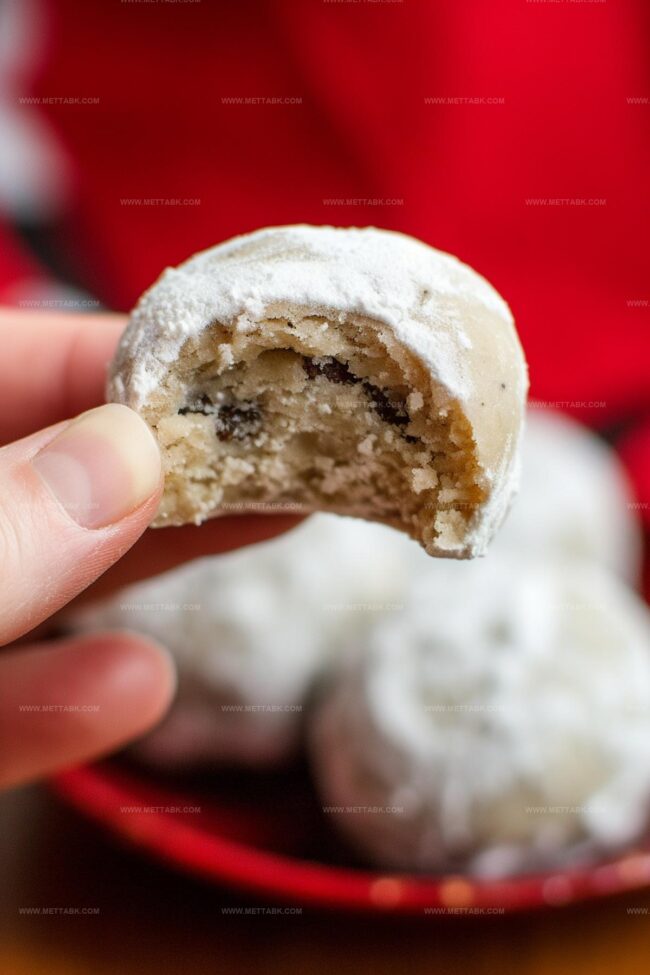
Memories of grandmother’s kitchen drift through every buttery bite.
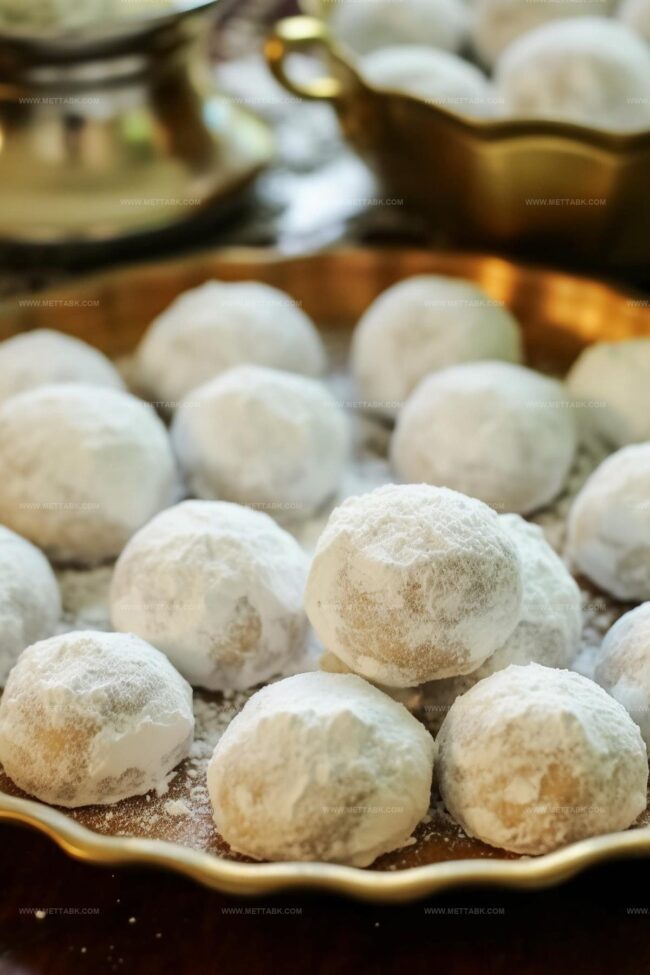
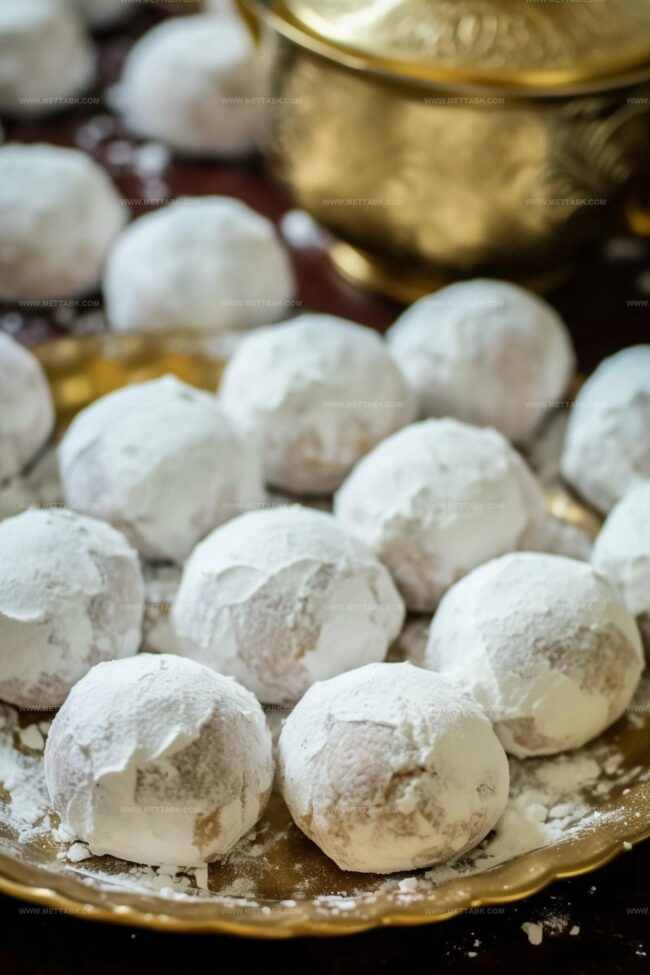
Walnut-studded and rolled in soft confectioners’ sugar, these cookies melt instantly on your tongue.
Sweet simplicity defines their elegant appeal.
Compact and perfect for afternoon gatherings, they carry a hint of nostalgia in each crumbly morsel.
Fragrant and light, these treats promise a moment of pure comfort.
Bake a batch and let the magic unfold.
Russian Tea Balls to Savor

Ingredients for Russian Tea Balls
Main Ingredients:Dry Ingredients:Flavoring Ingredients:How to Prepare Russian Tea Balls
Step 1: Prepare Oven and Baking Sheet
Preheat the oven to 400°F. Line a baking sheet with parchment paper or a silicone liner to prevent sticking and ensure easy cleanup.
Step 2: Toast Walnuts
Heat a dry skillet over medium heat. Toss walnuts frequently for about 5 minutes until they become fragrant and lightly golden.
This process brings out their rich, nutty flavor and adds depth to the cookies.
Step 3: Create Creamy Base
In a large mixing bowl, use an electric hand mixer to blend:Continue mixing until the mixture becomes smooth and well combined.
Step 4: Mix Dry Ingredients
Gradually add flour and salt to the creamy mixture. Mix until fully incorporated, creating a slightly lumpy texture.
Gently fold in the toasted walnuts, ensuring they are evenly distributed throughout the dough.
Step 5: Shape and Bake Cookies
Use a small cookie scoop or your hands to form 1-inch balls.
Place them on the prepared baking sheet, leaving about 1 inch of space between each cookie. Bake for 12 to 15 minutes, watching for a golden bottom.
Step 6: First Sugar Coating
While the cookies are still warm, roll them in a bowl of powdered sugar. Ensure each cookie is completely covered with a generous layer of sugar.
Transfer to a platter to cool.
Step 7: Final Sugar Dusting
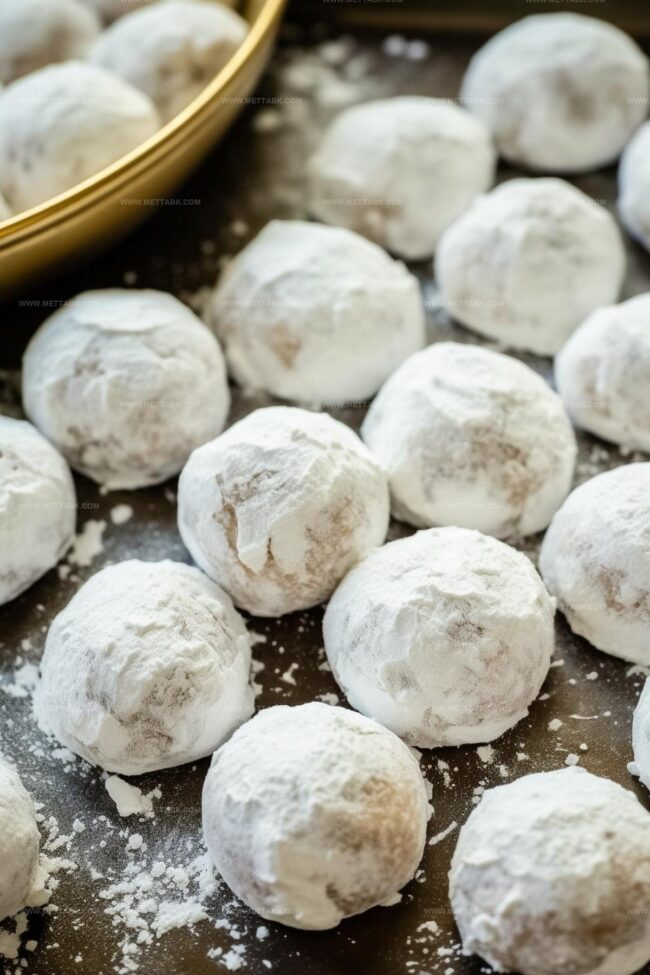
Once the cookies have cooled to room temperature, roll them in powdered sugar a second time.
This creates a beautiful, snow-white coating that makes these tea balls look as delightful as they taste. Store in an airtight container for up to a week, if they last that long!
Tips to Nail Russian Tea Balls
Variations on Russian Tea Balls
Pairing Suggestions for Russian Tea Balls
Storage Advice for Russian Tea Balls
FAQs
These cookies are surprisingly simple to prepare. Even novice bakers can successfully make them with basic baking skills and a few common ingredients.
The first coating occurs while the cookies are warm, which helps the sugar stick better. The second coating after cooling creates a beautiful, snow-white finish and adds an extra layer of sweetness.
Absolutely! Pecans work wonderfully as a direct replacement for walnuts. They provide a similar texture and nutty flavor that complements the delicate cookie base.
No special equipment is required. A standard electric hand mixer, a baking sheet, and a skillet are the primary tools you’ll need to create these delightful Russian Tea Balls.
Print
Russian Tea Balls Recipe
- Total Time: 35 minutes
- Yield: 24 1x
Description
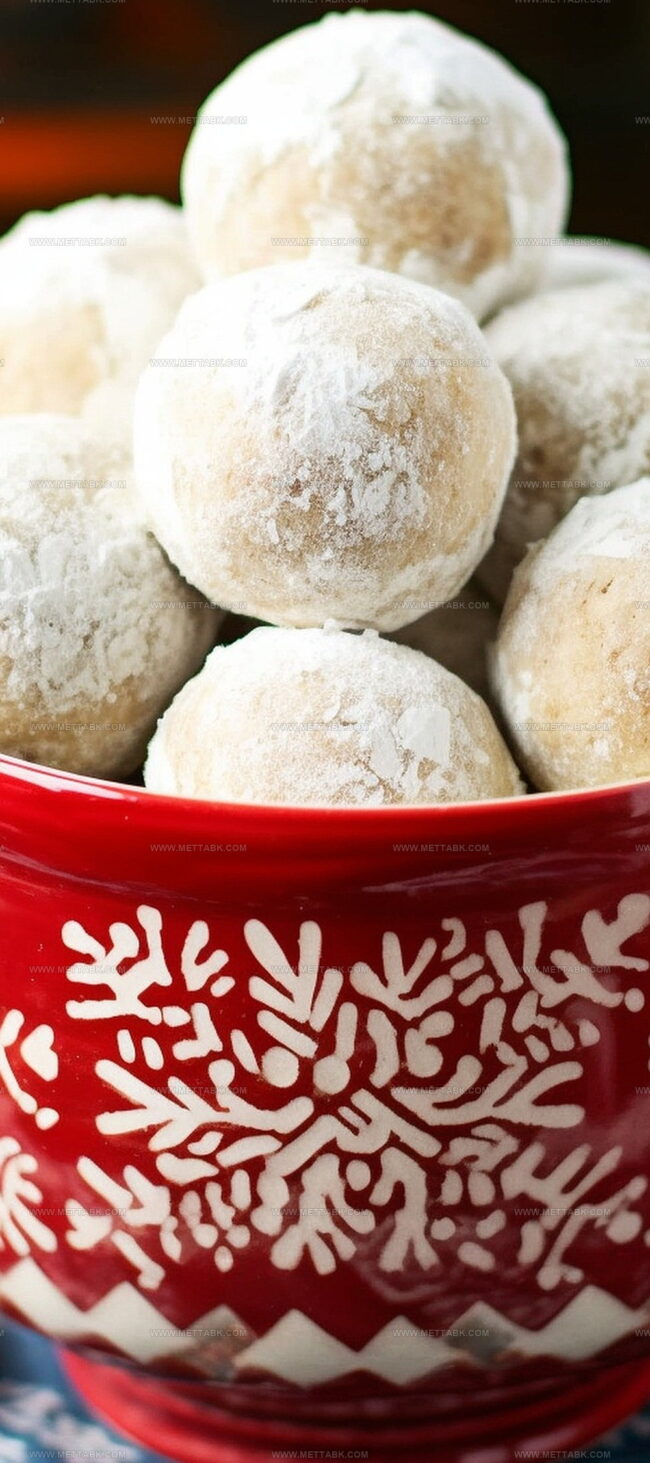
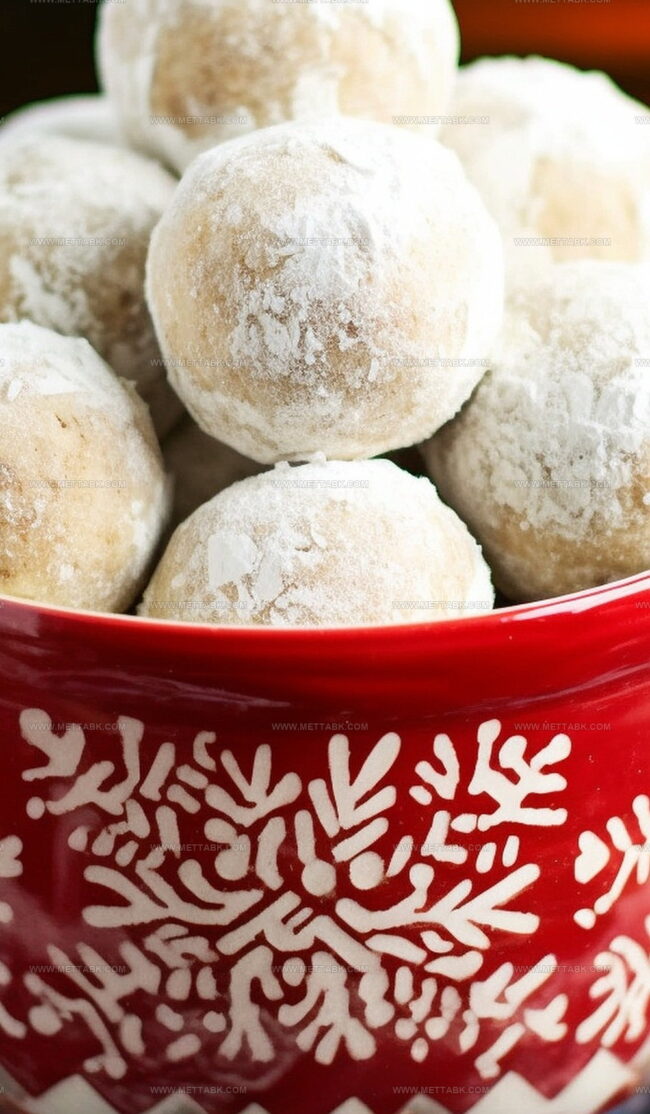
Russian tea balls blend classic holiday charm with buttery, nutty goodness. Powdered sugar-coated cookies melt delicately, offering sweet comfort perfect for festive gatherings.
Ingredients
- 1/2 pound (16 tbsps or 227 g) unsalted butter (at room temperature)
- 1 cup walnuts (toasted and coarsely chopped)
- 2 cups all-purpose flour
- 1/2 cup confectioners’ sugar (powdered sugar)
- 2 cups confectioners’ sugar (for rolling the cookies)
- 1 tsp vanilla extract
- 1/4 tsp salt
Instructions
- Preheat the oven to 400°F (204°C) and prepare a baking sheet with parchment paper or a silicone liner.
- Toast walnuts in a dry skillet over medium heat for 5 minutes, tossing frequently until fragrant and lightly golden.
- Use an electric mixer to cream butter, powdered sugar, and vanilla extract until smooth and well combined.
- Gradually incorporate flour and salt into the creamed mixture, mixing until fully integrated. The dough will appear slightly lumpy.
- Gently fold toasted walnuts into the dough, ensuring even distribution throughout the mixture.
- Using a cookie scoop or hands, form dough into 1-inch balls and place on the prepared baking sheet, spacing them 1 inch apart.
- Bake for 12-15 minutes until the bottom edges turn golden brown.
- Immediately roll warm cookies in a bowl of powdered sugar, coating them thoroughly.
- Allow cookies to cool completely on a wire rack.
- Once cooled, perform a second roll in powdered sugar to create a fully coated, snow-white appearance.
- Store in an airtight container for up to 1 week, preserving their delicate texture and flavor.
Notes
- Toast walnuts carefully to enhance their nutty flavor without burning, watching them closely and stirring frequently during the 5-minute process.
- Use room temperature butter for smoother creaming and better ingredient integration, ensuring a more consistent dough texture.
- Avoid overmixing the dough to prevent tough cookies, stopping when ingredients are just combined and walnuts are evenly distributed.
- Roll cookies in powdered sugar while warm for the first coating, which helps the sugar adhere better and creates a delicate, melt-in-your-mouth exterior.
- For gluten-free variation, substitute all-purpose flour with almond flour or a gluten-free baking blend to accommodate dietary restrictions.
- Store cookies in a single layer between parchment paper to maintain their delicate powdered sugar coating and prevent sticking.
- Prep Time: 20 minutes
- Cook Time: 15 minutes
- Category: Snacks, Desserts
- Method: Baking
- Cuisine: Russian
Nutrition
- Serving Size: 24
- Calories: 178
- Sugar: 5 g
- Sodium: 40 mg
- Fat: 12 g
- Saturated Fat: 7 g
- Unsaturated Fat: 4 g
- Trans Fat: 0.2 g
- Carbohydrates: 18 g
- Fiber: 1.3 g
- Protein: 2 g
- Cholesterol: 31 mg
Clara Bennett
Contributing Recipe Developer & Food Writer
Expertise
Baking and Pastry Development, Gluten-Free and Allergy-Friendly Recipe Creation, Culinary Storytelling and Food Journalism, Recipe Testing and Standardization, Southern Comfort Foods and Modern Twists
Education
Sullivan University – National Center for Hospitality Studies
Associate Degree in Culinary Arts
Focus: Baking and Pastry Arts, Recipe Testing, and Culinary Journalism.
Clara specialized in crafting desserts that blend classic Southern comfort with modern techniques, while developing strong writing skills to tell the story behind every dish.
Lane Community College (Certificate Program)
Certificate in Food Writing and Photography
Focus: Culinary storytelling, recipe formatting, food styling, and visual presentation.
Clara’s love of baking started young, powered by homemade pies, biscuits, and stories passed around the family table.
After earning her degree at Sullivan University and a food writing certificate at Lane Community College, she turned her passion into a craft: sharing recipes that are simple, soulful, and always full of heart.
She’s big on bold flavors, flexible ideas, and creating sweets that fit any table (yes, even if you’re gluten-free). When she’s not baking, you’ll find her wandering farmers’ markets, styling food for the next photo shoot, or working on her ever-growing recipe journal.