The Perfect Grab-and-Go Salad Jars Recipe for Busy Days
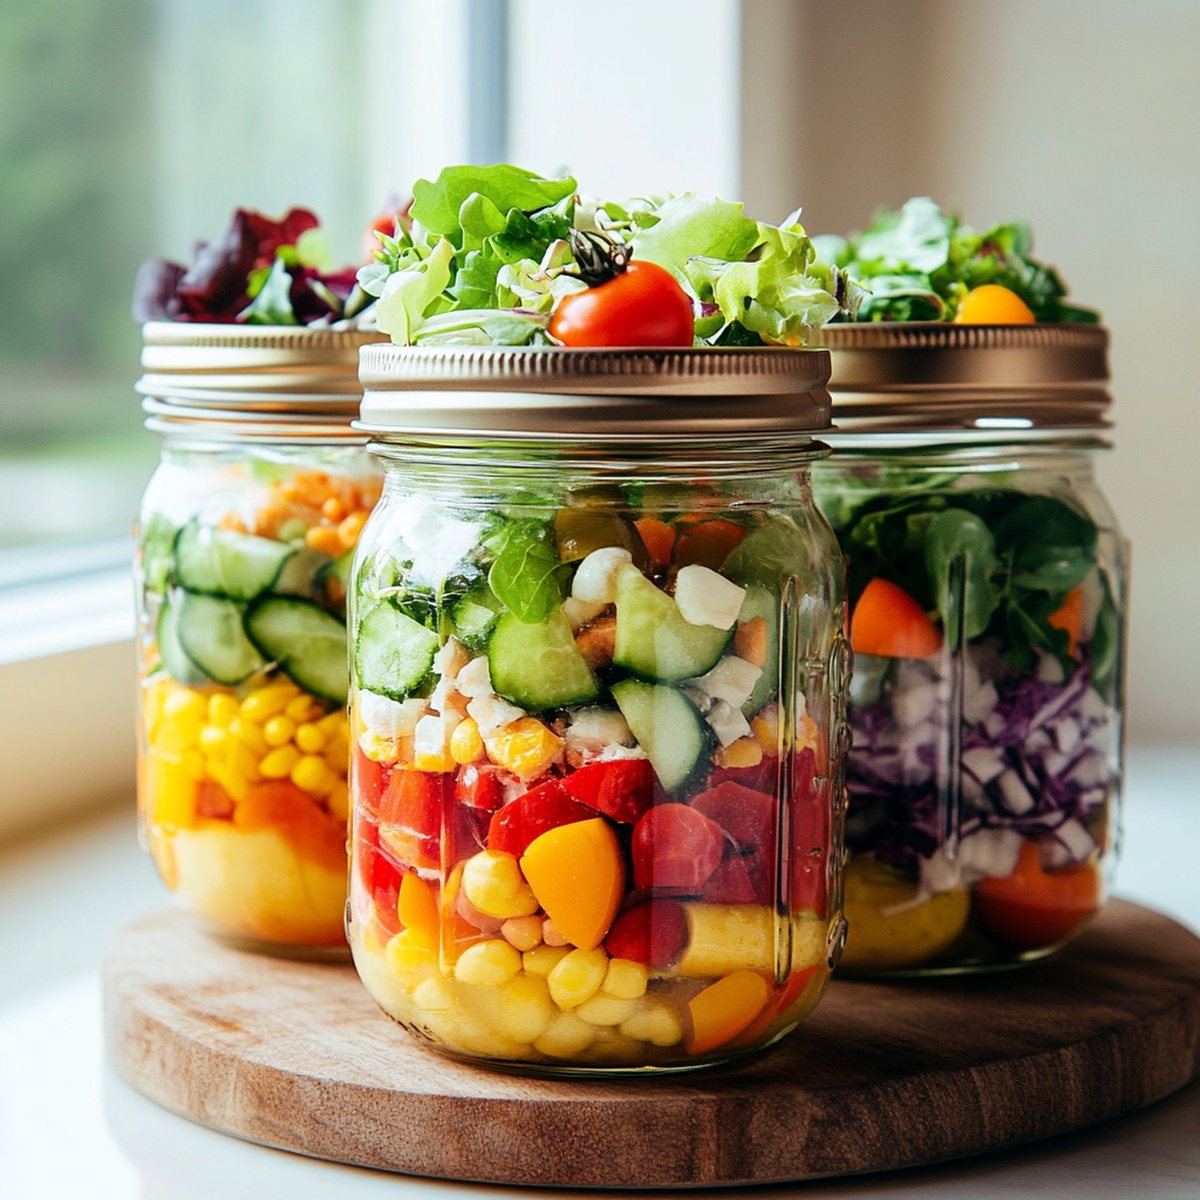
Mason jars create a revolutionary way to pack vibrant salad jars that look stunning and taste incredible.
Colorful layers peek through glass walls, promising a delightful lunch adventure.
Fresh ingredients nestle perfectly, waiting to be shaken and enjoyed.
Portable and convenient, these compact meals solve midday hunger pangs with style.
Meal prep becomes effortless when you stack these beauties in the refrigerator.
Every jar tells a delicious story of smart eating and creative cooking.
You’ll love how simple and satisfying these salad jars can be for busy days.
Grab a fork and get ready to transform your lunch routine!
Salad Jars That Make Lunch Feel Special
Fresh Ingredients to Build the Perfect Salad Jar
Dressing:Grains:Proteins:Vegetables:Extras:How to Assemble Salad Jars Like a Pro
Step 1: Prep Your Colorful Produce
Rinse all your fresh ingredients under cool running water. Gently pat dry with clean kitchen towels.
Chop vegetables into bite-sized pieces, ensuring uniform sizes for beautiful layering and easy eating.
Step 2: Select Perfect Jar Containers
Pick clear glass mason jars with tight-sealing lids.
Pint-sized jars work wonderfully for individual meal portions. Ensure jars are clean and completely dry before starting your layering adventure.
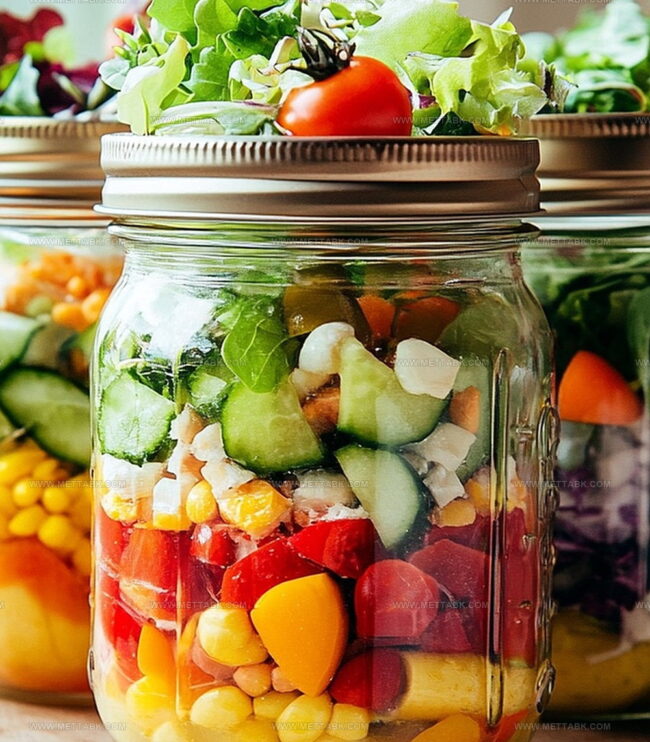
Step 3: Create Dressing Foundation
Pour zesty salad dressing directly into jar bottom. This smart technique keeps ingredients crisp and prevents soggy greens.
Consider using vinaigrettes, ranch, or homemade dressings for extra flavor.
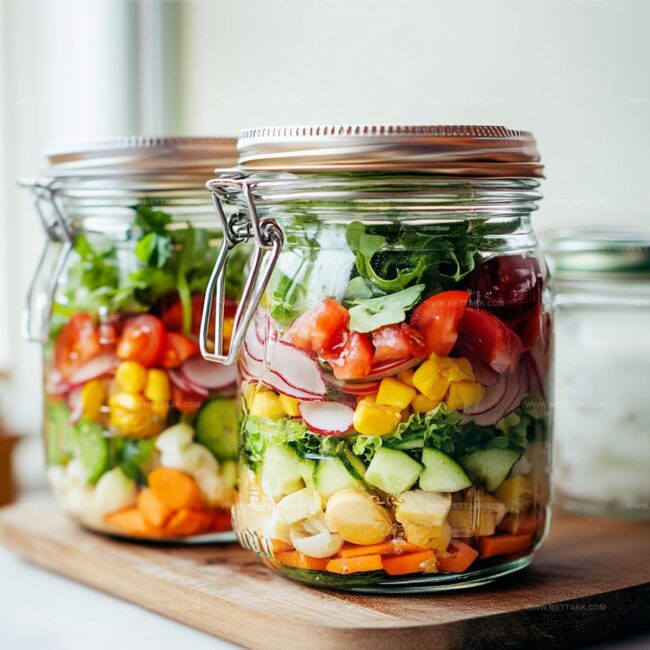
Step 4: Build Hearty Base Layers
Add sturdy ingredients that won’t get soggy:Press ingredients gently to create compact layers.
Step 5: Add Colorful Vegetable Medley
Carefully arrange colorful vegetables over base layer:Step 6: Crown with Fresh Greens
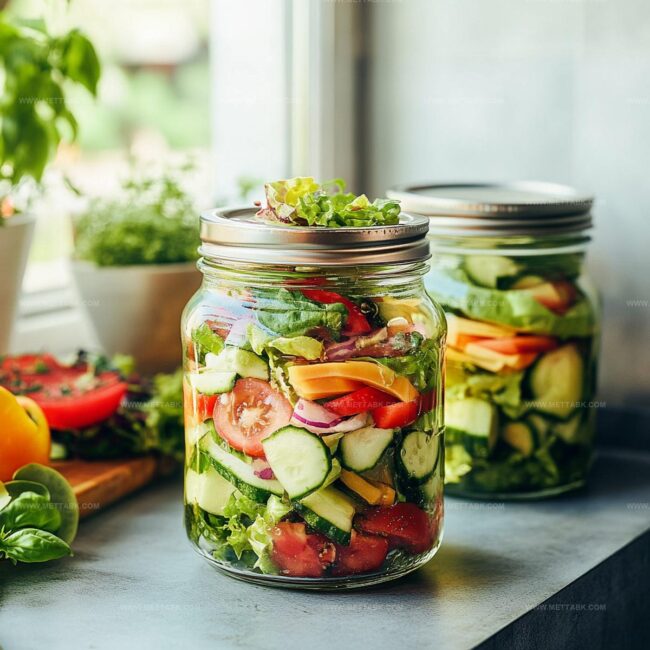
Top jar with crisp salad greens like:Step 7: Seal and Store
Secure lid tightly. Refrigerate immediately.
Salad jars stay fresh up to five days. Shake before serving to distribute dressing evenly.
Smart Tips for Crafting Salad Jars That Wow

Fun Variations to Brighten Up Salad Jars
Great Pairings to Enjoy with Your Salad Jars
Keeping Salad Jars Fresh and Crunchy Longer
FAQs
Placing dressing at the bottom prevents greens from getting soggy, keeping ingredients crisp and fresh until you’re ready to eat.
Absolutely! Mix and match grains, proteins, and vegetables based on your preferences and dietary needs for endless delicious combinations.
Simply shake the jar to distribute dressing, then pour into a bowl or eat directly from the jar for a convenient, portable meal.
Yes, you can prepare multiple jars at once, saving time during busy weeks and ensuring healthy lunches are always ready to grab and go.
Print
Salad Jars Recipe
- Total Time: 20 minutes
- Yield: 4 1x
Description
Mediterranean Greek Salad Jars layer fresh ingredients for a portable, delightful meal. Crisp vegetables, tangy feta, and zesty dressing combine in a convenient glass container you can enjoy anywhere.
Ingredients
- 2 cups fresh spinach or romaine lettuce
- 1 cup quinoa, cooked
- 1/2 cup grilled chicken, diced
- 1/2 cup chickpeas, drained and rinsed
- 1/4 cup bell peppers, chopped
- 1/4 cup cherry tomatoes, halved
- 1/4 cup cucumber, diced
- 2 tbsps vinaigrette dressing
- 1 hard-boiled egg, sliced
Instructions
- Thoroughly cleanse all produce and ingredients under cool running water to eliminate any dirt or debris.
- Select transparent pint-sized mason jars with secure lids, ensuring they are clean and dry.
- Pour vinaigrette or preferred dressing into the bottom of each jar, creating a smooth initial layer that prevents ingredients from becoming soggy.
- Create a compact layer of hearty grains like quinoa or brown rice directly on top of the dressing, which will absorb liquid without becoming mushy.
- Add protein components such as grilled chicken, chickpeas, or tofu, carefully distributing them evenly across the grain layer.
- Insert crisp, chopped vegetables like bell peppers, cucumbers, and carrots, arranging them to maintain structural integrity and prevent compression.
- Delicately place leafy greens like spinach or arugula as the uppermost layer, ensuring they remain fresh and vibrant.
- Securely fasten jar lids, creating an airtight seal that preserves ingredient quality and prevents leakage.
- Refrigerate immediately at 40°F or below, maintaining optimal freshness for up to five days before consumption.
- When ready to eat, shake jar vigorously to distribute dressing and enjoy directly from the container.
Notes
- Seal jars carefully to prevent leakage and maintain freshness during transport or storage.
- Customize layers based on personal dietary preferences like vegetarian, vegan, or gluten-free options.
- Experiment with different dressings and protein sources to keep salad combinations exciting and varied.
- Arrange ingredients strategically to prevent soggy greens by keeping moisture-heavy components away from delicate leaves.
- Prep Time: 20 minutes
- Cook Time: 0 minutes
- Category: Lunch, Dinner, Appetizer, Snacks
- Method: None
- Cuisine: American
Nutrition
- Serving Size: 4
- Calories: 250 kcal
- Sugar: 5 g
- Sodium: 300 mg
- Fat: 10 g
- Saturated Fat: 2 g
- Unsaturated Fat: 7 g
- Trans Fat: 0 g
- Carbohydrates: 30 g
- Fiber: 6 g
- Protein: 15 g
- Cholesterol: 40 mg
Clara Bennett
Contributing Recipe Developer & Food Writer
Expertise
Baking and Pastry Development, Gluten-Free and Allergy-Friendly Recipe Creation, Culinary Storytelling and Food Journalism, Recipe Testing and Standardization, Southern Comfort Foods and Modern Twists
Education
Sullivan University – National Center for Hospitality Studies
Associate Degree in Culinary Arts
Focus: Baking and Pastry Arts, Recipe Testing, and Culinary Journalism.
Clara specialized in crafting desserts that blend classic Southern comfort with modern techniques, while developing strong writing skills to tell the story behind every dish.
Lane Community College (Certificate Program)
Certificate in Food Writing and Photography
Focus: Culinary storytelling, recipe formatting, food styling, and visual presentation.
Clara’s love of baking started young, powered by homemade pies, biscuits, and stories passed around the family table.
After earning her degree at Sullivan University and a food writing certificate at Lane Community College, she turned her passion into a craft: sharing recipes that are simple, soulful, and always full of heart.
She’s big on bold flavors, flexible ideas, and creating sweets that fit any table (yes, even if you’re gluten-free). When she’s not baking, you’ll find her wandering farmers’ markets, styling food for the next photo shoot, or working on her ever-growing recipe journal.