
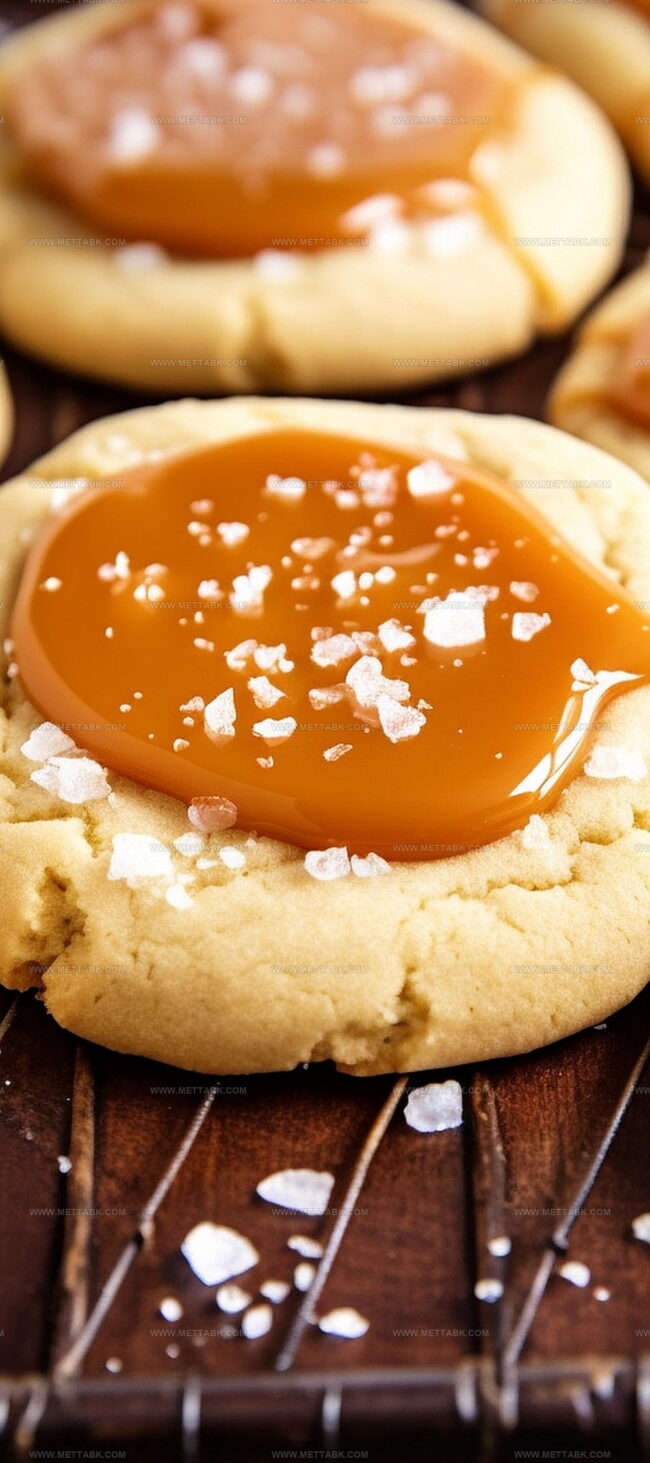
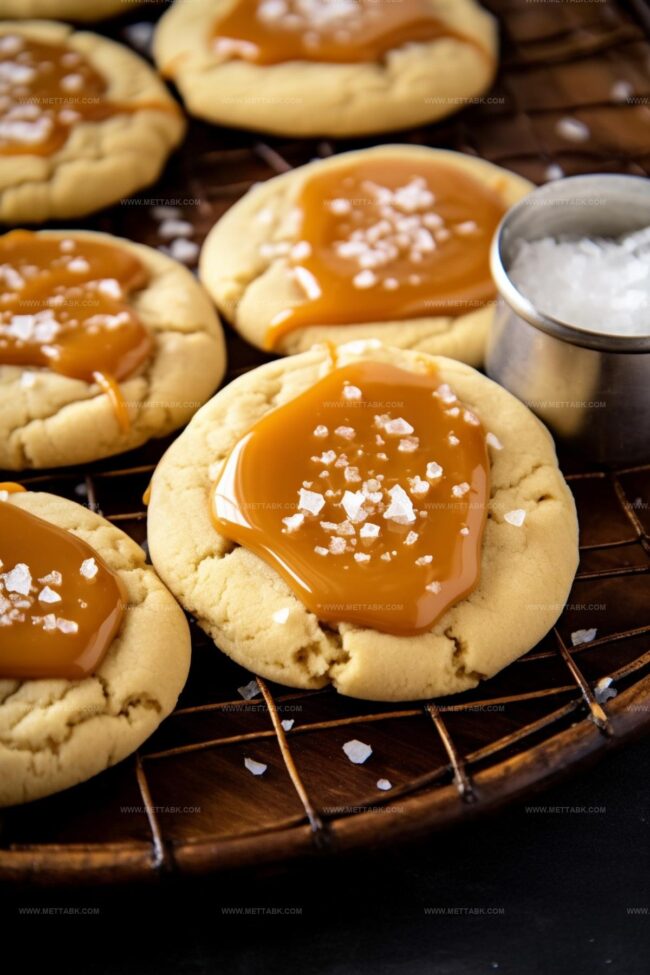
Irresistibly Gooey Salted Caramel Cookies Recipe
Sweet memories often spark when unexpected salt cuts through delectable caramel in these salted caramel cookies.
Crisp edges promise a delightful crunch that melts into rich, buttery goodness.
Warm kitchen aromas will draw people closer with each baking batch.
Chocolate chips peek through golden surfaces, adding unexpected texture to every bite.
Comfort meets sophistication in this simple yet elegant treat that connects generations.
Simple ingredients combine to create magic on your plate.
What Makes Salted Caramel Cookies So Irresistible

Ingredients You’ll Need for Salted Caramel Cookies
Easy Instructions for Salted Caramel Cookies
Step 1: Warm Up the Oven
Get your oven ready by heating it to 350°F. Grab two baking sheets and line them with parchment paper or a silicone mat to prevent any sticky situations.
Step 2: Mix Dry Ingredients
Grab a medium bowl and toss in:Stir these ingredients until they’re best friends and completely combined.
Step 3: Create Creamy Wet Base
In a larger bowl, blend together:Whip these until they’re smooth and dreamy.
Crack in an egg, splash some milk, and add vanilla extract. Mix until everything looks harmonious.
Step 4: Bring Dough to Life
Slowly add the dry ingredient mixture into the wet ingredients. Stir gently until a soft, beautiful dough forms.
Don’t overmix – just make sure everything is happy together.
Step 5: Shape Cookie Spheres
Roll the dough into balls about the size of a golf ball.
Place them on your prepared baking sheets, giving each cookie some breathing room.
Step 6: Create Caramel Pockets
Using a butter-coated measuring cup, gently press a small dimple into the center of each cookie.
This is where the magic will happen!
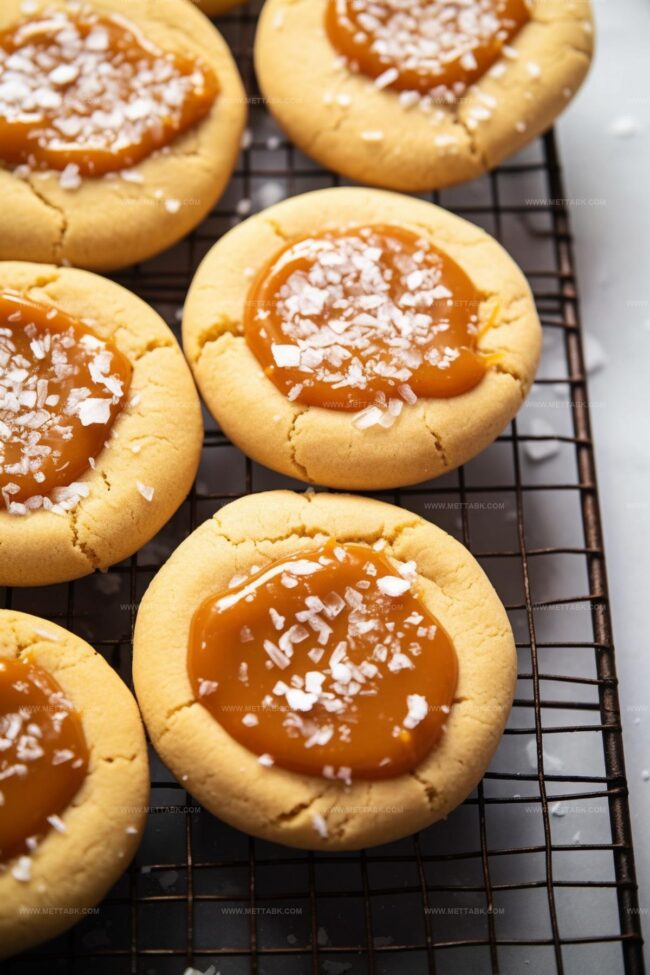
Step 7: Bake to Perfection
Slide the cookies into the oven for 8-10 minutes.
They should look barely golden – we want them soft and tender. Let them chill on the baking sheet for 5 minutes, then transfer to a cooling rack.
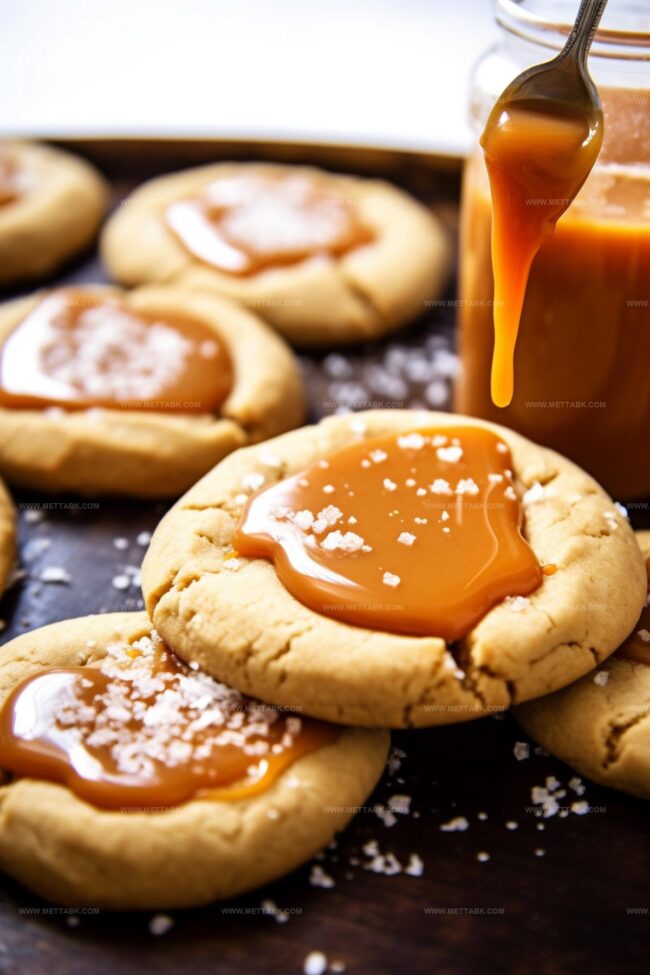
Step 8: Craft Luxurious Caramel
In a microwave-safe bowl, combine:Zap in 30-second bursts, stirring between each, until smooth. Sprinkle in some salt for that extra wow factor.
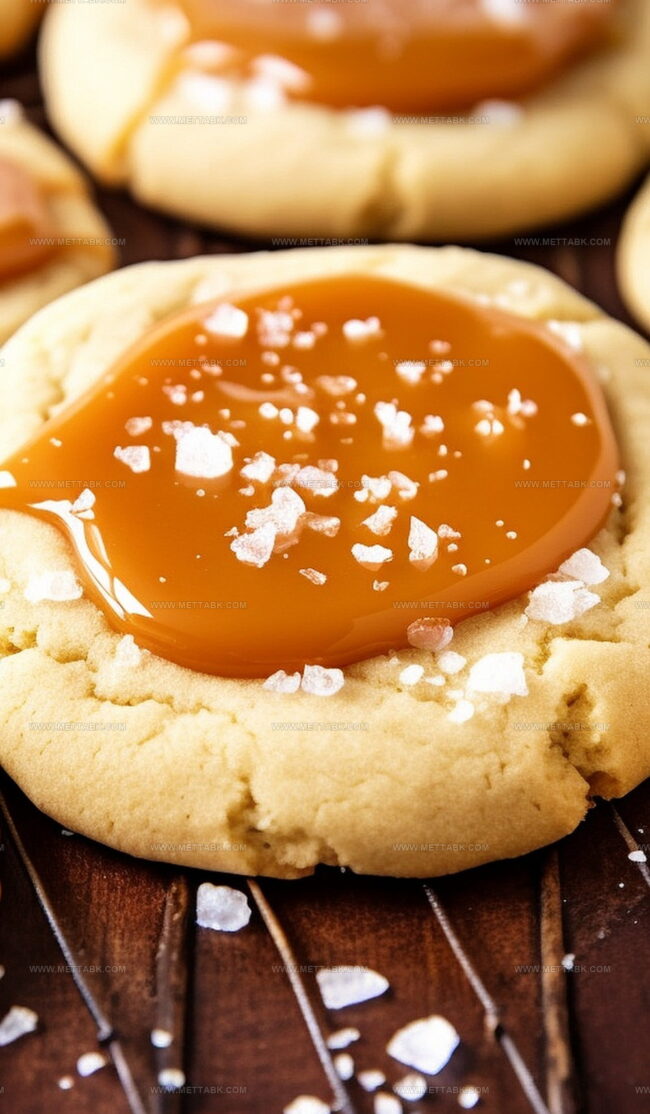
Step 9: Add Caramel Finishing Touch
Carefully drizzle the warm caramel into each cookie’s center. Sprinkle a pinch of flaky sea salt on top for a flavor explosion.
Let the caramel set completely.
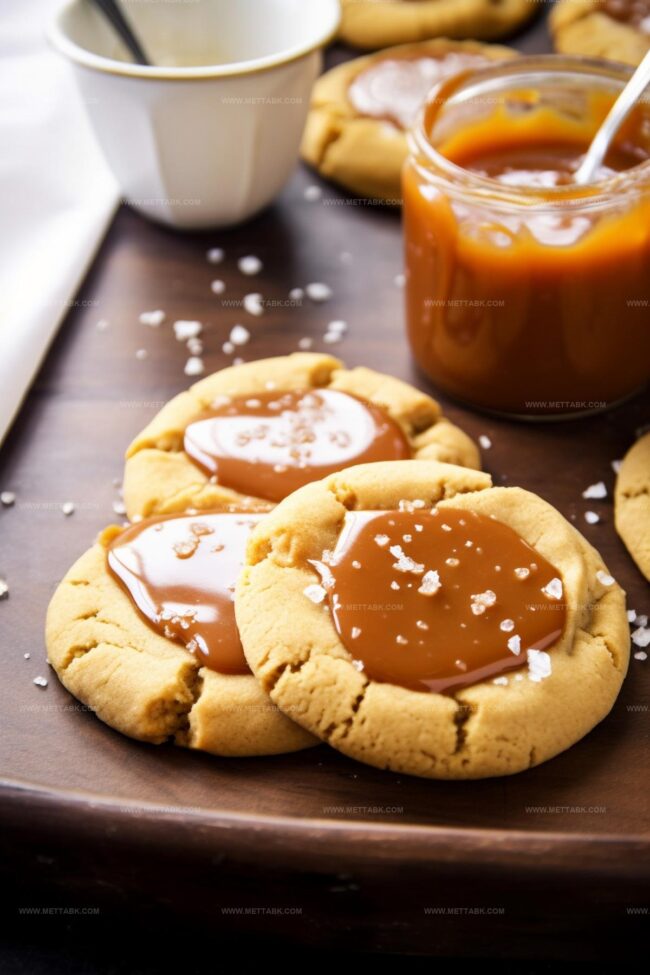
Step 10: Store and Enjoy
Once the caramel has hardened, store these beauties in an airtight container.
They’ll stay fresh and delicious for up to a week – if they last that long!
Expert Tips for Baking Salted Caramel Cookies
Delicious Variations of Salted Caramel Cookies to Try
Pairing Ideas to Elevate Salted Caramel Cookies

How to Store Salted Caramel Cookies for Maximum Freshness
FAQs
The combination of brown sugar, vanilla extract, and salted caramel creates a rich, complex taste profile that balances sweet and salty notes perfectly.
Chill the dough for 30 minutes before baking and ensure your butter is softened but not melted. This helps maintain the cookie’s shape and prevents excessive spreading.
Yes, you can prepare the dough in advance and refrigerate it for up to 3 days before baking. This can actually enhance the flavor and texture of the cookies.
Print
Salted Caramel Cookies Recipe
- Total Time: 30 minutes
- Yield: 24 1x
Description
Salted caramel cookies deliver rich butterscotch notes with a perfect balance of sweet and salty flavors. Crisp edges and gooey centers make these treats irresistible for anyone craving comfort in a single bite.
Ingredients
- 3 cups all-purpose flour
- 2 packages (10.5 oz each) Werther’s Chewy Caramels (unwrapped)
- 2/3 cup light brown sugar
- 1/2 cup unsalted butter (softened)
- 1/2 cup confectioners powdered sugar
- 1/3 cup vegetable oil
- 2 tbsps milk
- 2 tsp salt
- 1 egg (room temperature)
- 1 tbsp vanilla extract
- 1/2 tsp salt
- 1/4 tsp baking soda
- 1/4 tsp cream of tartar
- Flaky sea salt (for garnish)
Instructions
- Preheat the oven to 350°F and line two baking sheets with parchment paper or silicone mats.
- Whisk together flour, salt, baking soda, and cream of tartar in a medium bowl until uniformly combined.
- In a larger bowl, cream butter, vegetable oil, brown sugar, and powdered sugar until smooth and fluffy.
- Add egg, milk, and vanilla extract to the butter mixture, blending thoroughly until well integrated.
- Gradually fold dry ingredients into the wet mixture, stirring until a consistent dough forms.
- Roll dough into golf ball-sized spheres, spacing them evenly on prepared baking sheets.
- Use a buttered measuring cup to create gentle indentations in the center of each cookie.
- Bake for 8-10 minutes, maintaining a light golden color. Cool on baking sheets for 5 minutes before transferring to a wire rack.
- Melt caramels and milk in microwave, stirring every 30 seconds until completely smooth.
- Stir salt into the melted caramel mixture.
- Carefully pour caramel into cookie indentations, immediately sprinkling with flaked sea salt.
- Allow caramel to set completely before storing in an airtight container for up to one week.
Notes
- Customize the dough texture by adjusting butter temperature, ensuring softened butter creates a smoother, more consistent cookie base.
- Experiment with different salt types like Himalayan or smoked sea salt to add unique flavor dimensions to the caramel topping.
- Prevent cookie spreading by chilling the shaped dough for 15 minutes before baking, which helps maintain a more compact and uniform shape.
- Transform these cookies into gluten-free options by substituting all-purpose flour with a blend of almond and coconut flour for a nutty, alternative texture.
- Prep Time: 20 minutes
- Cook Time: 10 minutes
- Category: Snacks, Desserts
- Method: Baking
- Cuisine: American
Nutrition
- Serving Size: 24
- Calories: 172
- Sugar: 14 g
- Sodium: 106 mg
- Fat: 8 g
- Saturated Fat: 4 g
- Unsaturated Fat: 3 g
- Trans Fat: 0 g
- Carbohydrates: 23 g
- Fiber: 0.5 g
- Protein: 1.5 g
- Cholesterol: 18 mg
Clara Bennett
Contributing Recipe Developer & Food Writer
Expertise
Baking and Pastry Development, Gluten-Free and Allergy-Friendly Recipe Creation, Culinary Storytelling and Food Journalism, Recipe Testing and Standardization, Southern Comfort Foods and Modern Twists
Education
Sullivan University – National Center for Hospitality Studies
Associate Degree in Culinary Arts
Focus: Baking and Pastry Arts, Recipe Testing, and Culinary Journalism.
Clara specialized in crafting desserts that blend classic Southern comfort with modern techniques, while developing strong writing skills to tell the story behind every dish.
Lane Community College (Certificate Program)
Certificate in Food Writing and Photography
Focus: Culinary storytelling, recipe formatting, food styling, and visual presentation.
Clara’s love of baking started young, powered by homemade pies, biscuits, and stories passed around the family table.
After earning her degree at Sullivan University and a food writing certificate at Lane Community College, she turned her passion into a craft: sharing recipes that are simple, soulful, and always full of heart.
She’s big on bold flavors, flexible ideas, and creating sweets that fit any table (yes, even if you’re gluten-free). When she’s not baking, you’ll find her wandering farmers’ markets, styling food for the next photo shoot, or working on her ever-growing recipe journal.