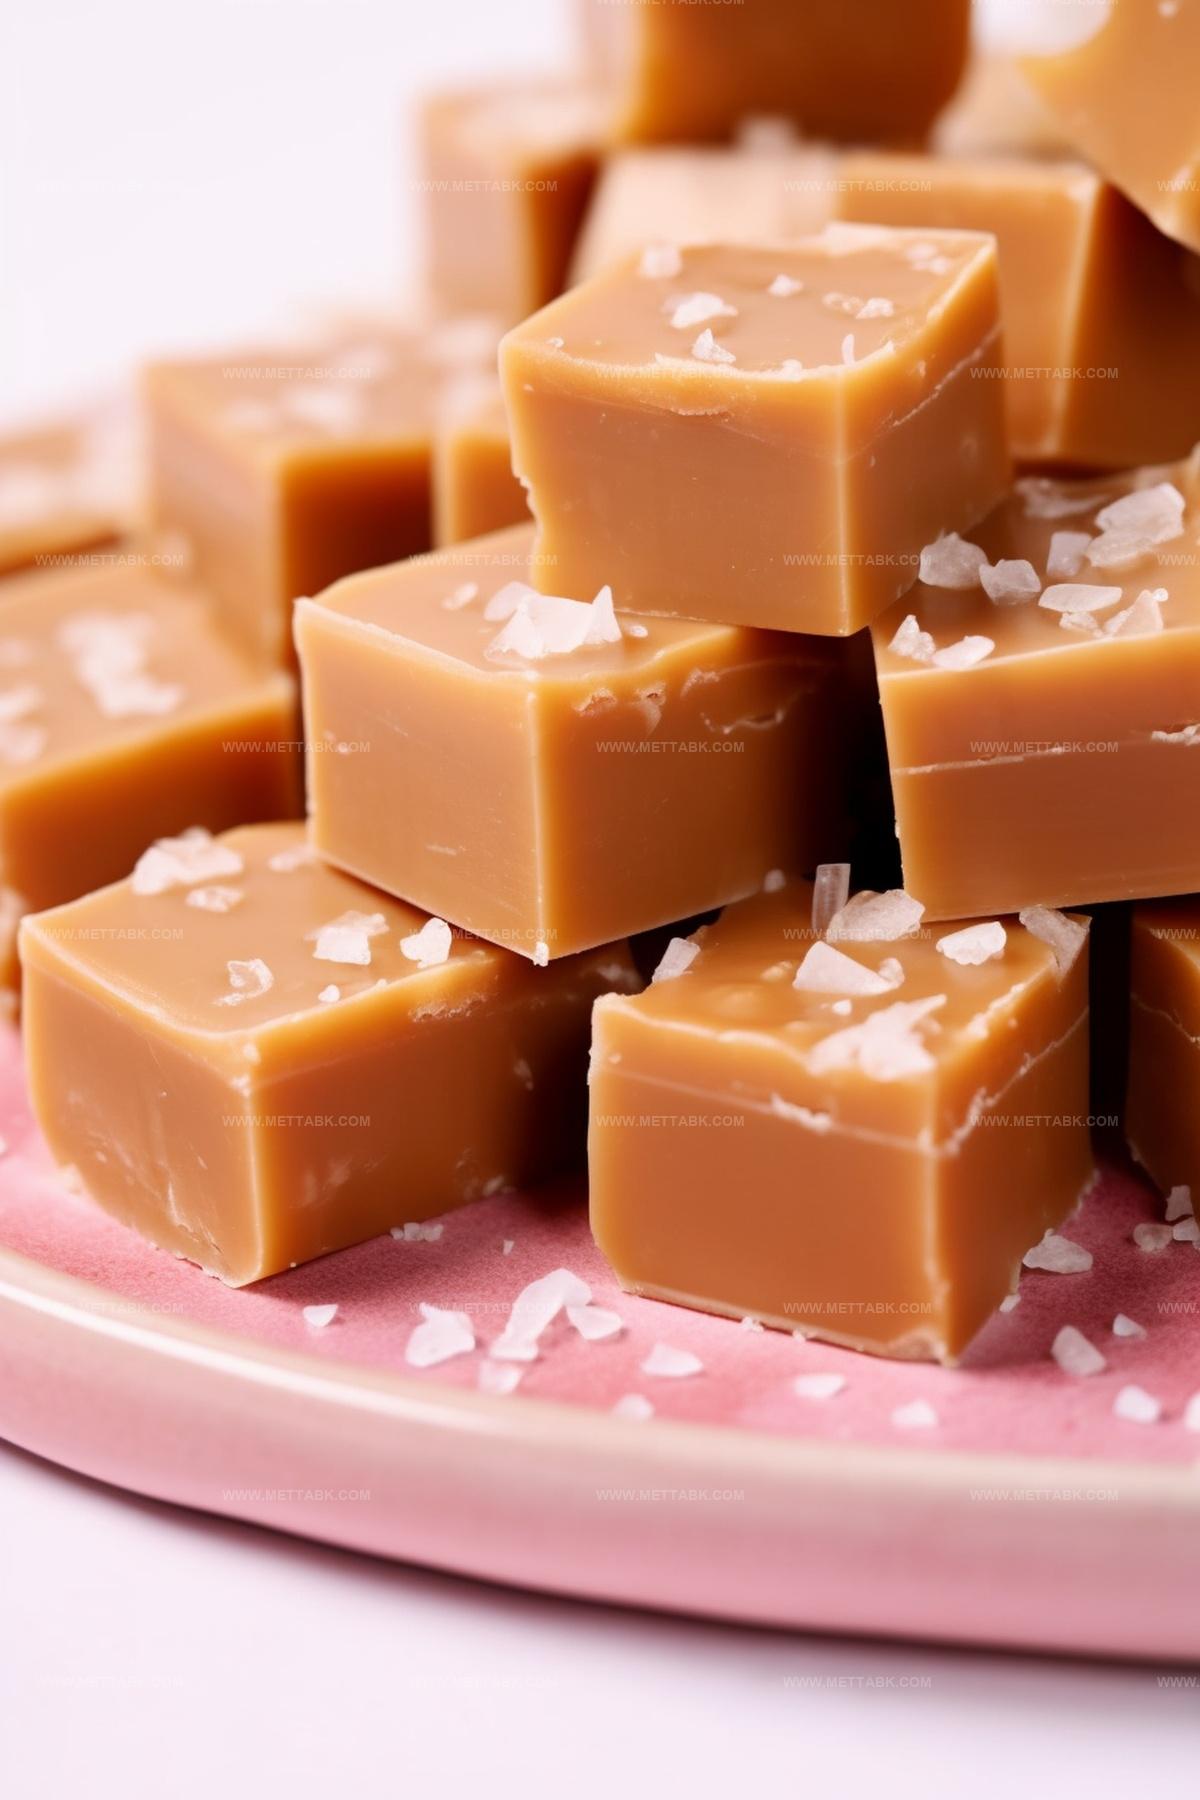
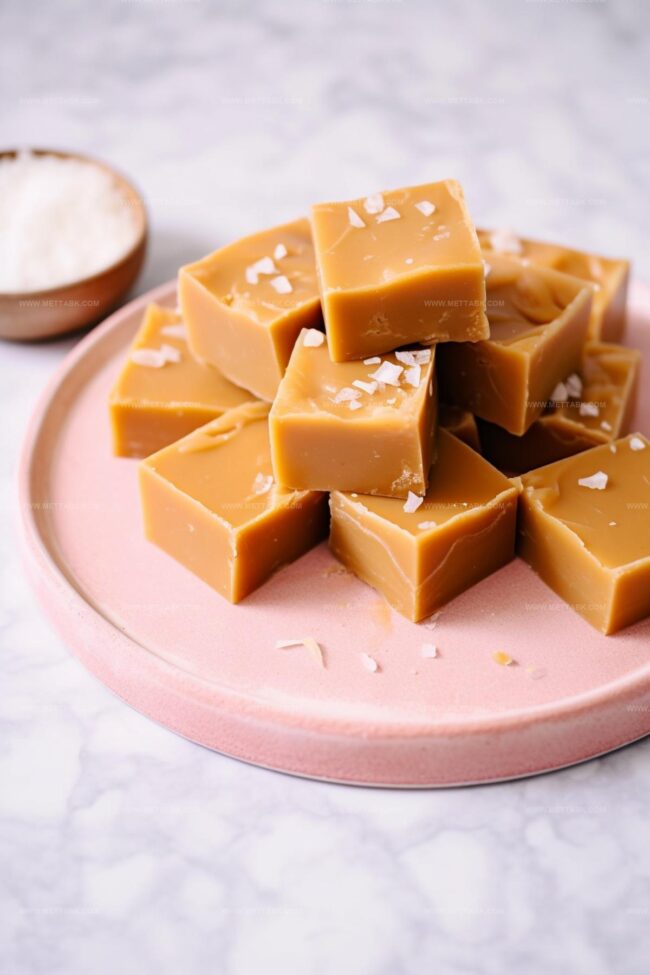
The Dreamy Salted Caramel Fudge Recipe Everyone Loves
Sweet dreams come alive with this decadent salted caramel fudge that melts into pure indulgence.
Caramel lovers will swoon over each creamy, rich bite.
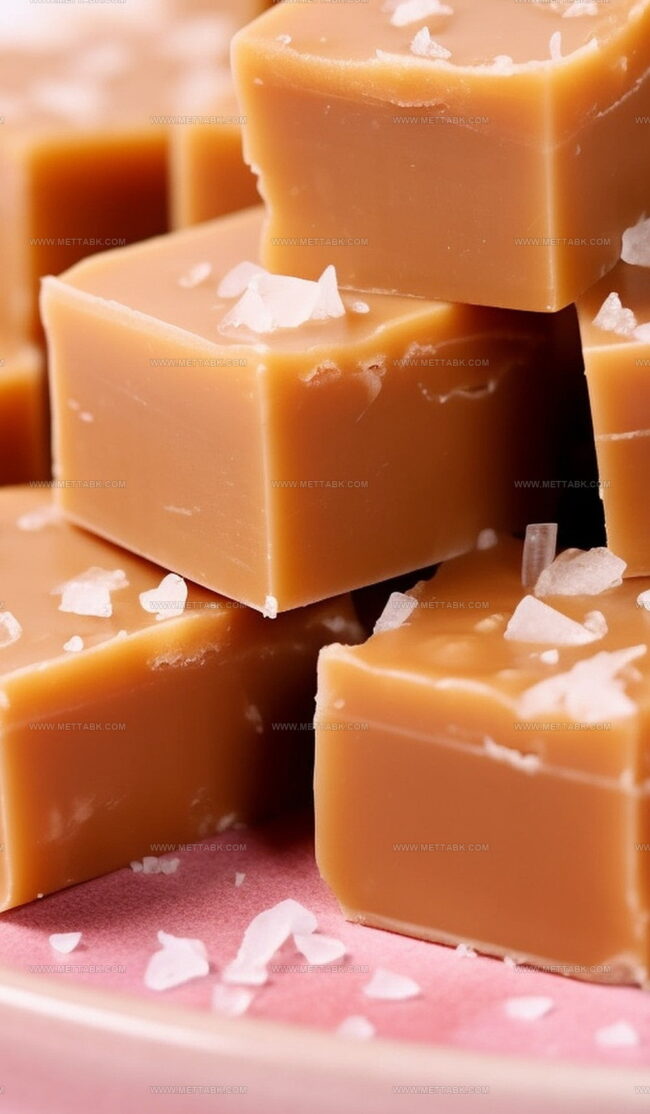
Rich notes of sea salt dance through smooth, velvety layers of confectionery magic.
Chocolate enthusiasts understand the power of unexpected flavor combinations.
Anyone can create this luxurious treat with just a few simple ingredients.
Minimal effort delivers maximum satisfaction in every delectable square.
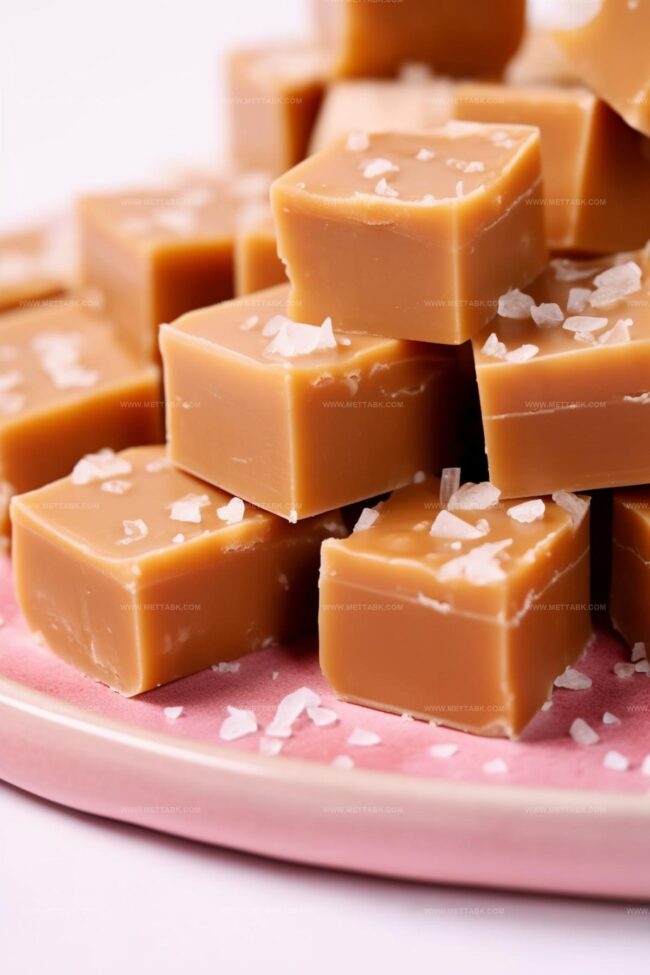
Salted Caramel Fudge That Melts
Ingredients Behind Salted Caramel Fudge
Base Ingredients:Chocolate and Seasoning:Preparation Ingredients:How to Make Salted Caramel Fudge
Step 1: Prepare Baking Canvas
Line an 8-inch square pan with parchment paper, letting edges hang over sides for easy lifting. Lightly grease the paper to ensure smooth removal of the fudge later.
Step 2: Melt Caramel Base
Gather ingredients:Combine all ingredients in a medium saucepan over low heat. Stir gently until sugar dissolves completely and mixture looks smooth and glossy.
Step 3: Transform Mixture
Gradually increase heat to medium. Stir constantly to prevent burning.
Watch the mixture bubble and thicken, which takes about 5-6 minutes. The consistency should become rich and slightly darker.
Step 4: Introduce Chocolate Magic
Remove pan from heat. Add white chocolate pieces and stir vigorously until completely melted.
The mixture will become super creamy and luxurious.
Step 5: Create Fudge Masterpiece
Pour the mixture into prepared pan.
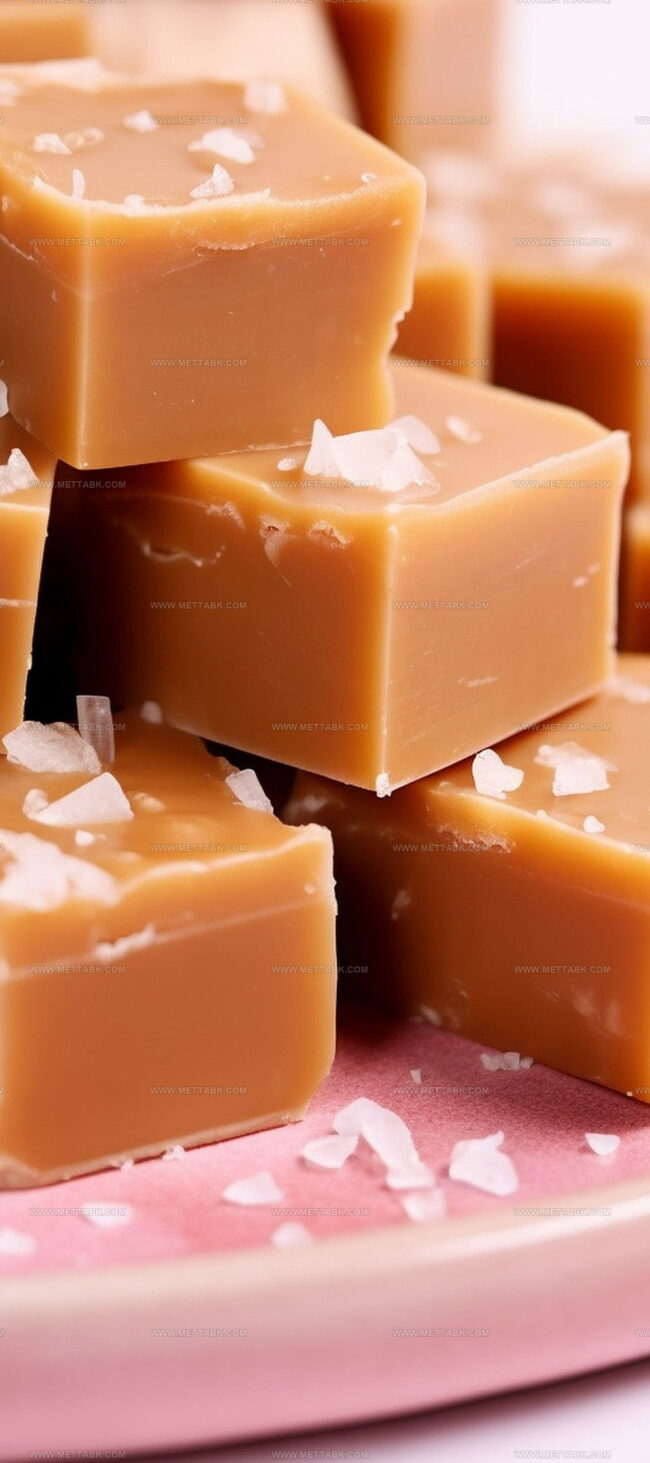
Spread evenly with a spatula. Sprinkle sea salt across the top for a delightful flavor contrast.
Step 6: Chill and Set
Refrigerate the pan for minimum 4 hours or overnight. The fudge will transform into a firm, decadent treat.
Step 7: Slice and Serve
Remove from refrigerator. Lift fudge out using parchment paper edges.
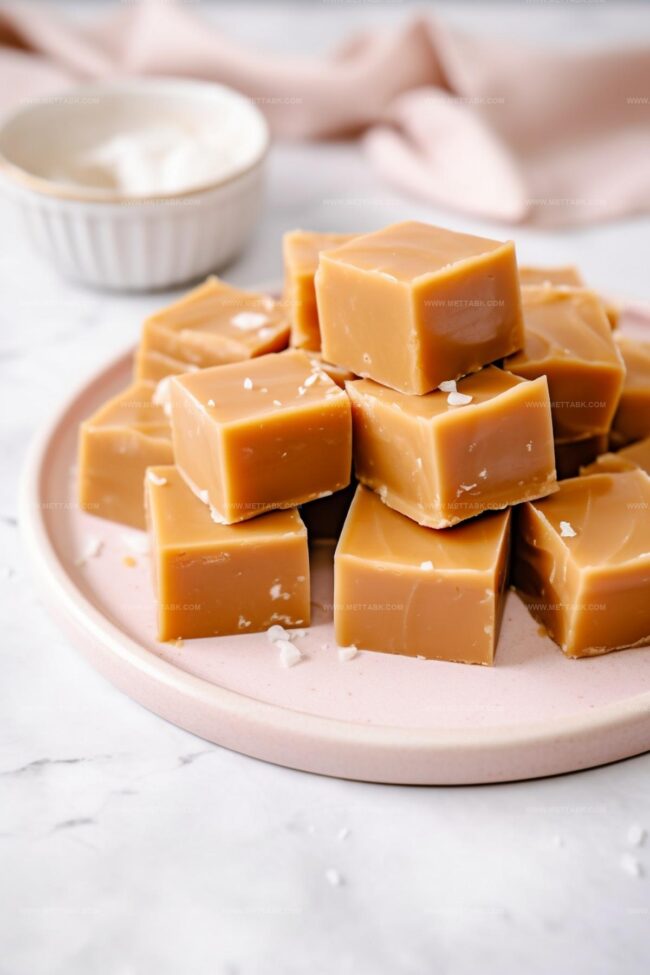
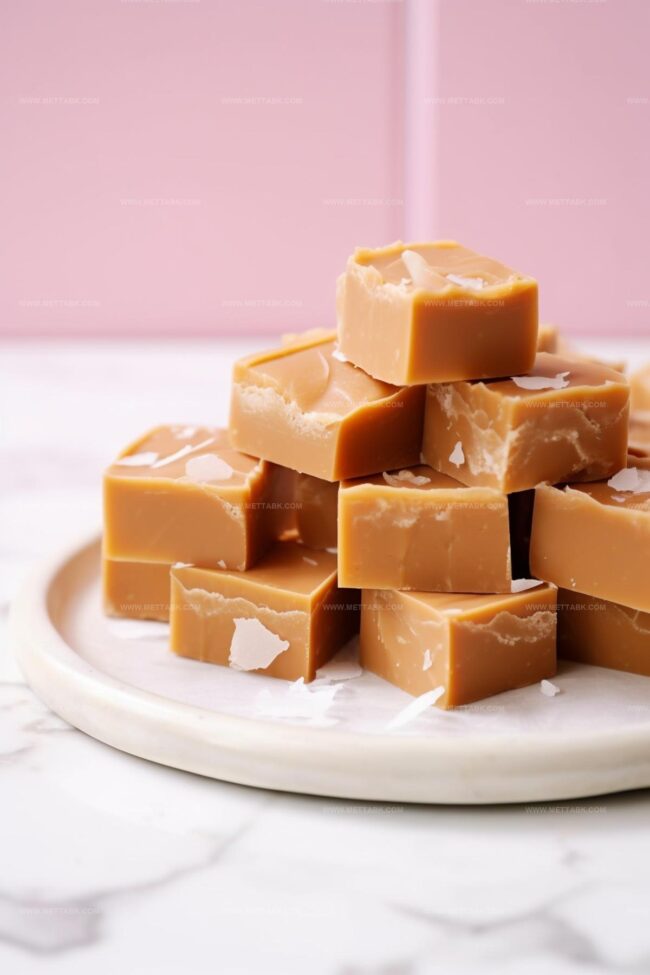
Cut into perfect square pieces using a sharp knife. Enjoy your homemade salted caramel fudge!
Tips to Perfect Salted Caramel Fudge
Variations on Salted Caramel Fudge
Pairing Ideas with Salted Caramel Fudge
Storage Tips for Salted Caramel Fudge
FAQs
Sea salt is ideal as it provides a perfect balance of sweetness and saltiness, creating a delightful contrast with the caramel and white chocolate flavors.
White chocolate is recommended for this specific recipe as it complements the caramel flavor, but you could experiment with milk chocolate if desired.
When stored in an airtight container in the refrigerator, the salted caramel fudge will remain fresh for up to 2 weeks.
Yes, this recipe is relatively straightforward and requires basic cooking skills. Just be patient and careful while cooking the caramel mixture to avoid burning.
Print
Salted Caramel Fudge Recipe
- Total Time: 21 minutes
- Yield: 16 1x
Description
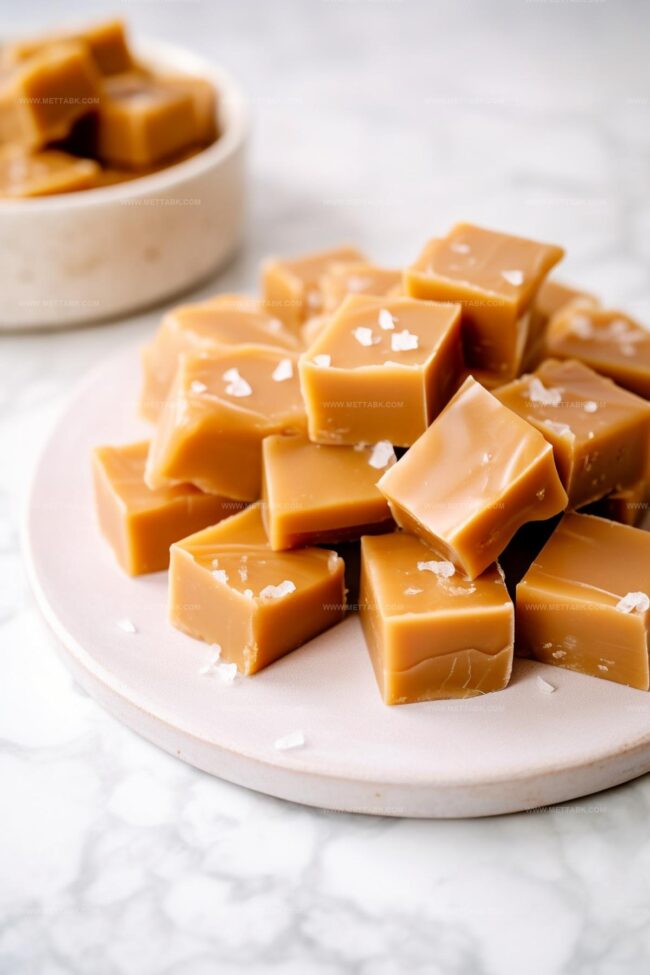
Homemade salted caramel fudge brings rich, creamy indulgence to dessert tables with classic sweet-salty balance. Chocolate lovers can craft this simple treat quickly, enjoying luxurious results without complex techniques.
Ingredients
- 200 grams (7 oz) white chocolate (broken into pieces)
- 240 milliliters (8 fl oz) sweetened condensed milk
- 180 grams (6.3 oz) brown sugar
- 115 grams (4 oz) unsalted butter (coarsely chopped)
- 2 tablespoons (30 ml) golden syrup
- Sea salt (to taste)
Instructions
- Prepare an 8-inch square pan by thoroughly greasing and lining with parchment paper, ensuring smooth edges for effortless fudge removal.
- Combine sweetened condensed milk, brown sugar, unsalted butter, and golden syrup in a medium saucepan over low heat, stirring gently until sugar dissolves completely and ingredients integrate seamlessly.
- Gradually elevate heat to medium, continuously stirring the caramel mixture while monitoring its consistency. Cook for approximately 5-6 minutes until the mixture transforms into a thick, bubbling texture without scorching.
- Remove saucepan from heat and swiftly incorporate white chocolate pieces, stirring vigorously until chocolate melts entirely and creates a uniform, glossy mixture.
- Transfer the molten fudge into the prepared pan, spreading evenly with a spatula. Delicately sprinkle sea salt across the surface, creating a decorative and flavorful finish.
- Refrigerate the pan for 3-4 hours or ideally overnight, allowing the fudge to solidify completely and develop its characteristic smooth texture.
- Once fully set, extract the fudge from refrigerator and slice into precise, uniform squares using a sharp knife for clean, professional presentation.
Notes
- Use a candy thermometer for accurate temperature control to prevent burning or undercooking the caramel mixture.
- Stir constantly and gently to achieve a silky, creamy consistency without introducing air bubbles.
- Swap white chocolate with dairy-free alternatives like coconut milk chocolate for vegan-friendly version or use dark chocolate for a richer flavor profile.
- Keep fudge refrigerated in an airtight container for up to two weeks, separating layers with parchment paper to prevent sticking.
- Prep Time: 15 minutes
- Cook Time: 6 minutes
- Category: Desserts, Snacks
- Method: Simmering
- Cuisine: American
Nutrition
- Serving Size: 16
- Calories: 221
- Sugar: 28 g
- Sodium: 45 mg
- Fat: 10 g
- Saturated Fat: 6 g
- Unsaturated Fat: 3 g
- Trans Fat: 0.2 g
- Carbohydrates: 30 g
- Fiber: 0.2 g
- Protein: 1.5 g
- Cholesterol: 20 mg
Clara Bennett
Contributing Recipe Developer & Food Writer
Expertise
Baking and Pastry Development, Gluten-Free and Allergy-Friendly Recipe Creation, Culinary Storytelling and Food Journalism, Recipe Testing and Standardization, Southern Comfort Foods and Modern Twists
Education
Sullivan University – National Center for Hospitality Studies
Associate Degree in Culinary Arts
Focus: Baking and Pastry Arts, Recipe Testing, and Culinary Journalism.
Clara specialized in crafting desserts that blend classic Southern comfort with modern techniques, while developing strong writing skills to tell the story behind every dish.
Lane Community College (Certificate Program)
Certificate in Food Writing and Photography
Focus: Culinary storytelling, recipe formatting, food styling, and visual presentation.
Clara’s love of baking started young, powered by homemade pies, biscuits, and stories passed around the family table.
After earning her degree at Sullivan University and a food writing certificate at Lane Community College, she turned her passion into a craft: sharing recipes that are simple, soulful, and always full of heart.
She’s big on bold flavors, flexible ideas, and creating sweets that fit any table (yes, even if you’re gluten-free). When she’s not baking, you’ll find her wandering farmers’ markets, styling food for the next photo shoot, or working on her ever-growing recipe journal.