Super Easy Easter Cheese Ball Recipe: A Festive Party Pleaser
Crafting a delightful easter cheese ball can turn an ordinary gathering into a memorable celebration.
Cheese lovers will adore this simple yet impressive appetizer that comes together in minutes.
Creamy textures blend perfectly with crunchy nuts and zesty herbs.
Guests will be delighted by the rich flavors and smooth consistency.
Every bite offers a delectable combination of tangy cream cheese and savory mix-ins.
Quick to prepare and even faster to disappear, this cheese ball becomes the star of any springtime spread.
Serve with crackers and watch everyone dig in with enthusiasm.
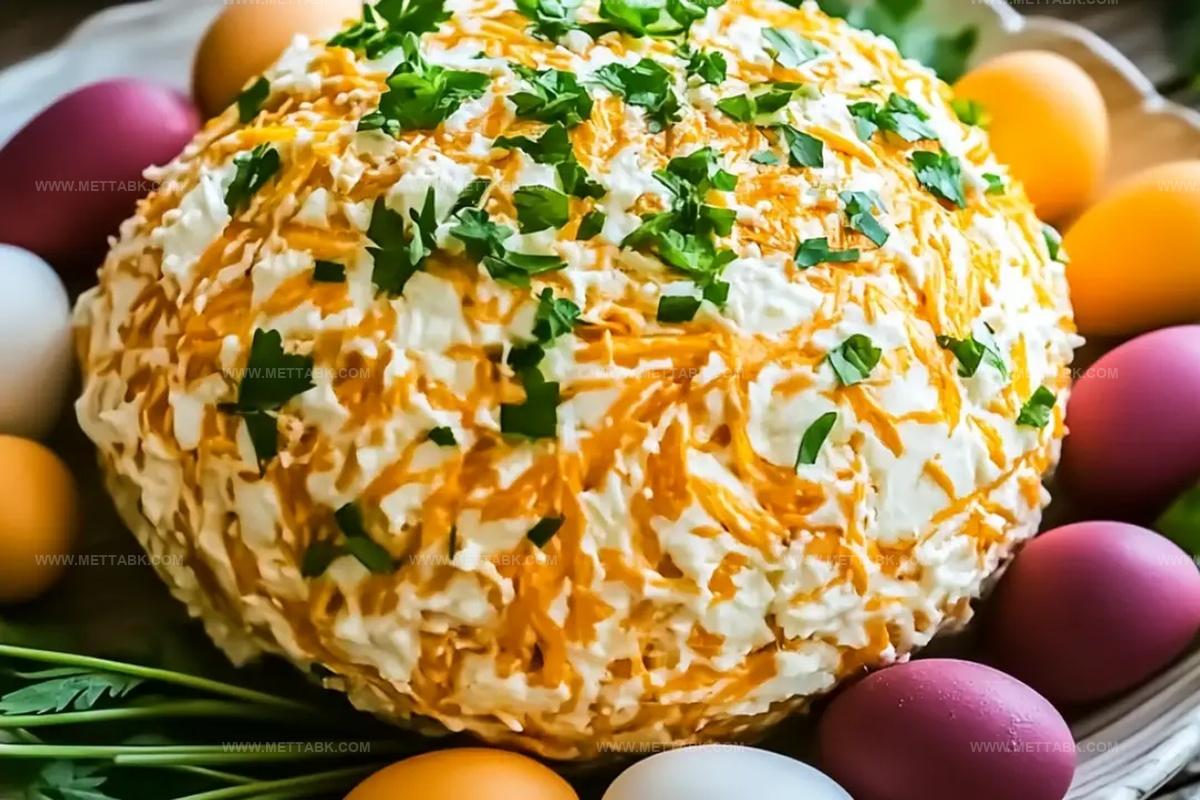
Super Easy Easter Cheese Ball Everyone Will Enjoy

Ingredients for a Delightful Easter Cheese Ball
For the Base:For the Seasoning:For the Coating and Garnish:Serving Companions:How to Make the Perfect Easter Cheese Ball
Step 1: Blend Creamy Cheese Mixture
Grab a large mixing bowl and toss in the cream cheese, shredded cheddar cheese, and ranch seasoning. Use a sturdy spatula or electric mixer to blend everything together until the mixture becomes smooth and well-combined.
Make sure all ingredients are thoroughly incorporated for a consistent flavor throughout the cheese ball.
Step 2: Shape Into A Festive Oval
Using clean hands, carefully form the cheese mixture into a compact ball or oval shape.
Work gently to prevent the mixture from crumbling. The goal is to create a smooth, cohesive shape that will hold together when coated with crackers.
Step 3: Create A Crunchy Exterior
Prepare a plate with crushed crackers. Carefully roll the cheese ball in the crushed crackers, using your hands to press the crumbs gently and ensure they stick evenly to the surface.
Rotate the ball to cover every inch with a delightful crunchy coating.
Step 4: Chill And Set
Transfer the coated cheese ball to a serving plate or container.
Place it in the refrigerator for at least 30 minutes. This chilling time helps the cheese ball firm up and allows the flavors to meld together, creating a more delicious appetizer.
Step 5: Add A Fresh Garnish
After chilling, sprinkle some freshly chopped parsley over the top of the cheese ball for a pop of color and added freshness. This step is optional but adds a beautiful finishing touch to your appetizer.
Step 6: Serve And Enjoy
Arrange the cheese ball on a platter surrounded by an assortment of dipping options like crispy crackers, fresh vegetable sticks, or potato chips. Invite guests to scoop and enjoy this crowd-pleasing Easter appetizer that’s sure to be a hit at any gathering.
Tips for Creamy and Flavorful Cheese Ball
Fun Variations on Easter Cheese Ball
Pairings That Complement Easter Cheese Ball
Storing Your Easter Cheese Ball Properly
Store the cheese ball in an airtight container or wrap tightly with plastic wrap. Keep refrigerated for up to 5 days to maintain freshness and flavor.
Wrap the cheese ball securely in plastic wrap, then place in a freezer-safe bag. Freeze for up to 1 month. Thaw overnight in the refrigerator before serving.
Remove from refrigerator 15-20 minutes before serving to soften slightly. Cut into wedges or scoop with crackers for easy enjoyment.
If the cheese ball feels dry after storage, gently mix in a tablespoon of softened cream cheese to restore moisture and smooth consistency.
FAQs
The ranch seasoning and cheddar cheese create a tangy, zesty taste that makes this cheese ball stand out from traditional recipes.
Yes, you can prepare it 1-2 days in advance and store it in the refrigerator, which actually helps the flavors meld together even better.
Absolutely! This cheese ball is perfect for parties, as it serves multiple people and can be easily shared with crackers or vegetables.
Chilling the mixture for at least 30 minutes helps it firm up and makes it easier to shape and roll in crackers, ensuring a perfect texture.
Print
Super Easy Easter Cheese Ball Recipe
- Total Time: 45 minutes
- Yield: 8 1x
Description
Celebrating spring festivities, this Easter Cheese Ball brings delightful creamy textures and festive flavors to your holiday gathering. Guests will savor each delectable bite of this quick and charming appetizer that delivers delicious comfort with minimal preparation effort.
Ingredients
Main Cheeses:
- 8 ounces (226 grams) cream cheese
- 1 cup (113 grams) shredded cheddar cheese
Seasonings and Herbs:
- 2 tablespoons ranch seasoning
- 1/2 cup (50 grams) chopped green onions
- Fresh parsley (optional for garnish)
Coating:
- 1 cup (100 grams) crushed crackers (for topping)
Instructions
- Thoroughly blend softened cream cheese with sharp cheddar and zesty ranch seasoning in a spacious mixing bowl until uniformly combined.
- Gently mold the cheese mixture into a compact, symmetrical sphere using clean hands, ensuring smooth surface and consistent shape.
- Create a crispy exterior by carefully rolling the cheese ball through finely crushed crackers, applying gentle pressure to achieve an even, complete coating.
- Refrigerate the prepared cheese ball for approximately 30 minutes, allowing the texture to solidify and flavors to meld together.
- Once chilled, optionally enhance visual appeal by delicately sprinkling chopped fresh parsley across the surface for a vibrant garnish.
- Present the cheese ball alongside an assortment of crisp crackers, raw vegetable sticks, or crunchy chips, inviting guests to scoop and savor the creamy, tangy appetizer.
Notes
- Keep cream cheese at room temperature for easier mixing and smoother texture.
- Crush crackers finely for a more even and consistent coating on the cheese ball.
- Add extra herbs like chives or dill for a more complex flavor profile.
- Make ahead and refrigerate for up to 3 days, allowing flavors to meld together perfectly.
- Prep Time: 15 minutes
- Cook Time: 30 minutes
- Category: Appetizer, Snacks
- Method: Chilling
- Cuisine: American
Nutrition
- Serving Size: 8
- Calories: 244 kcal
- Sugar: 1 g
- Sodium: 422 mg
- Fat: 20 g
- Saturated Fat: 11 g
- Unsaturated Fat: 7 g
- Trans Fat: 0.2 g
- Carbohydrates: 6 g
- Fiber: 0.3 g
- Protein: 8 g
- Cholesterol: 42 mg
Nate Harper
Founder & Recipe Curator
Expertise
Single-Recipe Development, Farm-to-Table Cooking, Seasonal Menu Planning, Culinary Storytelling, Home Kitchen Innovation
Education
Cascade Culinary Institute – Central Oregon Community College
Certificate in Culinary Arts
Focus: Farm-to-table cuisine, sustainable cooking practices, and seasonal recipe creation.
Nate studied under experienced chefs who emphasized local sourcing, minimal waste, and building recipes from fresh, simple ingredients.
Nate Harper is the founder and creative force behind Make, Take, Bake. Raised in the wild beauty of Oregon’s high desert, Nate grew up surrounded by family gardens, farmers’ markets, and home kitchens that celebrated the seasons.
His early love for simple, honest food evolved into a professional passion when he attended Cascade Culinary Institute, where he sharpened his skills in creating recipes that are sustainable, satisfying, and made for everyday life.
Nate’s goal is to make cooking feel accessible, free of fuss, and full of flavor. He believes a single, thoughtfully built dish can stand alone, and sometimes even steal the show.