The Dreamiest Super Soft Homemade Caramels Recipe Ever
Sweet memories dance through my kitchen whenever I craft these super soft homemade caramels that melt like silk on your tongue.
Sugar transforms into liquid gold with just a few simple ingredients and careful technique.
Copper pots gleam while golden amber liquid bubbles gently across stovetop surfaces.
Grandmothers worldwide have whispered similar secrets through generations of delectable candy making.
Precise temperature control makes the difference between spectacular success and potential sugar disasters.
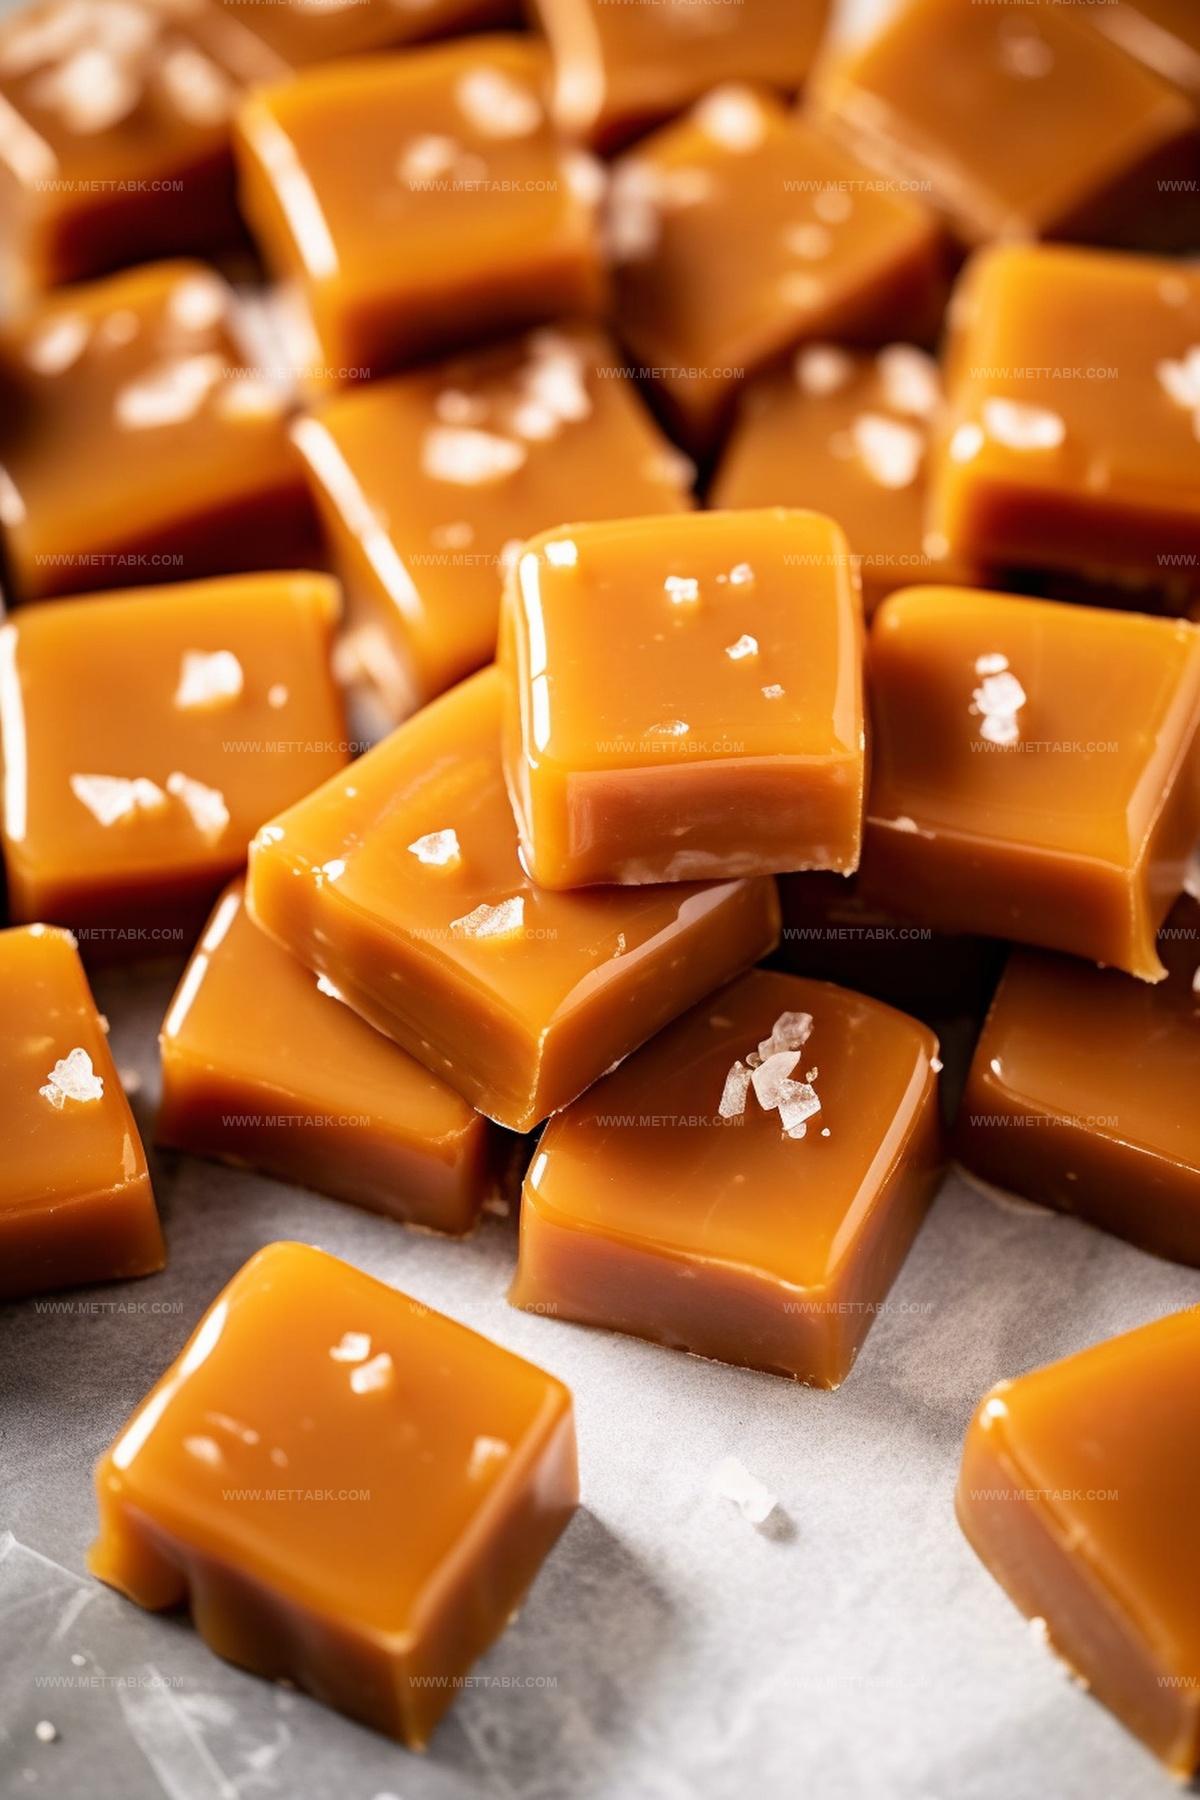
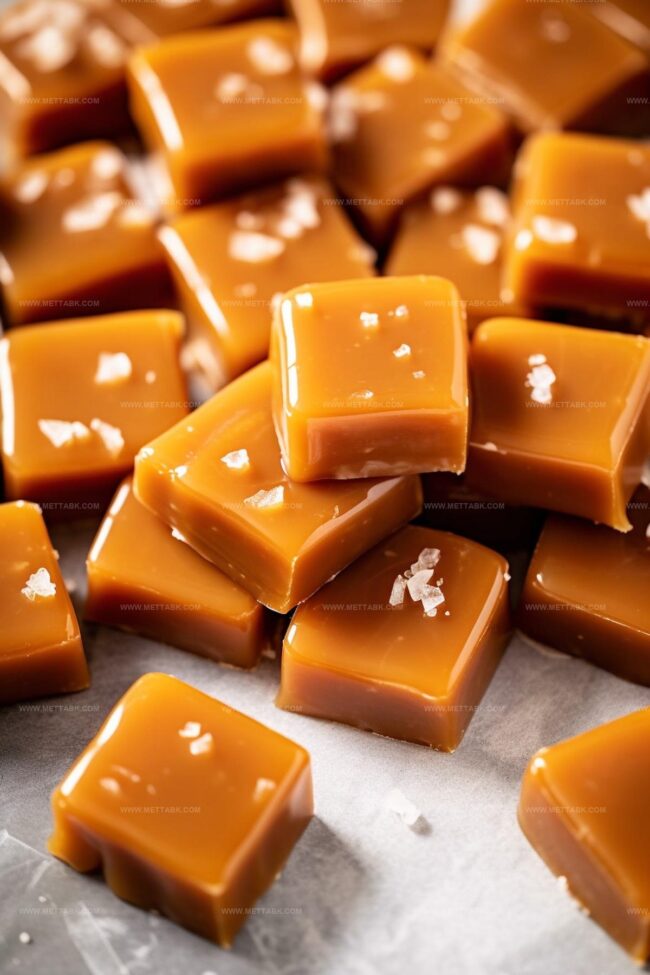
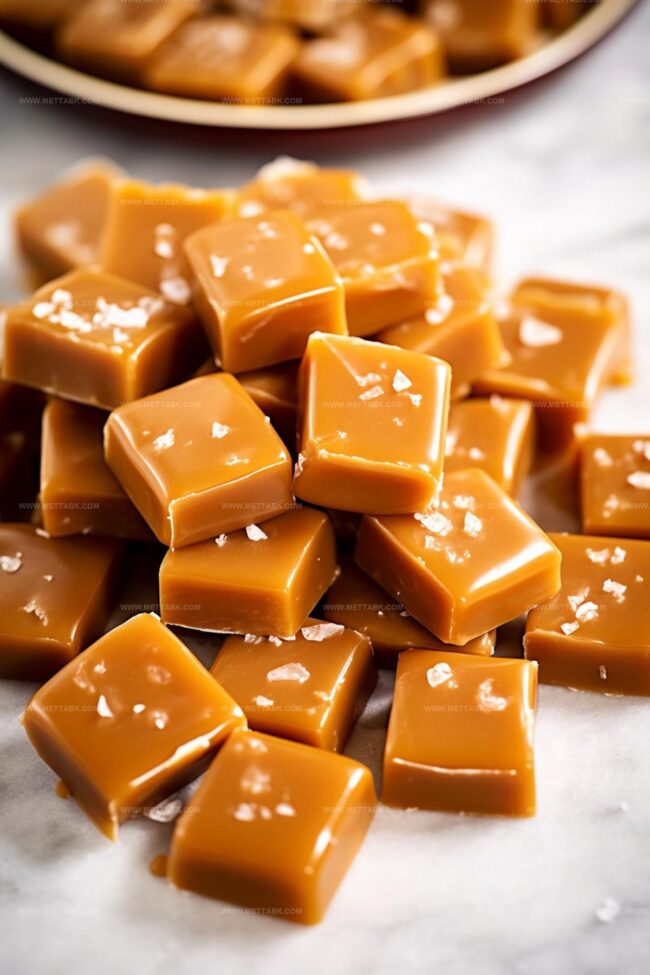
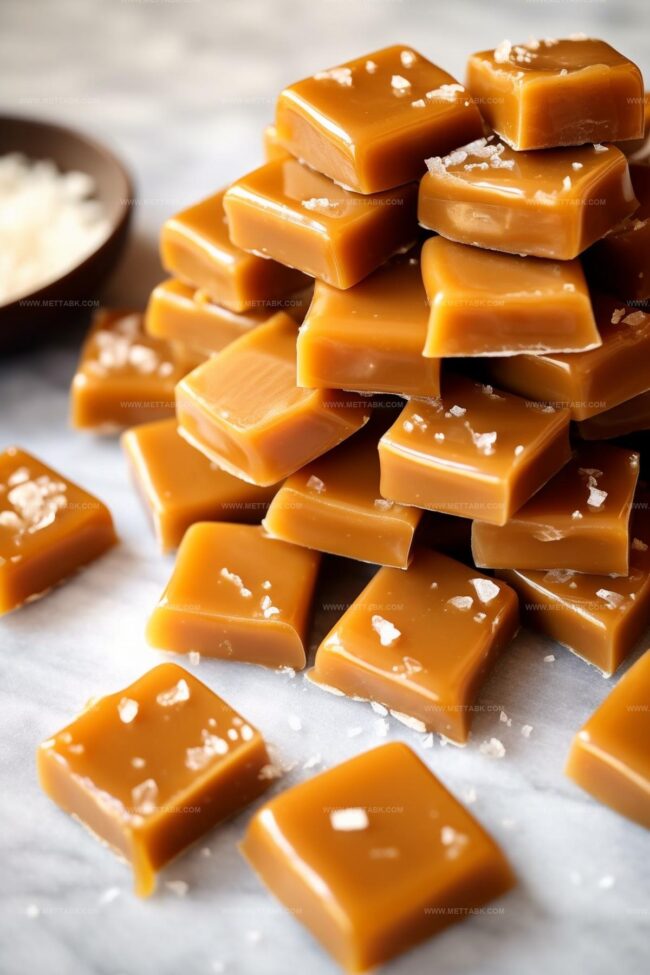
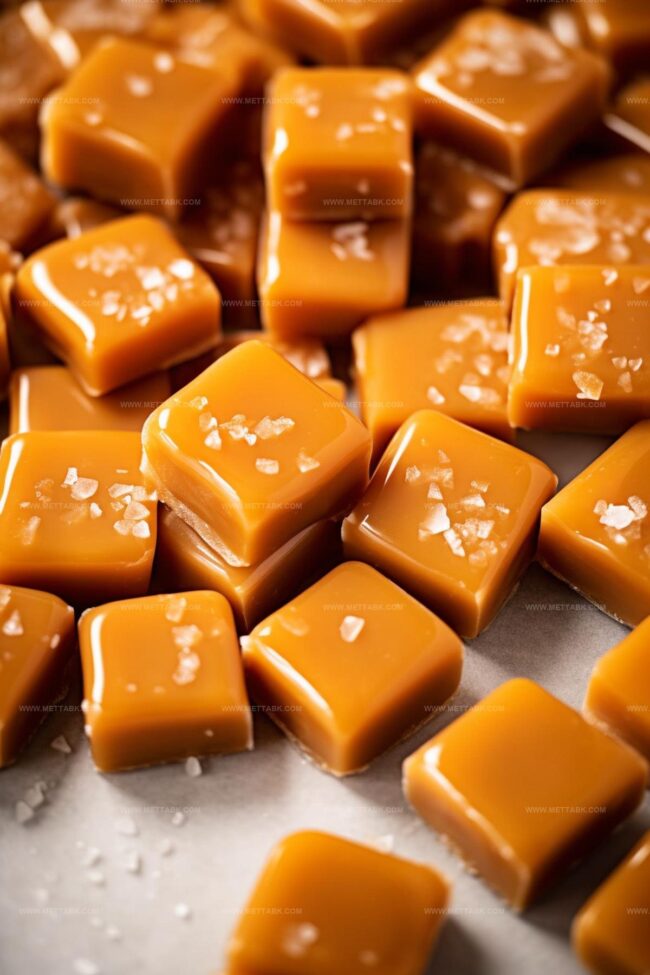
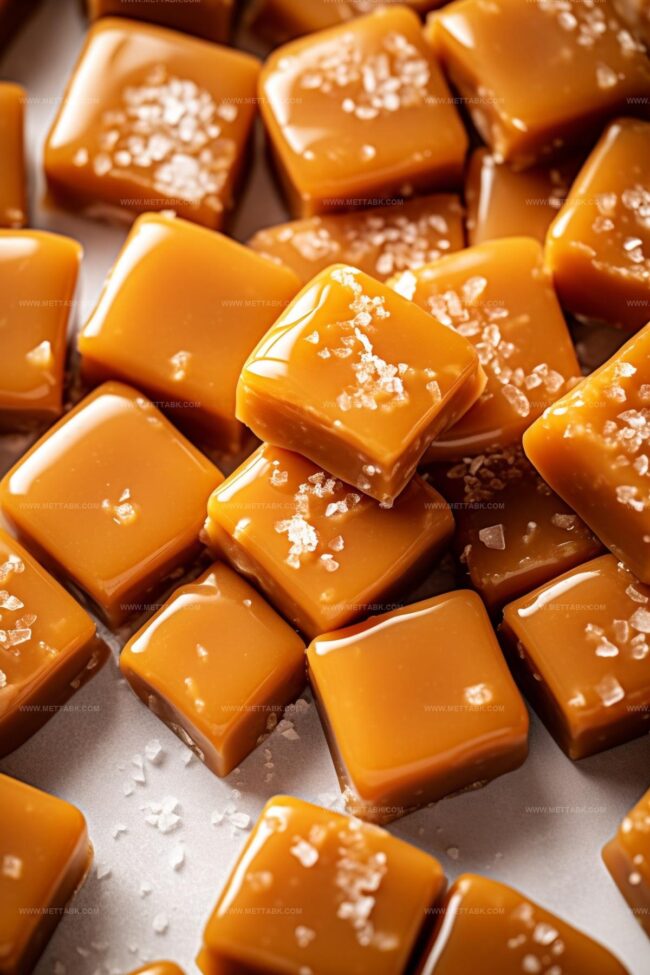
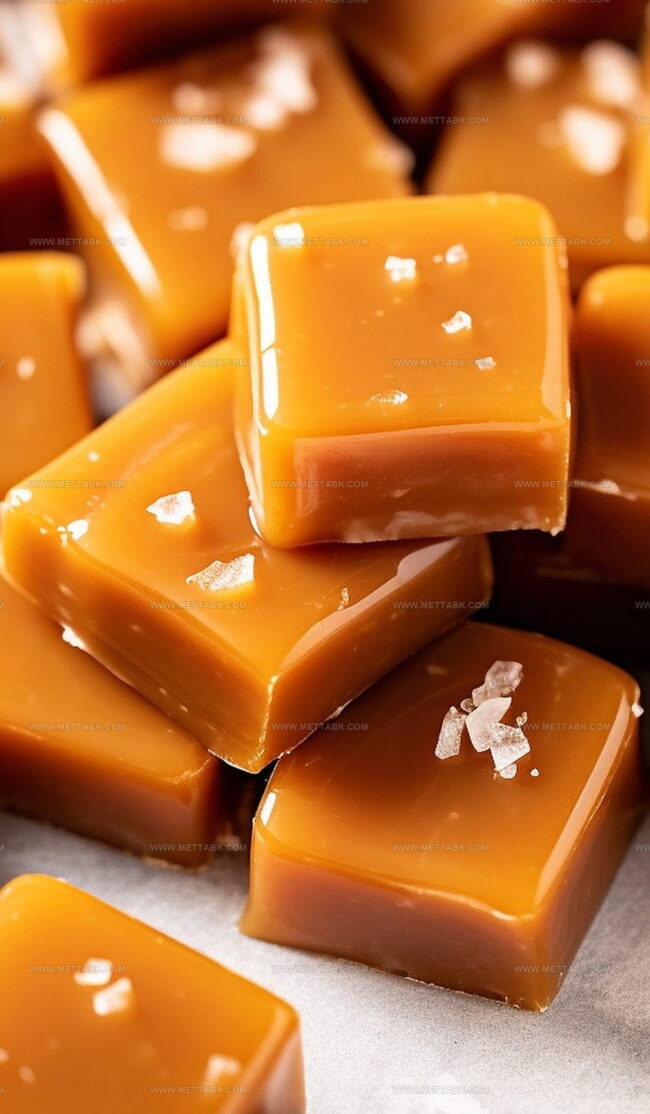
Salt crystals provide unexpected depth that contrasts beautifully against pure sugary smoothness.
Warm kitchens invite you to create something magical with minimal equipment and maximum joy.
Unwrap pure happiness in every delicate, buttery bite.
Soft and Chewy Homemade Caramels
Ingredients for Homemade Caramels

Main Ingredients:
Dairy Ingredients:Sugar Ingredients:Flavor Enhancers:Preparation Ingredients:Instructions to Make Homemade Caramels
Step 1: Prepare Baking Surface
Line a 9×9 inch pan with parchment paper, pressing it smoothly into every corner. Generously butter the parchment paper to ensure caramels will release easily later.
Step 2: Create Butter Caramel Base
Melt butter in a heavy-bottomed saucepan over medium-low heat. Add these ingredients:Stir continuously until sugar dissolves completely and mixture becomes smooth and glossy.
Step 3: Heat Caramel Mixture
Introduce sweetened condensed milk into the saucepan. Increase heat to medium and stir constantly.
Watch the candy thermometer carefully, aiming for 238-240 degrees Fahrenheit. This process takes about 20-30 minutes and requires consistent stirring to prevent burning.
Step 4: Enhance Flavor
Remove saucepan from heat. Stir in pure vanilla extract, blending thoroughly to distribute flavor evenly throughout the caramel mixture.
Step 5: Cool and Set Caramels
Pour caramel into prepared pan, spreading evenly with a spatula. Allow to cool at room temperature for 3-4 hours until completely set.
Do not cover during cooling process.
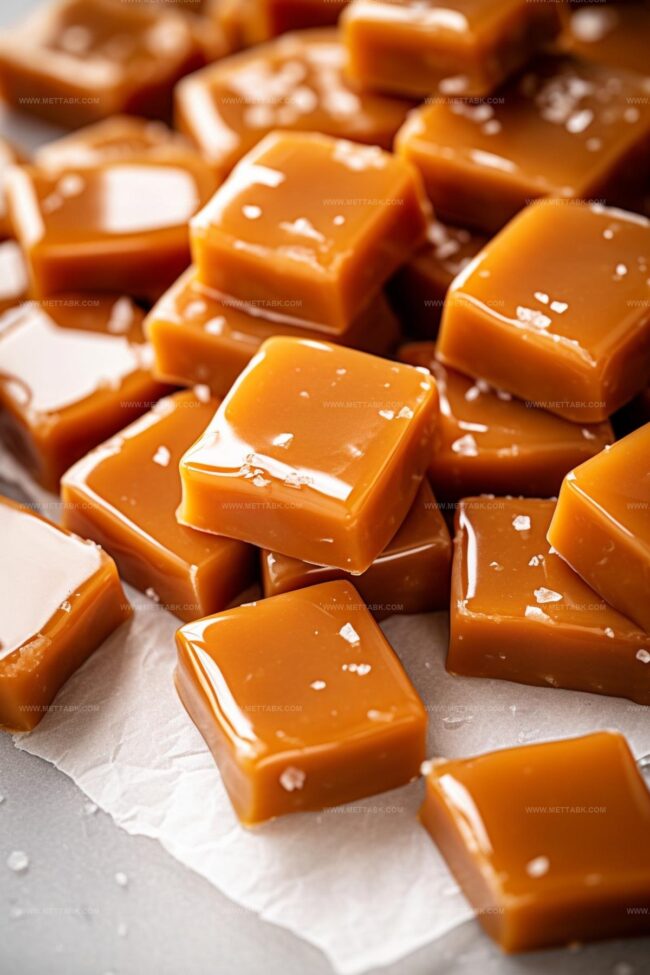
Step 6: Cut and Wrap Caramels
Use parchment paper edges to lift caramel from pan.
Slice into bite-sized pieces using a sharp knife. Wrap each caramel individually in waxed paper for a professional finish.
Tips for Smooth and Soft Caramels
Flavor Variations on Homemade Caramels
Pairing Suggestions for Homemade Caramels
Proper Storage for Homemade Caramels
FAQs
Dark brown sugar provides the richest flavor and deeper color, creating a more complex taste profile compared to light brown sugar. It adds depth and a subtle molasses undertone to the caramels.
Constant stirring prevents sugar from burning and ensures even heat distribution. It helps break down sugar crystals and creates a smooth, consistent caramel texture without any burnt or grainy spots.
Use the cold water test: drop a small amount of caramel into ice-cold water. If it forms a soft ball that holds its shape but flattens when removed, it’s at the right temperature. The caramel should be between soft and firm ball stage.
Print
Super Soft Homemade Caramels Recipe
- Total Time: 45 minutes
- Yield: 36 1x
Description
Homemade caramels infuse classic sweetness with rich buttery notes from traditional French techniques. Silky caramel squares melt seamlessly, offering pure indulgence for dessert enthusiasts who crave simple culinary pleasures.
Ingredients
- 1 can (14 oz / 400 g) sweetened condensed milk
- 2 1/4 cups dark brown sugar (firmly packed)
- 1 cup light corn syrup
- 1 cup unsalted butter
- 2 tsps pure vanilla extract
Instructions
- Prepare a 9×9 inch baking pan by lining it with parchment paper, ensuring complete coverage and sides are well-lined. Generously butter the parchment surface to facilitate easy caramel removal.
- In a heavy-bottomed saucepan, melt butter over medium-low heat. Incorporate dark brown sugar, stirring consistently until fully dissolved and integrated. Add light corn syrup, continuing to heat and mix for approximately three minutes.
- Pour sweetened condensed milk into the saucepan, increasing heat to medium. Continuously stir the mixture to prevent scorching, maintaining constant movement. Monitor temperature carefully using a candy thermometer until it reaches 238-240°F, which typically requires 20-30 minutes of cooking.
- Remove saucepan from heat and immediately introduce pure vanilla extract. Blend thoroughly to ensure even distribution throughout the caramel mixture.
- Transfer the hot caramel mixture into the prepared pan, spreading evenly across the surface. Allow to cool undisturbed at room temperature for 3-4 hours until completely set and firm.
- Once set, lift the caramel from the pan using parchment paper edges. Using a sharp knife, slice into uniform pieces. Individually wrap each caramel segment in waxed paper for storage and presentation.
Notes
- Choose high-quality unsalted butter with a rich flavor to enhance the caramel’s overall taste and ensure a smooth, creamy texture.
- Use a reliable candy thermometer to accurately monitor the mixture’s temperature, as even a few degrees can significantly impact the caramel’s consistency and final texture.
- Maintain constant, gentle stirring to prevent sugar crystallization and ensure a silky-smooth caramel without burning the mixture.
- Store wrapped caramels in an airtight container at room temperature for up to two weeks, separating layers with parchment paper to prevent sticking.
- Prep Time: 15 minutes
- Cook Time: 30 minutes
- Category: Desserts, Snacks
- Method: Simmering
- Cuisine: American
Nutrition
- Serving Size: 36
- Calories: 137
- Sugar: 17 g
- Sodium: 21 mg
- Fat: 6 g
- Saturated Fat: 4 g
- Unsaturated Fat: 2 g
- Trans Fat: 0.2 g
- Carbohydrates: 22 g
- Fiber: 0 g
- Protein: 1 g
- Cholesterol: 18 mg
Clara Bennett
Contributing Recipe Developer & Food Writer
Expertise
Baking and Pastry Development, Gluten-Free and Allergy-Friendly Recipe Creation, Culinary Storytelling and Food Journalism, Recipe Testing and Standardization, Southern Comfort Foods and Modern Twists
Education
Sullivan University – National Center for Hospitality Studies
Associate Degree in Culinary Arts
Focus: Baking and Pastry Arts, Recipe Testing, and Culinary Journalism.
Clara specialized in crafting desserts that blend classic Southern comfort with modern techniques, while developing strong writing skills to tell the story behind every dish.
Lane Community College (Certificate Program)
Certificate in Food Writing and Photography
Focus: Culinary storytelling, recipe formatting, food styling, and visual presentation.
Clara’s love of baking started young, powered by homemade pies, biscuits, and stories passed around the family table.
After earning her degree at Sullivan University and a food writing certificate at Lane Community College, she turned her passion into a craft: sharing recipes that are simple, soulful, and always full of heart.
She’s big on bold flavors, flexible ideas, and creating sweets that fit any table (yes, even if you’re gluten-free). When she’s not baking, you’ll find her wandering farmers’ markets, styling food for the next photo shoot, or working on her ever-growing recipe journal.