
The No-Bake Sweet Biscuit Pudding Recipe That Wows Every Time
Crafting a delightful sweet biscuit pudding sparks joy in every home cook’s heart.
Crumbly biscuits merge with silky smooth cream, creating a dessert that whispers comfort.
No oven required means quick preparation for busy souls.
Layers of rich flavors dance together, promising a luscious treat.
Creamy textures blend with subtle sweetness, making each spoonful memorable.
Minimal ingredients and simple steps ensure anyone can master this dessert.
You’ll fall in love with how effortlessly this pudding comes together.
Grab a spoon and let the delicious adventure begin!
Why This No-Bake Biscuit Pudding Is a Quick Treat
Ingredients for No-Bake Sweet Biscuit Pudding
For the Main Ingredients:For the Coffee and Soaking:For the Topping and Garnish:How to Assemble Biscuit Pudding Without Baking
Step 1: Create Silky Custard Base
Grab a saucepan and whisk together condensed milk and egg yolks until smooth. Gradually pour in milk and continue stirring.
Place the pan over medium heat, constantly stirring to prevent scorching. Watch for bubbles and remove from heat once it reaches a gentle boil.
Let the custard cool slightly while preparing other components.
Step 2: Prepare Biscuit Layer
Crush sweet biscuits into small pieces using a rolling pin or food processor.
Reserve a few whole biscuits for garnishing. Mix crushed biscuits with strong brewed coffee, ensuring each piece gets a delightful coffee soak.
Step 3: Build Delectable Layers
Select a clear serving dish to showcase beautiful layers. Start by spreading a generous layer of custard at the bottom.
Carefully arrange coffee-soaked biscuit pieces over the custard. Continue alternating custard and biscuit layers until all ingredients are used.
Step 4: Finish with Creamy Topping
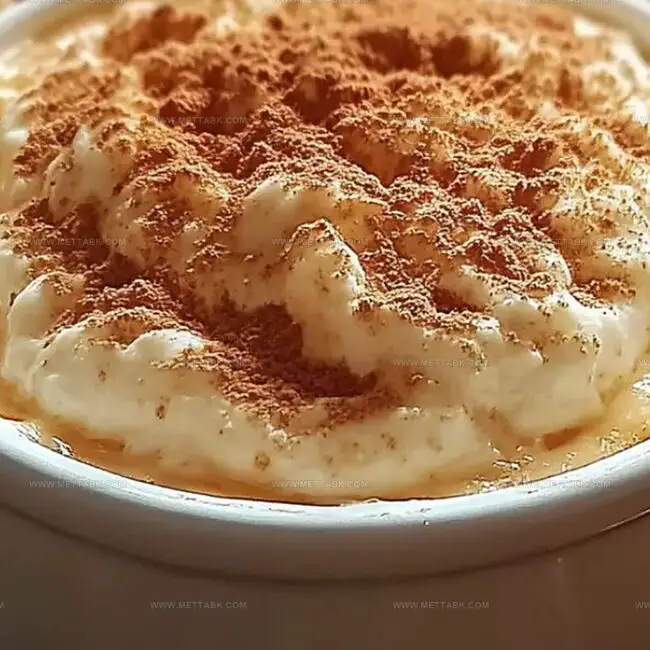
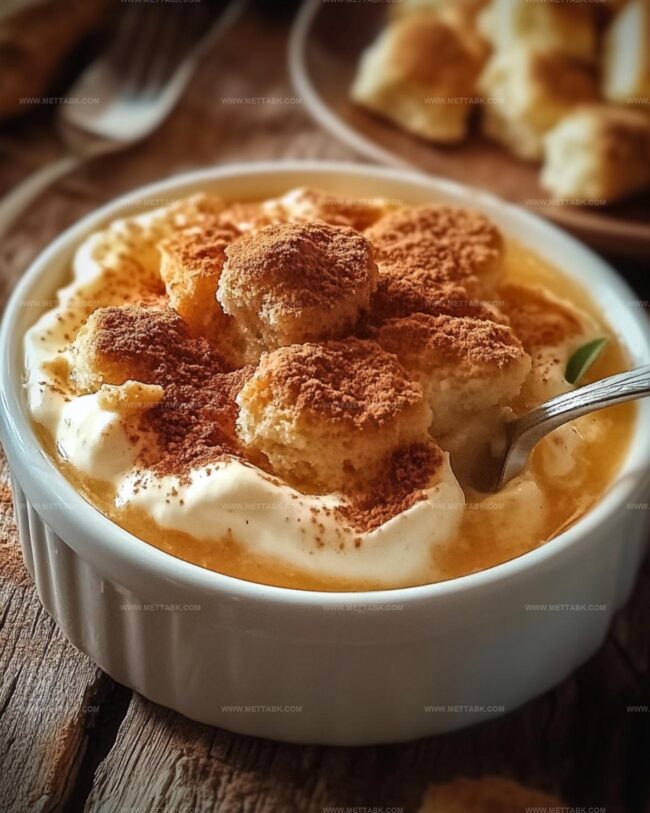
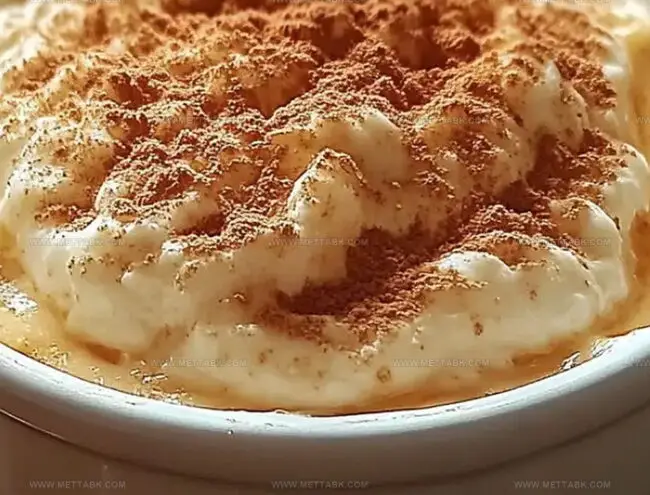
Spread fluffy whipped cream across the top layer. Sprinkle remaining biscuit crumbs for added texture.
Garnish with whole biscuits strategically placed for visual appeal.
Step 5: Chill and Set
Cover the dish and refrigerate for minimum two hours.
This resting time allows flavors to blend and pudding to firm up. Serve chilled and enjoy the decadent dessert.
Tips for Creamy and Delicious Biscuit Pudding
Ways to Mix Up No-Bake Biscuit Pudding
What Goes Well With Biscuit Pudding
How to Store No-Bake Biscuit Pudding
FAQs
The coffee adds depth of flavor and softens the biscuits, creating a more moist and rich texture in the pudding.
Yes, you can substitute with plain sweet biscuits or graham crackers if you don’t have the original type mentioned in the recipe.
While it contains egg yolks and coffee, you can modify the recipe by using decaf coffee or replacing coffee with milk for a child-friendly version.
The mixture is ready when it starts to boil and thickens slightly, with a smooth, consistent texture that coats the back of a spoon.
Print
Sweet Biscuit Pudding (No Baking Needed) Recipe
- Total Time: 30 minutes
- Yield: 6 1x
Description
Silky sweet biscuit pudding whisks dessert lovers into a nostalgic culinary journey through creamy layers of comfort. Quick preparation and no-bake magic make this irresistible treat a delightful finale you’ll savor with pure indulgence.
Ingredients
Main Ingredients:
- 6 egg yolks
- 1 can (397 grams / 14 ounces) condensed milk
- 1 large carton of custard
- 2 cartons (200 milliliters / 6.8 fluid ounces each) heavy cream
Biscuit Base:
- 1 packet rich tea biscuits or Marie biscuits
Liquid Flavoring:
- 250 milliliters / 8.45 fluid ounces milk
- 100 milliliters / 3.4 fluid ounces coffee
Topping:
- Whipped cream
Instructions
- Craft a velvety base by whisking condensed milk and egg yolks in a saucepan. Incorporate milk and heat over medium temperature, stirring continuously until the mixture reaches a gentle boil. Remove from heat and let it cool slightly.
- Pulverize biscuits into fine crumbs, reserving a few whole pieces for garnish. Gently moisten crushed biscuits with coffee, ensuring even saturation.
- Establish the first tier of pudding by spreading a smooth layer of creamy custard in a serving vessel. Carefully arrange coffee-infused biscuit fragments across the initial layer.
- Methodically repeat layering process, alternating between creamy custard and coffee-drenched biscuit pieces until all ingredients are strategically positioned.
- Crown the dessert with billowy whipped cream, delicately sprinkling reserved biscuit crumbs for textural contrast. Optionally, place a whole biscuit as a decorative centerpiece.
- Chill the assembled pudding in refrigerator for minimum 60 minutes, allowing flavors to harmonize and texture to set. Serve cold for optimal taste experience.
Notes
- Customize the coffee intensity by adjusting the strength or type of coffee used, depending on personal preference.
- Experiment with different biscuit types like Maria cookies, digestive biscuits, or graham crackers for unique flavor variations.
- Create a gluten-free version by using gluten-free biscuits and ensuring all other ingredients are gluten-free certified.
- For a lighter version, substitute condensed milk with low-fat milk and use a sugar-free alternative to reduce overall calories.
- Prep Time: 20 minutes
- Cook Time: 10 minutes
- Category: Desserts
- Method: Boiling
- Cuisine: Indian
Nutrition
- Serving Size: 6
- Calories: 453
- Sugar: 44 g
- Sodium: 130 mg
- Fat: 28 g
- Saturated Fat: 17 g
- Unsaturated Fat: 9 g
- Trans Fat: 0.5 g
- Carbohydrates: 42 g
- Fiber: 1 g
- Protein: 8 g
- Cholesterol: 195 mg
Nate Harper
Founder & Recipe Curator
Expertise
Single-Recipe Development, Farm-to-Table Cooking, Seasonal Menu Planning, Culinary Storytelling, Home Kitchen Innovation
Education
Cascade Culinary Institute – Central Oregon Community College
Certificate in Culinary Arts
Focus: Farm-to-table cuisine, sustainable cooking practices, and seasonal recipe creation.
Nate studied under experienced chefs who emphasized local sourcing, minimal waste, and building recipes from fresh, simple ingredients.
Nate Harper is the founder and creative force behind Make, Take, Bake. Raised in the wild beauty of Oregon’s high desert, Nate grew up surrounded by family gardens, farmers’ markets, and home kitchens that celebrated the seasons.
His early love for simple, honest food evolved into a professional passion when he attended Cascade Culinary Institute, where he sharpened his skills in creating recipes that are sustainable, satisfying, and made for everyday life.
Nate’s goal is to make cooking feel accessible, free of fuss, and full of flavor. He believes a single, thoughtfully built dish can stand alone, and sometimes even steal the show.