
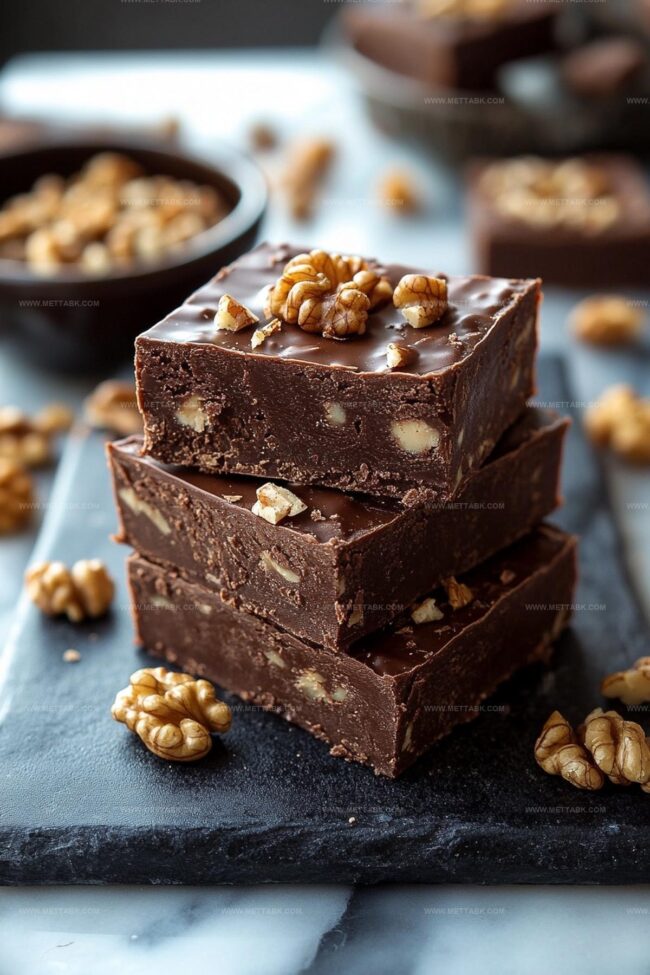
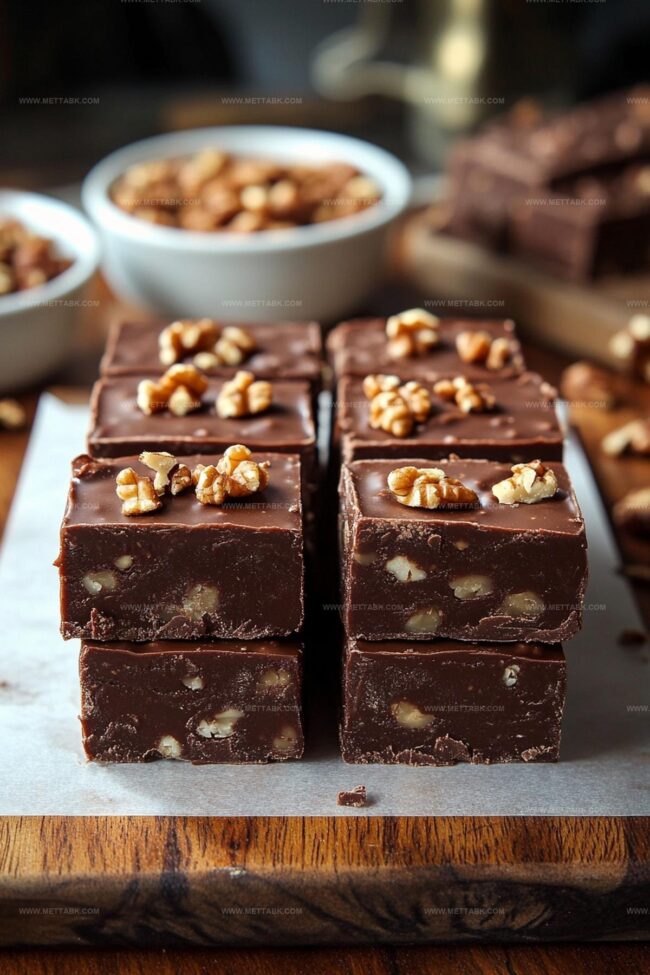
The Original Fantasy Fudge Recipe: A Sweet Classic Treat
Grandma’s cherished fantasy fudge recipe holds a magical charm that transports you straight to childhood kitchens.
Sweet memories dance through creamy chocolate layers waiting to delight your senses.
Generations of home cooks have whispered secrets about perfecting this classic treat.
Marshmallow cream blends seamlessly with rich chocolate, creating an irresistible texture that melts on your tongue.
Carefully selected ingredients promise a decadent experience beyond ordinary desserts.
My grandmother’s special technique ensures each batch turns out smooth and delectable.
You won’t believe how simple these ingredients can create such an extraordinary confection.
Prepare to indulge in a timeless dessert that sparks pure joy.
The Original Fantasy Fudge Highlights
Ingredients for The Original Fantasy Fudge
Instructions for The Original Fantasy Fudge
Step 1: Prep Your Workspace
Get ready to create magic in the kitchen. Grab a 9×13 inch baking dish and give it a quick spray or butter rub to prevent any sticky situations.
Step 2: Build the Sugary Base
Toss granulated sugar, butter, and evaporated milk into a large saucepan. Fire up the stove to medium heat and start stirring.
Keep mixing until the sugar completely dissolves and the mixture bursts into a rolling boil.
Step 3: Boil With Precision
Let the mixture bubble away for exactly 5 minutes.
Keep stirring like a pro to prevent any burning. Your wooden spoon is your best friend right now!
Once the timer dings, pull that pan off the heat.
Step 4: Chocolate Transformation
Drop in those semisweet chocolate chips.
Stir with passion until they melt completely, creating a silky smooth chocolate paradise.
Step 5: Mix in the Magic
Time to add some serious flavor:Fold everything together until it’s perfectly combined.
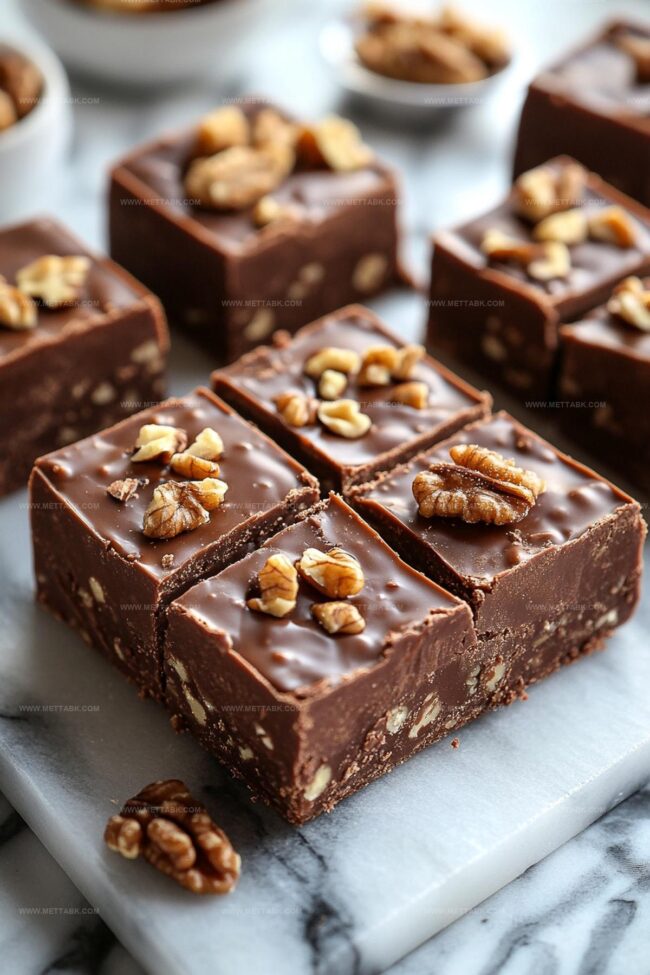
Step 6: Smooth and Settle
Pour the fudge into your prepared dish. Use a spatula to spread it out evenly, creating a picture-perfect surface.
Step 7: Patience is Key
Let the fudge chill at room temperature for at least an hour. No refrigerator shortcuts – we want that perfect texture!
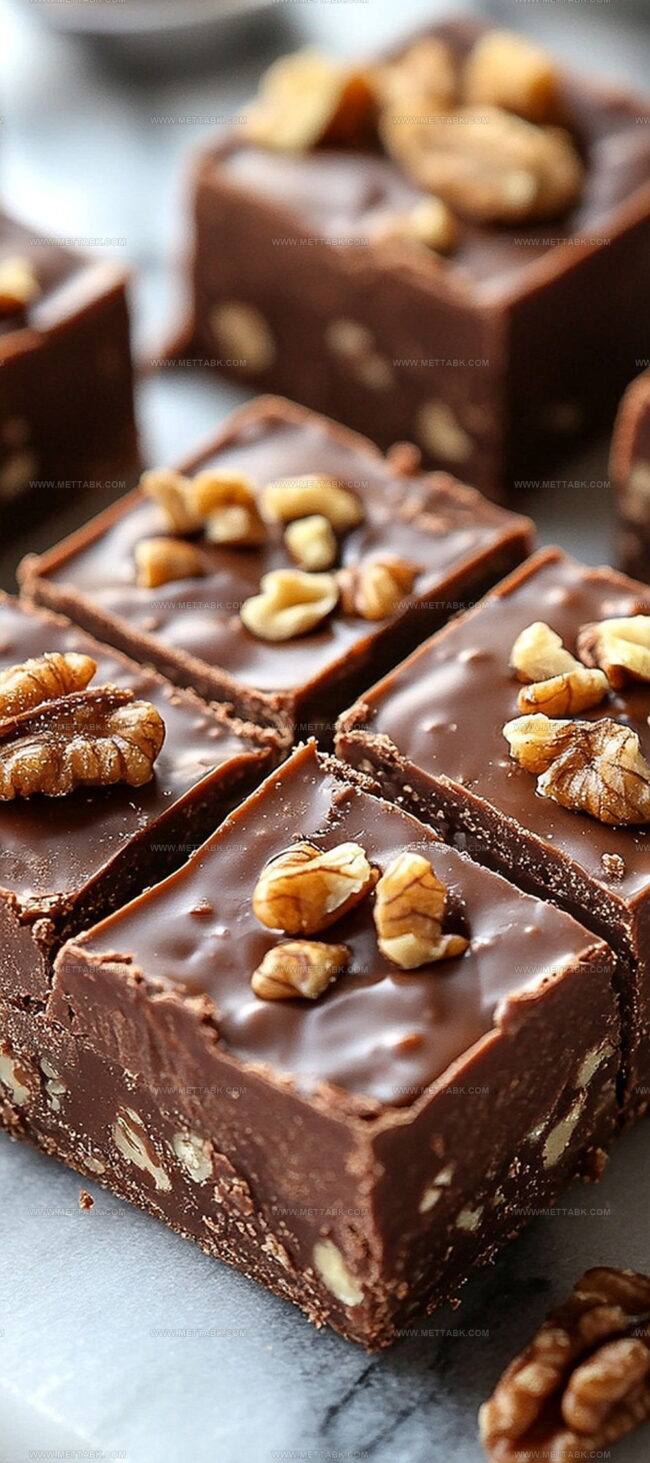
Step 8: Cut and Celebrate
Grab a sharp knife and slice into 1-inch squares. Clean the blade between cuts for crisp edges.
Your delicious creation is ready to devour!
Expert Tips on The Original Fantasy Fudge
Flavor Variations of The Original Fantasy Fudge
Pairing Suggestions for The Original Fantasy Fudge
Storage Tips for The Original Fantasy Fudge
FAQs
No, evaporated milk is crucial for the right texture and consistency of the fudge. Regular milk or other alternatives won’t provide the same results.
While a candy thermometer can help, it’s not mandatory. Follow the 5-minute boiling time precisely and stir constantly to achieve the correct temperature and texture.
Constant stirring prevents sugar from burning, ensures even heat distribution, and helps create a smooth, creamy fudge without scorching or crystallization.
Print
The Original Fantasy Fudge Recipe
- Total Time: 20 minutes
- Yield: 24 1x
Description
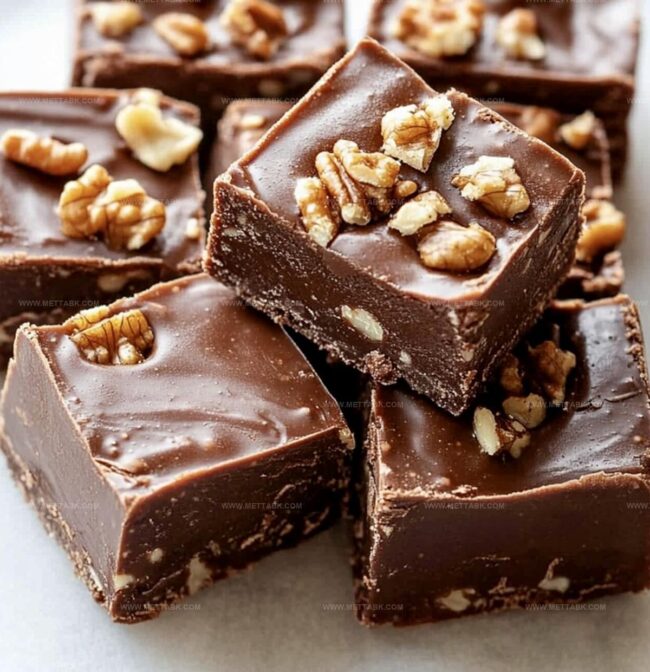
Rich, creamy original fantasy fudge from mid-20th century kitchens delivers nostalgic chocolate indulgence. Marshmallow creme and classic ingredients combine for a simple yet irresistible sweet treat you cannot resist.
Ingredients
- 1 12-oz/340 g package semisweet chocolate chips
- 1 7-oz/198 g jar marshmallow creme
- 3 cups/600 g granulated sugar
- 3/4 cup/170 g unsalted butter or margarine
- 2/3 cup/160 ml evaporated milk
- 1 cup/120 g chopped walnuts
- 1 tsp/5 ml pure vanilla extract
Instructions
- Prepare a 9×13-inch baking dish by lightly greasing with butter or cooking spray, ensuring complete coverage to prevent adherence.
- In a heavy-bottomed saucepan, combine granulated sugar, butter, and evaporated milk over medium heat, stirring continuously until sugar dissolves and mixture reaches a rolling boil.
- Maintain a steady boil for precisely 5 minutes, stirring constantly with a heat-resistant spatula to prevent burning. Remove from heat immediately after boiling time concludes.
- Introduce semisweet chocolate chips to the hot mixture, stirring vigorously until completely melted and achieving a smooth, uniform texture.
- Incorporate marshmallow creme by gently folding until fully integrated, then add chopped walnuts and vanilla extract, stirring methodically to ensure even distribution.
- Transfer the fudge mixture into the prepared baking dish, using an offset spatula to spread evenly and create a polished surface.
- Allow fudge to cool undisturbed at room temperature for minimum 1 hour until completely firm, avoiding refrigeration to prevent unwanted crystallization.
- Using a sharp knife, slice the set fudge into 1-inch squares, cleaning the blade between cuts for precise edges. Serve or store as desired.
Notes
- Opt for high-quality chocolate chips to elevate the fudge’s rich, decadent flavor and ensure a smooth, glossy texture.
- Use a candy thermometer for precise temperature control, aiming for the perfect 234-239°F (soft-ball stage) to guarantee a creamy, melt-in-your-mouth consistency.
- Experiment with alternative nuts like pecans or almonds for a personalized twist, or skip nuts entirely for a nut-free version that’s equally delicious.
- For a dietary modification, substitute dairy-free butter and plant-based milk to create a vegan-friendly fudge that doesn’t compromise on taste or texture.
- Prep Time: 15 minutes
- Cook Time: 5 minutes
- Category: Desserts, Snacks
- Method: Boiling
- Cuisine: American
Nutrition
- Serving Size: 24
- Calories: 231
- Sugar: 26 g
- Sodium: 28 mg
- Fat: 13 g
- Saturated Fat: 6 g
- Unsaturated Fat: 6 g
- Trans Fat: 0.2 g
- Carbohydrates: 29 g
- Fiber: 1.5 g
- Protein: 2 g
- Cholesterol: 15 mg
Clara Bennett
Contributing Recipe Developer & Food Writer
Expertise
Baking and Pastry Development, Gluten-Free and Allergy-Friendly Recipe Creation, Culinary Storytelling and Food Journalism, Recipe Testing and Standardization, Southern Comfort Foods and Modern Twists
Education
Sullivan University – National Center for Hospitality Studies
Associate Degree in Culinary Arts
Focus: Baking and Pastry Arts, Recipe Testing, and Culinary Journalism.
Clara specialized in crafting desserts that blend classic Southern comfort with modern techniques, while developing strong writing skills to tell the story behind every dish.
Lane Community College (Certificate Program)
Certificate in Food Writing and Photography
Focus: Culinary storytelling, recipe formatting, food styling, and visual presentation.
Clara’s love of baking started young, powered by homemade pies, biscuits, and stories passed around the family table.
After earning her degree at Sullivan University and a food writing certificate at Lane Community College, she turned her passion into a craft: sharing recipes that are simple, soulful, and always full of heart.
She’s big on bold flavors, flexible ideas, and creating sweets that fit any table (yes, even if you’re gluten-free). When she’s not baking, you’ll find her wandering farmers’ markets, styling food for the next photo shoot, or working on her ever-growing recipe journal.