The Ultimate Pepper Jelly Cheese Dip Recipe – Tangy, Sweet Bliss
Creamy and zesty, this ultimate pepper jelly cheese dip brings a burst of excitement to any gathering.
Unexpected flavor combinations dance across your palate with each delightful bite.
Soft cream cheese provides a luxurious base that perfectly complements the sweet-spicy pepper jelly.
Bold jalapeño notes mingle with subtle sweetness, creating a complex taste profile.
Simple ingredients come together in mere minutes for an impressive appetizer.
Professional chefs and home cooks alike will adore this crowd-pleasing recipe.
Serve this irresistible dip and watch friends devour every last delectable spoonful.
Flavor Variations for Pepper Jelly Cheese Dip
Suggested Pairings With Pepper Jelly Cheese Dip
Proper Storage for Pepper Jelly Cheese Dip
FAQs
Any red or green pepper jelly works great, but jalapeño or habanero jellies add extra heat and flavor complexity.
Yes, you can prepare the cheese mixture in advance and refrigerate. Just bake and add pepper jelly right before serving to maintain the best texture and temperature.
The spice level depends on the pepper jelly you choose. Mild jellies will be gentle, while jalapeño or hot pepper jellies will have more kick.
No special equipment is needed – just a mixing bowl, oven-safe dish, and basic kitchen tools like a microwave and measuring cups.
Ultimate Pepper Jelly Cheese Dip
Ingredients Needed in Pepper Jelly Cheese Dip
For the Base:For the Seasonings:For the Topping:For the Serving:Step-by-Step Pepper Jelly Cheese Dip Preparation

Step 1: Warm Up the Oven
Crank the oven to a toasty 350 degrees Fahrenheit (175 degrees Celsius), preparing it for your cheesy adventure.
Step 2: Blend Creamy Cheese Goodness
In a mixing bowl, combine these delightful ingredients:Stir everything together until the mixture looks smooth and well-mixed.
Step 3: Spread the Cheese Mixture
Transfer the creamy blend into an oven-safe dish, making sure it’s evenly spread out across the surface.
Step 4: Bake Until Bubbly
Pop the dish into the preheated oven and bake for about 15 minutes.
Watch for the cheese to become hot and start bubbling with deliciousness.
Step 5: Melt the Pepper Jelly
While the cheese bakes, grab your pepper jelly and microwave it in a microwave-safe container.
Heat in 30-second bursts, stirring between each interval until the jelly becomes smooth and liquid.
Step 6: Create the Spicy Topping
Once the cheese dip looks perfectly heated, drizzle the melted pepper jelly over the top.
Use a spoon to spread it evenly, creating a beautiful spicy layer.
Step 7: Serve and Enjoy
Grab your favorite dippers like crispy crackers, crunchy tortilla chips, or fresh vegetable sticks.
Dive into this mouthwatering spicy cheese dip and savor every bite!
Tips to Make Pepper Jelly Cheese Dip Perfect
Print
The Ultimate Pepper Jelly Cheese Dip Recipe
- Total Time: 25 minutes
- Yield: 8 1x
Description
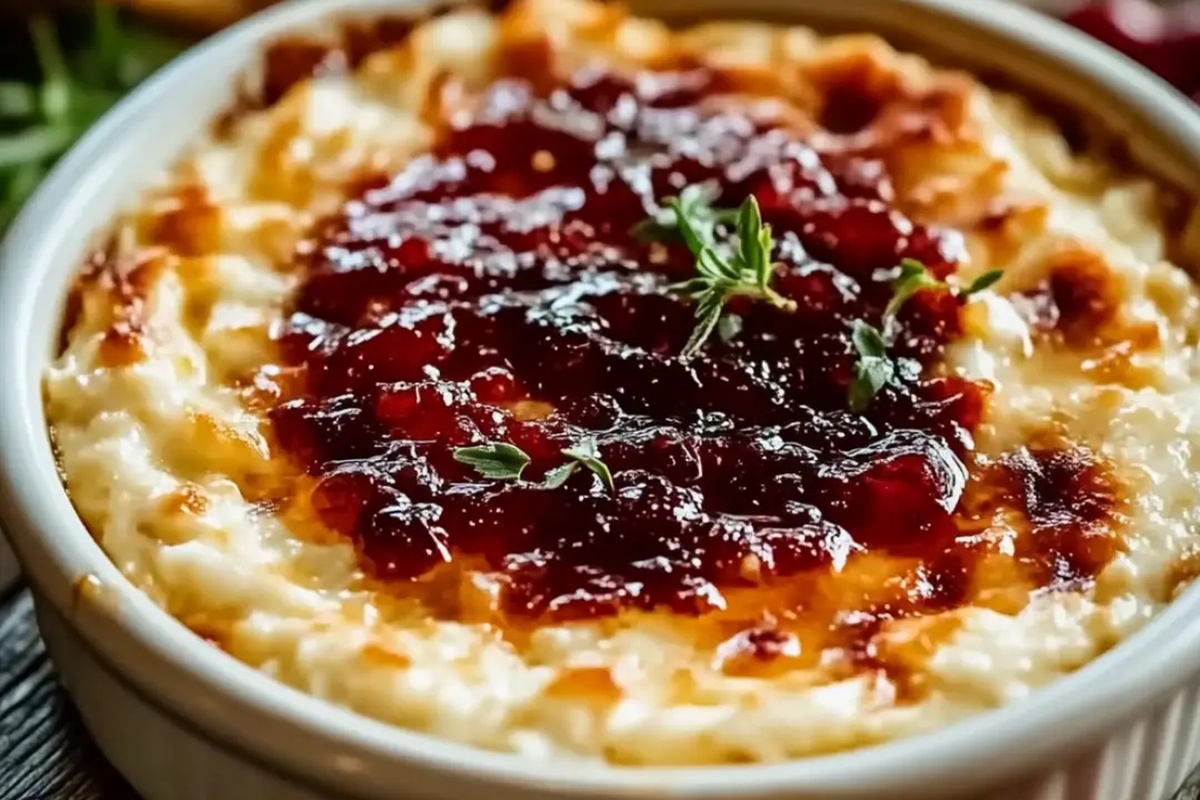
Pepper jelly cheese dip brings zesty Southern charm to any gathering, blending creamy cheese with sweet-spicy pepper jelly. Cool cream cheese meets bold jalapeño notes, creating a crowd-pleasing appetizer that sparks conversation and delights your taste buds.
Ingredients
Main Cheese Ingredients:
- 8 ounces (226 grams) cream cheese
- 4 ounces (113 grams) sharp cheddar cheese
- 7 ounces (198 grams) pepper jelly
Seasoning Ingredients:
- 1/2 teaspoon (2.5 milliliters) garlic powder
- 1 teaspoon (5 milliliters) onion flakes
- 1/2 teaspoon (2.5 milliliters) salt
Instructions
- Warm the oven to 350F (175C) to prepare for the cheesy creation.
- Combine cream cheese, cheddar, garlic powder, onion flakes, and salt in a mixing bowl, blending until the ingredients form a uniform mixture.
- Transfer the cheese blend into an oven-safe dish, carefully spreading it to create an even layer that will ensure consistent heating.
- Place the dish in the preheated oven and bake for approximately 15 minutes, watching for the surface to become bubbly and heated through.
- During the baking process, gently warm the pepper jelly in the microwave, heating in short 30-second bursts and stirring between intervals until the jelly becomes smooth and liquid.
- Remove the cheese dip from the oven and immediately drizzle the melted pepper jelly across the top, using a spatula to distribute the spicy glaze evenly.
- Present the dip alongside an array of dipping companions like crisp crackers, crunchy tortilla chips, or fresh vegetable sticks for a delightful appetizer experience.
Notes
- Swap regular cream cheese for low-fat or dairy-free alternatives to create a lighter, diet-friendly version of this appetizer.
- Adjust the pepper jelly quantity based on your spice tolerance, gradually adding more for a bolder kick or less for a milder experience.
- Experiment with different cheese combinations like pepper jack or gouda to personalize the flavor profile and add complexity to the dip.
- Prepare the cheese mixture ahead of time and refrigerate, allowing flavors to meld together before baking for enhanced taste and convenience.
- Prep Time: 10 minutes
- Cook Time: 15 minutes
- Category: Appetizer, Snacks
- Method: Baking
- Cuisine: American
Nutrition
- Serving Size: 8
- Calories: 190 kcal
- Sugar: 10 g
- Sodium: 250 mg
- Fat: 15 g
- Saturated Fat: 8 g
- Unsaturated Fat: 6 g
- Trans Fat: 0.5 g
- Carbohydrates: 7 g
- Fiber: 0.2 g
- Protein: 4 g
- Cholesterol: 40 mg
Nate Harper
Founder & Recipe Curator
Expertise
Single-Recipe Development, Farm-to-Table Cooking, Seasonal Menu Planning, Culinary Storytelling, Home Kitchen Innovation
Education
Cascade Culinary Institute – Central Oregon Community College
Certificate in Culinary Arts
Focus: Farm-to-table cuisine, sustainable cooking practices, and seasonal recipe creation.
Nate studied under experienced chefs who emphasized local sourcing, minimal waste, and building recipes from fresh, simple ingredients.
Nate Harper is the founder and creative force behind Make, Take, Bake. Raised in the wild beauty of Oregon’s high desert, Nate grew up surrounded by family gardens, farmers’ markets, and home kitchens that celebrated the seasons.
His early love for simple, honest food evolved into a professional passion when he attended Cascade Culinary Institute, where he sharpened his skills in creating recipes that are sustainable, satisfying, and made for everyday life.
Nate’s goal is to make cooking feel accessible, free of fuss, and full of flavor. He believes a single, thoughtfully built dish can stand alone, and sometimes even steal the show.