
The Ultimate Banana Pudding Cheesecake Recipe with Crunchy Twist
Banana pudding meets decadent cheesecake in this ultimate crowd-pleasing dessert that bridges comfort and indulgence.
Southern kitchens have long celebrated these creamy combinations with passionate enthusiasm.
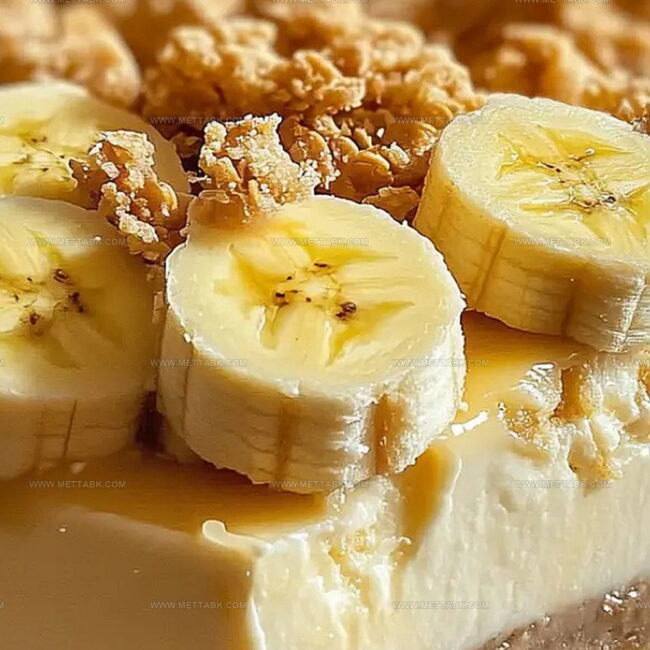
Sweet bananas nestle between layers of smooth cream cheese and crunchy graham cracker crust.
Dreamy textures dance across your palate with each delightful bite.
Nostalgic flavors blend seamlessly, creating a dessert that feels both familiar and extraordinary.
Our simple approach ensures even novice bakers can craft this showstopping treat.
Prepare to impress everyone at your next gathering with this irresistible fusion of classic favorites.
What Makes Ultimate Banana Pudding Crunchy Cheesecake
Ingredients for Banana Pudding Crunchy Cheesecake
For the Crust:For the Cheesecake Filling:For the Banana Layer and Topping:How to Prepare Banana Pudding Cheesecake

Step 1: Crush and Blend the Wafer Base
Grab a bunch of vanilla wafers and smash them into fine crumbs using a food processor or rolling pin. Melt some butter and mix it thoroughly with the wafer crumbs until they stick together like wet sand.
Press this delicious mixture firmly into the bottom of a springform pan, creating an even layer. Pop the pan into the refrigerator and let it chill for half an hour to set firmly.
Step 2: Whip Up the Creamy Cheesecake Filling
In a large mixing bowl, beat cream cheese and sugar until they become silky smooth and free of lumps. Gently fold in whipped cream and a splash of vanilla extract, creating a cloud-like, dreamy mixture that will make your taste buds dance.
Step 3: Create Delicious Layers
Spread half of the luscious cheesecake filling over the chilled wafer crust. Arrange a beautiful layer of sliced bananas across the surface.
Prepare the banana pudding by mixing pudding mix with milk, then pour this over the banana slices. Top everything with the remaining cheesecake filling, smoothing it out with a spatula to create a perfect, even surface.
Step 4: Chill and Set
Place the assembled dessert in the refrigerator and let it sit for at least 4 hours or, even better, overnight. This waiting time allows all the flavors to mingle and the texture to become perfectly set.
Step 5: Garnish and Serve
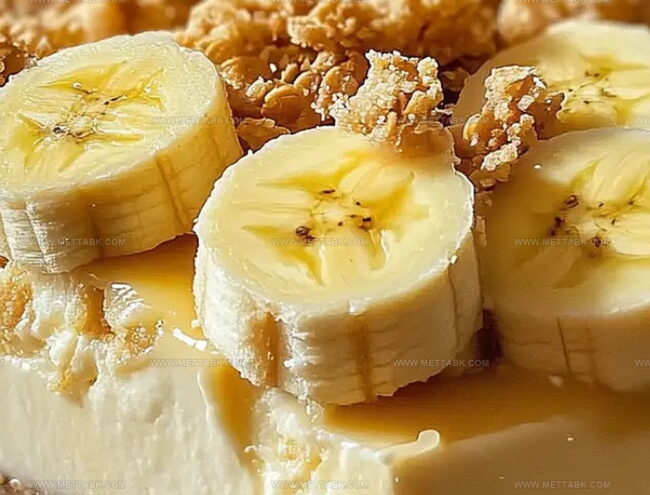
Just before serving, sprinkle crushed vanilla wafers on top for an extra crunch. Add some fresh banana slices for a burst of fruity freshness.
Slice this magnificent dessert and watch everyone’s eyes light up with excitement!
Tips for Perfect Banana Pudding Cheesecake
Delicious Twists on Banana Pudding Cheesecake
Pairing Suggestions for Banana Pudding Cheesecake
Elevate Flavor Harmony: Perfect Pairings
Storing Banana Pudding Cheesecake Correctly
Store covered with plastic wrap or in an airtight container for up to 3-4 days in the refrigerator. Keep the cheesecake away from strong-smelling foods to prevent flavor absorption.
Wrap individual slices or the entire cheesecake tightly in plastic wrap, then aluminum foil. Freeze for up to 1 month. Place in the refrigerator overnight to thaw slowly.
Bring refrigerated cheesecake to room temperature for 15-20 minutes before serving. For a slightly warm treat, microwave individual slices for 10-15 seconds on low power.
Avoid leaving the cheesecake at room temperature for more than 2 hours. Always use a clean utensil when serving to prevent bacterial growth and maintain freshness.
FAQs
Yes, graham crackers work perfectly as a substitute and will give a similar crunchy texture to the base of the cheesecake.
Choose bananas that are yellow with a few brown spots, which indicates they are sweet and soft but not overly mushy, ideal for layering in the cheesecake.
Absolutely! You can prepare the entire cheesecake up to 2 days in advance and keep it refrigerated, which actually helps the flavors meld together even better.
Print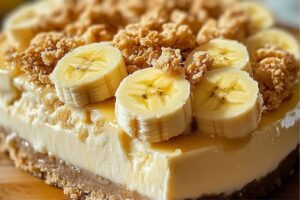
Ultimate Banana Pudding Crunchy Cheesecake Recipe
- Total Time: 4 hours 20 minutes
- Yield: 8 1x
Description
Indulgent banana pudding cheesecake merges classic Southern comfort with creamy decadence. Layers of vanilla wafer crust, silky cream cheese filling, and fresh bananas create a dessert sure to delight you at every sweet, nostalgic bite.
Ingredients
Main Ingredients:
- 2 blocks (226 grams / 8 ounces) cream cheese
- 2 ripe bananas
- 1 cup banana pudding mix
- 2 cups milk
Crust and Binding Ingredients:
- 1.5 cups crushed vanilla wafers
- 0.5 cup melted butter
- 0.5 cup sugar
- 2 cups whipped cream
Flavoring Ingredients:
- 1 teaspoon vanilla extract
- Additional crushed vanilla wafers (for topping)
- Additional sliced bananas (for garnish)
Instructions
- Craft a buttery foundation by pulverizing vanilla wafers and blending with melted butter. Press the crumbly mixture firmly into a springform pan’s base, creating an even layer. Refrigerate for 30 minutes to solidify the crust.
- Whip cream cheese and sugar in a large mixing bowl until silky and uniform. Gently incorporate whipped cream and vanilla extract, folding delicately to maintain a light, airy texture.
- Carefully spread half of the velvety cheesecake mixture over the chilled crust, ensuring a smooth surface. Arrange banana slices in an attractive, even layer across the filling.
- Prepare banana pudding by whisking pudding mix with cold milk until thickened and creamy. Drizzle the pudding mixture evenly over the banana layer.
- Delicately top with remaining cheesecake filling, using a spatula to create a pristine, level surface. Eliminate any air pockets by gently tapping the pan.
- Refrigerate for 4-6 hours, or preferably overnight, allowing the dessert to set completely and flavors to meld.
- Prior to serving, garnish with additional crushed vanilla wafers and fresh banana slices. Slice with a clean, sharp knife and serve chilled for maximum enjoyment.
Notes
- Replace vanilla wafers with gluten-free cookies for a celiac-friendly version, ensuring everyone can enjoy this delightful dessert.
- Use low-fat cream cheese and Greek yogurt to reduce calories without compromising the creamy texture and rich flavor.
- Prevent banana browning by tossing sliced bananas in a bit of lemon juice before layering, keeping them fresh and visually appealing.
- Create individual mini cheesecakes in mason jars for a cute, portable dessert perfect for potlucks and summer gatherings.
- Prep Time: 20 minutes
- Cook Time: 4 hours
- Category: Desserts
- Method: Chilling
- Cuisine: American
Nutrition
- Serving Size: 8
- Calories: 407 kcal
- Sugar: 29 g
- Sodium: 210 mg
- Fat: 27 g
- Saturated Fat: 16 g
- Unsaturated Fat: 9 g
- Trans Fat: 0.5 g
- Carbohydrates: 32 g
- Fiber: 1.5 g
- Protein: 6 g
- Cholesterol: 70 mg
Nate Harper
Founder & Recipe Curator
Expertise
Single-Recipe Development, Farm-to-Table Cooking, Seasonal Menu Planning, Culinary Storytelling, Home Kitchen Innovation
Education
Cascade Culinary Institute – Central Oregon Community College
Certificate in Culinary Arts
Focus: Farm-to-table cuisine, sustainable cooking practices, and seasonal recipe creation.
Nate studied under experienced chefs who emphasized local sourcing, minimal waste, and building recipes from fresh, simple ingredients.
Nate Harper is the founder and creative force behind Make, Take, Bake. Raised in the wild beauty of Oregon’s high desert, Nate grew up surrounded by family gardens, farmers’ markets, and home kitchens that celebrated the seasons.
His early love for simple, honest food evolved into a professional passion when he attended Cascade Culinary Institute, where he sharpened his skills in creating recipes that are sustainable, satisfying, and made for everyday life.
Nate’s goal is to make cooking feel accessible, free of fuss, and full of flavor. He believes a single, thoughtfully built dish can stand alone, and sometimes even steal the show.