
The Dreamiest Ermine Frosting Recipe – Luxury in Every Bite
Whipping up this ultimate ermine frosting feels like uncovering a sweet culinary secret passed through generations.
Bakers often overlook this silky marvel, mistaking it for ordinary buttercream.
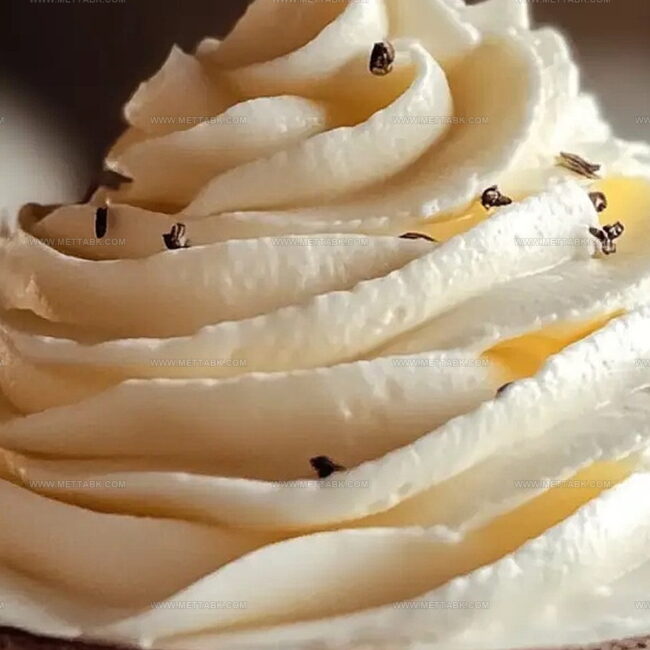
Smooth as silk and light as clouds, the recipe demands precision and patience.
Each carefully measured ingredient contributes to its luxurious texture and mouthwatering flavor.
Professional pastry chefs consider this frosting a game-changer for cakes and cupcakes.
Its unique preparation method sets it apart from traditional frostings, creating a velvety masterpiece.
The Ultimate Ermine Frosting ($300 Frosting) Unveiled
What Goes Into the Ultimate Ermine Frosting
For the Base:For the Creaming:For the Flavor and Finishing:Step-by-Step to Make This Luxurious Frosting
Step 1: Craft Creamy Flour Base
Grab a medium saucepan and whisk milk and flour together over medium heat. Stir continuously until the mixture transforms into a thick, pudding-like texture.
Once it reaches the perfect consistency, remove from heat and let it cool completely to room temperature. This step is crucial for creating a smooth foundation for your dreamy frosting.
Step 2: Whip Butter To Fluffy Perfection
Using an electric mixer, blend butter and sugar together. Whip the ingredients energetically for 3-5 minutes until the mixture becomes incredibly light, airy, and pale.
The key is to create a voluminous base that will give your frosting its signature cloudlike texture.
Step 3: Marry Ingredients Together
Add these ingredients to your whipped butter mixture:Beat the combined ingredients on high speed for approximately 5 minutes.
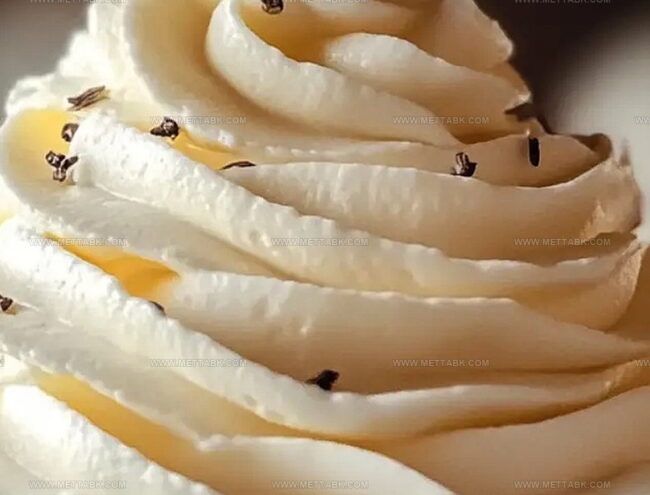
The frosting will transform into a silky, luxurious cream with an irresistibly smooth finish.
Step 4: Prepare For Decorating
If your frosting seems too soft, pop it in the refrigerator for a few minutes to firm up.
Once it reaches the ideal spreading consistency, you’re ready to decorate cakes, cupcakes, or any sweet treat that needs a touch of magic.
Pro Tips to Master the $300 Frosting Technique
Variations to Customize Your Ermine Frosting
Pairings That Shine with Ermine Frosting Cakes
Storage Advice to Keep Your Frosting Perfect
Store the frosting in an airtight container for up to 5 days. Seal tightly to prevent absorbing other food odors.
Wrap the frosting in plastic wrap, then place in a freezer-safe container. Freeze for up to 1 month without losing quality.
Transfer frozen frosting to the refrigerator overnight. Let it sit at room temperature for 30-45 minutes before re-whipping.
Whip the chilled or thawed frosting with a mixer for 2-3 minutes to restore its original light and fluffy consistency.
FAQs
Ermine frosting is a unique buttercream that uses a cooked flour and milk base, creating an incredibly smooth and light texture different from traditional American buttercream.
The name comes from its luxurious, silky texture and high-quality ingredients that make it feel like an expensive, gourmet frosting compared to standard buttercream.
Not at all! While it requires a few extra steps like cooking the flour mixture, the process is straightforward and results in a much lighter, less sweet frosting that’s worth the effort.
Print
Ultimate Ermine Frosting ($300 Frosting) Recipe
- Total Time: 32 minutes
- Yield: 12 1x
Description
Silky ermine frosting elevates classic cakes with luxurious Russian buttercream magic. Creamy, less sweet than traditional American versions, this buttercream promises bakery-level elegance you’ll crave again and again.
Ingredients
Main Ingredients:
- 1 cup unsalted butter (room temperature)
- 1 cup granulated sugar
- 1 cup whole milk
Thickening Ingredients:
- 5 tablespoons all-purpose flour
Flavor Enhancers:
- 1 teaspoon vanilla extract
- 1/4 teaspoon salt
Instructions
- Prepare a smooth, velvety base by whisking milk and flour in a saucepan over medium heat, stirring constantly until the mixture transforms into a thick, pudding-like consistency at around 2-3 minutes.
- Remove the flour and milk blend from heat, then allow it to cool completely to room temperature, which typically takes about 15-20 minutes.
- In a separate mixing bowl, vigorously cream butter and sugar together using an electric mixer, beating until the mixture becomes exceptionally light and airy, approximately 3-4 minutes.
- Gradually incorporate the thoroughly cooled flour mixture into the butter-sugar blend, adding vanilla extract and a pinch of salt for enhanced flavor complexity.
- Continue mixing at high speed for an additional 5-6 minutes, ensuring the frosting develops a silky, whipped texture that is smooth and free of lumps.
- If the frosting appears too soft or warm, refrigerate for 5-10 minutes to achieve the ideal spreading consistency for decorating cakes or cupcakes.
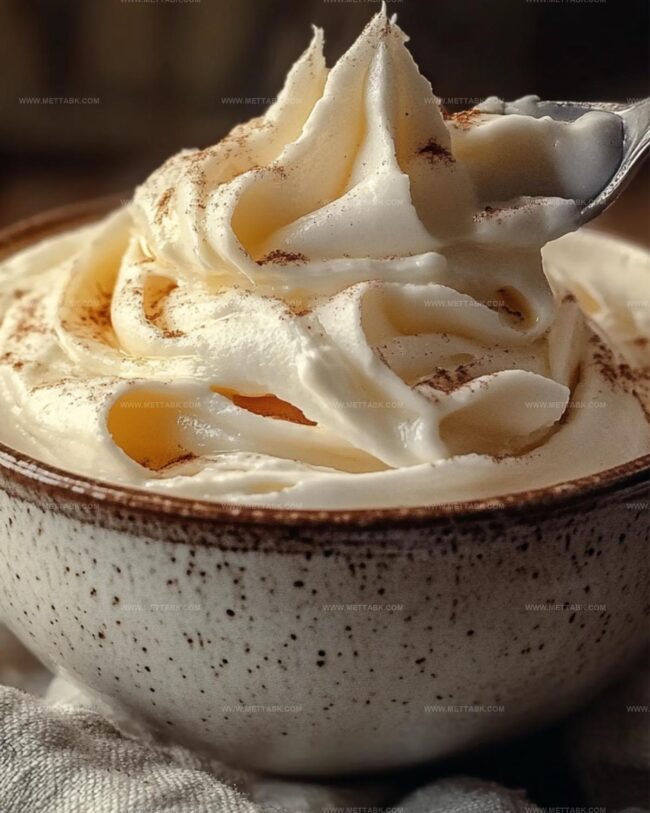
- Once chilled and perfectly whipped, apply the frosting generously to your baked dessert, creating elegant swirls or a perfectly smooth surface.
Notes
- Milk and flour must reach pudding-like thickness precisely; stir constantly to prevent burning or lumps.
- Cool flour mixture completely before adding to butter mixture to ensure smooth, silky texture without graininess.
- Beat butter and sugar extensively until ultra-light and fluffy, creating foundational volume for frosting’s signature cloudlike consistency.
- Chilling helps stabilize frosting if kitchen is warm, making spreading easier and maintaining perfect piping shape.
- Prep Time: 30 minutes
- Cook Time: 2 minutes
- Category: Desserts
- Method: Boiling
- Cuisine: American
Nutrition
- Serving Size: 12
- Calories: 283
- Sugar: 14 g
- Sodium: 50 mg
- Fat: 24 g
- Saturated Fat: 15 g
- Unsaturated Fat: 8 g
- Trans Fat: 1 g
- Carbohydrates: 17 g
- Fiber: 0 g
- Protein: 2 g
- Cholesterol: 65 mg
Nate Harper
Founder & Recipe Curator
Expertise
Single-Recipe Development, Farm-to-Table Cooking, Seasonal Menu Planning, Culinary Storytelling, Home Kitchen Innovation
Education
Cascade Culinary Institute – Central Oregon Community College
Certificate in Culinary Arts
Focus: Farm-to-table cuisine, sustainable cooking practices, and seasonal recipe creation.
Nate studied under experienced chefs who emphasized local sourcing, minimal waste, and building recipes from fresh, simple ingredients.
Nate Harper is the founder and creative force behind Make, Take, Bake. Raised in the wild beauty of Oregon’s high desert, Nate grew up surrounded by family gardens, farmers’ markets, and home kitchens that celebrated the seasons.
His early love for simple, honest food evolved into a professional passion when he attended Cascade Culinary Institute, where he sharpened his skills in creating recipes that are sustainable, satisfying, and made for everyday life.
Nate’s goal is to make cooking feel accessible, free of fuss, and full of flavor. He believes a single, thoughtfully built dish can stand alone, and sometimes even steal the show.