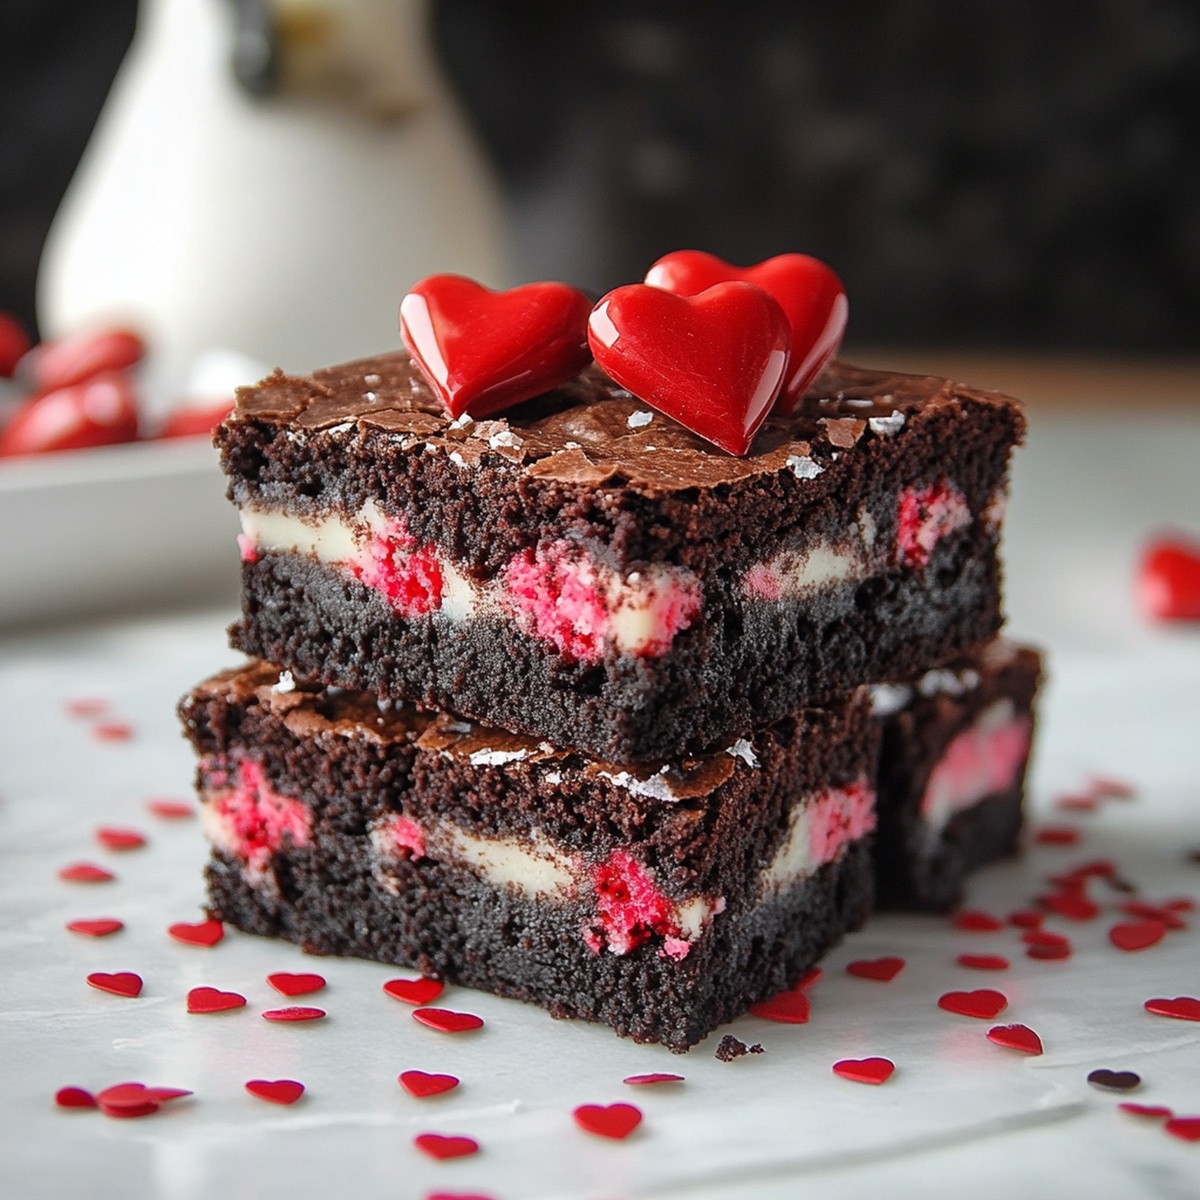
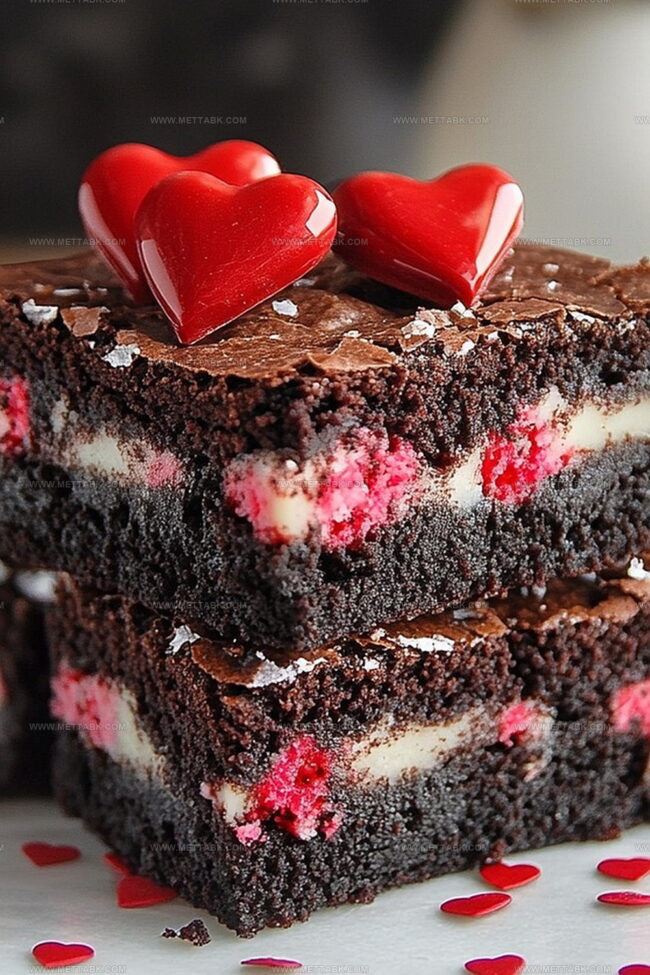
Easy Valentines Oreo Brownies Recipe: Sweet Love in Every Bite
Crafting delectable valentines oreo brownies offers a sweet way to express love through chocolate magic.
Decadent layers promise pure indulgence for anyone seeking a romantic dessert.
Rich cocoa meets creamy cookie chunks in this irresistible treat.
Unexpected texture creates moments of delightful surprise with each bite.
Chocolate lovers will adore the playful combination of classic brownie goodness and classic oreo cookies.
Simple ingredients transform into an extraordinary dessert that sparks connection.
You cannot resist diving into this delightful chocolate experience that celebrates affection deliciously.
Oreo Brownies That Celebrate Valentine’s Day Sweetness
Ingredients for Decadent Valentine’s Day Oreo Brownies
Main Ingredients:Flavor Enhancers:Baking Preparation:How to Make Valentine’s Day Oreo Brownies Easily
Step 1: Warm Up the Oven
Get your oven ready by heating it to 350°F. Grab your baking dish and give it a quick spray with cooking oil or line it with parchment paper for easy cleanup.
Step 2: Create the Buttery Base
Melt the butter in a large mixing bowl. Stir in the sugar until it becomes a smooth, glossy mixture.
Crack in the eggs one by one, whisking after each addition. Pour in the vanilla extract and mix well.
Step 3: Blend the Dry Ingredients
In a separate bowl, whisk together:Slowly fold the dry ingredients into the wet mixture, stirring until everything is perfectly combined and silky smooth.
Step 4: Add the Oreo Magic
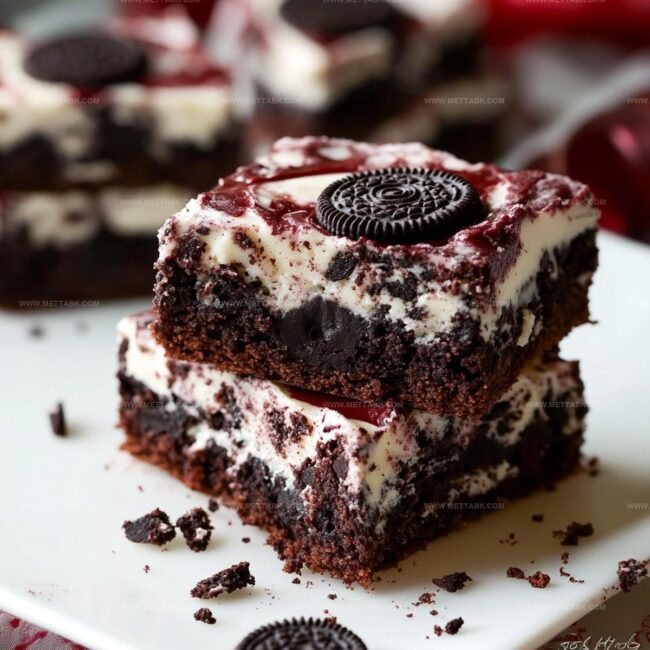
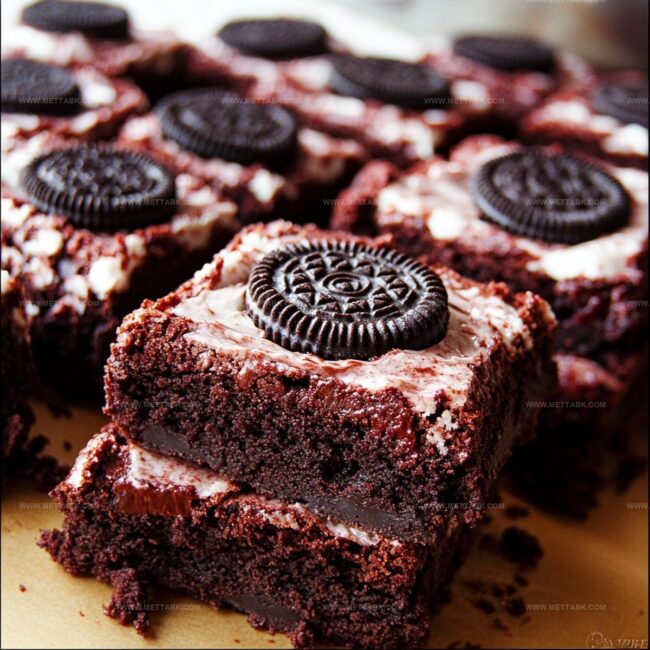
Grab your Oreo cookies and crush them into delightful chunks.
Gently fold these cookie pieces into the brownie batter, making sure they’re evenly distributed throughout.
Step 5: Bake to Perfection
Transfer the brownie batter into your prepared baking dish.
Slide it into the preheated oven and bake for 25-30 minutes. You’ll know it’s done when a toothpick comes out clean with just a few moist crumbs.
Step 6: Cool and Serve
Let the brownies cool completely in the pan. This waiting time allows them to set and become wonderfully fudgy.
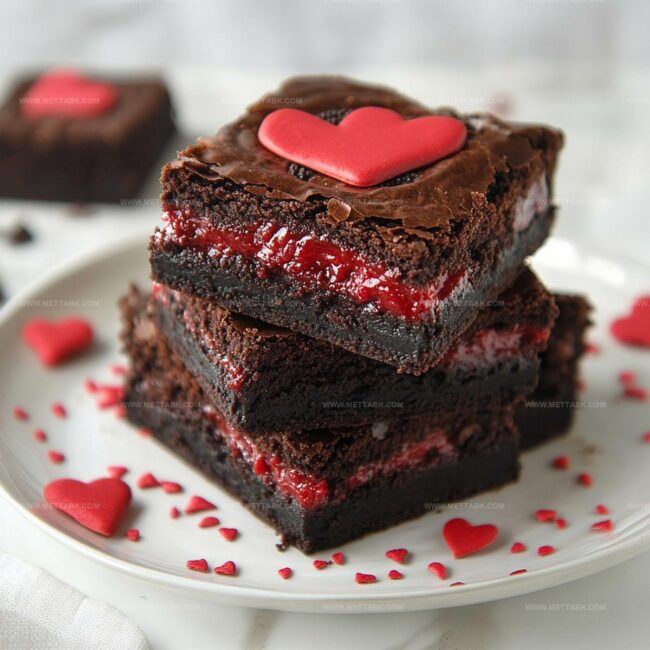
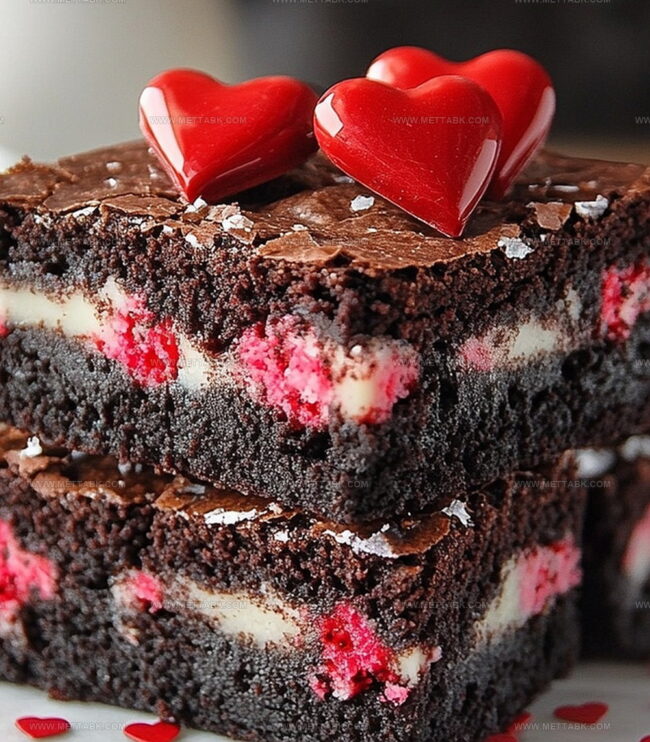
Once cooled, slice into squares and serve up some love!
Helpful Tips for Valentine’s Day Oreo Brownies Success
Fun Variations on Valentine’s Day Oreo Brownies
Pairings That Complement Valentine’s Day Oreo Brownies
How to Keep Valentine’s Day Oreo Brownies Fresh
FAQs
Yes, you can experiment with flavors like mint, peanut butter, or birthday cake Oreos to create unique brownie variations.
Place Oreos in a sealed plastic bag and gently crush them using a rolling pin or the back of a spoon until they’re in small, uneven pieces.
Absolutely! This recipe is straightforward and requires basic baking skills, making it perfect for those new to baking.
Replace the all-purpose flour with a gluten-free flour blend, and use gluten-free Oreos to create a gluten-free version of the brownies.
Print
Valentines Oreo Brownies Recipe
- Total Time: 50 minutes
- Yield: 12 1x
Description
Romantic Valentine’s Oreo brownies combine rich chocolate with creamy cookie layers for an indulgent dessert. Chocolate lovers will adore this simple yet elegant treat perfect for sharing with someone special.
Ingredients
- 1 cup (240 ml) unsalted butter
- 2 cups (400 g) granulated sugar
- 4 large eggs
- 1 cup (120 g) all-purpose flour
- 3/4 cup (75 g) cocoa powder
- 1 cup (100 g) crushed Oreo cookies
- 1 tsp (5 ml) vanilla extract
- 1/2 tsp (2.5 g) salt
Instructions
- Prepare the oven by heating to 350°F and preparing a 9×13 inch baking pan with parchment paper or butter coating.
- Create a smooth butter and sugar mixture in a large mixing bowl, whisking until fully blended and creamy.
- Incorporate eggs individually into the butter mixture, ensuring each is thoroughly mixed before adding the next, then blend in vanilla extract for enhanced flavor.
- Separately combine dry ingredients – flour, cocoa powder, and salt – using a whisk to eliminate potential lumps.
- Gradually merge dry ingredients into the wet mixture, stirring carefully to create a uniform, rich chocolate batter.
- Gently crush Oreo cookies into varying sizes, then delicately fold them throughout the brownie mixture to ensure even distribution.
- Transfer the batter into the prepared baking pan, spreading evenly and ensuring consistent thickness across the surface.
- Place in preheated oven and bake for 25-30 minutes, checking doneness by inserting a toothpick – it should emerge with minimal moist crumbs.
- Remove from oven and allow brownies to cool completely at room temperature to set the texture and facilitate clean cutting.
- Once cooled, slice into square portions, revealing the embedded Oreo chunks within the rich chocolate base.
Notes
- Soften butter at room temperature for easier mixing and smoother batter texture.
- Crush Oreos into different sizes for varied texture and more interesting brownie layers.
- Use dark cocoa powder for deeper, richer chocolate flavor that complements Oreo cookies perfectly.
- Consider dairy-free alternatives like coconut oil or vegan butter for those with dietary restrictions.
- Prep Time: 20 minutes
- Cook Time: 30 minutes
- Category: Desserts, Snacks
- Method: Baking
- Cuisine: American
Nutrition
- Serving Size: 12
- Calories: 324 kcal
- Sugar: 32 g
- Sodium: 99 mg
- Fat: 19 g
- Saturated Fat: 11 g
- Unsaturated Fat: 8 g
- Trans Fat: 0.2 g
- Carbohydrates: 38 g
- Fiber: 3 g
- Protein: 4 g
- Cholesterol: 55 mg
Clara Bennett
Contributing Recipe Developer & Food Writer
Expertise
Baking and Pastry Development, Gluten-Free and Allergy-Friendly Recipe Creation, Culinary Storytelling and Food Journalism, Recipe Testing and Standardization, Southern Comfort Foods and Modern Twists
Education
Sullivan University – National Center for Hospitality Studies
Associate Degree in Culinary Arts
Focus: Baking and Pastry Arts, Recipe Testing, and Culinary Journalism.
Clara specialized in crafting desserts that blend classic Southern comfort with modern techniques, while developing strong writing skills to tell the story behind every dish.
Lane Community College (Certificate Program)
Certificate in Food Writing and Photography
Focus: Culinary storytelling, recipe formatting, food styling, and visual presentation.
Clara’s love of baking started young, powered by homemade pies, biscuits, and stories passed around the family table.
After earning her degree at Sullivan University and a food writing certificate at Lane Community College, she turned her passion into a craft: sharing recipes that are simple, soulful, and always full of heart.
She’s big on bold flavors, flexible ideas, and creating sweets that fit any table (yes, even if you’re gluten-free). When she’s not baking, you’ll find her wandering farmers’ markets, styling food for the next photo shoot, or working on her ever-growing recipe journal.