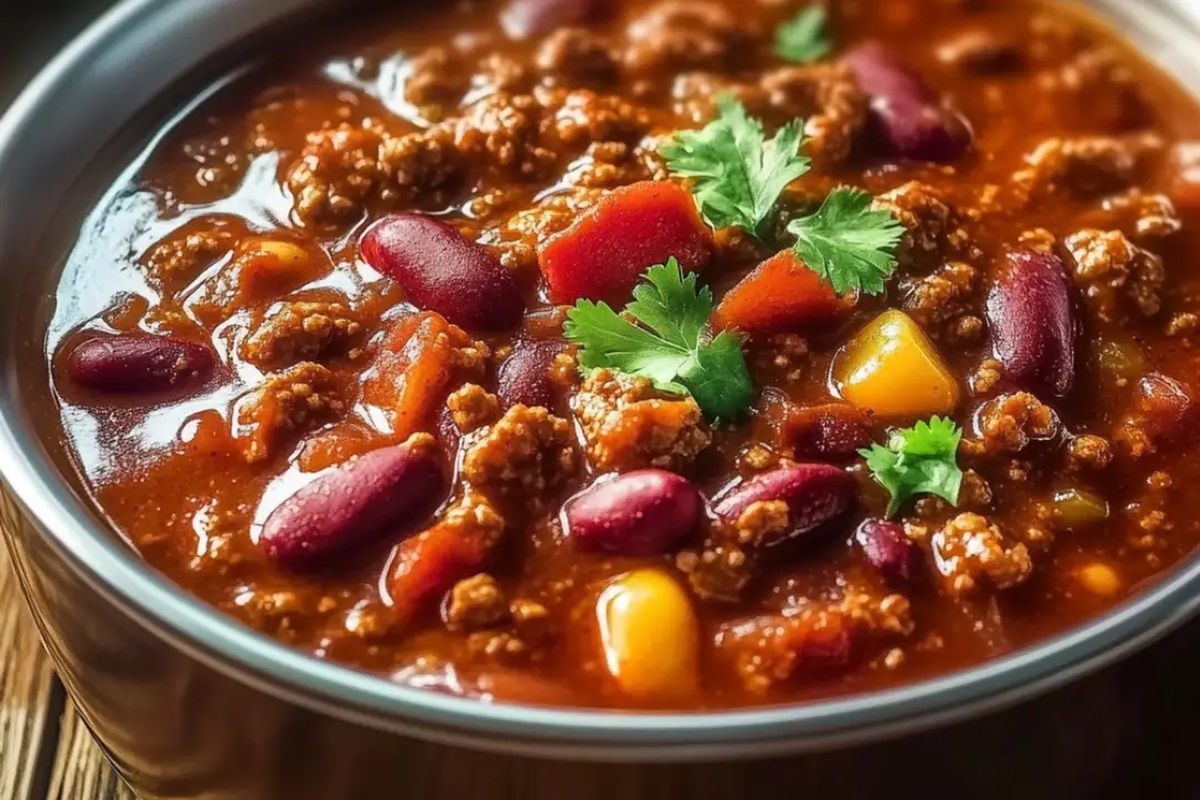
Quick & Zesty Wendy’s Chili Recipe That’s So Simple To Make
Tucked away in my recipe collection, wendy’s chili holds a special place that sparks comfort and nostalgia.
Memories of warm bowls shared during chilly evenings flood back with each carefully measured ingredient.
Culinary enthusiasts have long sought the perfect recreation of this beloved dish.
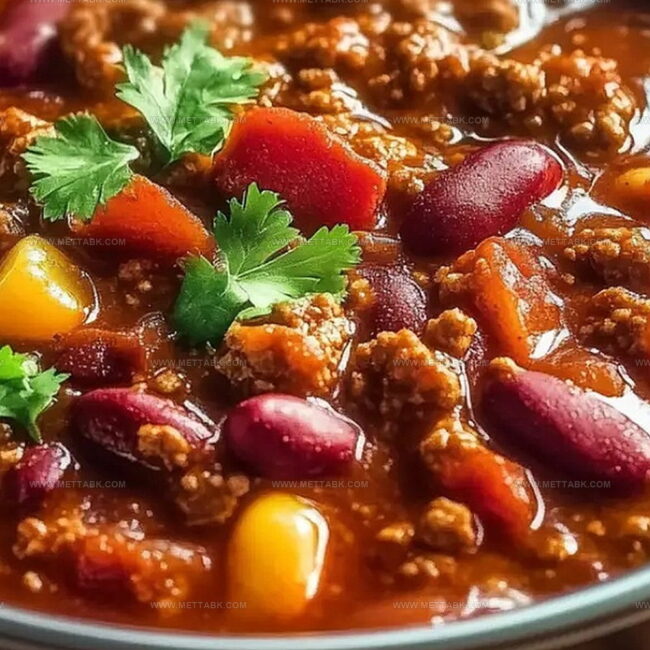
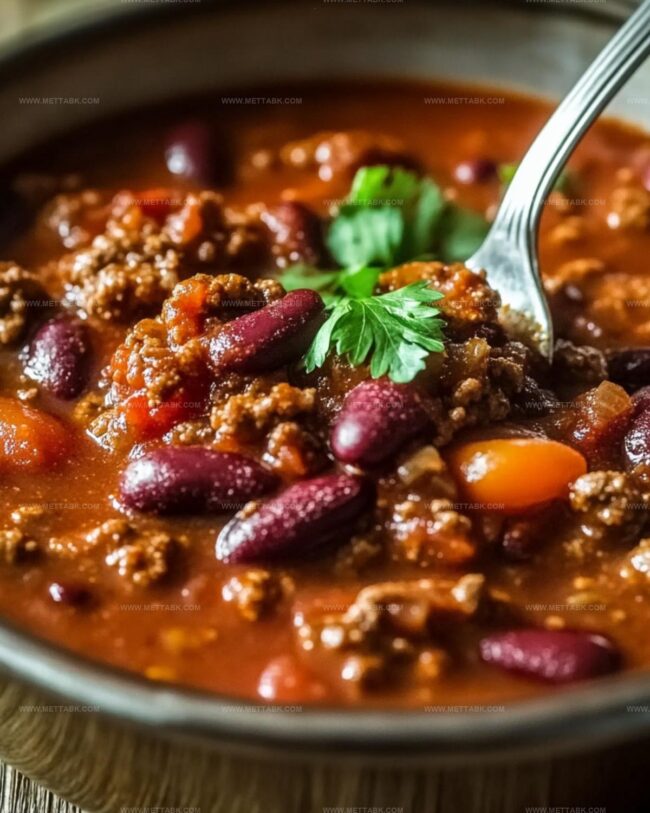
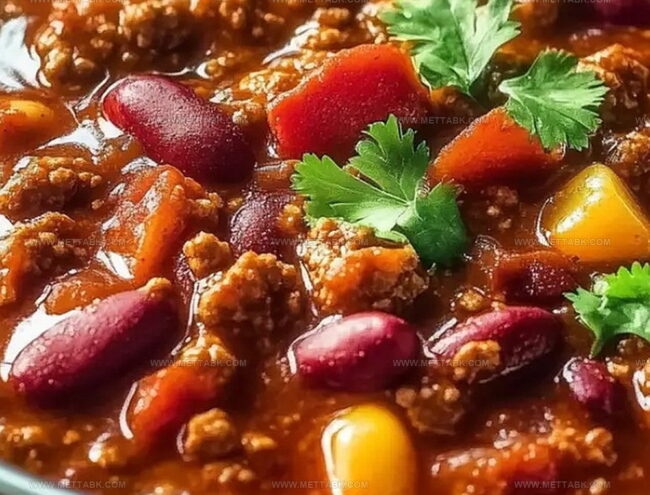
Hearty beans, rich ground beef, and a secret blend of spices make this recipe truly remarkable.
Subtle nuances in preparation can elevate this classic comfort food from good to extraordinary.
My tested approach ensures you capture the authentic flavor profile that makes this chili legendary.
Let’s unlock the delicious secrets behind this cherished recipe that everyone will be asking you to make again and again.
Wendy’s Chili You Don’t Want to Miss
Ingredients for Hearty Wendy’s Chili Copycat
For the Meat:For the Aromatics:For the Liquid and Seasoning Base:For the Thickening and Additional Flavor:Step-by-Step Wendy’s Chili Recipe
Step 1: Sizzle the Beef
Brown the ground beef in a large skillet until it’s nicely caramelized. Carefully drain away the excess fat, leaving behind the flavorful meat.
Step 2: Combine and Mingle
Transfer the browned beef into a hefty 6-quart pot. Add these ingredients:Step 3: Slow and Steady Simmer
Cover the pot and let the chili bubble gently on low heat.
Stir the mixture every 15 minutes to prevent sticking and ensure even cooking. Allow the chili to simmer for 1 to 1½ hours, letting the flavors dance and blend together.
Step 4: Slow Cooker Alternative
If you prefer a hands-off approach, transfer everything to a slow cooker. Set it on low and let the chili cook for 3 to 4 hours.
The low, consistent heat will create a rich, deeply flavored dish that’s perfect for any occasion.
Tips to Nail Wendy’s Chili at Home
Variations to Elevate Chili Flavors
Pairing Suggestions for Chili Lovers
How to Store Wendy’s Chili Properly
FAQs
Use 80/20 or 85/15 ground beef for the best flavor and texture. Leaner meat can make the chili less juicy.
Add diced jalapeños, extra chili powder, or a dash of hot sauce to increase the heat level according to your preference.
Yes, this chili tastes even better the next day as the flavors continue to develop and blend together in the refrigerator.
Absolutely! This chili freezes extremely well for up to 3 months in an airtight container, making it perfect for future quick meals.
Print
Wendys Chili Dont Lose This Recipe
- Total Time: 1 hour 20 minutes
- Yield: 8 1x
Description
Wendy’s chili recreates comfort in a bowl with hearty ground beef and robust beans. Home cooks can easily master this classic recipe, bringing restaurant-style warmth to their kitchen with simple ingredients and straightforward preparation.
Ingredients
Meat:
- 2 pounds (907 grams) fresh ground beef
Beans and Tomato Base:
- 1 quart (946 milliliters) tomato juice
- 1 (29-ounce/822 grams) can tomato puree
- 1 (15-ounce/425 grams) can red kidney beans, drained
- 1 (15-ounce/425 grams) can pinto beans, drained
Spices and Vegetables:
- 1 medium-large onion, chopped (about 1 1/2 cups/225 grams)
- 1/2 cup (75 grams) diced celery
- 1/4 cup (38 grams) diced green bell pepper
- 1/4 cup (30 grams) chili powder
- 1 teaspoon ground cumin
- 1 1/2 teaspoons garlic powder
- 1 teaspoon salt
- 1/2 teaspoon ground black pepper
- 1/2 teaspoon dried oregano
- 1/2 teaspoon sugar
- 1/8 teaspoon cayenne pepper
Instructions
- Thoroughly brown ground beef in a large skillet, ensuring complete separation of meat particles and releasing optimal flavor.
- Carefully drain excess fat from the browned meat using a colander or strainer to reduce unnecessary greasiness.
- Transfer browned beef into a substantial 6-quart cooking pot, incorporating all remaining ingredients with precision.
- Blend ingredients thoroughly, ensuring even distribution of spices and vegetables throughout the mixture.
- Cover the pot and allow chili to gently simmer at low heat for approximately 1 to 1½ hours, periodically stirring every 15 minutes to prevent bottom scorching.
- For slow cooker method, set temperature to low and allow chili to develop rich flavors over 3 to 4 hours, occasionally stirring to maintain consistent texture.
- Taste and adjust seasoning as needed before serving, ensuring balanced and robust flavor profile.
Notes
- Trim excess fat from ground beef before browning to reduce greasiness and enhance flavor concentration.
- Use fresh beans and tomatoes for a more vibrant and robust chili taste, avoiding canned ingredients when possible.
- Adjust spice levels by gradually adding chili powder and red pepper flakes, tasting as you go to control heat intensity.
- For a leaner version, substitute ground turkey or plant-based meat alternatives without compromising the classic chili texture.
- Prep Time: 20 minutes
- Cook Time: 1 hour
- Category: Lunch, Dinner, Snacks
- Method: Simmering
- Cuisine: American
Nutrition
- Serving Size: 8
- Calories: 240 kcal
- Sugar: 5 g
- Sodium: 430 mg
- Fat: 12 g
- Saturated Fat: 4.5 g
- Unsaturated Fat: 6.5 g
- Trans Fat: 0.3 g
- Carbohydrates: 16 g
- Fiber: 5 g
- Protein: 20 g
- Cholesterol: 65 mg
Nate Harper
Founder & Recipe Curator
Expertise
Single-Recipe Development, Farm-to-Table Cooking, Seasonal Menu Planning, Culinary Storytelling, Home Kitchen Innovation
Education
Cascade Culinary Institute – Central Oregon Community College
Certificate in Culinary Arts
Focus: Farm-to-table cuisine, sustainable cooking practices, and seasonal recipe creation.
Nate studied under experienced chefs who emphasized local sourcing, minimal waste, and building recipes from fresh, simple ingredients.
Nate Harper is the founder and creative force behind Make, Take, Bake. Raised in the wild beauty of Oregon’s high desert, Nate grew up surrounded by family gardens, farmers’ markets, and home kitchens that celebrated the seasons.
His early love for simple, honest food evolved into a professional passion when he attended Cascade Culinary Institute, where he sharpened his skills in creating recipes that are sustainable, satisfying, and made for everyday life.
Nate’s goal is to make cooking feel accessible, free of fuss, and full of flavor. He believes a single, thoughtfully built dish can stand alone, and sometimes even steal the show.