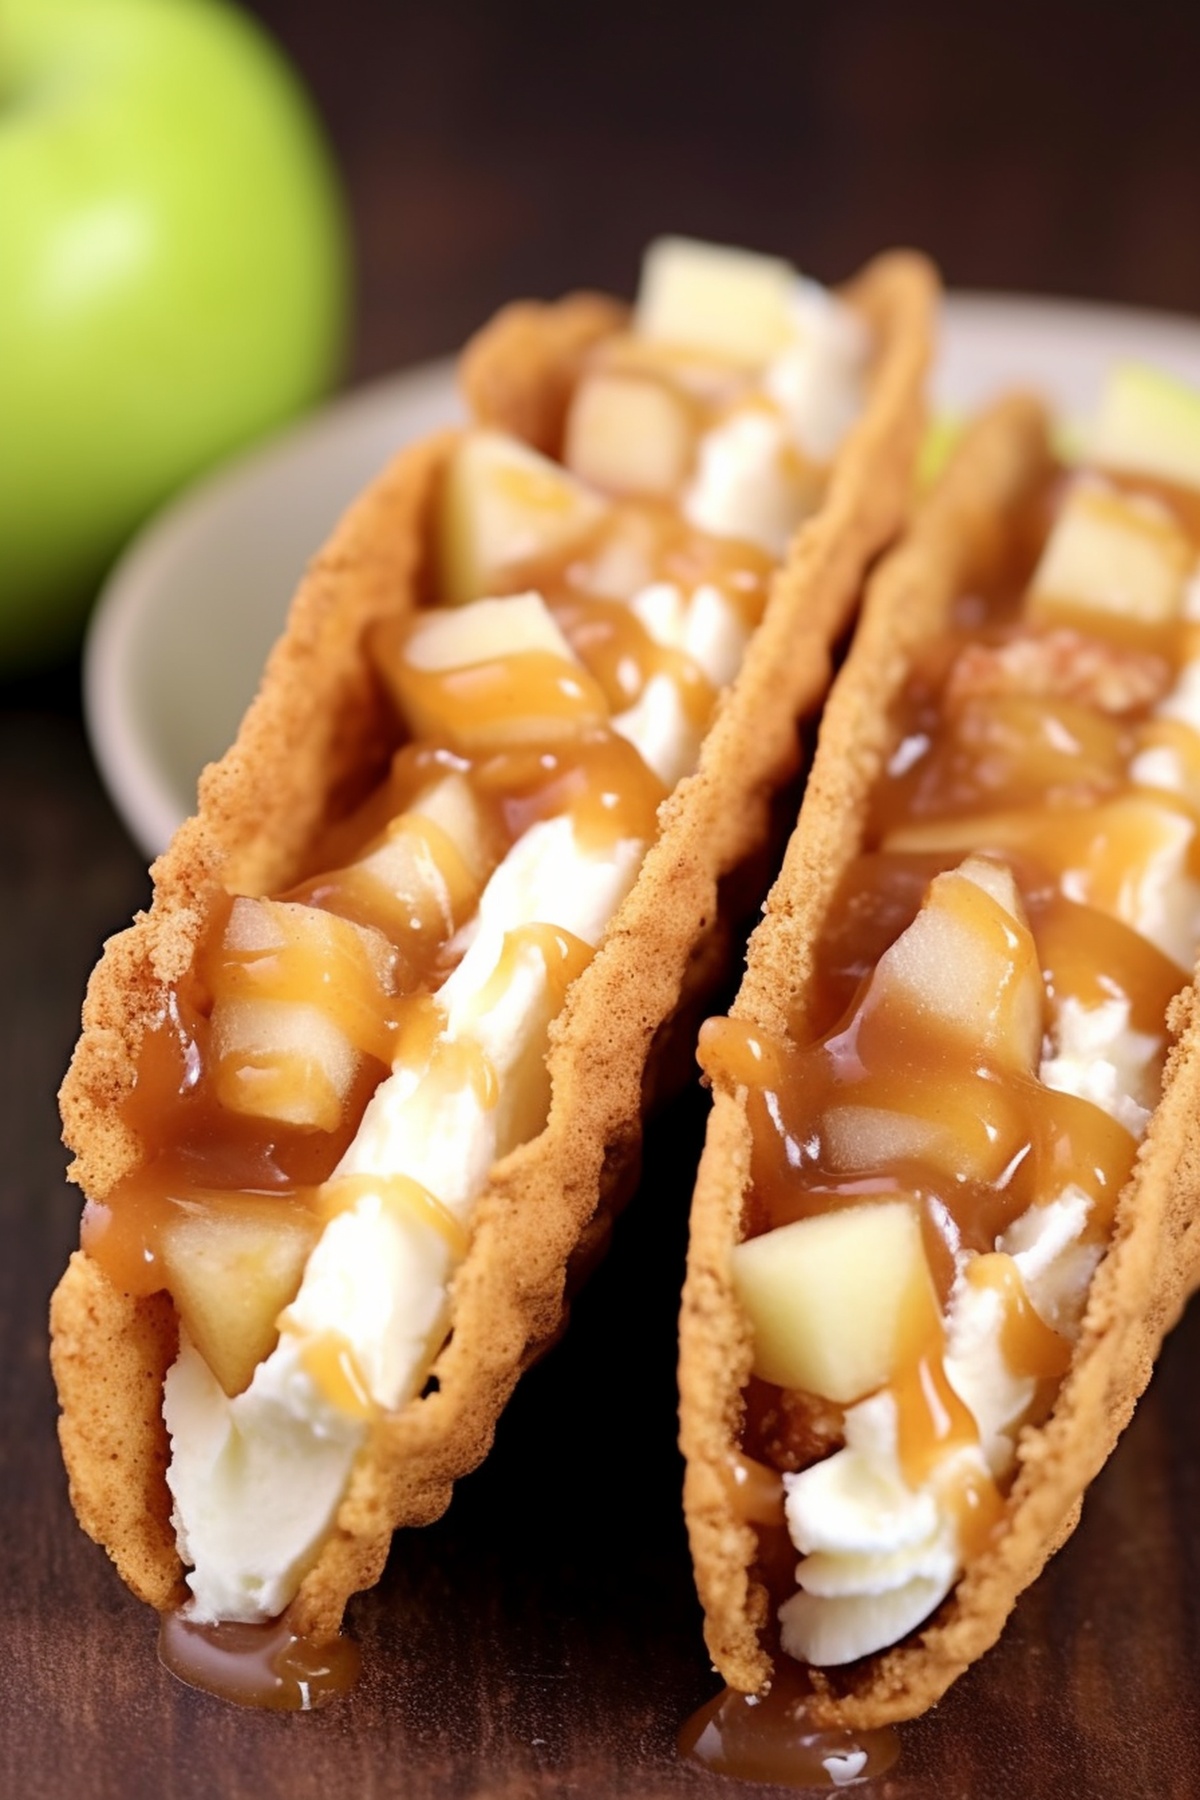
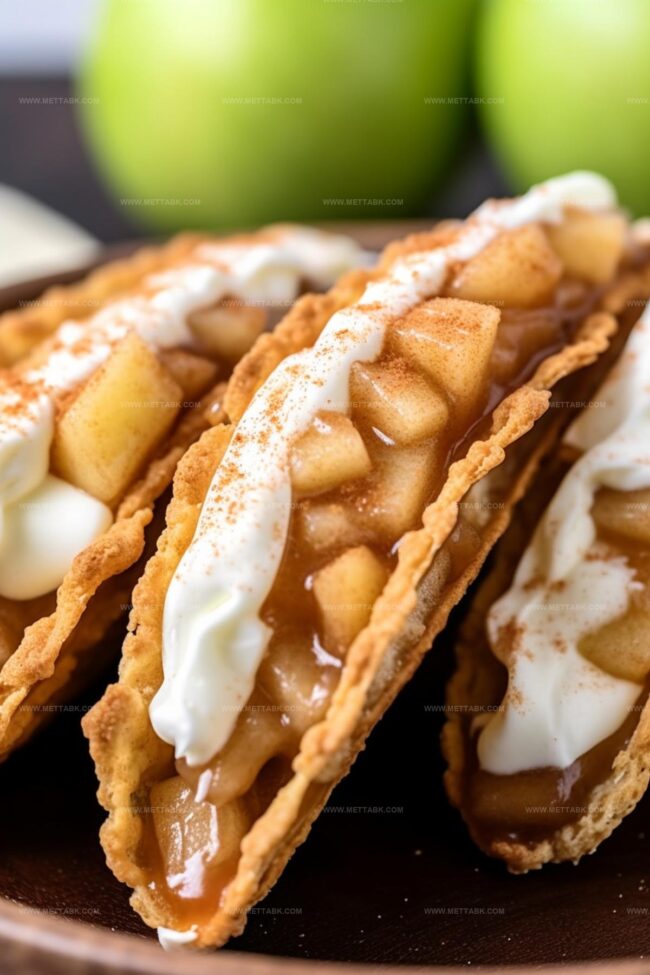
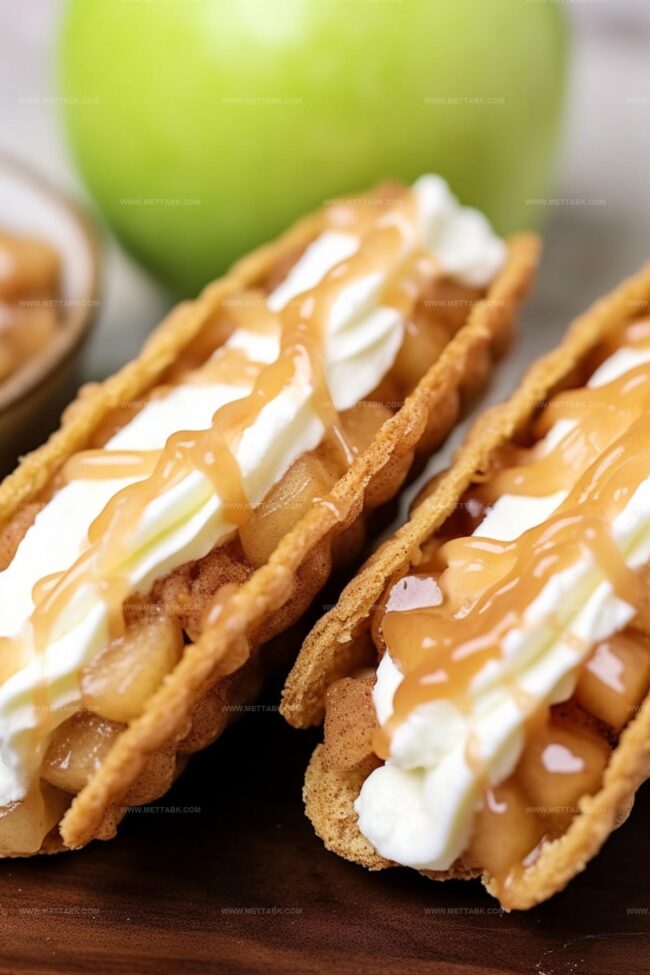
The Ultimate Apple Cheesecake Tacos Recipe: Sweet & Crunchy Bliss
Sweet meets savory in these mouthwatering apple cheesecake tacos that’ll make you rethink dessert boundaries.
Crisp tortillas cradle a creamy filling bursting with cinnamon-spiced fruit.
Soft cream cheese melts into warm apple chunks, creating a delightful contrast of textures.
Dessert innovation takes center stage with this playful twist on traditional treats.
Forget everything you know about classic desserts and embrace this unexpected culinary adventure.
Each bite promises a symphony of flavors that dance across your palate.
Grab a fork and dive into this irresistible creation that blends comfort with excitement.
Fun Apple Cheesecake Tacos

Ingredients for Apple Cheesecake Tacos
Taco Shells:Cinnamon Sugar Coating:Apple Pie Filling:Cream Cheese Filling:How to Prepare Apple Cheesecake Tacos
Step 1: Blend Cinnamon Sugar Mixture
Mix brown sugar and cinnamon in a bowl and set aside for later use.
Step 2: Cut Tortilla Circles
Use a 3.5-4 inch circle cutter to transform tortillas into perfect circular shapes.
Step 3: Fry Tortilla Shells
Step 4: Coat Shells with Cinnamon Sugar
Remove tortilla shells from oil and briefly drain excess oil
Immediately coat both exterior and interior of shells in cinnamon sugar mixture
Step 5: Shape Taco Shells
Place coated shells on an inverted muffin tin to maintain their curved shape
Repeat process with remaining tortilla circles
Step 6: Create Apple Pie Filling
Cook mixture over medium heat for 2-3 minutes until thickened, stirring occasionally
Step 7: Add Apples to Filling
Incorporate diced apples and vanilla extract
Cook for additional 10 minutes until apples soften
Remove from heat and let cool to room temperature
Step 8: Prepare Cream Cheese Filling
Beat ingredients using medium speed for approximately 2 minutes until mixture thickens
Step 9: Fill Taco Shells
Transfer cream cheese mixture to piping bag
Snip off bag’s tip
Pipe filling into each cinnamon sugar tortilla shell
Step 10: Final Assembly
Top cream cheese layer with generous amount of homemade apple pie filling in each taco shell
Serve and enjoy your delightful Apple Cheesecake Tacos!
Pro Tips for Perfect Apple Cheesecake Tacos
Creative Variations on Apple Cheesecake Tacos

Pairing Suggestions for Apple Cheesecake Tacos

Storage Guidelines for Apple Cheesecake Tacos
FAQs
Flour tortillas are ideal due to their softness and ability to crisp up nicely when fried, creating a perfect golden shell for the cheesecake tacos.
You can prepare the shells and fillings separately in advance, but assemble the tacos just before serving to keep the tortilla shells crisp and prevent sogginess.
Use tongs to carefully handle the tortillas and maintain a consistent medium oil temperature. Quickly fry and fold the tortillas to ensure they maintain their shape without becoming too crisp or fragile.
Print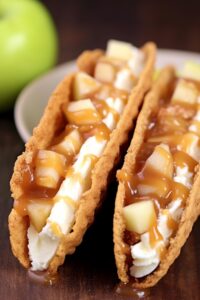
Apple Cheesecake Tacos
- Total Time: 35 minutes
- Yield: 6 1x
Description
Scrumptious apple cheesecake tacos blend Mexican street fare with classic dessert flavors. Sweet cinnamon-dusted tortillas cradle creamy cheesecake and spiced apple filling, promising delightful contrasts you won’t want to miss.
Ingredients
- 8 oz cream cheese
- 1 cup heavy cream
- 1/4 cup powdered sugar
- 2 large apples (diced)
- 6 large flour tortillas
- 1/2 cup brown sugar
- 1/3 cup brown sugar
- 1½ tsp cinnamon
- 1/2 tsp cinnamon
- 1 tsp vanilla extract
- 1/2 tsp vanilla extract
- 1 cup water
- 1/8 cup cornstarch
- 1/8 tsp nutmeg
- oil for frying
Instructions
- Blend cinnamon and brown sugar in a mixing bowl, setting the mixture aside for later use.
- Cut tortillas into 3.5-4 inch circular shapes using a precise cutting tool.
- Preheat oil in a skillet to medium-high temperature around 350°F. Gently submerge tortilla circles using tongs, frying each side for 10-15 seconds until crisp and golden brown.
- Drain excess oil briefly, then immediately coat warm tortilla shells completely with cinnamon sugar mixture, ensuring thorough coverage inside and out.
- Position fried shells upside down on an inverted muffin tin to maintain their taco shape, repeating the process for remaining tortillas.
- Combine water, cornstarch, brown sugar, cinnamon, and nutmeg in a saucepan. Simmer over medium heat for 2-3 minutes, stirring consistently until the mixture thickens and becomes glossy.
- Add diced apples and vanilla extract to the thickened sauce, cooking for an additional 10 minutes until apples soften and become tender. Remove from heat and cool to room temperature.
- Whip cream cheese, heavy cream, powdered sugar, and vanilla extract in a mixing bowl using medium speed for approximately 2 minutes until smooth and creamy.
- Transfer cream cheese mixture into a piping bag, carefully filling each crispy cinnamon sugar shell with a generous swirl.
- Top each filled shell with the prepared apple pie filling, creating a delectable layered dessert taco.
Notes
- Perfectly crisp tortilla shells require maintaining consistent oil temperature around 350°F to prevent burning or sogginess.
- Use corn tortillas for gluten-free adaptation, ensuring they’re fresh and pliable before cutting and frying.
- Allow apple filling to cool completely before adding to cream cheese layer to prevent potential separation or runny texture.
- Stabilize cream cheese filling by chilling the mixture for 15-20 minutes before piping, creating firmer and more structured peaks.
- Prep Time: 20 minutes
- Cook Time: 15 minutes
- Category: Desserts, Snacks
- Method: Frying
- Cuisine: American
Nutrition
- Serving Size: 6
- Calories: 345 kcal
- Sugar: 25 g
- Sodium: 210 mg
- Fat: 18 g
- Saturated Fat: 10 g
- Unsaturated Fat: 7 g
- Trans Fat: 0.5 g
- Carbohydrates: 38 g
- Fiber: 3 g
- Protein: 5 g
- Cholesterol: 55 mg
Clara Bennett
Contributing Recipe Developer & Food Writer
Expertise
Baking and Pastry Development, Gluten-Free and Allergy-Friendly Recipe Creation, Culinary Storytelling and Food Journalism, Recipe Testing and Standardization, Southern Comfort Foods and Modern Twists
Education
Sullivan University – National Center for Hospitality Studies
Associate Degree in Culinary Arts
Focus: Baking and Pastry Arts, Recipe Testing, and Culinary Journalism.
Clara specialized in crafting desserts that blend classic Southern comfort with modern techniques, while developing strong writing skills to tell the story behind every dish.
Lane Community College (Certificate Program)
Certificate in Food Writing and Photography
Focus: Culinary storytelling, recipe formatting, food styling, and visual presentation.
Clara’s love of baking started young, powered by homemade pies, biscuits, and stories passed around the family table.
After earning her degree at Sullivan University and a food writing certificate at Lane Community College, she turned her passion into a craft: sharing recipes that are simple, soulful, and always full of heart.
She’s big on bold flavors, flexible ideas, and creating sweets that fit any table (yes, even if you’re gluten-free). When she’s not baking, you’ll find her wandering farmers’ markets, styling food for the next photo shoot, or working on her ever-growing recipe journal.