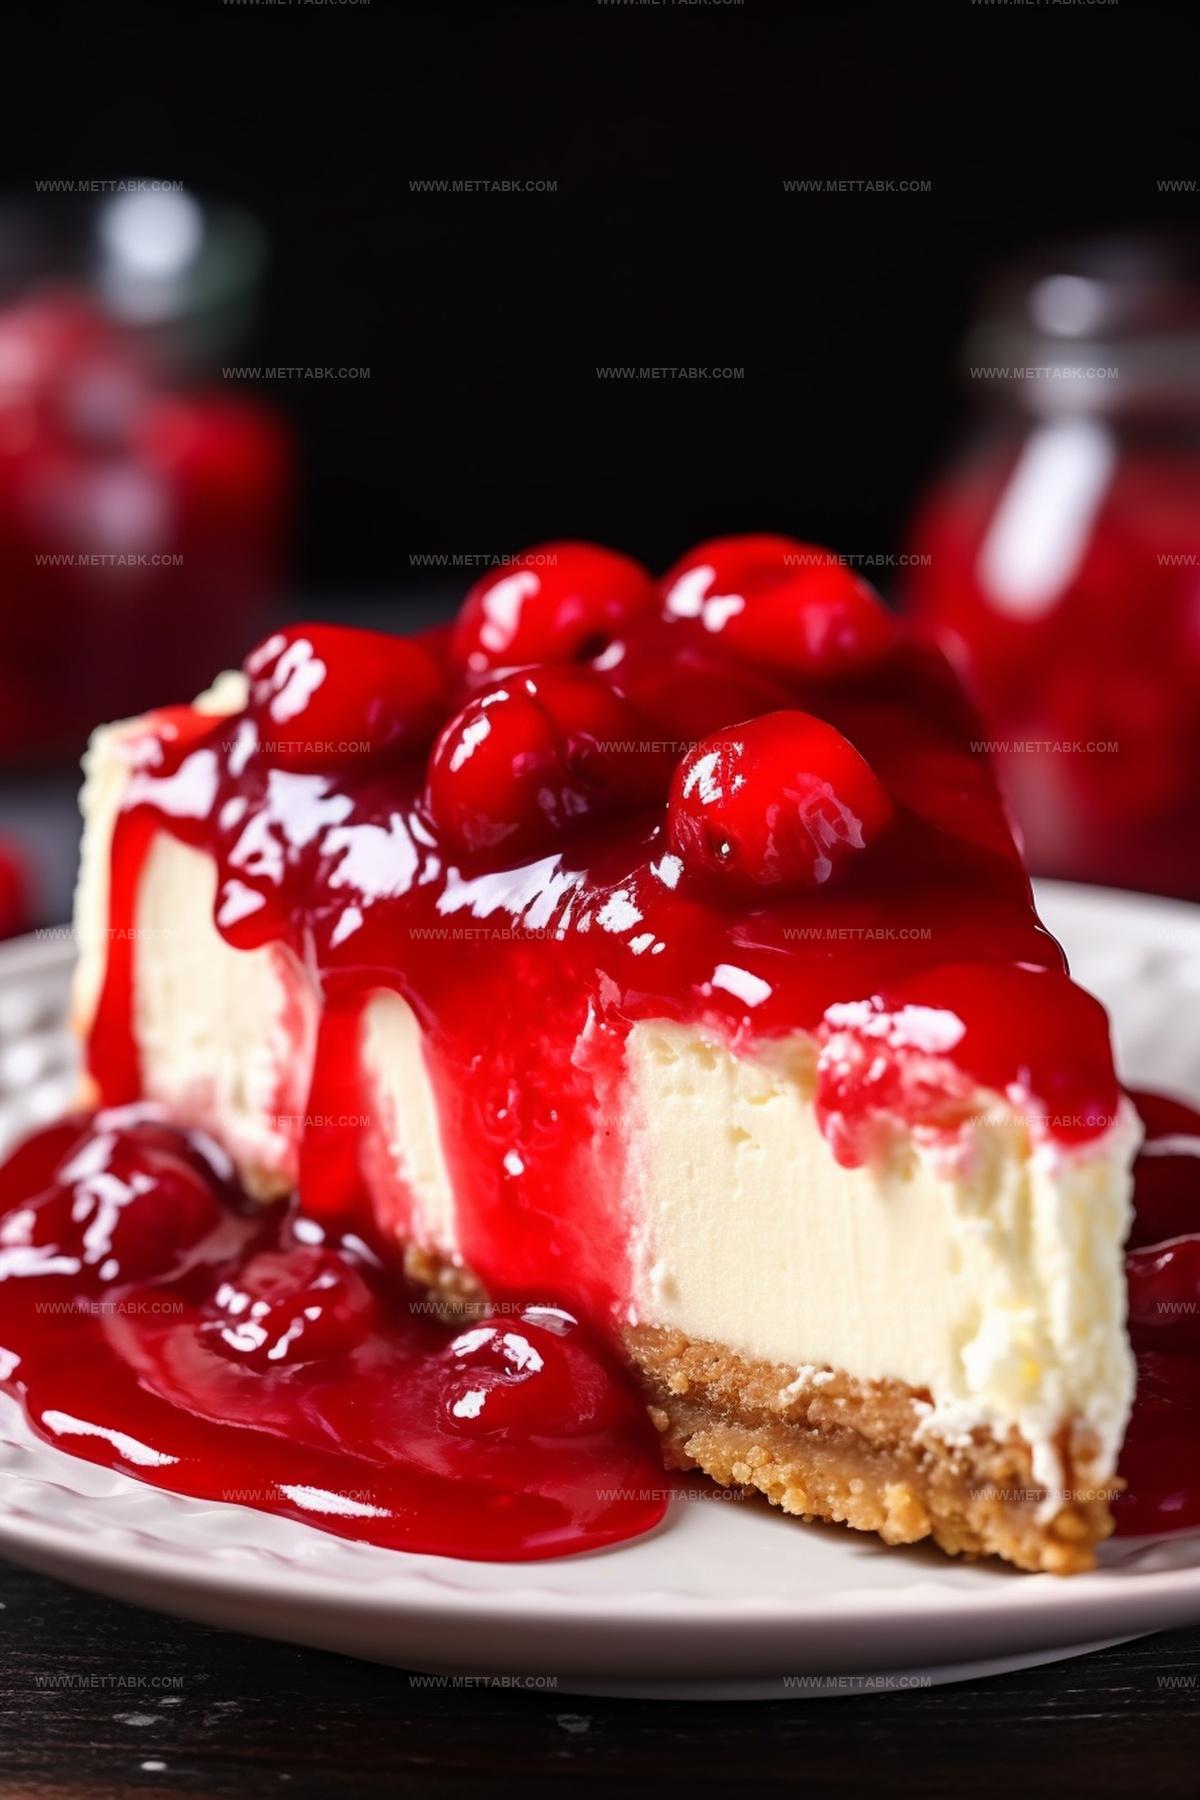
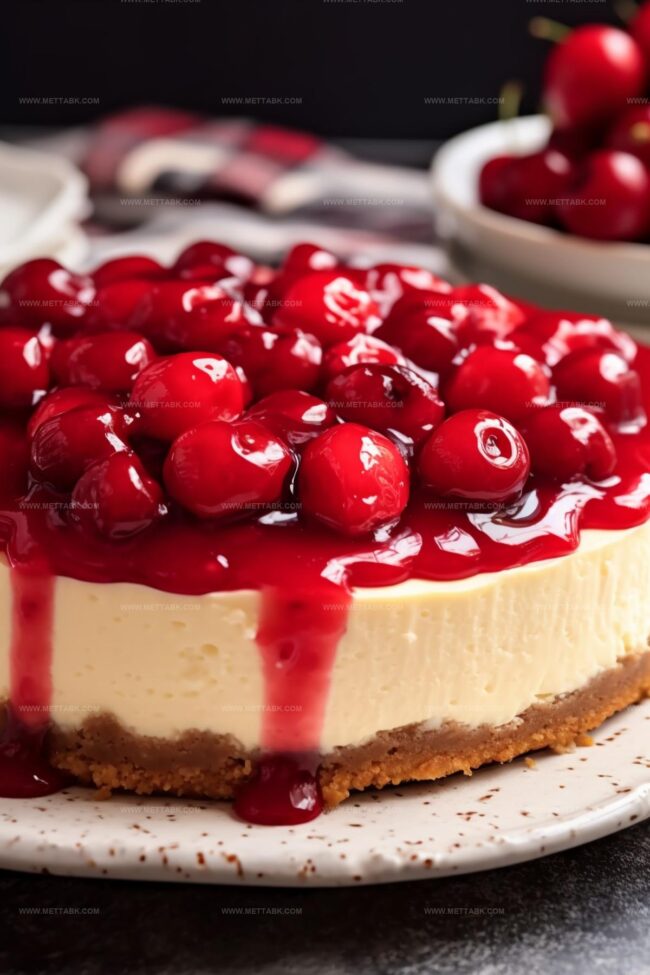
Sweet Cherry Cheesecake Recipe That Dazzles Every Time
Sweet memories often spark when I whip up this delectable cherry cheesecake that melts hearts instantly.
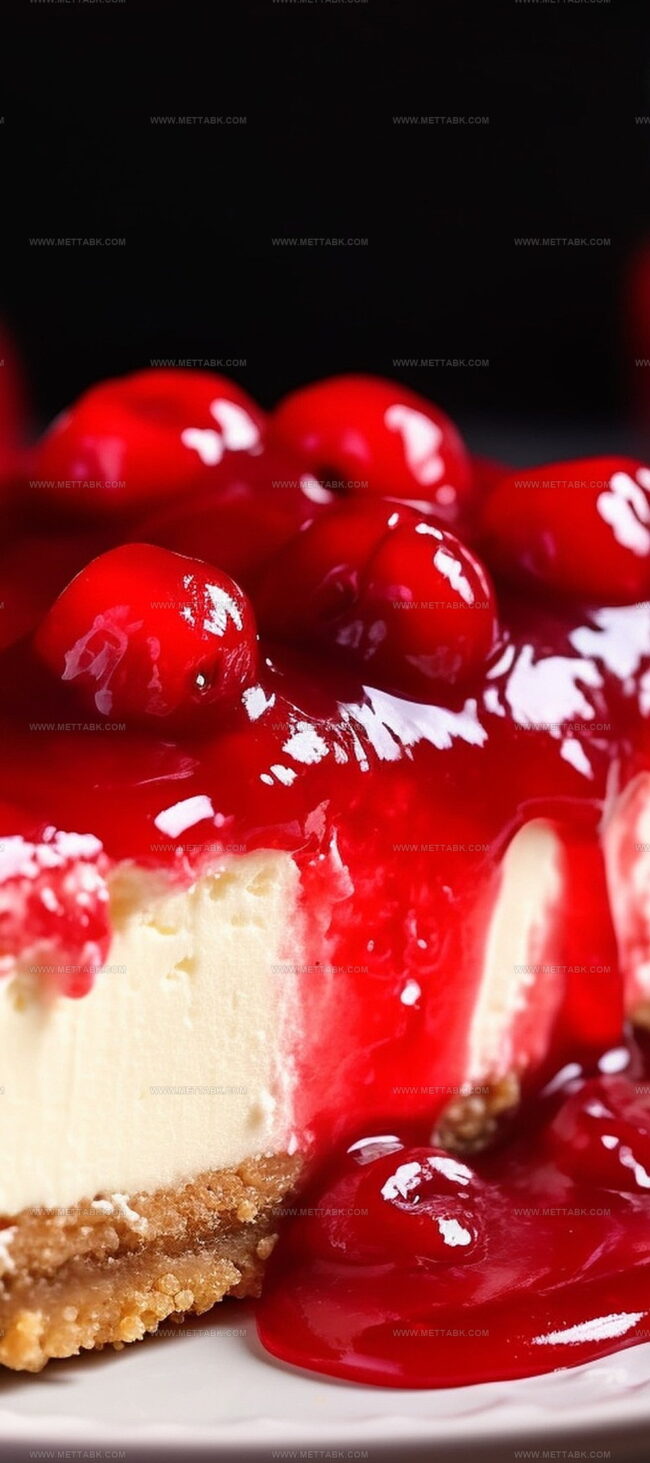
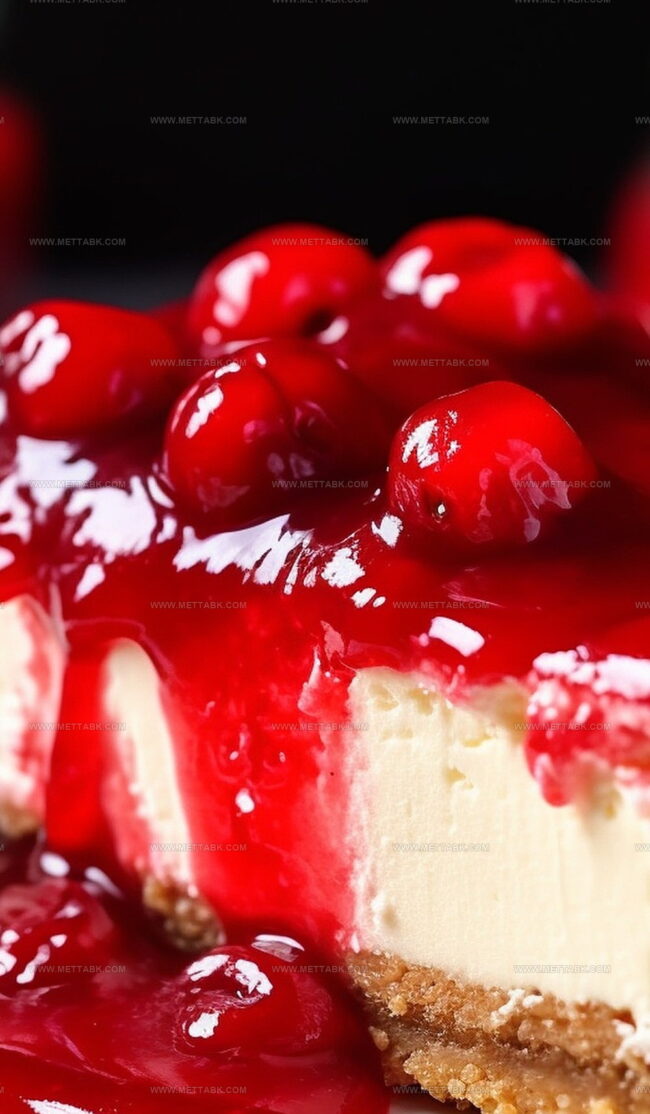
Creamy textures and vibrant fruit create magic on dessert plates everywhere.
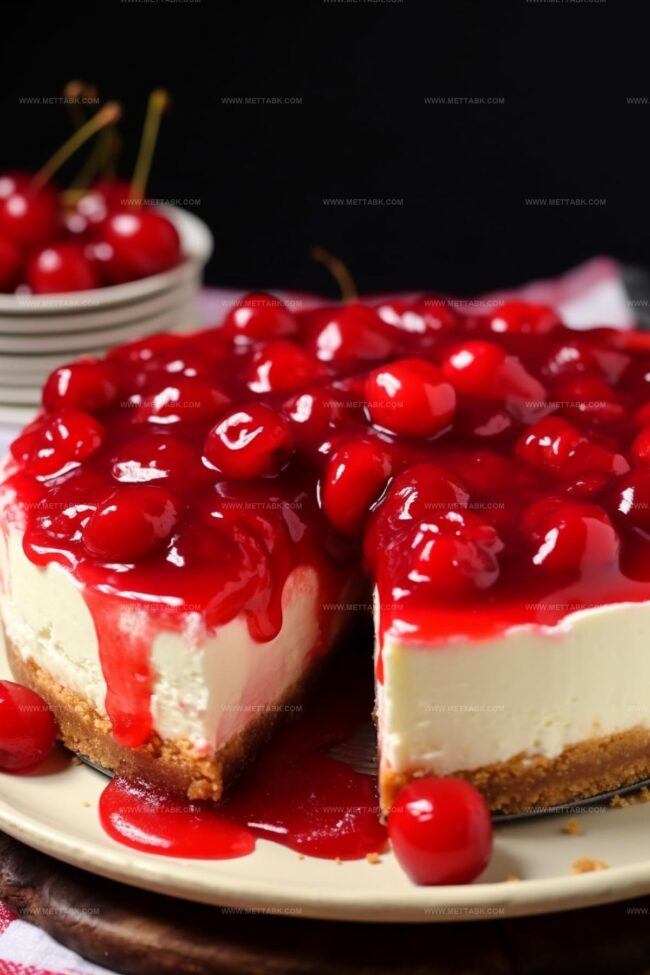
Soft cream cheese blends perfectly with graham cracker crusts in this classic treat.
Rich flavors dance across your palate with each luxurious bite.
Seasonal cherries add stunning crimson highlights to the smooth white landscape.
Weeknight dinners or special celebrations become extraordinary with this simple yet elegant dessert.
We promise this recipe will become your new favorite go-to sweet indulgence.
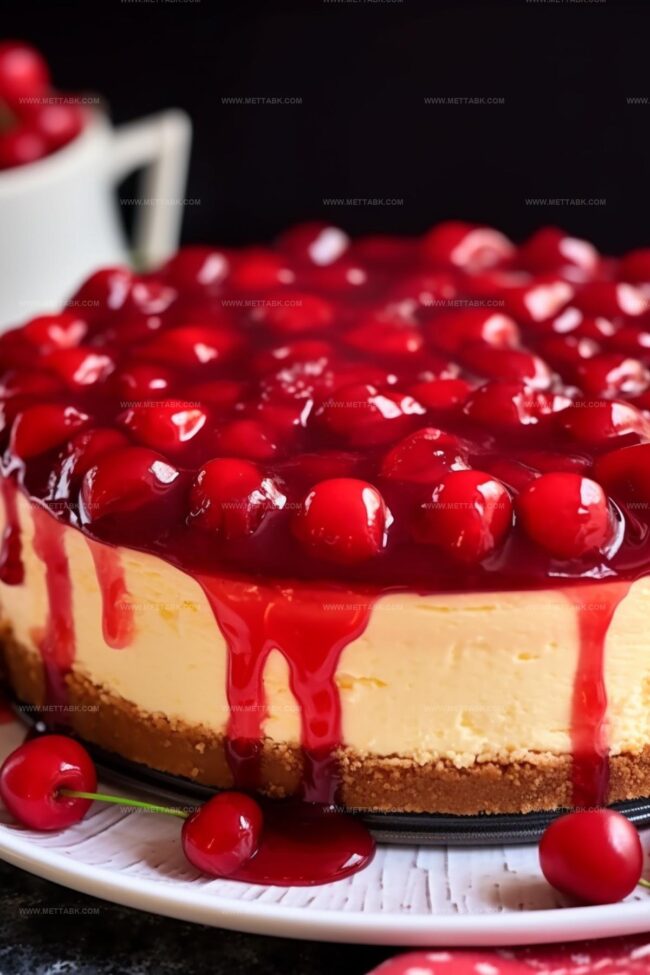
Classic Cherry Cheesecake
Ingredients for Cherry Cheesecake
Base Ingredients:Filling Ingredients:Topping and Finishing Ingredients:How to Make Cherry Cheesecake
Step 1: Preheat and Prepare Baking Vessel
Set the oven to 350 degrees Fahrenheit. Coat a 9-inch springform pan thoroughly with butter, ensuring complete coverage of bottom and sides.
Step 2: Create Crunchy Foundation
Mix graham cracker crumbs, sugar, and melted butter in a bowl. Press the mixture firmly into the pan’s bottom and slightly up the sides.
Bake the crust for 10 minutes, then let it cool completely.
Step 3: Set Up Moisture Environment
Lower the oven temperature to 300 degrees Fahrenheit.
Place a large baking dish filled with hot water on the lower oven rack to create a humid baking atmosphere.
Step 4: Whip Creamy Filling
Using a mixer, blend cream cheese and sugar until silky smooth.
Add:Incorporate eggs one at a time on low speed, mixing minimally between each addition.
Step 5: Bake Cheesecake
Pour filling into the cooled crust and smooth the surface.
Bake for 70 minutes. After baking, turn off the oven and leave the door slightly open with a wooden spoon for one hour.
Step 6: Cool and Decorate
Transfer cheesecake to a wire rack. Once cooled, refrigerate for at least 6 hours.
Remove springform pan sides and generously spread cherry pie filling on top.
Step 7: Serve and Store
Enjoy chilled.
Refrigerate any remaining slices immediately.
Pro Tips for Creamy Cherry Cheesecake

Variations to Enhance Cherry Cheesecake

Pairing Ideas for Cherry Cheesecake
Storing Recommendations for Cherry Cheesecake
FAQs
The water bath helps create a moist environment in the oven, which prevents the cheesecake from cracking and ensures a smooth, creamy texture by providing gentle, even heat.
The edges should be set but the center will still have a slight wobble. The cheesecake continues to set as it cools, so avoid overbaking which can cause cracks and a dry texture.
Yes, you can substitute graham crackers with other cookie crumbs like digestive biscuits, vanilla wafers, or even crushed pretzels for a unique twist on the traditional crust.
Print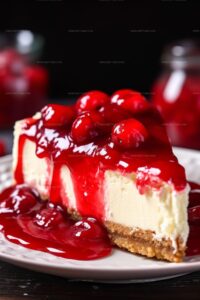
Cherry Cheesecake Recipe
- Total Time: 1 hour 50 minutes
- Yield: 12 1x
Description
Creamy New York-style cherry cheesecake blends rich cream cheese with sweet cherry compote. Guests will savor each delectable slice, experiencing classic dessert perfection that leaves you craving more.
Ingredients
- 32 oz cream cheese (full-fat, softened)
- 1 cup sugar
- 4 eggs (room temperature)
- 1 ¾ cups graham cracker crumbs
- 7 tbsps butter (melted)
- ⅓ cup granulated sugar
- 1/2 cup sour cream (room temperature)
- 1 can (21 oz) cherry pie filling
- 1 tsp vanilla extract
- 2 tsps lemon juice
- 1 tbsp lemon zest
Instructions
- Preheat oven to 350°F. Thoroughly butter a 9-inch springform pan, covering bottom and sides up to 1½ inches.
- Create graham cracker crust by mixing crumbs, sugar, and melted butter. Press mixture firmly into pan bottom and slightly up sides. Bake crust for 10 minutes, then cool completely.
- Reduce oven temperature to 300°F. Place a large water-filled baking dish on lower oven rack to create moisture and prevent surface cracking.
- Using a mixer, cream cheese and sugar until smooth, scraping bowl periodically. Incorporate sour cream, vanilla, lemon juice, and zest until well blended. Gradually add eggs at low speed, mixing minimally between each addition.
- Pour filling into cooled crust, smoothing the surface evenly. Bake for 70 minutes. After baking, turn off oven and slightly open door using a wooden spoon. Allow cheesecake to rest inside for 1 hour.
- Transfer cheesecake to wire rack and cool completely. Refrigerate, covered with plastic wrap, for at least 6 hours or overnight. Carefully loosen edges with a thin knife before removing springform pan sides.
- Garnish with cherry pie filling just before serving. Keep refrigerated and consume chilled.
Notes
- Prevent Crust Crumbling by pressing graham cracker mixture firmly and evenly into the pan, ensuring a compact and stable base that won’t fall apart when slicing.
- Smooth Cream Cheese Technique involves bringing cream cheese to room temperature and beating at medium speed to eliminate lumps, creating a silky-smooth filling without overmixing.
- Water Bath Hack helps create a moist baking environment, preventing surface cracks and ensuring a creamy, crack-free cheesecake texture by placing a large pan of hot water on the lower oven rack.
- Dietary Modification options include using gluten-free graham crackers for a celiac-friendly version or substituting low-fat cream cheese and sour cream for a lighter, reduced-calorie dessert.
- Prep Time: 30 minutes
- Cook Time: 1 hour 20 minutes
- Category: Desserts
- Method: Baking
- Cuisine: American
Nutrition
- Serving Size: 12
- Calories: 414 kcal
- Sugar: 32 g
- Sodium: 195 mg
- Fat: 29 g
- Saturated Fat: 17 g
- Unsaturated Fat: 11 g
- Trans Fat: 0.5 g
- Carbohydrates: 32 g
- Fiber: 1 g
- Protein: 6 g
- Cholesterol: 104 mg
Clara Bennett
Contributing Recipe Developer & Food Writer
Expertise
Baking and Pastry Development, Gluten-Free and Allergy-Friendly Recipe Creation, Culinary Storytelling and Food Journalism, Recipe Testing and Standardization, Southern Comfort Foods and Modern Twists
Education
Sullivan University – National Center for Hospitality Studies
Associate Degree in Culinary Arts
Focus: Baking and Pastry Arts, Recipe Testing, and Culinary Journalism.
Clara specialized in crafting desserts that blend classic Southern comfort with modern techniques, while developing strong writing skills to tell the story behind every dish.
Lane Community College (Certificate Program)
Certificate in Food Writing and Photography
Focus: Culinary storytelling, recipe formatting, food styling, and visual presentation.
Clara’s love of baking started young, powered by homemade pies, biscuits, and stories passed around the family table.
After earning her degree at Sullivan University and a food writing certificate at Lane Community College, she turned her passion into a craft: sharing recipes that are simple, soulful, and always full of heart.
She’s big on bold flavors, flexible ideas, and creating sweets that fit any table (yes, even if you’re gluten-free). When she’s not baking, you’ll find her wandering farmers’ markets, styling food for the next photo shoot, or working on her ever-growing recipe journal.