Dreamy Chocolate Lava Cake Recipe: Melt Hearts Tonight
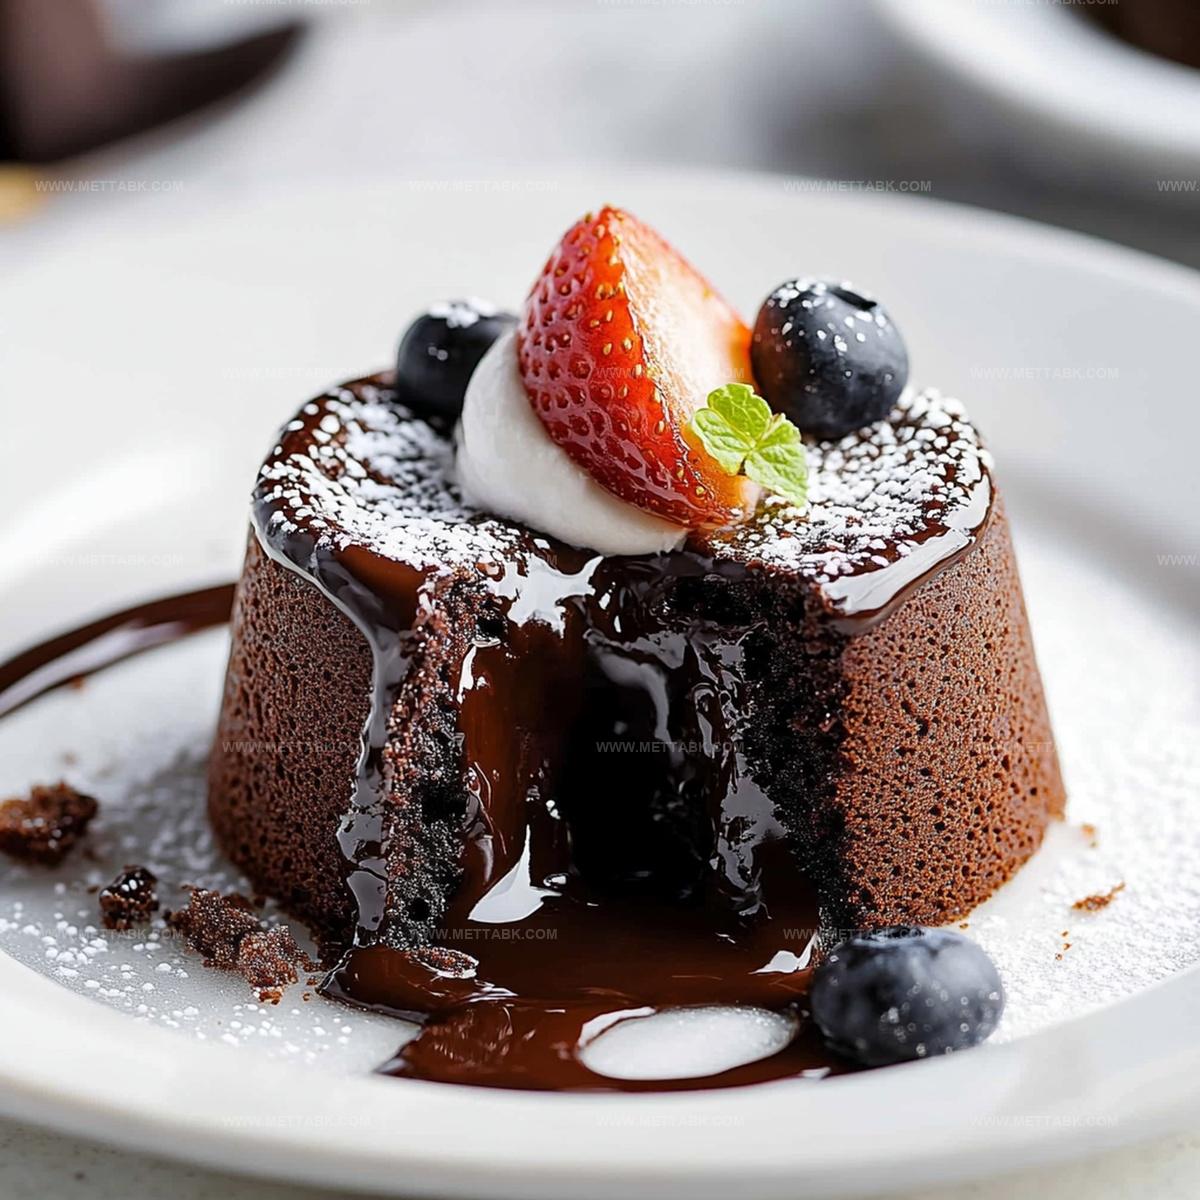
Chocolate lava cake whispers decadence from the moment it arrives at your table.
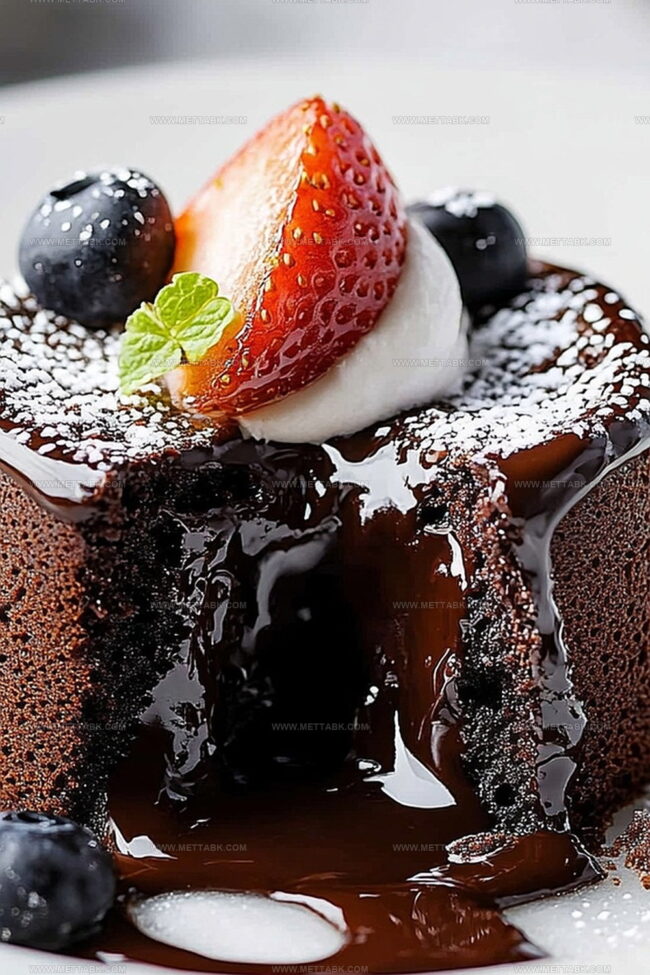
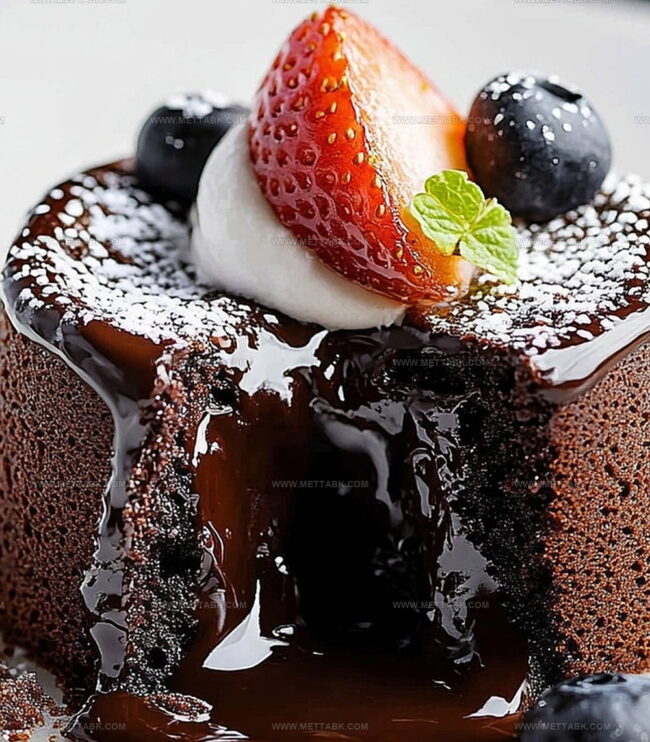
Warm chocolate rivers cascade through a delicate cake exterior, promising pure indulgence.
Rich, velvety textures melt gracefully across your palate with each carefully crafted bite.
Dessert enthusiasts understand this classic treat requires precision and passion.
Professional pastry techniques combine to create a sensational experience that feels both luxurious and intimate.
Simple ingredients transform into an elegant masterpiece that sparks conversation and delights every guest.
Your culinary adventure awaits – let’s unlock the secrets of this irresistible chocolate sensation.
Why Chocolate Lava Cake Will Steal Your Heart
What You Need to Make Chocolate Lava Cake
Core Ingredients:Baking Essentials:Optional Garnish:How to Bring Chocolate Lava Cake to Life
Step 1: Prepare Baking Setup
Warm up your oven to 425°F (220°C). Grab four ramekins and coat them generously with butter or cooking spray to prevent sticking.
Step 2: Create Chocolate Base
Grab a saucepan and combine:Melt these together over low heat, stirring constantly until the mixture becomes silky smooth. Remove from heat and let it cool down slightly.
Step 3: Whip Egg Mixture
In a separate mixing bowl, vigorously whisk together:Beat until the mixture becomes light, fluffy, and pale yellow.
Step 4: Blend Chocolate and Egg Mixtures
Gently fold the slightly cooled chocolate mixture into the egg mixture.
Sift flour over the top and carefully combine until just incorporated. Be careful not to overmix.
Step 5: Fill and Bake
Evenly distribute the batter into the prepared ramekins. Slide them into the preheated oven and bake for 12-14 minutes.
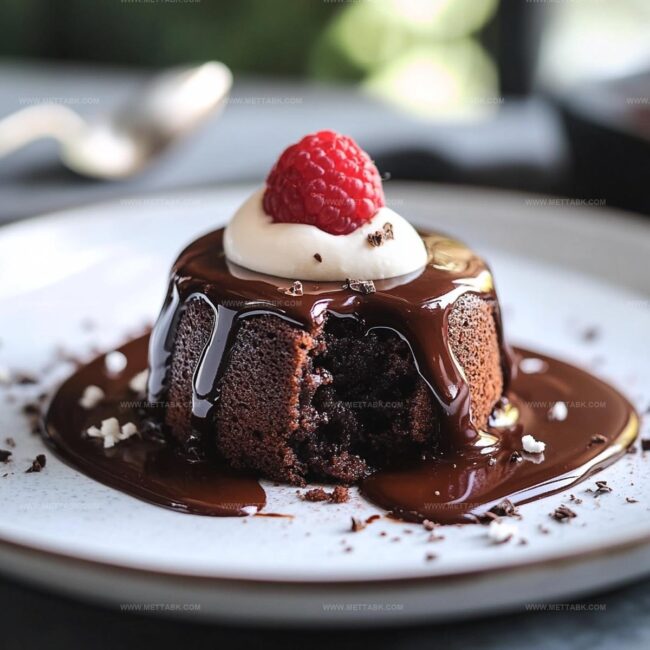
You want the edges to look set but the centers to remain beautifully soft and gooey.
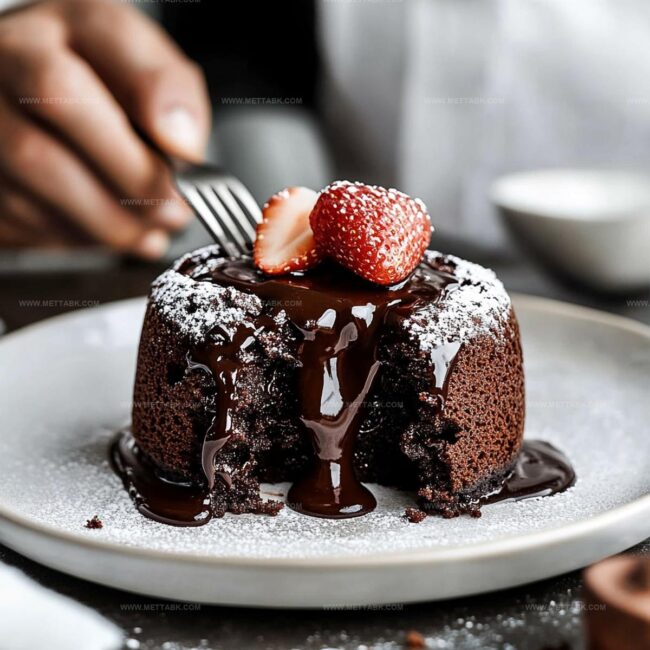
Step 6: Serve Dramatically
Remove from oven and let the cakes rest for one minute.
Carefully invert each ramekin onto a serving plate, allowing the warm, molten chocolate center to dramatically ooze out. Serve immediately for maximum wow factor.
Insider Tips for Perfecting Chocolate Lava Cake
Delicious Ways to Change Up Chocolate Lava Cake
Best Pairings to Enjoy with Chocolate Lava Cake
Keeping Chocolate Lava Cake Fresh and Tasty
FAQs
Yes, you can prepare the batter in advance and refrigerate for up to 24 hours before baking. Just let the batter come to room temperature before baking.
The edges should look firm while the center remains soft and slightly jiggly. Typically, 12-14 minutes of baking at 425F (220C) will give you the perfect lava cake texture.
High-quality dark chocolate with 60-70% cocoa content works best. Avoid using chocolate chips, as they contain stabilizers that can affect the cake’s texture.
Print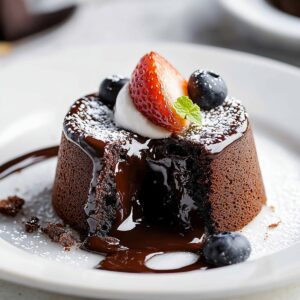
Chocolate Lava Cake Recipe
- Total Time: 29 minutes
- Yield: 2 1x
Description
Molten chocolate lava cake delights dessert enthusiasts with its rich, gooey center. Chocolate lovers savor each spoonful of this classic French delicacy that melts seamlessly in you.
Ingredients
- 2 large eggs
- 1/2 cup (120 ml) granulated sugar
- 4 oz (113 g) unsweetened chocolate
- 1/2 cup (113 g) unsalted butter
- 1/4 cup (30 g) all-purpose flour
Instructions
- Prepare four ramekins by lightly coating with butter or cooking spray, ensuring complete coverage to prevent sticking.
- Set oven temperature to 425F (220C) for precise baking conditions.
- Create a double boiler or use a saucepan on low heat to melt chocolate and butter together, stirring continuously until achieving a silky, uniform consistency.
- Remove chocolate mixture from heat and allow to cool slightly, preventing egg scrambling during mixing.
- Vigorously whisk eggs and sugar in a separate bowl until the mixture becomes pale, airy, and increases in volume.
- Carefully incorporate melted chocolate into egg mixture using gentle folding techniques to maintain air bubbles.
- Sift flour directly into the chocolate-egg blend, stirring until just combined to avoid overmixing.
- Evenly distribute batter among prepared ramekins, filling approximately three-quarters full.
- Position ramekins in preheated oven and bake for 12-14 minutes, watching for firm edges while maintaining a soft, molten center.
- Remove from oven and let rest for one minute to stabilize the delicate interior.
- Invert ramekins onto serving plates, allowing cakes to gently release, revealing their luscious chocolate core.
Notes
- Check chocolate quality since it directly impacts the cake’s richness and flavor depth.
- Avoid overmixing batter to maintain the delicate, soft texture of the lava center.
- Use room temperature eggs for smoother integration and better volume when whisking.
- Adjust baking time based on your oven’s performance to prevent overcooking the molten interior.
- Prep Time: 15 minutes
- Cook Time: 14 minutes
- Category: Desserts
- Method: Baking
- Cuisine: French
Nutrition
- Serving Size: 2
- Calories: 520 kcal
- Sugar: 25 g
- Sodium: 10 mg
- Fat: 36 g
- Saturated Fat: 22 g
- Unsaturated Fat: 14 g
- Trans Fat: 0.5 g
- Carbohydrates: 35 g
- Fiber: 6 g
- Protein: 7 g
- Cholesterol: 160 mg
Clara Bennett
Contributing Recipe Developer & Food Writer
Expertise
Baking and Pastry Development, Gluten-Free and Allergy-Friendly Recipe Creation, Culinary Storytelling and Food Journalism, Recipe Testing and Standardization, Southern Comfort Foods and Modern Twists
Education
Sullivan University – National Center for Hospitality Studies
Associate Degree in Culinary Arts
Focus: Baking and Pastry Arts, Recipe Testing, and Culinary Journalism.
Clara specialized in crafting desserts that blend classic Southern comfort with modern techniques, while developing strong writing skills to tell the story behind every dish.
Lane Community College (Certificate Program)
Certificate in Food Writing and Photography
Focus: Culinary storytelling, recipe formatting, food styling, and visual presentation.
Clara’s love of baking started young, powered by homemade pies, biscuits, and stories passed around the family table.
After earning her degree at Sullivan University and a food writing certificate at Lane Community College, she turned her passion into a craft: sharing recipes that are simple, soulful, and always full of heart.
She’s big on bold flavors, flexible ideas, and creating sweets that fit any table (yes, even if you’re gluten-free). When she’s not baking, you’ll find her wandering farmers’ markets, styling food for the next photo shoot, or working on her ever-growing recipe journal.