Fluffy Chocolate Meringue Easter Nests Recipe: Sweet Spring Joy
Delicate chocolate meringue easter nests burst with whimsical charm and sweet nostalgia.
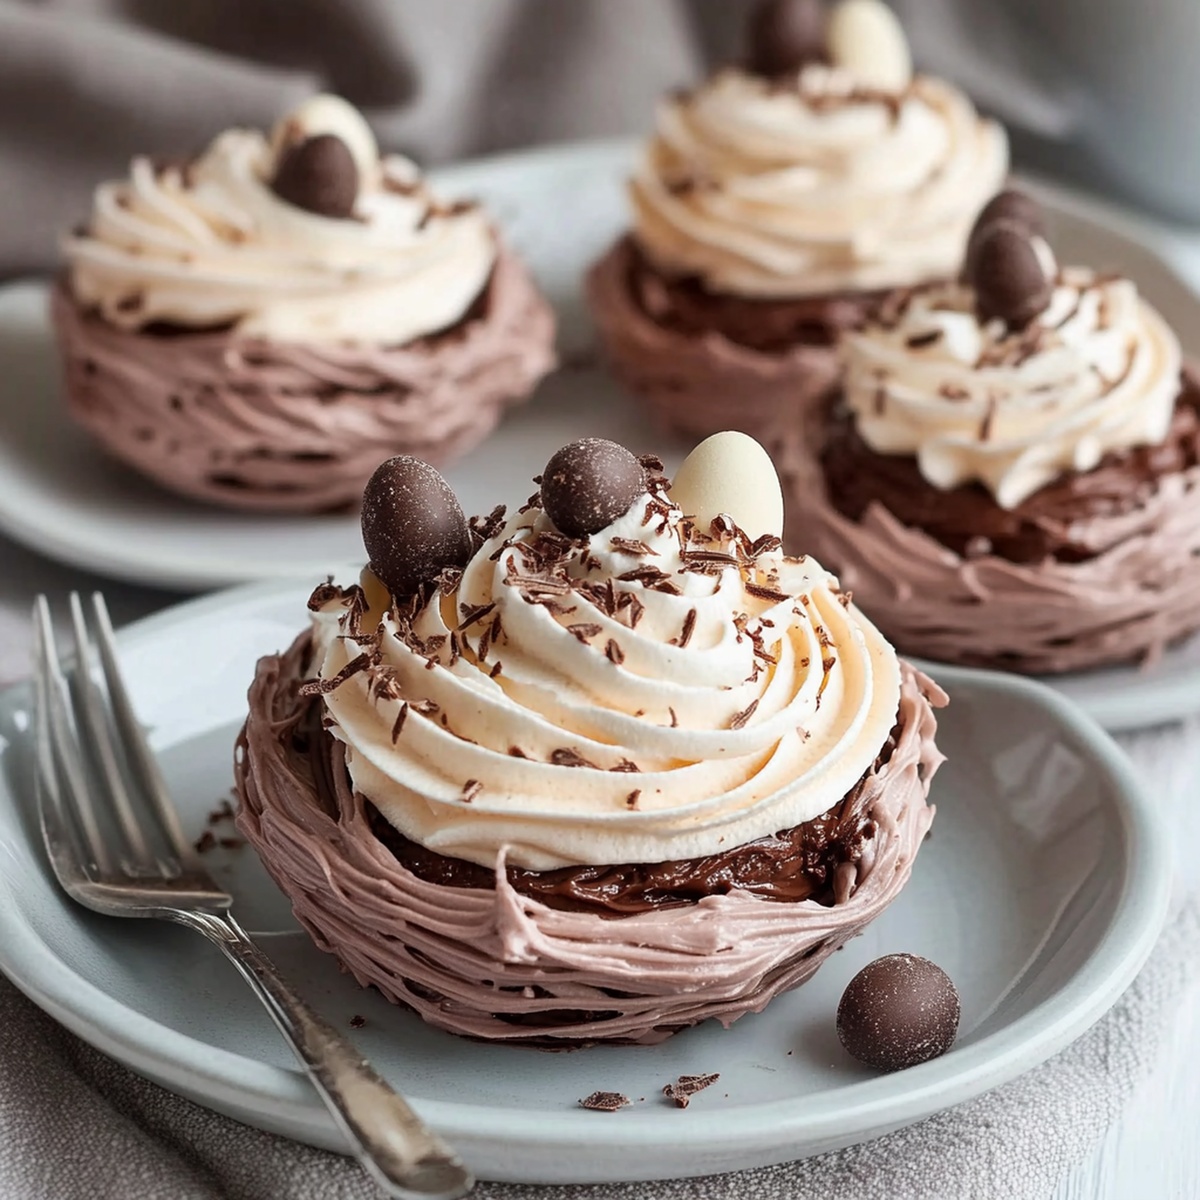
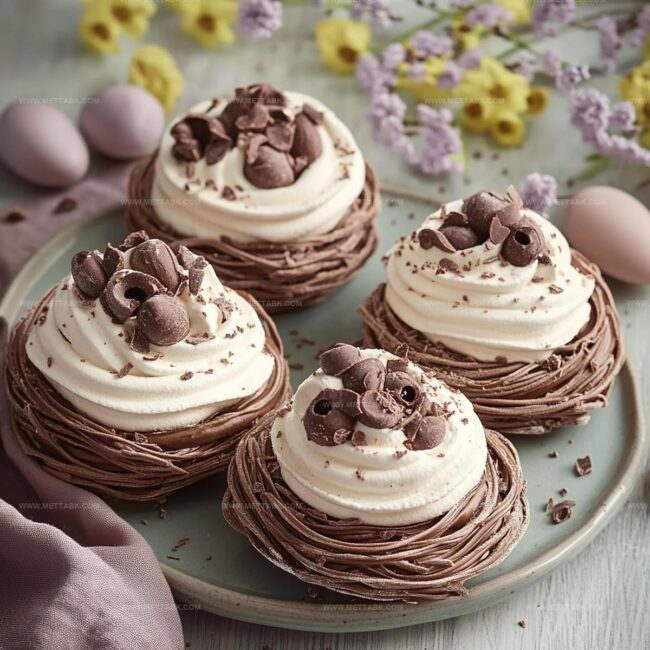
Crisp peaks of glossy chocolate swirl into delightful little baskets.
Pastel eggs nestled within these airy confections create a magical springtime treat.
Light and crunchy, these delicate nests promise a playful dessert experience.
Each bite combines rich cocoa with delicate meringue texture.
Kids and adults alike will adore these charming confections.
Loving Chocolate Meringue Easter Nests
Key Ingredients of Chocolate Meringue Easter Nests
Egg Whites:Sugar Group:Chocolate and Decorative Elements:Optional Supporting Ingredients:How to Make Chocolate Meringue Easter Nests

Step 1: Prepare Baking Space
Warm up your oven to a gentle 225°F. Cover a baking sheet with parchment paper, creating a smooth surface for your delicate meringue nests.
Step 2: Whip Egg Whites
Grab a spotless mixing bowl and start whisking egg whites until they become light and foamy. Gradually sprinkle in sugar while continuing to beat.
Keep whisking until the mixture stands in stiff, glossy peaks – this should take around 5-7 minutes of passionate mixing.
Step 3: Incorporate Chocolate Powder
Carefully fold cocoa powder into the fluffy egg white mixture.
Use gentle folding motions to maintain the airy texture, ensuring the meringue doesn’t lose its beautiful volume.
Step 4: Shape Chocolate Meringue Nests
Scoop the chocolatey meringue onto the prepared baking sheet.
Create circular nests with a gentle indentation in the center, building them about 2 inches tall. Each nest should look like a delicate chocolate landscape.
Step 5: Bake and Cool
Slide the baking sheet into the preheated oven. Bake for one hour until the exterior is crisp but the inside remains soft and pillowy.
Once done, let the nests cool completely right on the baking sheet.
Step 6: Decorate Chocolate Nests
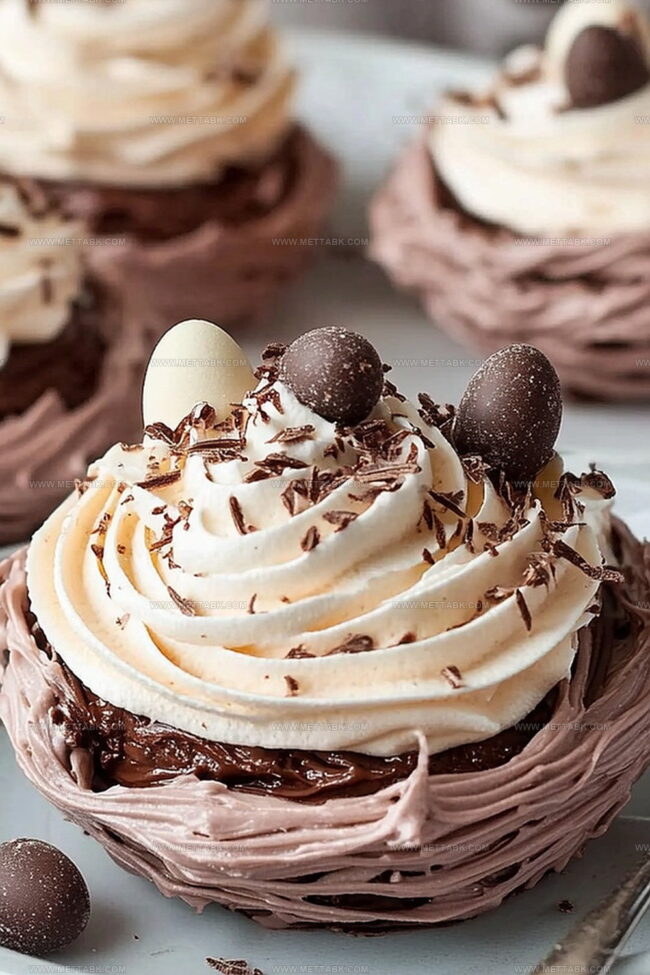
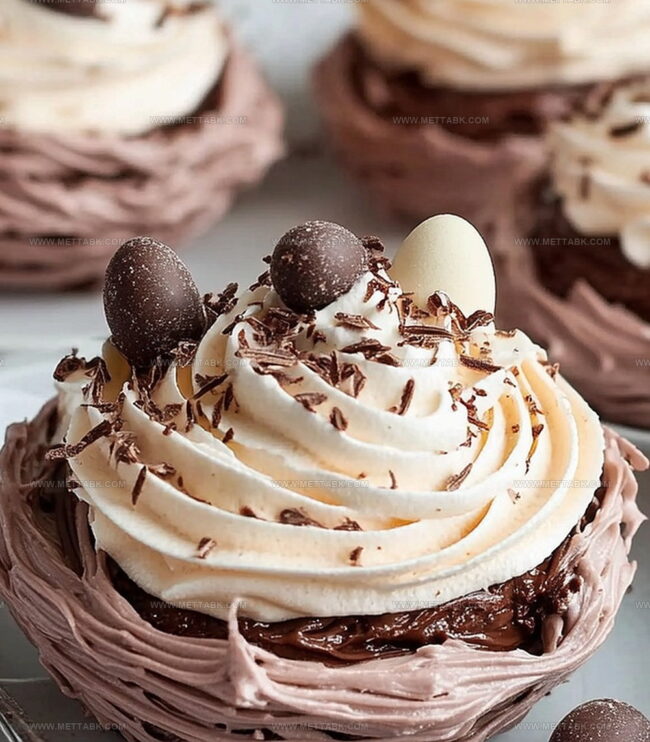
Melt dark chocolate and drizzle it gracefully over the cooled nests.
Fill the center with colorful mini eggs or festive candies, transforming these treats into adorable Easter-inspired delights.
Helpful Tips to Perfect Chocolate Meringue Easter Nests
Fun Twists on Chocolate Meringue Easter Nests
Pairings That Elevate Chocolate Meringue Easter Nests
Storage Tips to Keep Chocolate Meringue Easter Nests Fresh
FAQs
Look for stiff, glossy peaks that stand straight up when you lift the beater. The mixture should be thick and hold its shape without drooping.
Ensure your bowl and beaters are completely clean and free from any oil or grease. Even a tiny bit of fat can prevent egg whites from whipping correctly. Use room temperature eggs for best results.
Yes! Meringues can be prepared days in advance and stored in an airtight container at room temperature. Just add chocolate and eggs right before serving to keep them crisp.
Print
Chocolate Meringue Easter Nests Recipe
- Total Time: 1 hour 15 minutes
- Yield: 4 1x
Description
Delightful chocolate meringue easter nests bring spring’s sweet charm to dessert tables. Crisp chocolate shells cradle pastel eggs, offering a whimsical treat you’ll adore for holiday celebrations.
Ingredients
- 4 large egg whites
- 1 cup (200 g) granulated sugar
- 2 tbsps (15 g) cocoa powder
- 4 oz (113 g) dark chocolate, melted
- Mini eggs or colorful candies for filling
Instructions
- Prepare workspace by heating oven to 225°F and positioning rack in center, then line baking sheet with parchment paper.
- Sanitize mixing bowl and whisk, then vigorously whip egg whites until they become light and airy.
- Gradually incorporate sugar while continuously beating mixture, maintaining steady motion until meringue develops glossy, stiff peaks (approximately 5-7 minutes).
- Sift cocoa powder gently into whipped mixture, folding carefully to preserve volume and prevent deflation.
- Using circular motion, pipe or spoon meringue onto prepared baking sheet, creating delicate nest shapes with slightly raised edges and soft central depression.
- Carefully transfer sheet to preheated oven, allowing meringues to dry slowly without browning for one hour.
- Turn off oven and leave meringues inside, allowing them to cool completely and develop crisp exterior while maintaining tender interior.
- Once completely cooled, delicately remove nests from parchment paper.
- Melt dark chocolate using double boiler method, then artfully drizzle over meringue surfaces.
- Garnish chocolate-enhanced nests with decorative mini eggs or festive candies, creating visually appealing Easter-themed dessert.
Notes
- Check egg whites are completely free from any yolk traces to ensure perfect meringue volume and stability.
- Use room temperature egg whites for maximum volume and easier whipping process.
- Create consistent nest shapes by using a piping bag with a large star tip for professional-looking presentation.
- Store meringue nests in an airtight container with parchment paper between layers to prevent moisture absorption and maintain crispness.
- Prep Time: 15 minutes
- Cook Time: 1 hour
- Category: Desserts
- Method: Baking
- Cuisine: American
Nutrition
- Serving Size: 4
- Calories: 282 kcal
- Sugar: 56 g
- Sodium: 120 mg
- Fat: 8 g
- Saturated Fat: 4.5 g
- Unsaturated Fat: 3 g
- Trans Fat: 0 g
- Carbohydrates: 43 g
- Fiber: 3 g
- Protein: 7 g
- Cholesterol: 0 mg
Clara Bennett
Contributing Recipe Developer & Food Writer
Expertise
Baking and Pastry Development, Gluten-Free and Allergy-Friendly Recipe Creation, Culinary Storytelling and Food Journalism, Recipe Testing and Standardization, Southern Comfort Foods and Modern Twists
Education
Sullivan University – National Center for Hospitality Studies
Associate Degree in Culinary Arts
Focus: Baking and Pastry Arts, Recipe Testing, and Culinary Journalism.
Clara specialized in crafting desserts that blend classic Southern comfort with modern techniques, while developing strong writing skills to tell the story behind every dish.
Lane Community College (Certificate Program)
Certificate in Food Writing and Photography
Focus: Culinary storytelling, recipe formatting, food styling, and visual presentation.
Clara’s love of baking started young, powered by homemade pies, biscuits, and stories passed around the family table.
After earning her degree at Sullivan University and a food writing certificate at Lane Community College, she turned her passion into a craft: sharing recipes that are simple, soulful, and always full of heart.
She’s big on bold flavors, flexible ideas, and creating sweets that fit any table (yes, even if you’re gluten-free). When she’s not baking, you’ll find her wandering farmers’ markets, styling food for the next photo shoot, or working on her ever-growing recipe journal.