
Dreamy Chocolate Peanut Butter Rice Krispy Cups Recipe
Crafting delectable chocolate peanut butter rice krispy cups brings pure joy to dessert enthusiasts seeking a quick sweet treat.
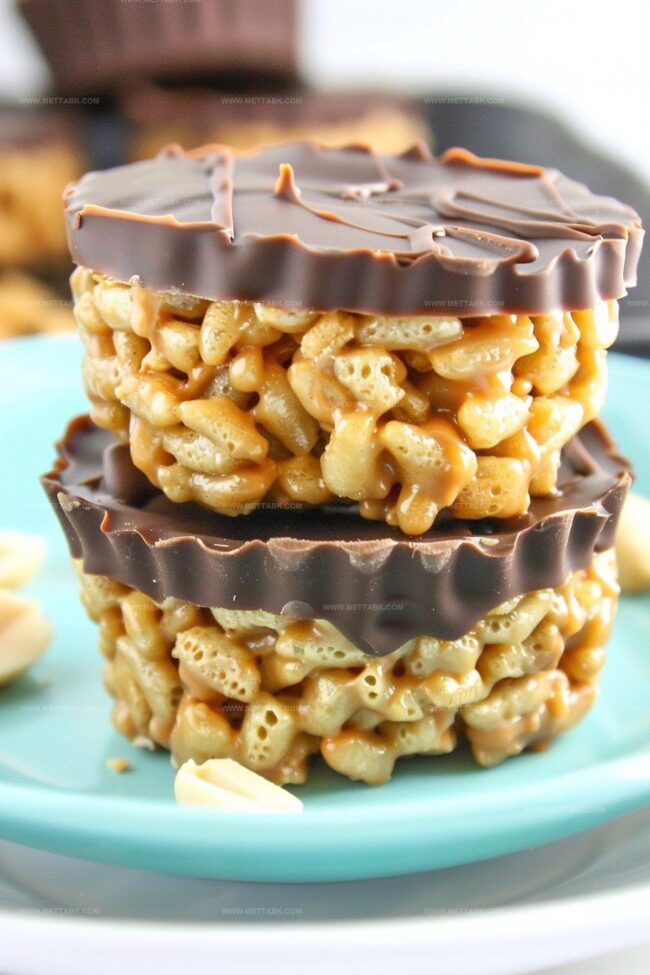
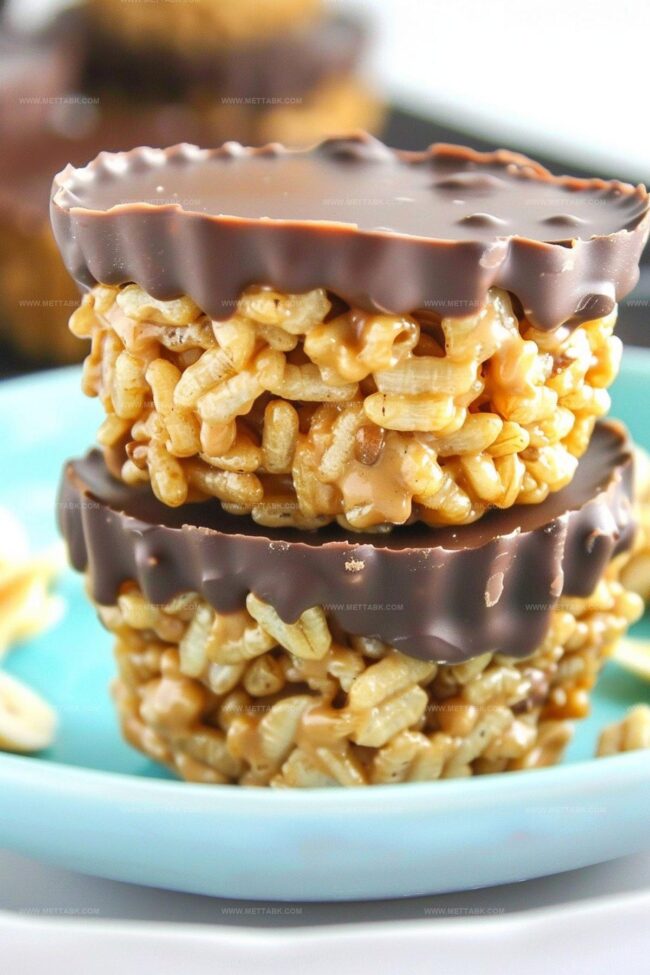
Creamy chocolate and rich peanut butter combine in a mouthwatering no-bake sensation that melts effortlessly on your tongue.
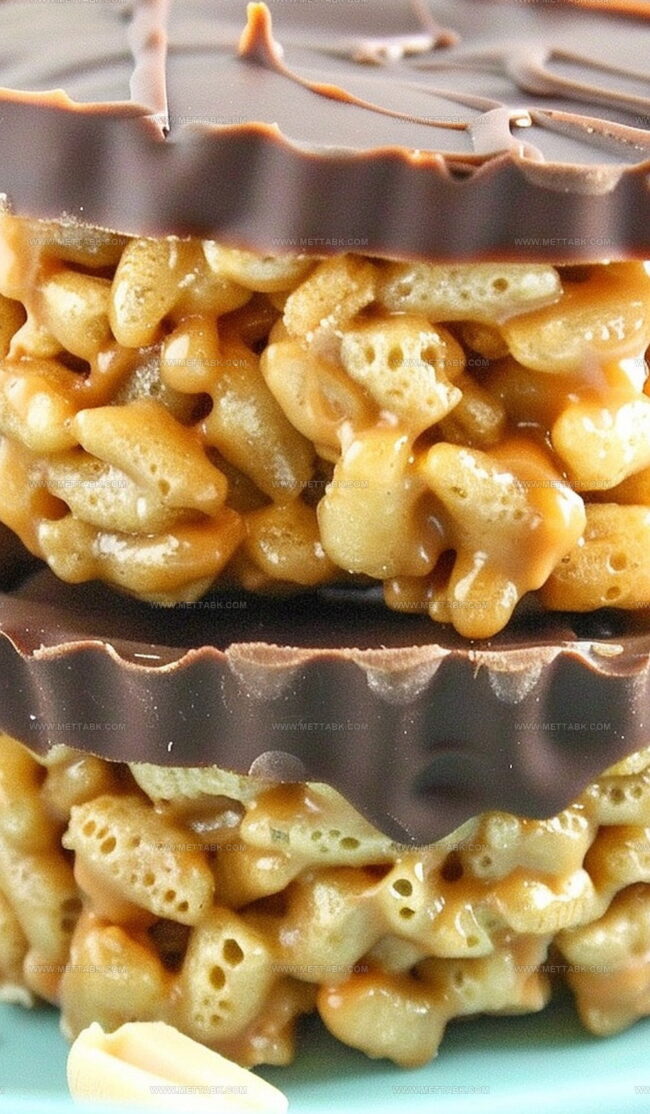
Crispy rice cereal provides a delightful crunch that contrasts beautifully with smooth, velvety layers of decadent filling.
Simple ingredients create an irresistible snack perfect for afternoon cravings or unexpected guest surprises.
Minimal kitchen skills and just a few minutes stand between you and these delightful miniature indulgences.
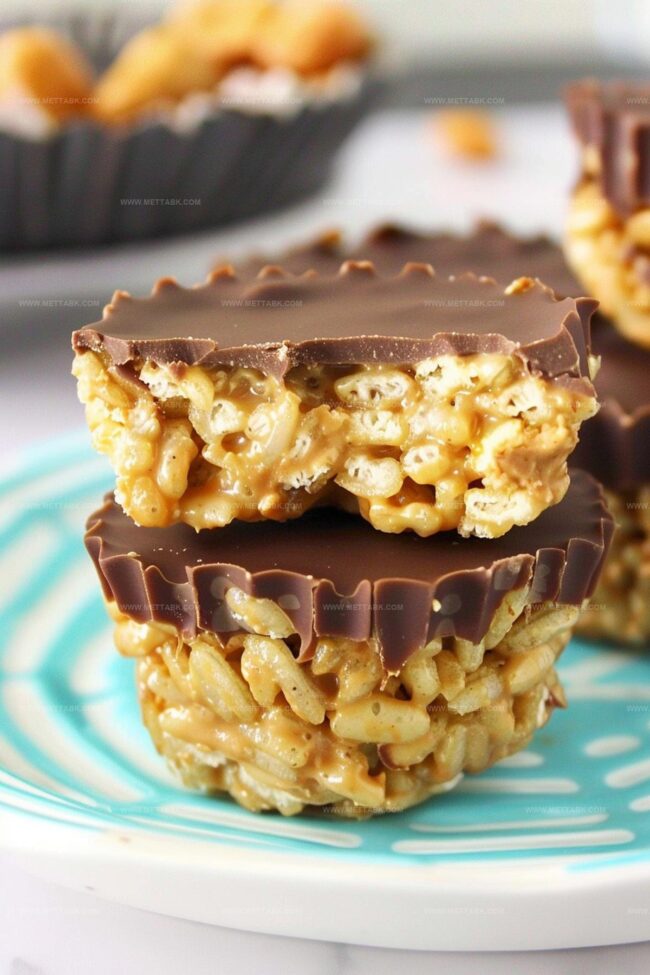
Each bite promises a symphony of textures and flavors that dance across your palate with delightful complexity.
Whip up these irresistible cups and watch everyone’s eyes light up with pure dessert excitement.
Chocolate Peanut Butter Rice Krispy Cups to Enjoy
Ingredients for Chocolate Peanut Butter Rice Krispy Cups
Base Ingredients:Flavor Enhancers:Chocolate Coating:Preparation Ingredients:How to Make Chocolate Peanut Butter Rice Krispy Cups
Step 1: Prepare Muffin Pan
Get your muffin pan ready by placing paper liners inside. Spritz each liner with non-stick cooking spray to ensure smooth removal later.
Step 2: Create Peanut Butter Base
In a saucepan, combine:Heat the mixture on low, stirring constantly until everything melts together smoothly. Remove from heat once blended.
Step 3: Mix in Crispy Goodness
Pour Rice Krispies cereal into the warm peanut butter mixture. Stir enthusiastically to coat every single crisp completely.
Step 4: Fill Muffin Liners
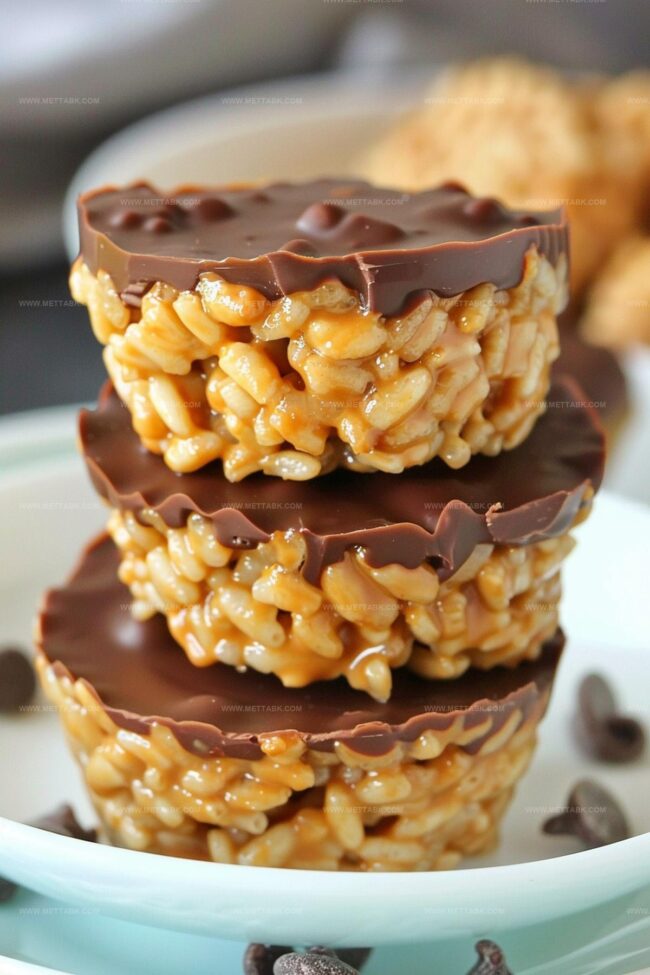
Scoop the peanut butter and cereal mixture into each liner. Press down firmly to create a solid, compact base for your cups.
Step 5: Melt Chocolate Topping
Gently melt chocolate chips in a separate saucepan over low heat. Stir continuously to achieve a silky, glossy texture.
Remove from heat once fully melted.
Step 6: Top with Chocolate
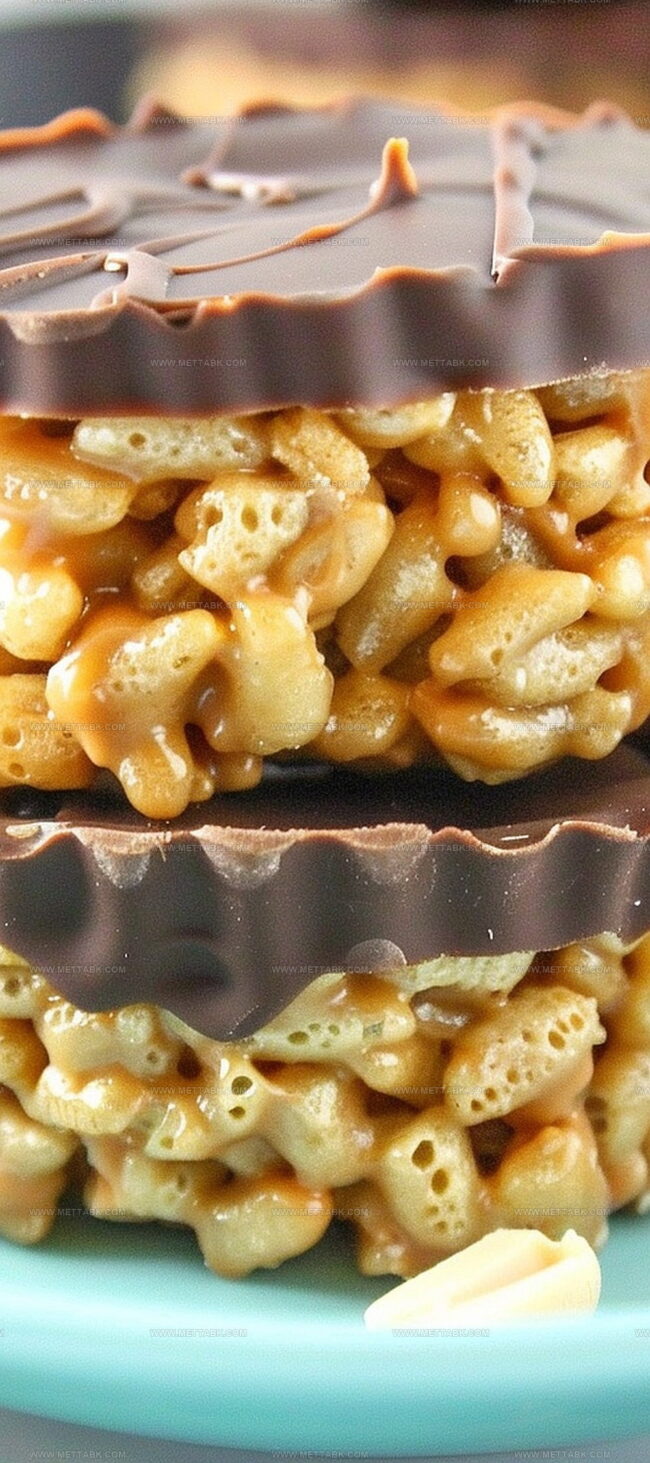
Drizzle melted chocolate over the peanut butter base in each liner.
Spread evenly to create a perfect chocolate layer.
Step 7: Chill and Set
Slide the muffin pan into the refrigerator.
Let the cups chill until the chocolate hardens and the base becomes firm – usually takes a few hours.
Tips to Perfect Chocolate Peanut Butter Rice Krispy Cups

Variations on Chocolate Peanut Butter Rice Krispy Cups
Pairing Suggestions for Chocolate Peanut Butter Rice Krispy Cups
Storage Advice for Chocolate Peanut Butter Rice Krispy Cups
FAQs
The key ingredients are peanut butter, honey, Rice Krispies cereal, chocolate chips, and a pinch of salt.
Yes, Rice Krispies cereal can be gluten-free if you choose a certified gluten-free brand, making the recipe adaptable for gluten-sensitive individuals.
Absolutely! You can use milk chocolate, dark chocolate, or white chocolate depending on your preference and taste.
This recipe is very simple and beginner-friendly, requiring only basic melting and mixing skills with no complicated baking techniques.
Print
Chocolate Peanut Butter Rice Krispy Cups Recipe
- Total Time: 25 minutes
- Yield: 12 1x
Description
Irresistible chocolate peanut butter rice krispy cups combine classic dessert ingredients for a nostalgic treat. Sweet marshmallow and crispy cereal create delightful layers that chocolate and peanut butter elevate into an indulgent snack you cannot resist.
Ingredients
- 2 cups chocolate chips (to be melted)
- 3 cups Rice Krispies cereal
- 1 cup peanut butter (creamy variety recommended, though chunky is acceptable)
- 6 tbsps honey
- 1 pinch salt
Instructions
- Prepare a muffin pan by lining with paper liners and lightly spraying with non-stick cooking spray to ensure easy removal of the finished treats.
- Create the peanut butter base by combining peanut butter, honey, and salt in a saucepan. Heat on low, stirring constantly until completely melted and smooth, then remove from heat.
- Fold Rice Krispies cereal into the warm peanut butter mixture, mixing thoroughly to ensure every piece is evenly coated.
- Carefully press the peanut butter-coated cereal mixture into each muffin liner, creating a compact and even base layer.
- Melt chocolate chips in a separate saucepan over low heat, stirring continuously until smooth and completely liquefied.
- Generously pour the melted chocolate over the peanut butter base, using a spoon to spread and cover the entire surface evenly.
- Refrigerate the muffin pan for 2-3 hours or until the chocolate is completely set and the cups are firm to the touch.
Notes
- Customize the sweetness by adjusting honey levels for different taste preferences or dietary needs.
- Opt for dark chocolate or sugar-free chocolate chips to reduce overall sugar content and create a more health-conscious version.
- Replace traditional peanut butter with almond or sunflower seed butter for nut-free alternatives that maintain a similar creamy texture.
- Sprinkle sea salt or crushed nuts on top before chilling to add extra crunch and enhance flavor complexity.
- Prep Time: 15 minutes
- Cook Time: 10 minutes
- Category: Snacks, Desserts
- Method: Melting
- Cuisine: American
Nutrition
- Serving Size: 12
- Calories: 241
- Sugar: 12 g
- Sodium: 86 mg
- Fat: 14 g
- Saturated Fat: 3 g
- Unsaturated Fat: 11 g
- Trans Fat: 0 g
- Carbohydrates: 24 g
- Fiber: 2 g
- Protein: 6 g
- Cholesterol: 0 mg
Clara Bennett
Contributing Recipe Developer & Food Writer
Expertise
Baking and Pastry Development, Gluten-Free and Allergy-Friendly Recipe Creation, Culinary Storytelling and Food Journalism, Recipe Testing and Standardization, Southern Comfort Foods and Modern Twists
Education
Sullivan University – National Center for Hospitality Studies
Associate Degree in Culinary Arts
Focus: Baking and Pastry Arts, Recipe Testing, and Culinary Journalism.
Clara specialized in crafting desserts that blend classic Southern comfort with modern techniques, while developing strong writing skills to tell the story behind every dish.
Lane Community College (Certificate Program)
Certificate in Food Writing and Photography
Focus: Culinary storytelling, recipe formatting, food styling, and visual presentation.
Clara’s love of baking started young, powered by homemade pies, biscuits, and stories passed around the family table.
After earning her degree at Sullivan University and a food writing certificate at Lane Community College, she turned her passion into a craft: sharing recipes that are simple, soulful, and always full of heart.
She’s big on bold flavors, flexible ideas, and creating sweets that fit any table (yes, even if you’re gluten-free). When she’s not baking, you’ll find her wandering farmers’ markets, styling food for the next photo shoot, or working on her ever-growing recipe journal.