Magical Christmas Cookie Bars Recipe for Jolly Holiday Baking
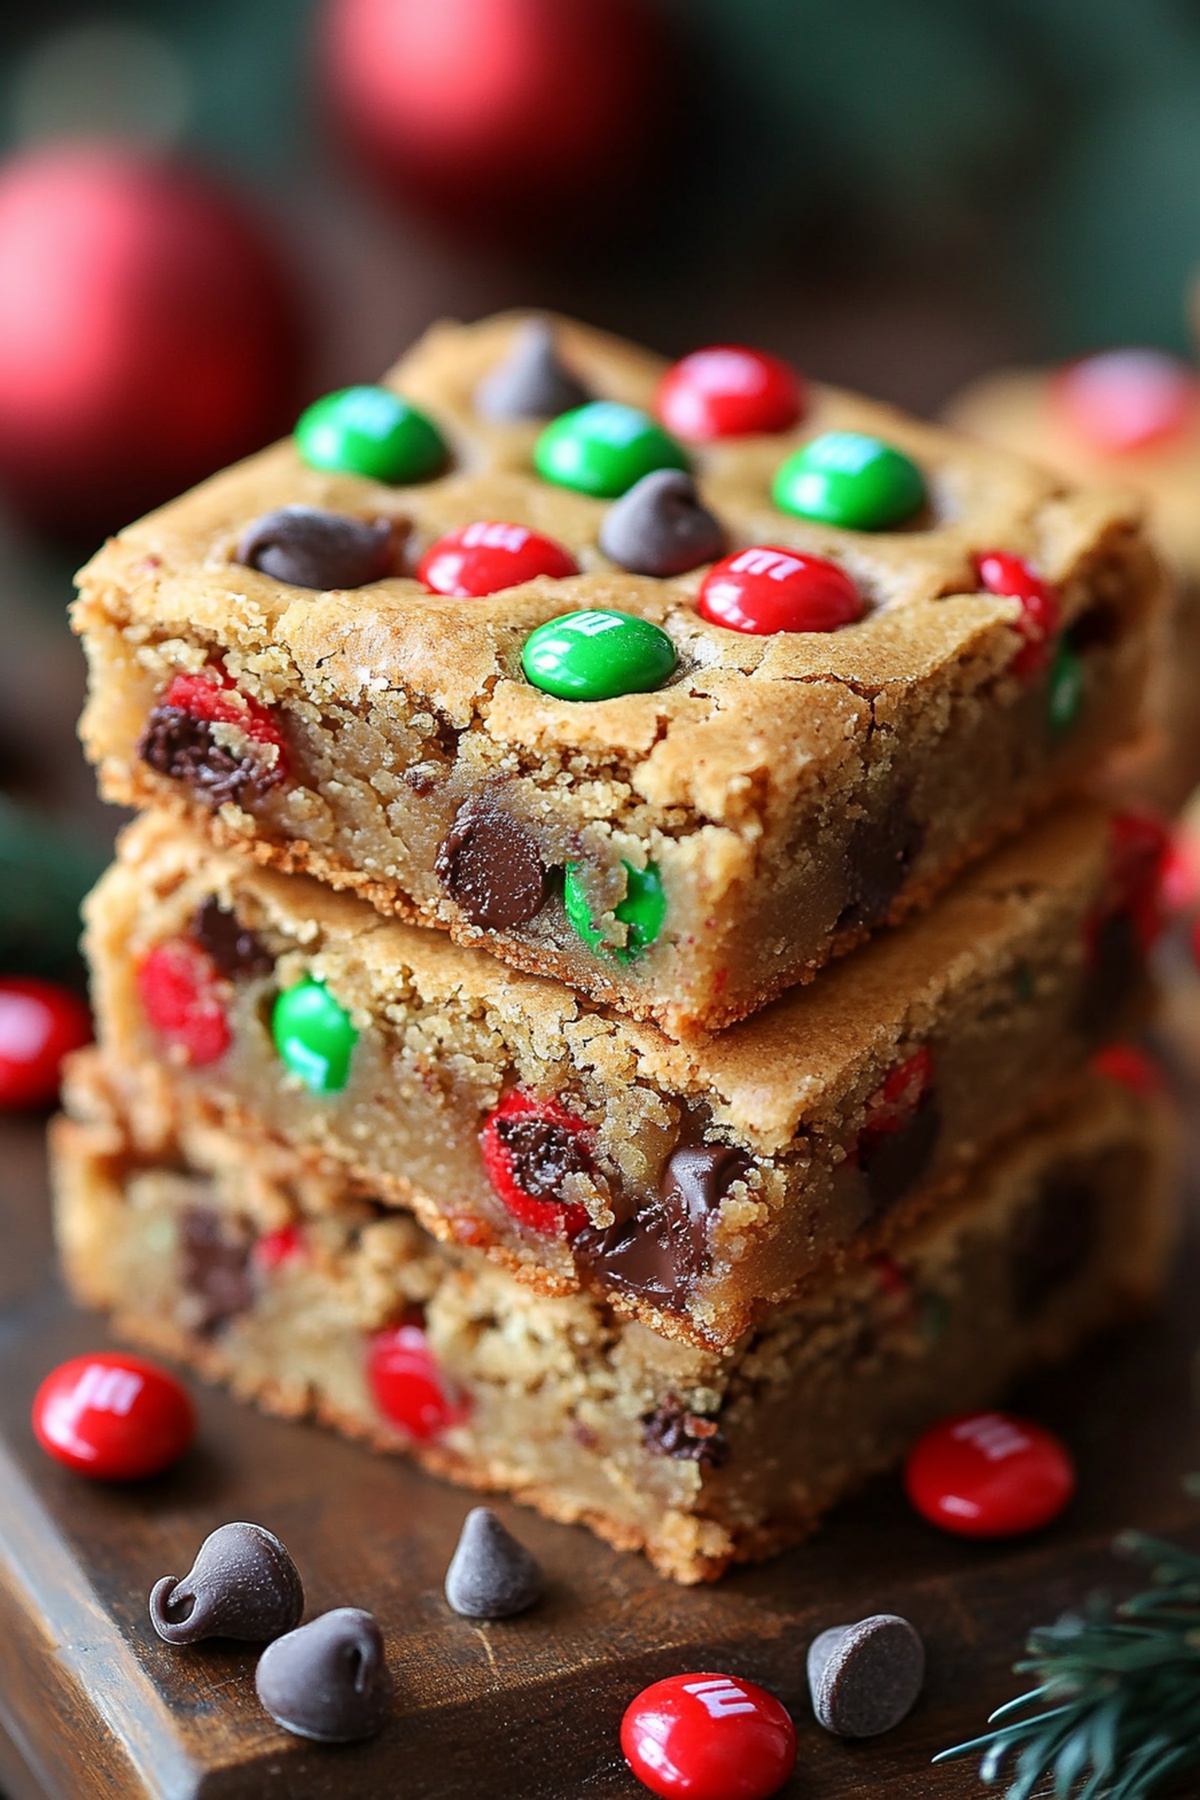
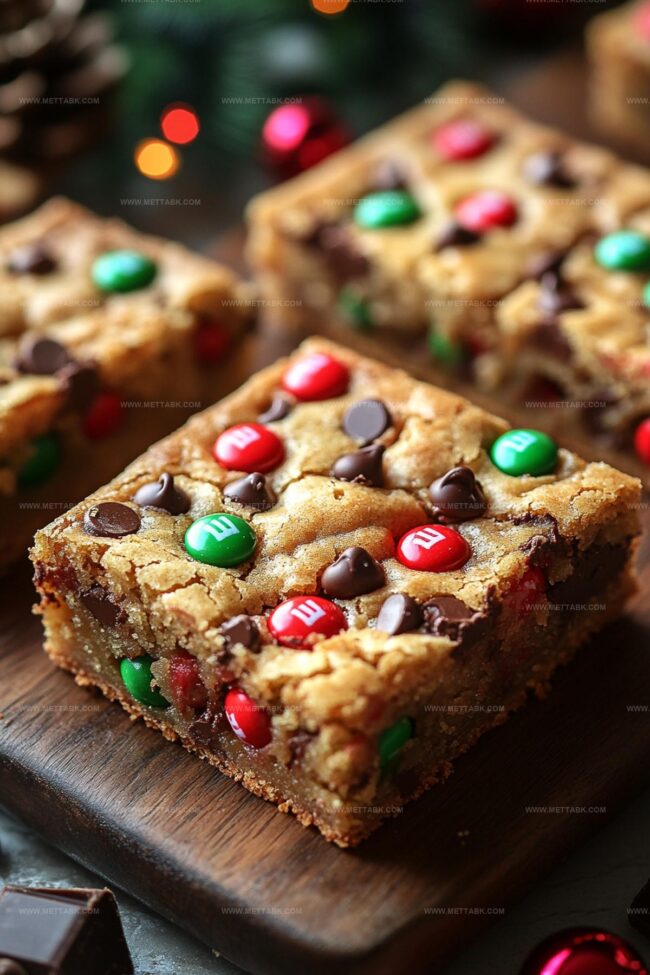
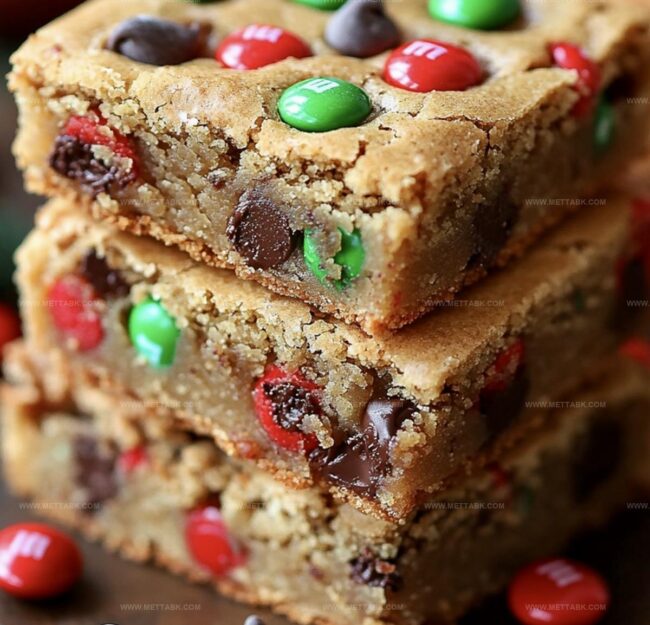
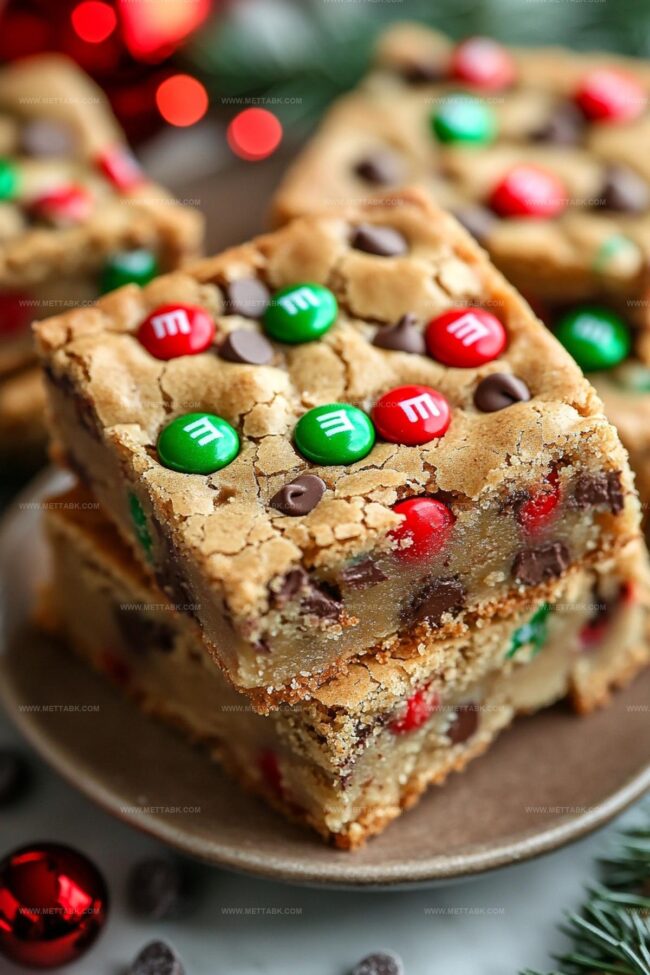
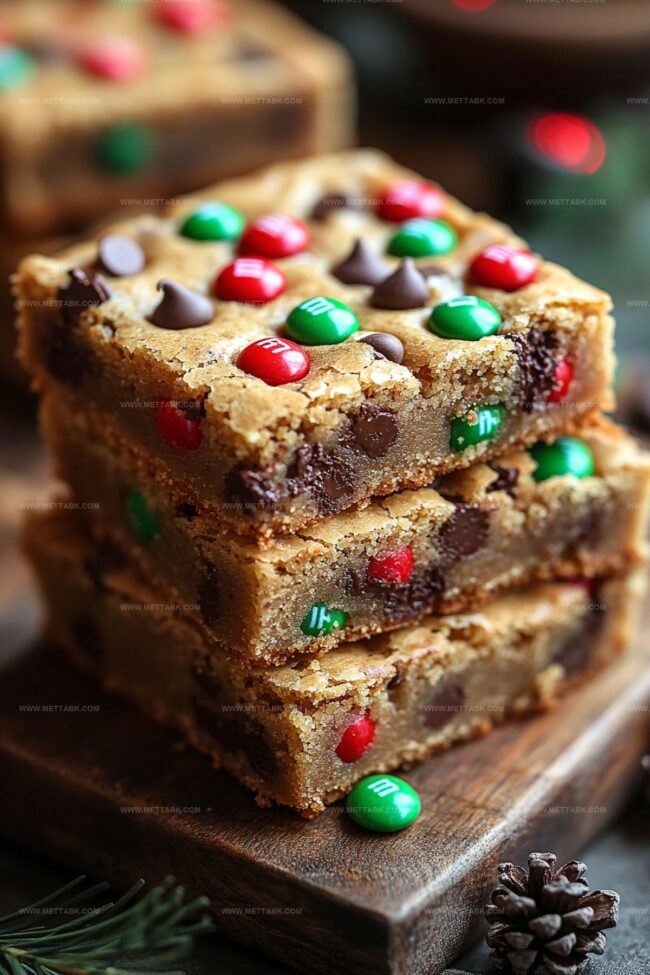
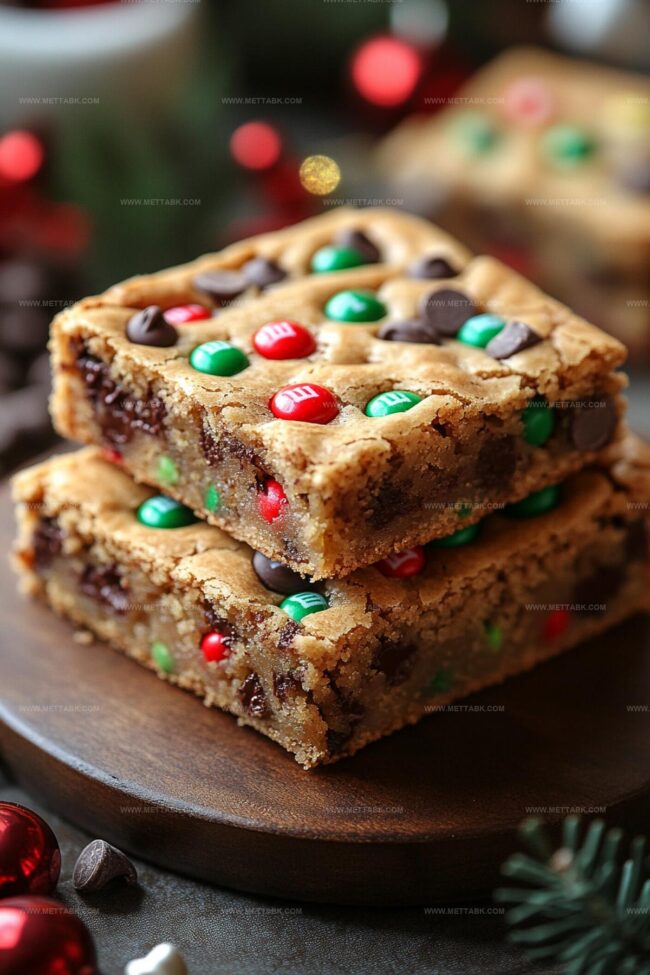
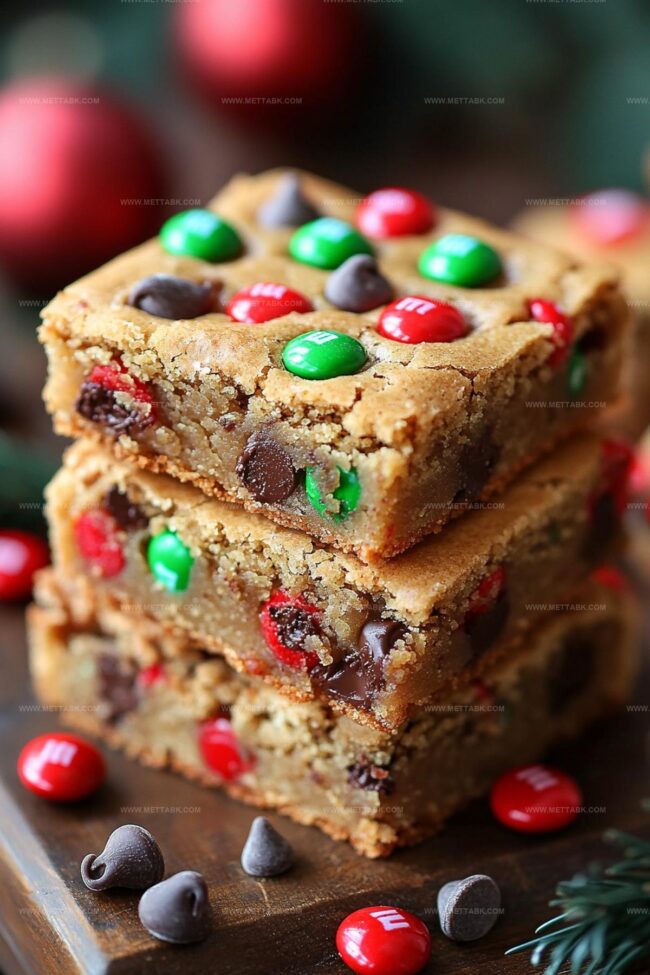
Festive holiday magic sparkles through these delightful christmas cookie bars that blend nostalgia with sweet comfort.
Memories of childhood celebrations dance across every delectable square.
Warm spices and rich textures invite you to create something special in your kitchen.
Buttery layers promise a melt-in-your-mouth experience that captures seasonal cheer.
Grandma’s classic recipe gets a modern twist with simple ingredients and foolproof techniques.
Baking these treats becomes an effortless way to spread joy and connect with loved ones.
Grab your apron and let the delicious adventure begin!
Ingredients for Christmas Cookie Bars
Dry Ingredients Group:Wet Ingredients Group:Decorative and Mix-in Ingredients Group:How to Prepare Christmas Cookie Bars
Step 1: Preheat Oven
Set your oven to 375 degrees Fahrenheit. Line a 9×9 inch baking pan with parchment paper, making sure it covers the bottom and sides completely.
Step 2: Mix Dry Ingredients
In a medium bowl, combine:Whisk these ingredients until they are evenly blended.
Step 3: Create Butter Mixture
Melt the butter in a large mixing bowl.
Add granulated and brown sugars, then whisk energetically for two minutes until the mixture becomes smooth and slightly fluffy. Crack in the egg and pour vanilla extract, mixing until everything is well incorporated.
Step 4: Combine Wet and Dry Ingredients
Slowly fold the dry ingredient mixture into the wet ingredients. Stir gently with a spatula until a thick dough forms.
Gently mix in:Ensure the add-ins are distributed evenly throughout the dough.
Step 5: Prepare for Baking
Spread the cookie dough evenly in the prepared pan.
Sprinkle additional M&Ms on top for extra color and crunch. Bake for 20-25 minutes until the surface looks golden and slightly firm.
Step 6: Cool and Slice
Remove from the oven and let the cookie bars cool in the pan for 10 minutes. Transfer to a wire rack and allow to cool completely.
Cut into 4×4 or 5×5 squares depending on your preferred serving size.
Tips for Christmas Cookie Bars Success
Flavor Variations of Christmas Cookie Bars
Pairing Ideas for Christmas Cookie Bars
Storage Guidelines for Christmas Cookie Bars
FAQs
Yes, you can replace M&Ms with other chocolate candies or use different types of chocolate chips. Be mindful that substitutions might slightly alter the final taste and texture of the cookie bars.
Absolutely! Kids will love helping mix the ingredients and sprinkle M&Ms on top. The recipe is simple enough for children to participate in baking with adult supervision.
Look for a dry surface with slightly golden edges. When the top appears set and the edges are lightly browned, the bars are ready. A toothpick inserted in the center should come out with a few moist crumbs.
Christmas Cookie Bars Essentials
Print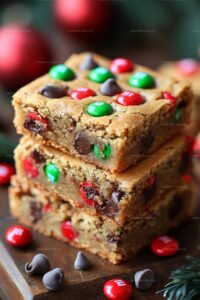
Christmas Cookie Bars Recipe
- Total Time: 40 minutes
- Yield: 16 1x
Description
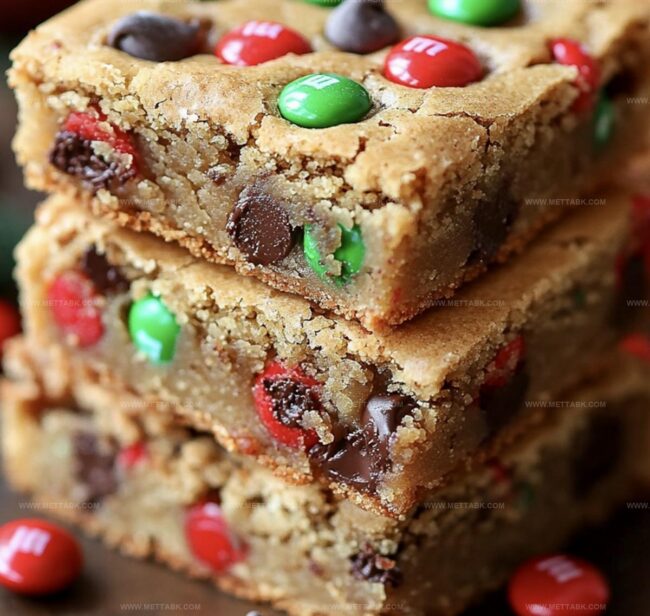
Christmas cookie bars deliver festive cheer with layers of sweet indulgence. Nutty, chocolatey, and perfectly spiced, these bars bring holiday joy to family gatherings and cookie exchanges.
Ingredients
- 1 1/4 cups M&Ms (red, green, brown hues)
- 1 cup milk chocolate chips
- 1/2 cup unsalted butter
- 2/3 cup light brown sugar
- 1/4 cup granulated sugar
- 1 medium egg
- 2 1/3 cups plain flour (all-purpose flour)
- 1 tbsp cornflour (cornstarch)
- 1 tsp bicarbonate of soda (baking soda)
- 1 tsp cinnamon
- 1/2 tsp salt
- 1 tsp vanilla extract
Instructions
- Preheat the oven to 375°F (190°C). Prepare a 9×9 inch baking pan by lining it with parchment paper, ensuring complete coverage of the bottom and sides.
- Sift together flour, bicarbonate of soda, salt, cornflour, and cinnamon in a medium bowl, creating a uniform dry ingredient mixture. Set aside for later integration.
- Melt butter in a large mixing bowl. Whisk in granulated and light brown sugars until the mixture becomes smooth and slightly fluffy, approximately 2 minutes. Introduce egg and vanilla extract, blending thoroughly until the mixture achieves a consistent texture.
- Fold the dry ingredient mixture into the wet ingredients using a spatula. Gently incorporate chocolate chips and most of the M&Ms, stirring until the dough becomes cohesive and evenly mixed.
- Transfer the cookie dough into the prepared baking pan, spreading it uniformly across the surface. Strategically scatter the remaining M&Ms over the top for visual appeal and additional flavor bursts.
- Bake in the preheated oven for 20-25 minutes, watching for a golden-brown surface and dry edges that indicate complete cooking.
- Remove from oven and let the cookie bars rest in the pan for 10 minutes. Carefully transfer to a wire rack for complete cooling. Once cooled, slice into 4×4 or 5×5 squares depending on desired serving size.
Notes
- Select high-quality chocolate chips and M&Ms for richer, more vibrant flavor profiles that enhance the overall taste of the cookie bars.
- Chill the dough for 30 minutes before baking to prevent excessive spreading and create a thicker, more compact texture.
- Swap regular flour with gluten-free flour blend for a celiac-friendly version without compromising the delicious taste and soft texture.
- Use dairy-free butter and egg substitute to transform the recipe into a vegan-friendly dessert that maintains the original indulgent character.
- Prep Time: 15 minutes
- Cook Time: 25 minutes
- Category: Desserts, Snacks
- Method: Baking
- Cuisine: American
Nutrition
- Serving Size: 16
- Calories: 207
- Sugar: 15 g
- Sodium: 88 mg
- Fat: 10 g
- Saturated Fat: 6 g
- Unsaturated Fat: 4 g
- Trans Fat: 0.1 g
- Carbohydrates: 27 g
- Fiber: 1 g
- Protein: 2 g
- Cholesterol: 27 mg

Clara Bennett
Contributing Recipe Developer & Food Writer
Expertise
Baking and Pastry Development, Gluten-Free and Allergy-Friendly Recipe Creation, Culinary Storytelling and Food Journalism, Recipe Testing and Standardization, Southern Comfort Foods and Modern Twists
Education
Sullivan University – National Center for Hospitality Studies
Associate Degree in Culinary Arts
Focus: Baking and Pastry Arts, Recipe Testing, and Culinary Journalism.
Clara specialized in crafting desserts that blend classic Southern comfort with modern techniques, while developing strong writing skills to tell the story behind every dish.
Lane Community College (Certificate Program)
Certificate in Food Writing and Photography
Focus: Culinary storytelling, recipe formatting, food styling, and visual presentation.
Clara’s love of baking started young, powered by homemade pies, biscuits, and stories passed around the family table.
After earning her degree at Sullivan University and a food writing certificate at Lane Community College, she turned her passion into a craft: sharing recipes that are simple, soulful, and always full of heart.
She’s big on bold flavors, flexible ideas, and creating sweets that fit any table (yes, even if you’re gluten-free). When she’s not baking, you’ll find her wandering farmers’ markets, styling food for the next photo shoot, or working on her ever-growing recipe journal.