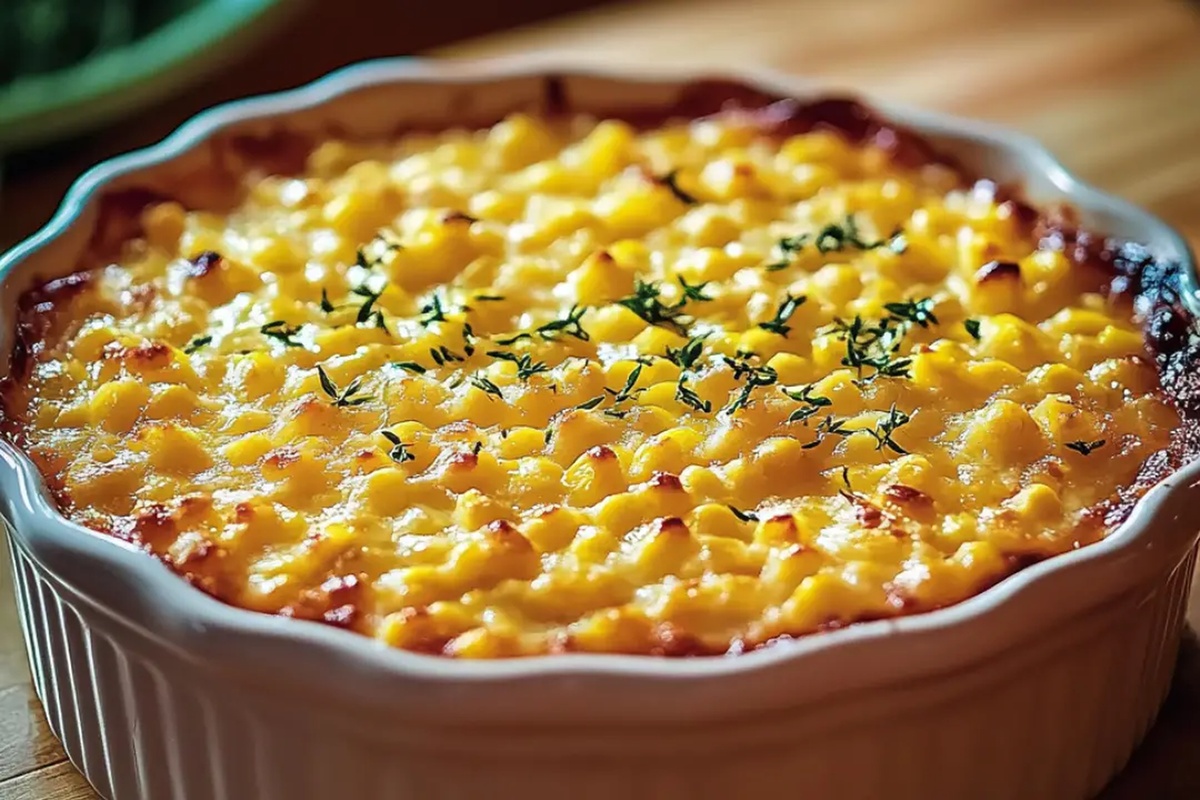
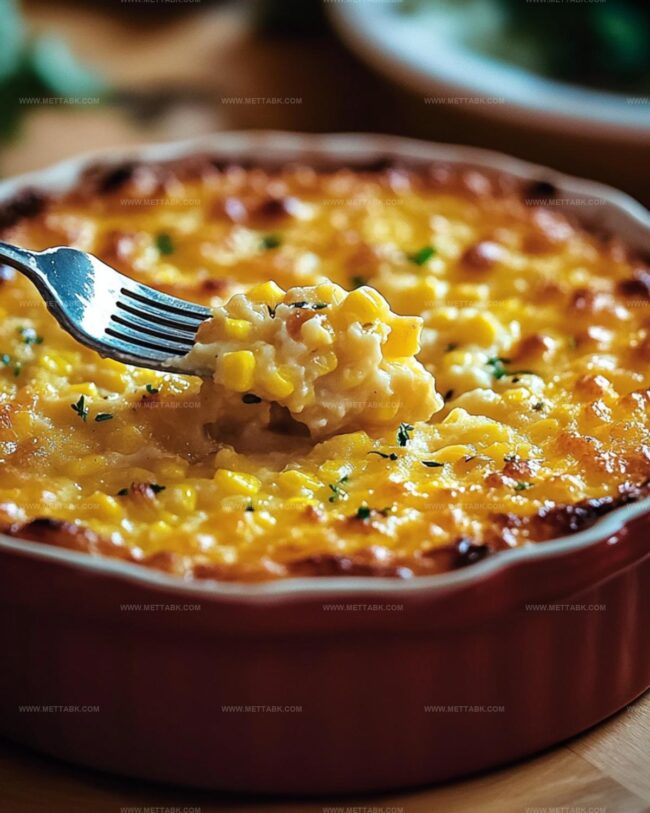
The Golden Magic: Irresistible Corn Pudding Casserole Recipe
Creamy corn pudding casserole brings comfort right to your dinner table with its rich, velvety texture.
Southern kitchens have long celebrated this beloved side dish that combines sweet kernels and savory notes.
Soft, custardy edges mingle with golden-brown tops, creating a mouthwatering contrast that beckons hungry diners.
Gentle whispers of butter and cream weave through each delightful spoonful.
Home cooks appreciate how simple ingredients transform into something magical with minimal effort.
Midwest traditions shine through this classic recipe that feels like a warm embrace.
Scoop up a helping and savor every delectable bite – you won’t be able to resist seconds.
Corn Pudding Casserole Comfort Food
Ingredients for Corn Pudding Casserole
For the Main Ingredients:For the Dairy Components:For the Seasonings and Optional Additions:How to Cook Corn Pudding Casserole
Step 1: Warm Up The Oven
Turn your oven to 350F (175C). Take a 9×13-inch baking dish and coat it with cooking spray or butter to prevent sticking.
Step 2: Create Creamy Corn Mixture
In a large mixing bowl, whisk together:Gently fold in:Stir everything until the ingredients are smoothly combined and no dry spots remain.
Step 3: Bake To Golden Perfection
Transfer the corn mixture into the prepared baking dish, spreading it evenly with a spatula.
Slide the dish into the preheated oven and bake for 40-50 minutes. You’ll know it’s done when the top turns a beautiful golden brown and the center looks firm.
To double-check, insert a toothpick in the middle – it should come out clean.
Step 4: Rest And Serve
Allow the corn pudding to rest for 5 minutes after removing from the oven.
This helps it set and makes serving easier. Plate up this delicious side dish alongside roasted turkey, glazed ham, pulled BBQ, or any hearty comfort meal for a crowd-pleasing addition to your table.
Tips for Perfect Corn Pudding Casserole
Variations to Try on Corn Pudding Casserole
Pairings That Suit Corn Pudding Casserole
Storage Advice for Corn Pudding Casserole
Store leftover corn pudding in an airtight container for up to 4 days. Cool completely before sealing to prevent condensation.
Wrap tightly in plastic wrap and aluminum foil, then freeze for 2-3 months. Place in a freezer-safe container to prevent freezer burn.
Thaw overnight in the refrigerator. Preheat oven to 350F, cover with foil to prevent drying, and warm for 15-20 minutes until heated through.
For quick reheating, place individual portions in a microwave-safe dish. Heat in 30-second intervals, stirring between each to ensure even warming.
FAQs
Yes, you can substitute canned corn with fresh corn kernels. Simply remove kernels from 3-4 ears of corn and add them to the mixture for a fresher taste and texture.
Jiffy mix is key to creating the pudding’s creamy consistency. If unavailable, you can substitute with cornmeal and a bit of baking powder, but the texture might slightly differ.
Absolutely! Prepare the casserole, cover tightly, and refrigerate for up to 24 hours before baking. When ready, bake directly from the refrigerator, adding 10-15 minutes to the cooking time.
Print
Corn Pudding Casserole Recipe
- Total Time: 1 hour
- Yield: 8 1x
Description
Creamy corn pudding casserole brings Southern comfort straight to dinner tables with its rich, custardy texture. Hearty kernels nestled in a silky base promise a delightful side dish you’ll savor down to the last comforting spoonful.
Ingredients
Main Ingredients:
- 1 (15 ounces) can whole kernel corn, drained
- 1 (15 ounces) can cream-style corn
- 1 (8.5 ounces) box Jiffy corn muffin mix
- 2 large eggs, beaten
Dairy and Seasoning Ingredients:
- 1 cup sour cream
- 1/2 cup unsalted butter, melted
- 1/2 cup shredded cheddar cheese
- 1/2 teaspoon salt
Optional Sweet Ingredients:
- 1/4 cup granulated sugar
Instructions
- Prepare the oven by heating to 350F (175C) and lightly coat a 9×13-inch baking vessel with cooking spray or butter.
- Create a smooth, velvety base by whisking eggs, sour cream, melted butter, and optional sugar until fully integrated.
- Incorporate whole kernel corn, creamed corn, Jiffy cornbread mix, salt, and optional cheddar cheese into the liquid mixture, stirring thoroughly to ensure even distribution.
- Transfer the silky corn blend into the prepared baking dish, spreading the contents uniformly to create an even surface.
- Position the casserole in the preheated oven and bake for 40-50 minutes, monitoring until the top transforms into a golden-brown landscape and the center sets completely.
- Verify doneness by inserting a toothpick into the center – it should emerge clean and dry.
- Allow the casserole to rest and settle for 5 minutes after removing from the oven, which helps stabilize the texture.
- Serve warm alongside roasted meats, grilled proteins, or as a comforting accompaniment to traditional Southern and holiday meals.
Notes
- Customize the sweetness by adjusting sugar levels to match your preference or main dish pairing.
- Swap regular Jiffy mix with gluten-free cornbread mix for a celiac-friendly version that tastes just as delicious.
- Enhance protein content by adding diced ham, crumbled bacon, or green chilies for extra flavor and texture variation.
- Prevent dry edges by covering with foil during the last 15 minutes of baking if the top browns too quickly.
- Prep Time: 15 minutes
- Cook Time: 45 minutes
- Category: Dinner, Appetizer, Snacks
- Method: Baking
- Cuisine: American
Nutrition
- Serving Size: 8
- Calories: 280 kcal
- Sugar: 9 g
- Sodium: 420 mg
- Fat: 15 g
- Saturated Fat: 8 g
- Unsaturated Fat: 6 g
- Trans Fat: 0.5 g
- Carbohydrates: 27 g
- Fiber: 1.5 g
- Protein: 7 g
- Cholesterol: 70 mg


Nate Harper
Founder & Recipe Curator
Expertise
Single-Recipe Development, Farm-to-Table Cooking, Seasonal Menu Planning, Culinary Storytelling, Home Kitchen Innovation
Education
Cascade Culinary Institute – Central Oregon Community College
Certificate in Culinary Arts
Focus: Farm-to-table cuisine, sustainable cooking practices, and seasonal recipe creation.
Nate studied under experienced chefs who emphasized local sourcing, minimal waste, and building recipes from fresh, simple ingredients.
Nate Harper is the founder and creative force behind Make, Take, Bake. Raised in the wild beauty of Oregon’s high desert, Nate grew up surrounded by family gardens, farmers’ markets, and home kitchens that celebrated the seasons.
His early love for simple, honest food evolved into a professional passion when he attended Cascade Culinary Institute, where he sharpened his skills in creating recipes that are sustainable, satisfying, and made for everyday life.
Nate’s goal is to make cooking feel accessible, free of fuss, and full of flavor. He believes a single, thoughtfully built dish can stand alone, and sometimes even steal the show.