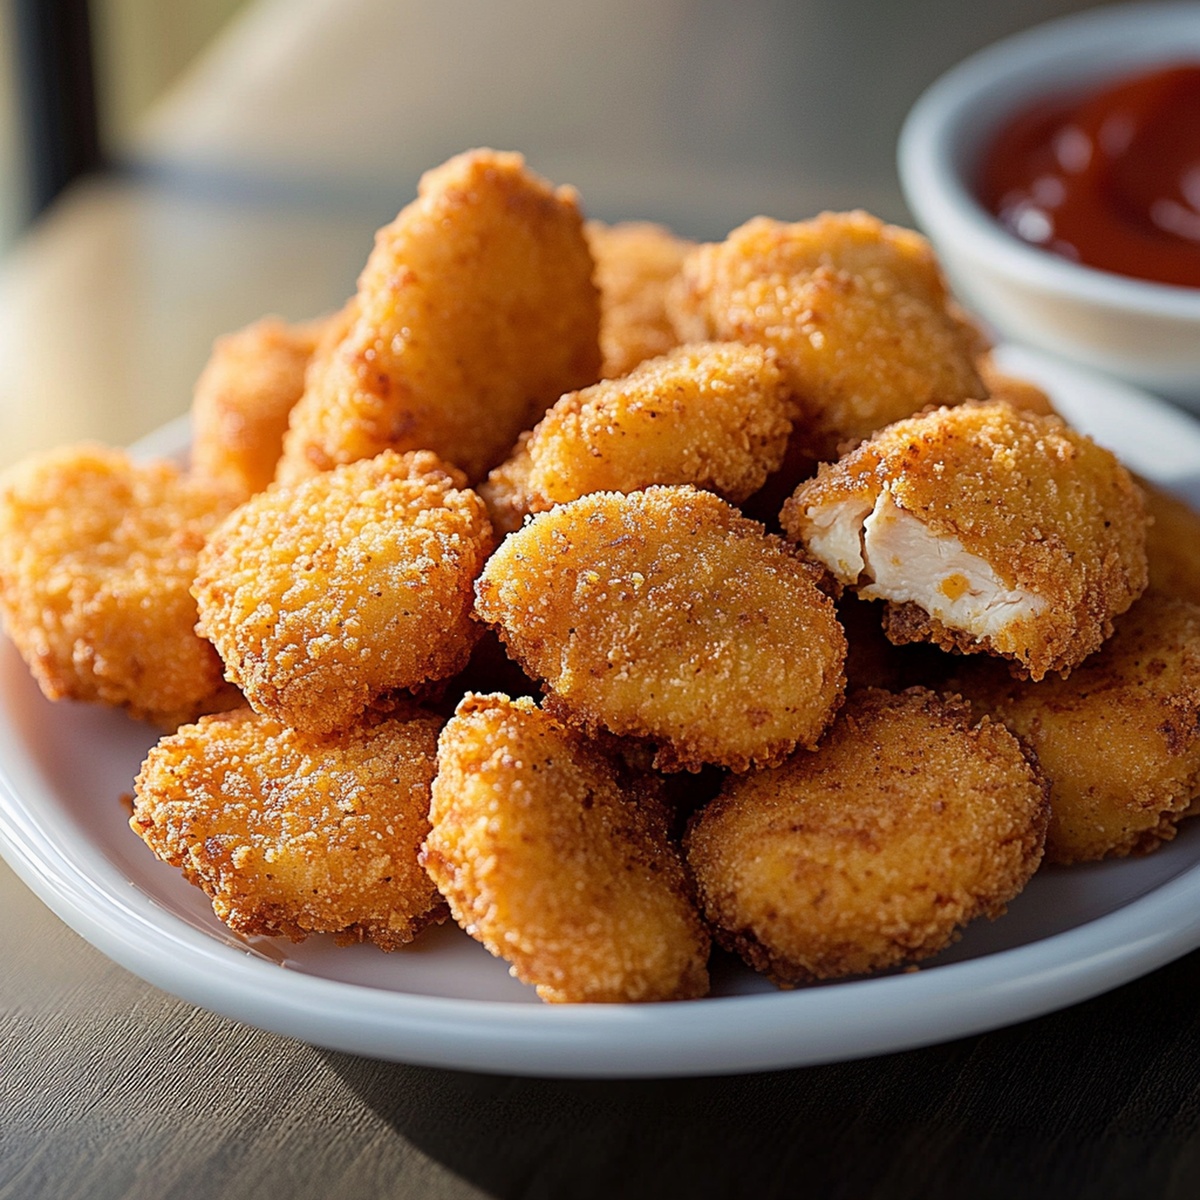
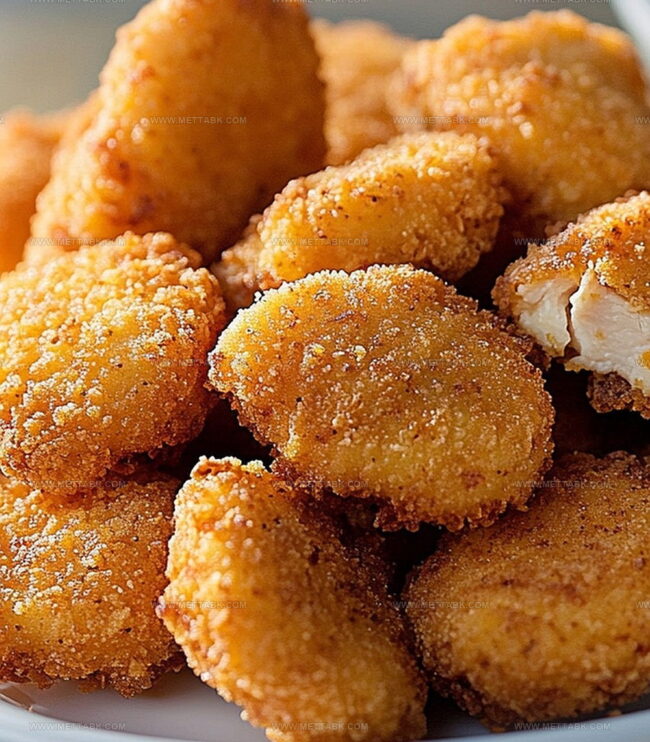
Crispy Golden Homemade Chicken Nuggets Recipe: Kid-Approved Joy
When life calls for a crunchy chicken delight, these homemade crispy chicken nuggets will become your new obsession.
Golden-brown perfection awaits in a simple kitchen adventure.
Forget bland frozen alternatives that disappoint at every bite.
Crafting these nuggets means creating memories of deliciousness everyone will savor.
Seasoned with love and a secret blend of spices, each morsel promises maximum flavor and irresistible texture.
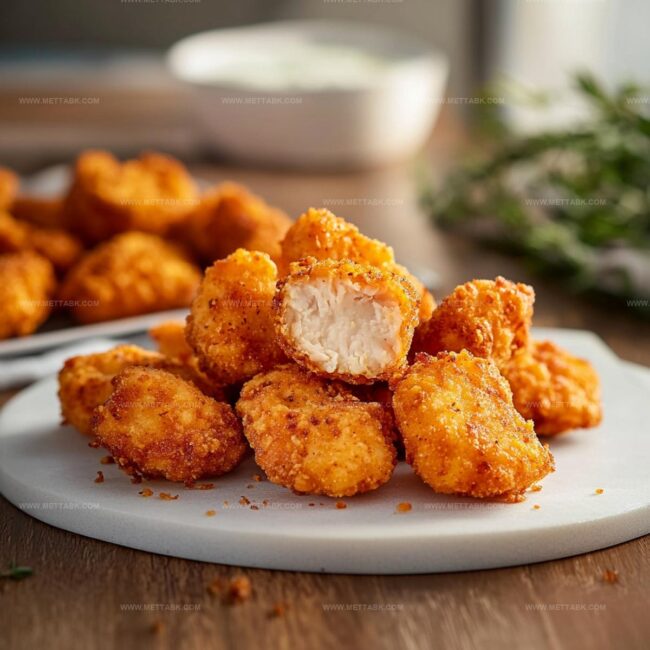
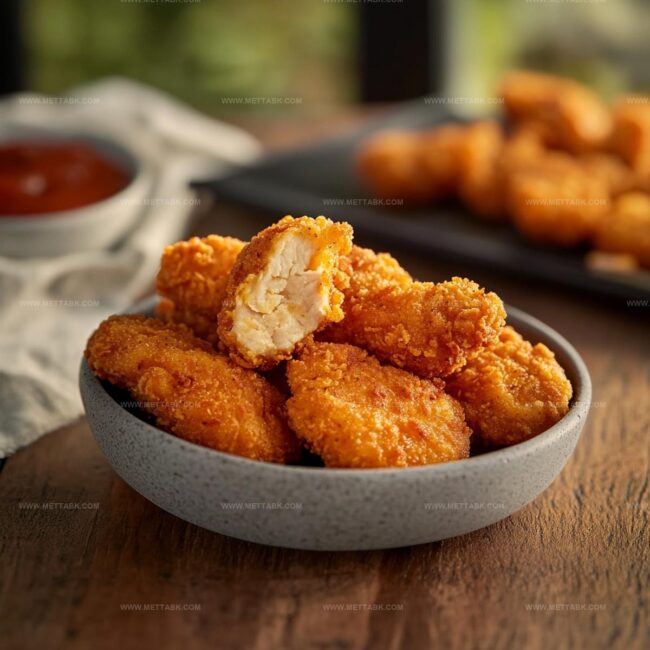
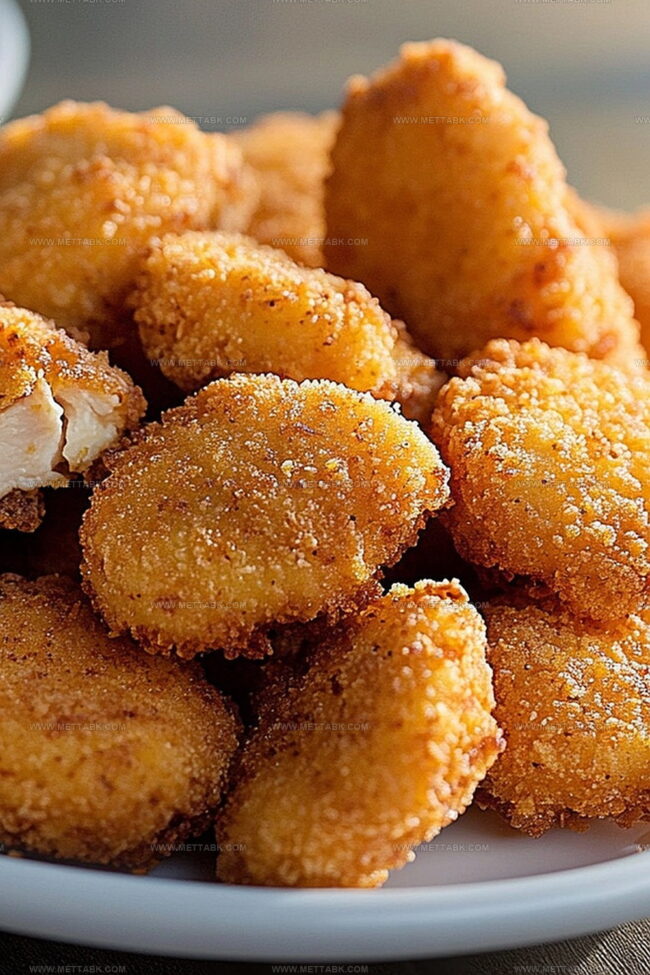
Crispy edges and tender centers make these nuggets the ultimate crowd-pleaser.
Crispy Homemade Chicken Nuggets That Everyone Loves
Ingredients for Crunchy and Juicy Chicken Nuggets
Main Protein:Breading Components:Cooking and Seasoning Ingredients:How to Make Homemade Chicken Nuggets Crispy and Tender
Step 1: Prepare Chicken Pieces
Cut the chicken into uniform bite-sized chunks using a sharp knife. Aim for consistent sizes to ensure even cooking and a professional look.
Step 2: Create Breading Stations
Set up three separate bowls for the coating process:Step 3: Coat Chicken Thoroughly
Dredge each chicken piece through the stations in this order:Step 4: Heat Cooking Oil
Pour vegetable or canola oil into a large skillet, filling about 1/2 inch deep. Heat over medium-high temperature until oil starts to shimmer and looks slightly wavy.
Step 5: Fry Chicken Nuggets
Carefully place coated chicken pieces into hot oil. Cook in small batches to maintain oil temperature:Step 6: Drain and Serve
Remove nuggets using slotted spoon or tongs, placing on paper towel-lined plate to drain excess oil.
Serve immediately with your preferred dipping sauces like ranch, honey mustard, or barbecue sauce.
Helpful Tips for Perfect Homemade Chicken Nuggets
Flavorful Twists on Chicken Nuggets to Try
Pairings That Go Well with Crispy Chicken Nuggets
Best Ways to Store Homemade Chicken Nuggets Fresh
FAQs
Panko creates a lighter, crispier coating because its flakes are larger and airier, resulting in a crunchier texture that traditional breadcrumbs can’t achieve.
Yes, you can bake them at 400°F for 15-20 minutes, turning halfway through. While baking won’t give the same deep-fried crispiness, it’s a healthier alternative that still provides a good crunch.
Maintain consistent oil temperature around 350°F and avoid overcrowding the pan. Cut chicken pieces uniformly to promote even cooking and prevent drying out.
Print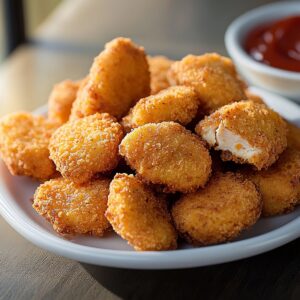
Crispy Homemade Chicken Nuggets Recipe
- Total Time: 25 minutes
- Yield: 4 1x
Description
Crispy homemade chicken nuggets recipe delivers golden, crunchy bites of pure comfort. Seasoned breading and perfect frying technique create irresistible morsels you’ll crave again and again.
Ingredients
- 1 lb boneless, skinless chicken breasts
- 2 large eggs
- 1/2 cup all-purpose flour
- 1 cup panko breadcrumbs
- 1 tsp garlic powder
- Salt to taste
- Pepper to taste
- Cooking oil (canola recommended) (as needed)
Instructions
- Slice chicken into consistent, bite-sized morsels ensuring even cooking and uniform texture.
- Arrange three separate shallow containers: first with seasoned flour mixture, second with whisked eggs, third with crisp panko breadcrumbs.
- Systematically coat each chicken piece by first rolling in seasoned flour, completely drenching in egg wash, then thoroughly covering with breadcrumbs, pressing gently to secure crispy exterior.
- Prepare a heavy-bottomed skillet, warming vegetable oil to approximately 350°F, watching for slight shimmering surface indicating optimal frying temperature.
- Carefully place breaded chicken pieces into hot oil, avoiding overcrowding, and fry for approximately 3-4 minutes per side until exterior transforms into a rich golden-brown color and internal temperature reaches 165°F.
- Transfer freshly fried nuggets onto paper towel-lined plate to absorb excess oil, allowing brief resting period to maintain crispiness.
- Serve immediately alongside preferred dipping sauces like honey mustard, ranch, or spicy sriracha mayo for enhanced flavor experience.
Notes
- Maintain consistent chicken piece sizes to ensure even cooking and uniform crispiness.
- Gently press breadcrumbs onto chicken to create a thick, adherent coating that stays crisp during frying.
- Season flour mixture with extra spices like garlic powder, paprika, or dried herbs for deeper flavor complexity.
- Pat chicken pieces dry before breading to help coating stick better and prevent soggy texture.
- Prep Time: 15 minutes
- Cook Time: 10 minutes
- Category: Lunch, Dinner, Snacks, Appetizer
- Method: Frying
- Cuisine: American
Nutrition
- Serving Size: 4
- Calories: 350 kcal
- Sugar: 1 g
- Sodium: 400 mg
- Fat: 15 g
- Saturated Fat: 2.5 g
- Unsaturated Fat: 11 g
- Trans Fat: 0 g
- Carbohydrates: 20 g
- Fiber: 1.5 g
- Protein: 30 g
- Cholesterol: 110 mg
Clara Bennett
Contributing Recipe Developer & Food Writer
Expertise
Baking and Pastry Development, Gluten-Free and Allergy-Friendly Recipe Creation, Culinary Storytelling and Food Journalism, Recipe Testing and Standardization, Southern Comfort Foods and Modern Twists
Education
Sullivan University – National Center for Hospitality Studies
Associate Degree in Culinary Arts
Focus: Baking and Pastry Arts, Recipe Testing, and Culinary Journalism.
Clara specialized in crafting desserts that blend classic Southern comfort with modern techniques, while developing strong writing skills to tell the story behind every dish.
Lane Community College (Certificate Program)
Certificate in Food Writing and Photography
Focus: Culinary storytelling, recipe formatting, food styling, and visual presentation.
Clara’s love of baking started young, powered by homemade pies, biscuits, and stories passed around the family table.
After earning her degree at Sullivan University and a food writing certificate at Lane Community College, she turned her passion into a craft: sharing recipes that are simple, soulful, and always full of heart.
She’s big on bold flavors, flexible ideas, and creating sweets that fit any table (yes, even if you’re gluten-free). When she’s not baking, you’ll find her wandering farmers’ markets, styling food for the next photo shoot, or working on her ever-growing recipe journal.