
Irresistible Patty Melts Recipe: Gooey Goodness On Grilled Bread
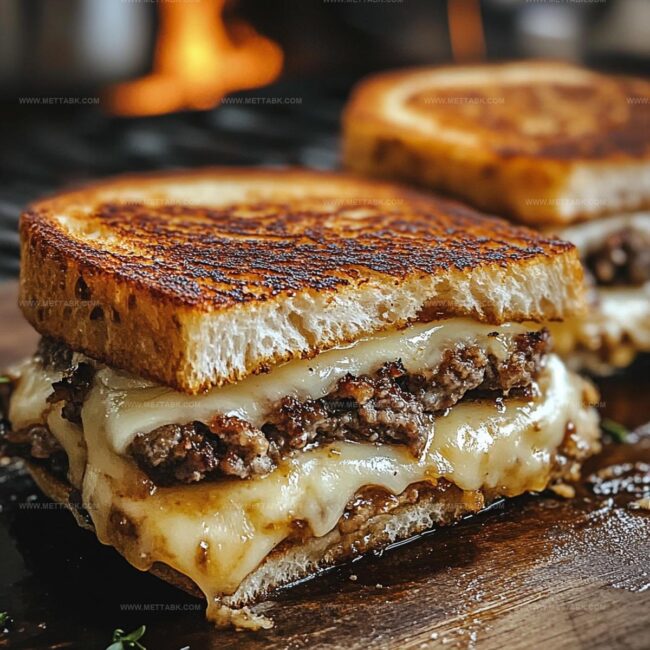
Crispy golden bread hugs a succulent patty melt that promises pure comfort on a plate.
Melted cheese cascades over perfectly seasoned beef, creating a symphony of flavors.
Sandwiched between layers of caramelized onions and buttery toast, this classic diner favorite brings nostalgia rushing back.
Soft rye or sourdough provides the ideal canvas for this hearty meal.
Crafted with simple ingredients and minimal effort, you can whip up this crowd-pleaser in under thirty minutes.
Hungry diners will find themselves drawn to every savory, dripping bite of this irresistible sandwich.
Let’s uncover the secret to making a patty melt that’ll have everyone asking for seconds.
Delicious Patty Melts That Satisfy Every Craving
Ingredients to Build Perfectly Melty Patty Melts
Main Protein:Bread and Cheese:Flavor Enhancers:How to Cook Patty Melts With Crispy Goodness
Step 1: Season and Shape the Beef
Mix ground beef with salt and pepper in a bowl. Gently shape the seasoned meat into four even patties.
Make sure the patties are compact but not too dense to ensure juicy results.
Step 2: Caramelize Onions
Heat a skillet over medium heat.
Add sliced onions and cook slowly, stirring occasionally. Allow onions to develop a rich, golden-brown color and sweet flavor, which takes about 8-10 minutes.
The slow cooking process brings out their natural sweetness.
Step 3: Cook the Beef Patties
Increase the skillet’s heat to medium-high.
Place the beef patties into the hot pan. Cook for 3-4 minutes on each side, ensuring they reach a thorough doneness.
The goal is a nicely browned exterior with a juicy interior.
Step 4: Build the Sandwich Base
Lay out bread slices.
Place a cooked beef patty on one slice. Top the patty with:Cover with a second bread slice to complete the sandwich foundation.
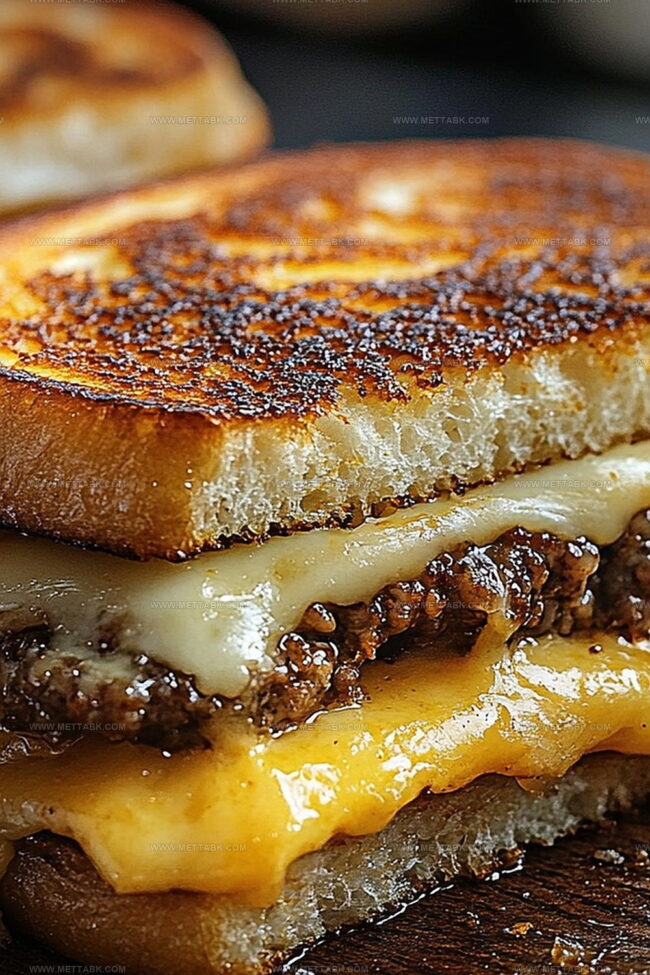
Step 5: Grill to Golden Perfection
Generously butter the exterior of each sandwich. Return the skillet to medium heat.
Carefully place sandwiches in the pan. Grill until each side turns a beautiful golden-brown color, approximately 3-4 minutes per side.
Step 6: Serve and Enjoy
Transfer the patty melts to a serving plate. Slice each sandwich diagonally for easier eating.
Serve immediately while the cheese is still melted and the bread remains crispy.
Helpful Tips for Patty Melts That Impress Every Time
Flavorful Variations on Classic Patty Melts to Try
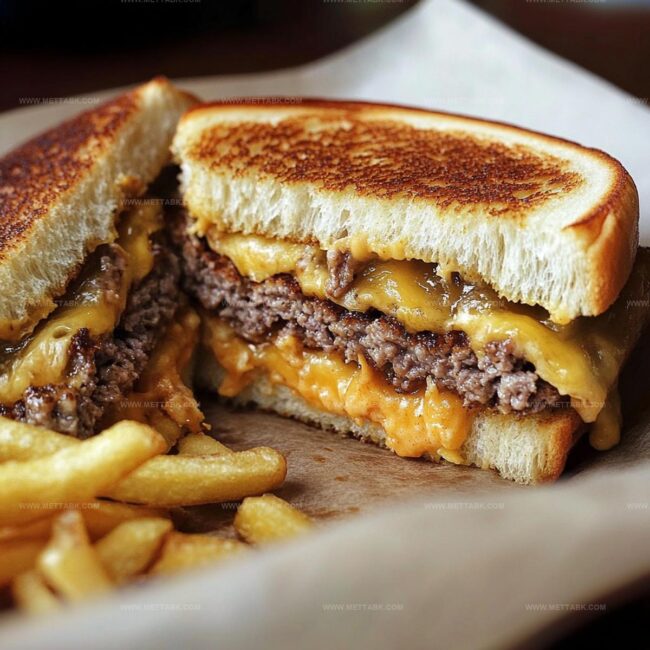
Pairings That Complement Patty Melts Beautifully

How to Store Patty Melts to Keep Freshness
FAQs
Choose ground chuck with 80/20 lean-to-fat ratio for the juiciest and most flavorful patties. This balance ensures a moist burger that won’t dry out during cooking.
Swiss or provolone work wonderfully, but traditional patty melts use American or cheddar cheese. Select a cheese that melts smoothly and complements the beef’s rich flavor.
Avoid overworking the meat when forming patties and make a small indentation in the center. This helps the patties maintain their shape and prevents them from puffing up during cooking.
Print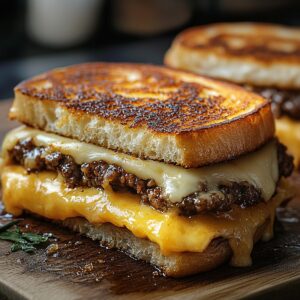
Delicious Patty Melts Recipe
- Total Time: 30 minutes
- Yield: 4 1x
Description
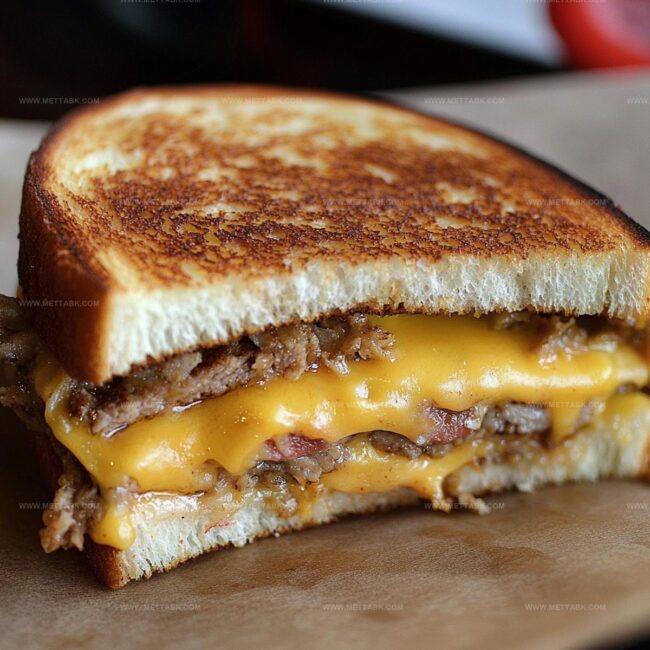
Juicy patty melts combine classic American diner comfort with melted cheese and caramelized onions between toasted rye bread. Savory beef and tangy sauce create a hearty sandwich perfect for casual meals with friends and family.
Ingredients
- 1 lb (450 g) lean ground beef (80/20)
- 4 slices Swiss or American cheese
- 2 tbsps (30 ml) unsalted butter
- 1 large sweet onion, sliced
- 4 slices rye or sourdough bread
- Salt to taste
- Pepper to taste
Instructions
- Blend ground beef with salt and pepper, then mold into four uniform patties.
- Warm a skillet over medium heat and gently caramelize onion slices until rich golden brown and soft, approximately 8-10 minutes.
- Elevate skillet temperature to medium-high and sear patties for 3-4 minutes on each side, ensuring complete internal cooking.
- Layer a beef patty onto bread slice, generously top with caramelized onions and melting cheese, then crown with another bread slice.
- Spread softened butter across exterior surfaces of each sandwich preparation.
- Position sandwiches in heated skillet, grilling until exterior transforms into crispy golden perfection, roughly 3-4 minutes per side.
- Remove from heat, slice diagonally to create elegant presentation, and serve immediately while warmth and cheese remain gooey.
Notes
- Choose ground beef with 80/20 fat content for juiciest patties that won’t dry out during cooking.
- Caramelize onions slowly to develop deep, sweet flavor without burning by using low to medium heat and stirring occasionally.
- Season meat generously with salt and pepper just before cooking to enhance natural beef flavors and prevent moisture loss.
- Use sturdy bread like rye or sourdough that can withstand buttering and grilling without falling apart, creating perfect crispy exterior.
- Prep Time: 10 minutes
- Cook Time: 20 minutes
- Category: Lunch, Dinner, Snacks
- Method: Sautéing
- Cuisine: American
Nutrition
- Serving Size: 4
- Calories: 590 kcal
- Sugar: 5 g
- Sodium: 720 mg
- Fat: 38 g
- Saturated Fat: 16 g
- Unsaturated Fat: 20 g
- Trans Fat: 1.2 g
- Carbohydrates: 32 g
- Fiber: 3 g
- Protein: 34 g
- Cholesterol: 110 mg
Clara Bennett
Contributing Recipe Developer & Food Writer
Expertise
Baking and Pastry Development, Gluten-Free and Allergy-Friendly Recipe Creation, Culinary Storytelling and Food Journalism, Recipe Testing and Standardization, Southern Comfort Foods and Modern Twists
Education
Sullivan University – National Center for Hospitality Studies
Associate Degree in Culinary Arts
Focus: Baking and Pastry Arts, Recipe Testing, and Culinary Journalism.
Clara specialized in crafting desserts that blend classic Southern comfort with modern techniques, while developing strong writing skills to tell the story behind every dish.
Lane Community College (Certificate Program)
Certificate in Food Writing and Photography
Focus: Culinary storytelling, recipe formatting, food styling, and visual presentation.
Clara’s love of baking started young, powered by homemade pies, biscuits, and stories passed around the family table.
After earning her degree at Sullivan University and a food writing certificate at Lane Community College, she turned her passion into a craft: sharing recipes that are simple, soulful, and always full of heart.
She’s big on bold flavors, flexible ideas, and creating sweets that fit any table (yes, even if you’re gluten-free). When she’s not baking, you’ll find her wandering farmers’ markets, styling food for the next photo shoot, or working on her ever-growing recipe journal.