Irresistible Groundhog Cookies Recipe: Cute & Sweet Treats
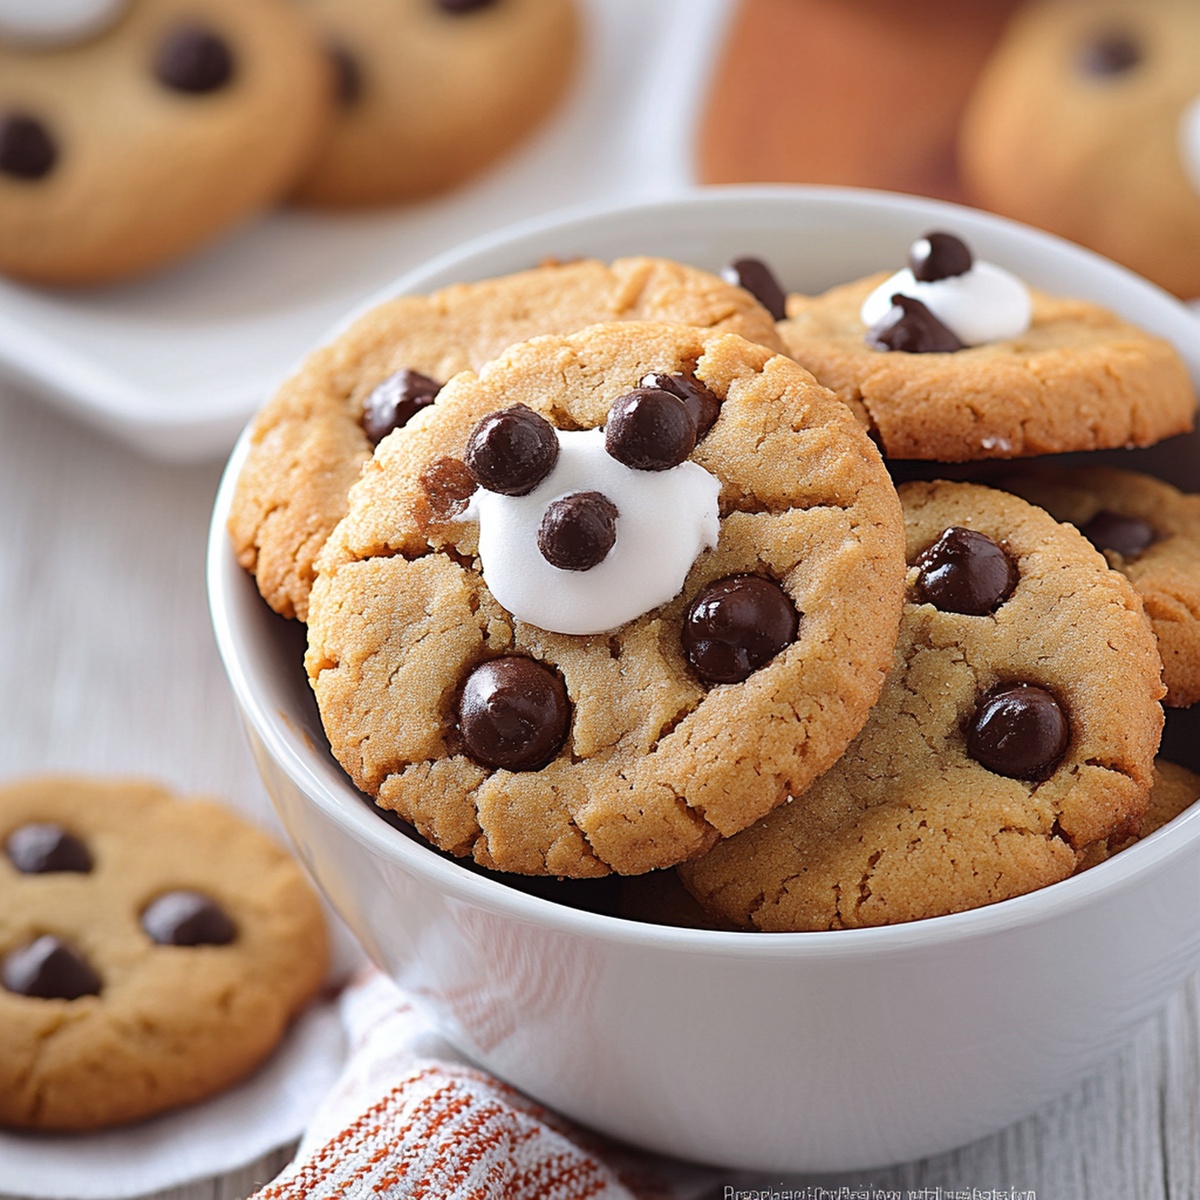
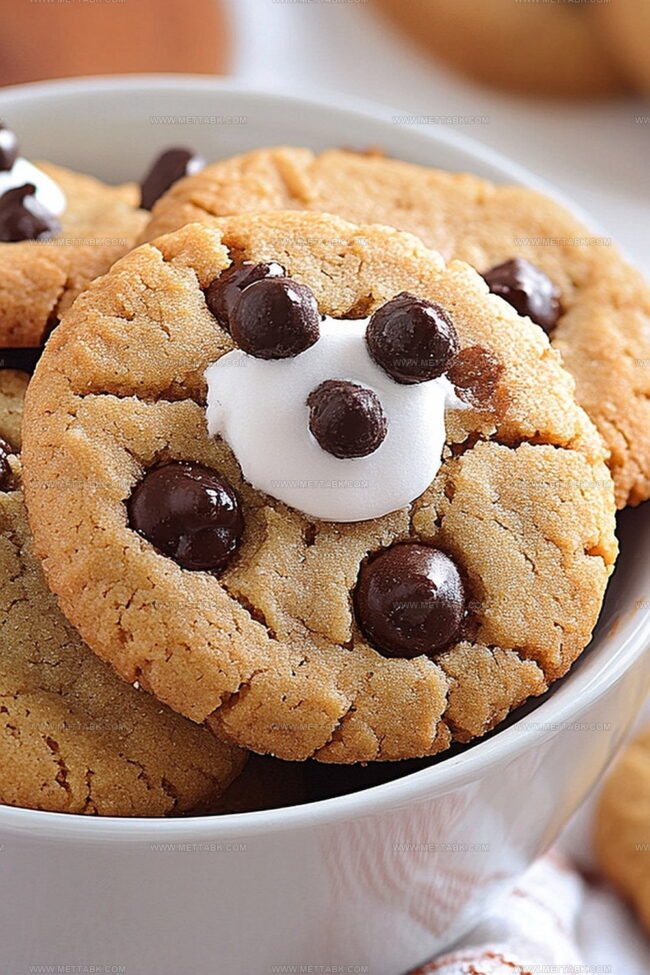
Whimsical groundhog cookies bring a playful twist to your baking adventure, capturing the essence of a beloved winter tradition.
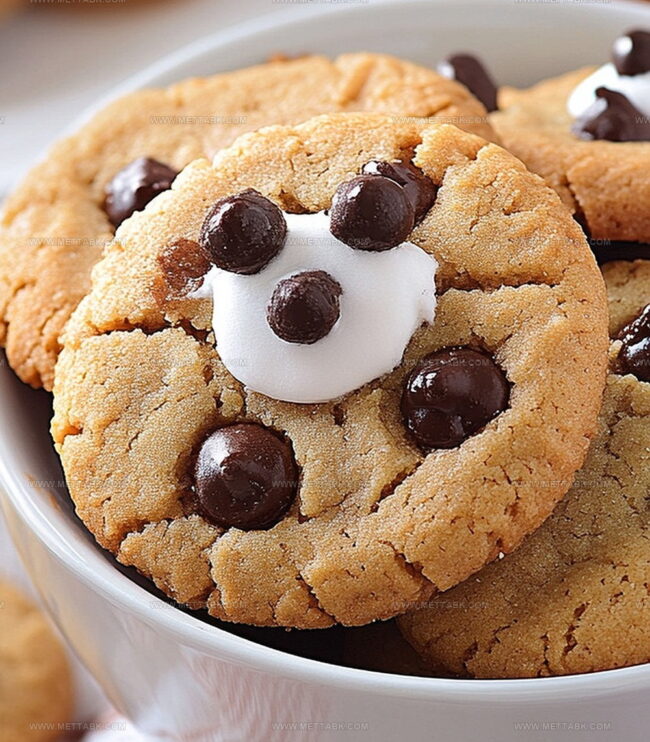
Cute little pastry critters peek out from chocolatey landscapes, promising delightful surprises with every bite.
Sweet bakers can craft these charming treats using simple ingredients and a dash of creativity.
Chocolate and vanilla combine to create adorable edible characters that celebrate the annual groundhog day forecast.
Soft, chewy textures and rich flavors make these cookies irresistible for both kids and adults.
Friends and family will marvel at your culinary artistry when you serve these delightful woodland-inspired desserts.
Groundhog Cookies That Bring Fun and Flavor
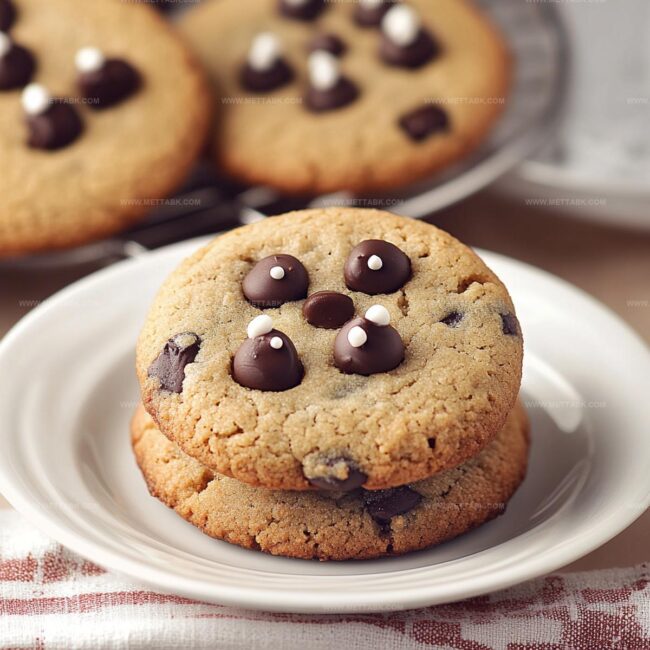
Ingredients for Sweet Groundhog Cookies
Main Ingredients:Flavor Enhancers:Preparation Essentials:How to Bake Groundhog Cookies Easily
Step 1: Warm Up the Oven
Fire up your oven to 350°F (175°C) and grab a baking sheet. Line it with parchment paper to create a non-stick surface for your cookie magic.
Step 2: Create Creamy Butter Mixture
In a large mixing bowl, whip together:Blend these ingredients until they transform into a fluffy, cloud-like mixture that looks smooth and dreamy.
Step 3: Introduce Egg Companions
Crack eggs into the butter mixture one at a time.
Stir each egg thoroughly, ensuring they become best friends with the butter blend. Pour in vanilla extract for an extra flavor boost.
Step 4: Craft the Dry Foundation
In a separate bowl, combine:Whisk these dry ingredients together, then gently fold them into the wet mixture. Mix until everything just comes together – no need for overzealous stirring.
Step 5: Sprinkle Chocolate Magic
Fold chocolate chips into the cookie dough, distributing them evenly so each cookie gets a fair share of chocolatey goodness.
Step 6: Shape Cookie Dreams
Scoop dollops of dough onto the prepared baking sheet.
Leave about 2 inches between each cookie to give them room to spread their delicious wings.
Step 7: Bake to Perfection
Slide the baking sheet into the oven.
Bake for 10-12 minutes until the edges turn a beautiful golden brown while the centers remain soft and tender.
Step 8: Cool and Celebrate
Transfer cookies to a wire rack and let them cool.
These groundhog-inspired treats are ready to be devoured and enjoyed with a big smile!
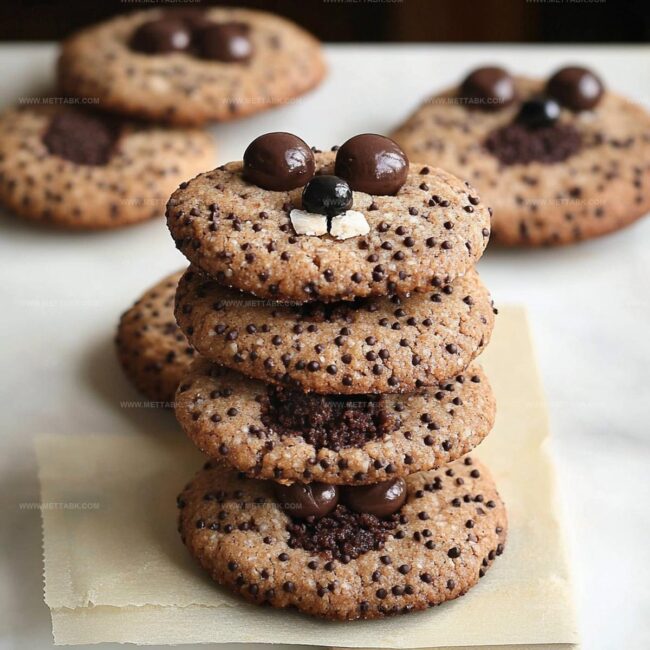
Tips for Soft and Flavorful Groundhog Cookies
Flavorful Twists on Groundhog Cookies
Pairings That Go Well with Groundhog Cookies
Storage Tips for Groundhog Cookies
FAQs
Absolutely! These chocolate chip cookies are kid-friendly, easy to enjoy, and perfect for school lunches or after-school snacks.
Yes, you can swap chocolate chips with milk, dark, or white chocolate chips based on your preference. Experiment with different chocolate varieties to find your favorite.
Don’t overbake the cookies. Remove them from the oven when edges are golden but centers look slightly soft. They’ll continue cooking on the hot baking sheet and will stay deliciously chewy.
No special equipment is needed. Just basic mixing bowls, a baking sheet, parchment paper, and standard measuring tools will work perfectly for this recipe.
Print
Groundhog Cookies Recipe
- Total Time: 32 minutes
- Yield: 24 1x
Description
Whimsical groundhog cookies celebrate winter’s playful spirit with adorable chocolate treats. Cheerful critters peek from chocolate-coated cookie bases, delighting friends and family with their charming design.
Ingredients
- 1 cup unsalted butter (room temperature)
- 1 cup granulated sugar
- 1 cup brown sugar (packed)
- 2 large eggs
- 1 tsp vanilla extract
- 2 cups all-purpose flour
- 1 tsp baking soda
- 1 cup semi-sweet chocolate chips
Instructions
- Prepare the oven environment by heating to 350F (175C) and lining baking sheets with parchment paper for optimal cookie performance.
- Create a creamy base by thoroughly blending softened butter with granulated and brown sugars until achieving a light, fluffy consistency.
- Incorporate eggs individually, ensuring complete integration after each addition, then introduce vanilla extract to enhance flavor profile.
- Separately combine flour and baking soda, gradually merging these dry ingredients with the wet mixture until just harmonized.
- Gently fold chocolate chips throughout the dough, distributing them evenly for consistent chocolate experience.
- Strategically portion dough onto prepared sheets, maintaining approximately 2-inch intervals to allow cookies room for spreading during baking.
- Bake for 10-12 minutes, targeting golden-brown edges while preserving soft, tender centers; transfer to wire racks for complete cooling and setting.
Notes
- Swap chocolate chips for dairy-free alternatives like carob or vegan chocolate chips to make the recipe suitable for those with dairy restrictions.
- Experiment with different nuts or seeds like chopped pecans or sunflower seeds to add extra crunch and nutrition to the cookies.
- Reduce sugar content by using monk fruit sweetener or stevia for a lower-calorie version that’s diabetes-friendly.
- Chill the dough for 30 minutes before baking to prevent excessive spreading and create thicker, chewier cookies with more defined edges.
- Prep Time: 20 minutes
- Cook Time: 12 minutes
- Category: Desserts, Snacks
- Method: Baking
- Cuisine: American
Nutrition
- Serving Size: 24
- Calories: 178
- Sugar: 14 g
- Sodium: 114 mg
- Fat: 9 g
- Saturated Fat: 5 g
- Unsaturated Fat: 4 g
- Trans Fat: 0 g
- Carbohydrates: 24 g
- Fiber: 1 g
- Protein: 2 g
- Cholesterol: 25 mg
Clara Bennett
Contributing Recipe Developer & Food Writer
Expertise
Baking and Pastry Development, Gluten-Free and Allergy-Friendly Recipe Creation, Culinary Storytelling and Food Journalism, Recipe Testing and Standardization, Southern Comfort Foods and Modern Twists
Education
Sullivan University – National Center for Hospitality Studies
Associate Degree in Culinary Arts
Focus: Baking and Pastry Arts, Recipe Testing, and Culinary Journalism.
Clara specialized in crafting desserts that blend classic Southern comfort with modern techniques, while developing strong writing skills to tell the story behind every dish.
Lane Community College (Certificate Program)
Certificate in Food Writing and Photography
Focus: Culinary storytelling, recipe formatting, food styling, and visual presentation.
Clara’s love of baking started young, powered by homemade pies, biscuits, and stories passed around the family table.
After earning her degree at Sullivan University and a food writing certificate at Lane Community College, she turned her passion into a craft: sharing recipes that are simple, soulful, and always full of heart.
She’s big on bold flavors, flexible ideas, and creating sweets that fit any table (yes, even if you’re gluten-free). When she’s not baking, you’ll find her wandering farmers’ markets, styling food for the next photo shoot, or working on her ever-growing recipe journal.