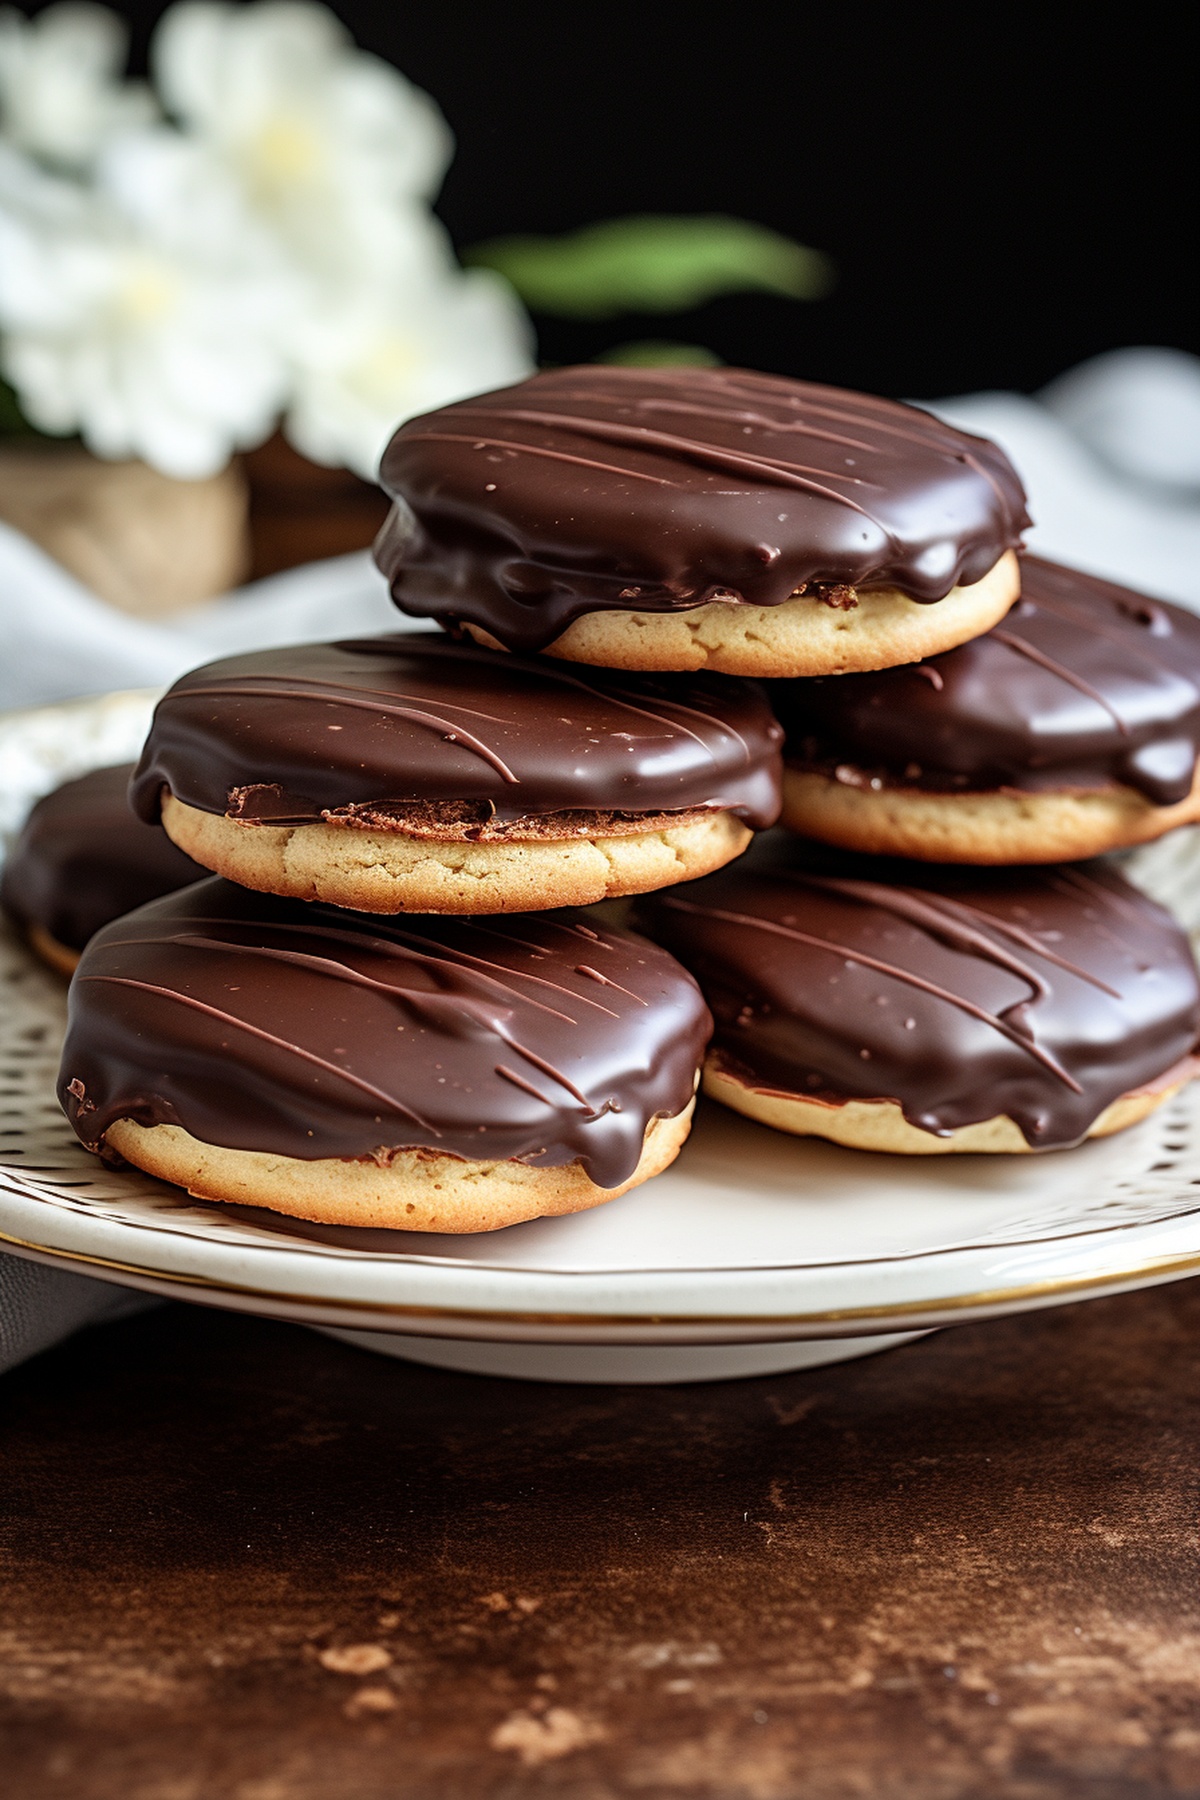
Homemade Baltimore Berger Cookies Recipe: Sweet City Treasures
Sweet memories of maryland bakeries dance through my classic baltimore berger cookies recipe, promising decadent chocolate-topped delights.
Neighborhood shops once crafted these iconic treats with incredible care and local pride.
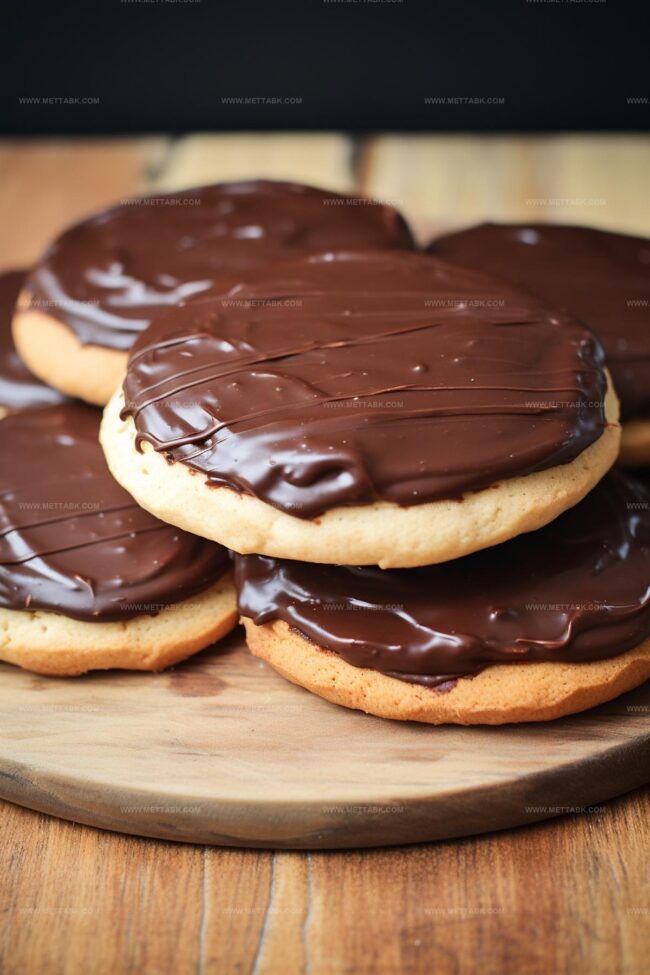
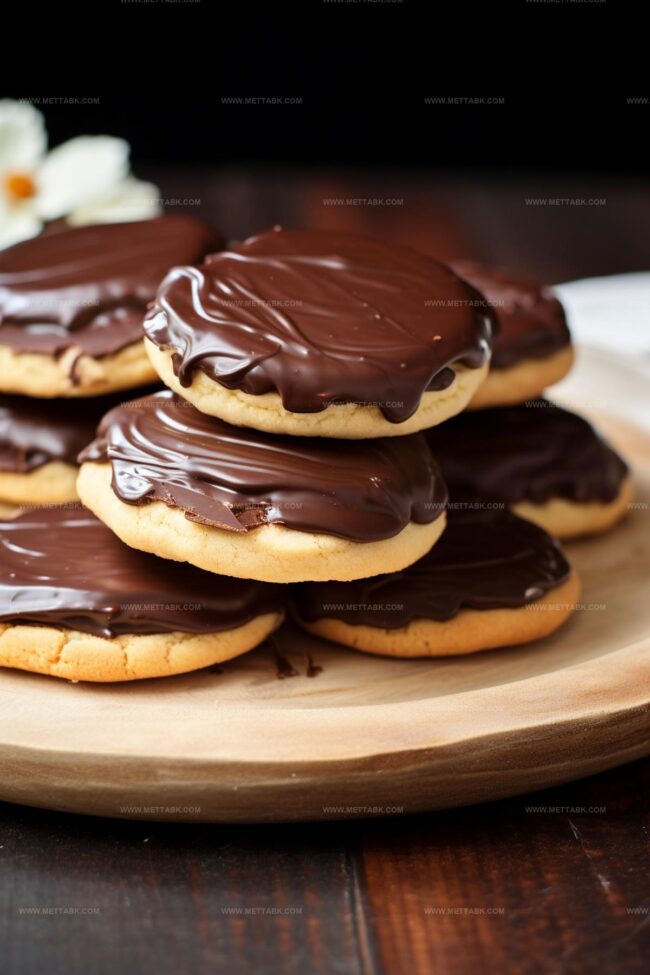
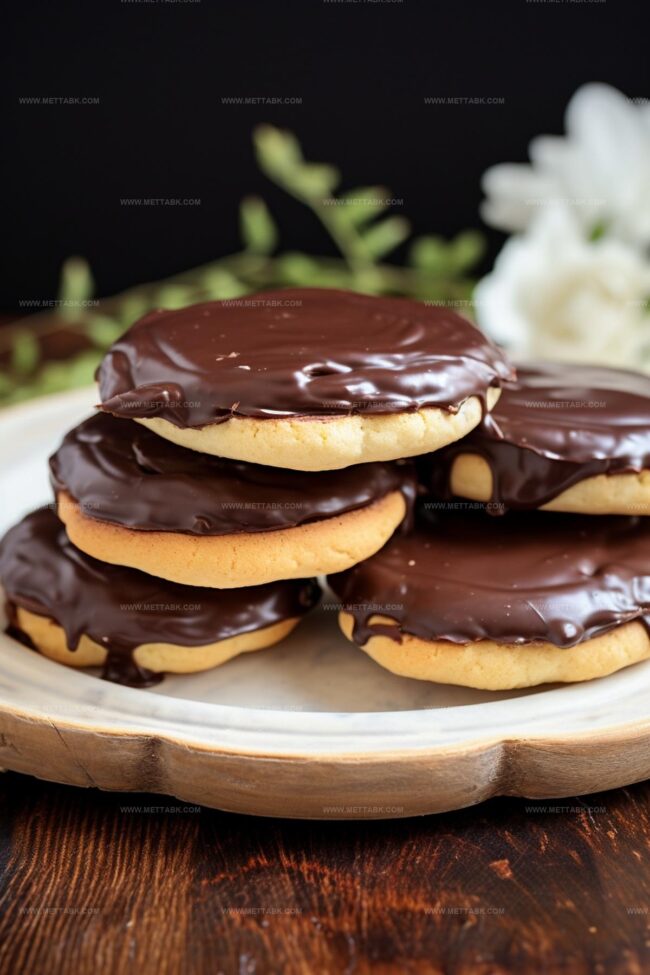
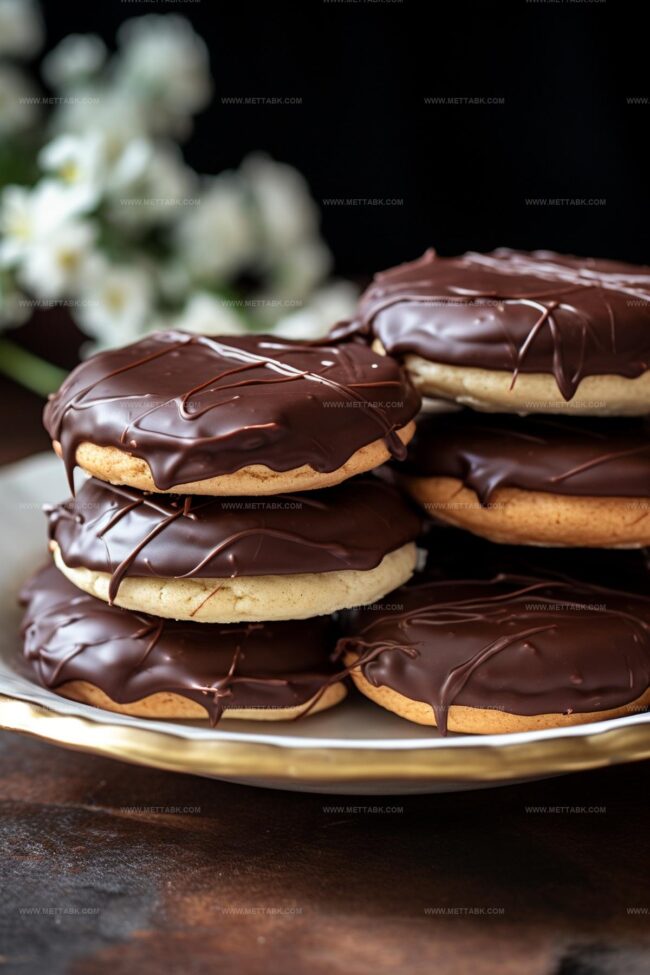
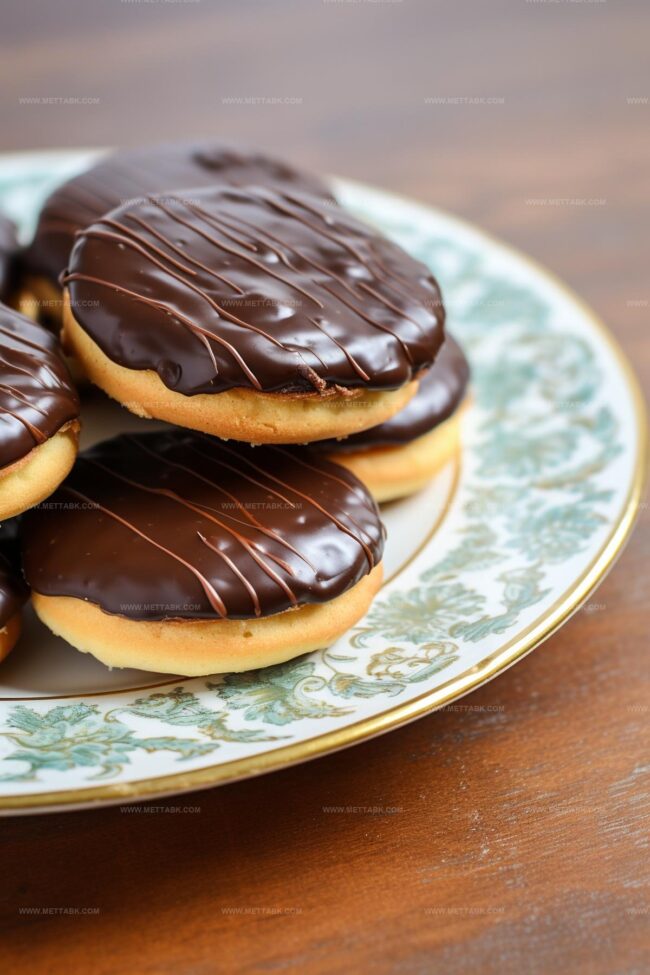
Soft, cake-like vanilla cookies provide a perfect canvas for rich chocolate fudge topping.
Baking these nostalgic sweets connects generations through simple, delightful ingredients.
Neighborhood traditions come alive when you mix, bake, and share these beloved cookies.
Chocolate lovers will absolutely adore this authentic baltimore classic that brings pure comfort to every single bite.
Whip up a batch and watch smiles spread across hungry faces.
Why Homemade Baltimore Berger Cookies Are a Sweet Tradition
Ingredients for Homemade Baltimore Berger Cookies

How to Make Homemade Baltimore Berger Cookies
Step 1: Prepare Baking Setup
Warm up your oven to a toasty 400°F. Cover two baking sheets with parchment paper or give them a light grease coating.
This ensures your cookies won’t stick and bake evenly.
Step 2: Mix Cookie Base
Grab a large mixing bowl and blend butter, salt, vanilla extract, and baking powder until smooth and creamy.
Your goal is a silky, well-combined mixture that will create tender cookies.
Step 3: Build Cookie Dough
Sprinkle in granulated sugar and mix thoroughly.
Crack in an egg and integrate completely. This step adds sweetness and helps bind all ingredients together beautifully.
Step 4: Create Dough Consistency
Slowly fold in flour and milk, alternating between the two. Start with flour and end with flour to create a perfect dough texture.
Mix gently to avoid tough cookies.
Step 5: Shape Cookie Rounds
Drop dough mounds onto prepared sheets, creating circles about 1 1/2 inches wide.
Space cookies generously to allow room for spreading during baking.
Step 6: Bake Cookie Bases
Slide sheets into the oven and bake for 10-11 minutes.
Watch for subtle golden edges while keeping tops pale. Cookies should look soft and cake-like when done.
Step 7: Prepare Chocolate Coating
Combine chocolate ingredients in a heatproof bowl:Step 8: Create Chocolate Icing
Heat mixture until tiny bubbles form. Remove from heat and stir until completely smooth and glossy.
Step 9: Finish Icing
Blend in confectioners’ sugar and salt. Stir until reaching a luxurious, silky consistency.
Let cool to lukewarm temperature.
Step 10: Coat Cookies
Dip each cookie into chocolate icing, ensuring complete coverage.
Place back on baking sheet.
Step 11: Add Extra Chocolate Layer
If desired, apply a second chocolate layer for more decadent cookies.
Wait until icing slightly thickens if too runny.
Step 12: Store Delightful Treats
Allow cookies to set completely.
Store in single layers within airtight containers. Enjoy within a few days at room temperature or refrigerate for longer preservation.
Tips for Perfect Baltimore Berger Cookies
Variations of Baltimore Berger Cookies to Try

Pairings That Complement Baltimore Berger Cookies
Storage Guidelines for Baltimore Berger Cookies

FAQs
Yes, these cookies originated in Baltimore, Maryland, created by George and Henry Berger in the mid-19th century. They became a beloved local treat and are considered a traditional Baltimore delicacy.
The cookies have a soft, cake-like base that’s different from crisp cookies. They’re more like a soft vanilla cookie topped with a thick layer of chocolate fudge icing that makes them distinctively rich and indulgent.
Absolutely! While the recipe requires some careful steps, it’s straightforward enough for bakers with basic skills. The key is to follow the instructions carefully, especially when mixing the dough and creating the chocolate coating.
Print
Homemade Baltimore Berger Cookies Recipe
- Total Time: 31 minutes
- Yield: 12 1x
Description
Berger cookies delight Maryland dessert enthusiasts with their rich chocolate-topped shortbread base. Sweet memories of Baltimore bakeries come alive when shared with friends and family.
Ingredients
- 1 large egg
- 99 g (3.5 oz) granulated sugar
- 180 g (6.3 oz) unbleached all-purpose flour
- 74 g (2.6 oz) unsalted butter (at room temperature)
- 74 g (2.6 oz) milk
- 1 tsp baking powder
- 0.5 tsp salt
- 1 tsp pure vanilla extract
- 170 g (6 oz) confectioners’ sugar (sifted)
- 340 g (12 oz) semisweet chocolate chips
- 170 g (6 oz) heavy cream
- 28 g (1 oz) light corn syrup
- 1 tsp pure vanilla extract
- 0.125 tsp salt
Instructions
- Preheat oven to 400°F and prepare baking sheets with parchment paper or light grease.
- In a large mixing bowl, thoroughly blend butter, salt, vanilla extract, and baking powder until smooth and creamy.
- Gradually add granulated sugar, then incorporate the egg, mixing until well combined.
- Carefully fold in flour and milk alternately, beginning and ending with flour. Mix until just combined, avoiding overmixing.
- Drop cookie dough onto prepared sheets in 1 1/4″ mounds. Use moistened fingers to gently flatten each into 1 1/2″ circles, spacing them 2″ apart to allow for spreading.
- Bake for 10-11 minutes until bottom edges are lightly golden but tops remain pale. Remove from oven and let cool on the baking sheet.
- Prepare chocolate icing by combining chocolate chips, corn syrup, vanilla, and heavy cream in a heatproof bowl.
- Heat the chocolate mixture near boiling point, stirring until smooth and bubbling. Remove from heat immediately.
- Whisk in confectioners’ sugar and salt until the icing achieves a silky, uniform texture. Allow to cool to lukewarm temperature.
- Dip each cookie completely into the icing, ensuring full coverage. Place back on the baking sheet.
- If desired, apply a second icing layer for more generous coverage. Wait until icing firms slightly if it seems too runny.
- Let cookies rest until icing sets completely. Store in a single layer within an airtight container at room temperature for several days, or refrigerate for extended preservation.
Notes
- Softening butter beforehand ensures smoother cookie dough and easier mixing, preventing lumpy textures.
- Using room temperature egg helps create a more uniform batter and improves overall cookie consistency.
- Avoid overmixing the dough to maintain a tender, delicate cookie texture that’s characteristic of Baltimore Berger Cookies.
- Chilling the dough for 15-20 minutes before baking can help prevent excessive spreading and maintain the cookie’s shape.
- For gluten-free variation, substitute all-purpose flour with a 1:1 gluten-free baking blend to accommodate dietary restrictions.
- When coating cookies with chocolate, use a dipping fork or offset spatula for more even and professional-looking icing coverage.
- Store cookies between layers of parchment paper to prevent sticking and maintain their delicate chocolate coating.
- Prep Time: 20 minutes
- Cook Time: 11 minutes
- Category: Snacks, Desserts
- Method: Baking
- Cuisine: American
Nutrition
- Serving Size: 12
- Calories: 235 kcal
- Sugar: 20 g
- Sodium: 92 mg
- Fat: 14 g
- Saturated Fat: 8 g
- Unsaturated Fat: 5 g
- Trans Fat: 0.3 g
- Carbohydrates: 26 g
- Fiber: 1 g
- Protein: 3 g
- Cholesterol: 42 mg
Clara Bennett
Contributing Recipe Developer & Food Writer
Expertise
Baking and Pastry Development, Gluten-Free and Allergy-Friendly Recipe Creation, Culinary Storytelling and Food Journalism, Recipe Testing and Standardization, Southern Comfort Foods and Modern Twists
Education
Sullivan University – National Center for Hospitality Studies
Associate Degree in Culinary Arts
Focus: Baking and Pastry Arts, Recipe Testing, and Culinary Journalism.
Clara specialized in crafting desserts that blend classic Southern comfort with modern techniques, while developing strong writing skills to tell the story behind every dish.
Lane Community College (Certificate Program)
Certificate in Food Writing and Photography
Focus: Culinary storytelling, recipe formatting, food styling, and visual presentation.
Clara’s love of baking started young, powered by homemade pies, biscuits, and stories passed around the family table.
After earning her degree at Sullivan University and a food writing certificate at Lane Community College, she turned her passion into a craft: sharing recipes that are simple, soulful, and always full of heart.
She’s big on bold flavors, flexible ideas, and creating sweets that fit any table (yes, even if you’re gluten-free). When she’s not baking, you’ll find her wandering farmers’ markets, styling food for the next photo shoot, or working on her ever-growing recipe journal.