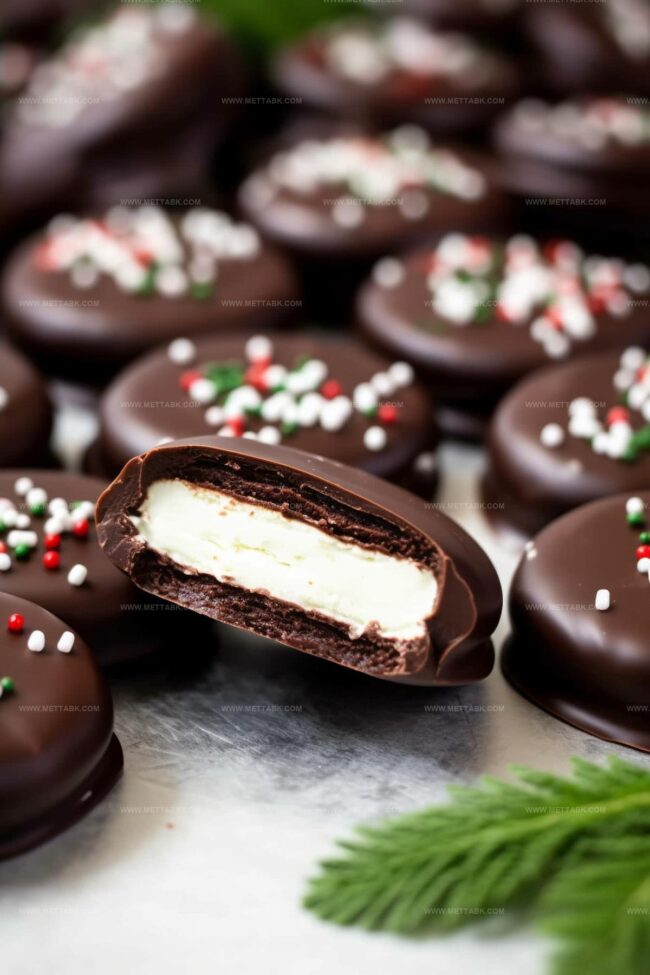
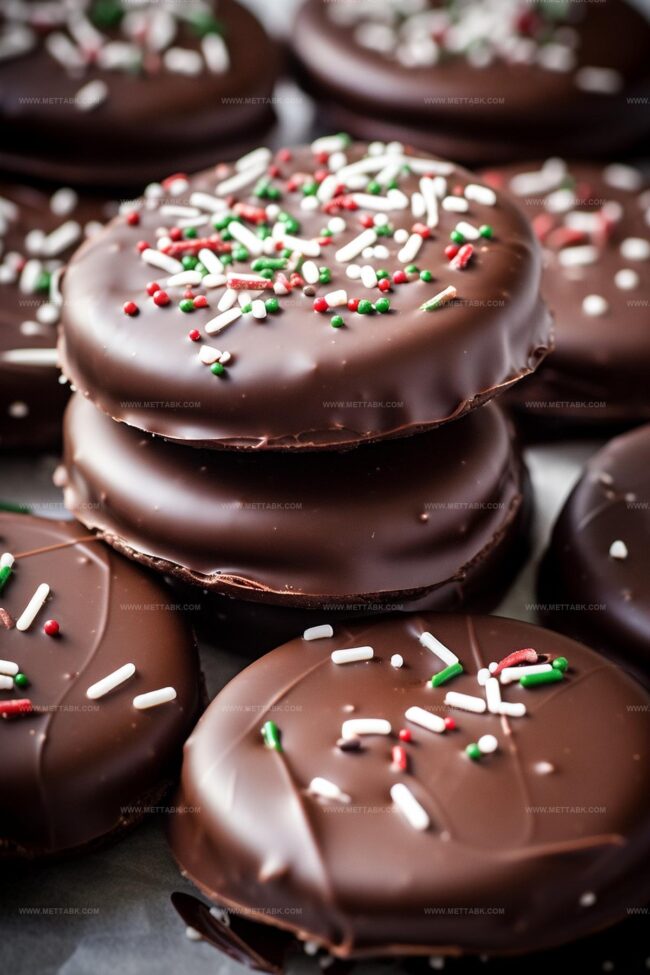
Quick & Frosty Homemade Peppermint Patties Recipe for Sweet Joy
Cool kitchen adventures call for delightful homemade peppermint patties that sparkle with minty freshness.
Sweet memories dance through my childhood whenever I whip up these delectable treats.
Creamy chocolate and cool mint create a magical combination everyone adores.
My grandmother’s simple technique inspired this foolproof recipe that anyone can master.
Rich dark chocolate coating adds elegant sophistication to these classic candies.
Simple ingredients from your pantry make these little bites pure magic.
Whip up a batch and watch smiles spread across faces near and far.
Homemade Peppermint Patties to Enjoy
Craft Culinary Magic: Dive into a delightful homemade treat that transforms simple ingredients into a gourmet chocolate-peppermint sensation.
Customize with Ease: Play around with chocolate types, add sprinkles, or experiment with extract variations to make this recipe uniquely yours.
Quick Kitchen Adventure: Create professional-looking candies without advanced baking skills, perfect for surprising friends and family with a delicious homemade dessert.
No-Fuss Preparation: Minimal kitchen equipment needed – just a mixer, parchment paper, and basic ingredients make this recipe accessible to all skill levels.
Ingredients for Homemade Peppermint Patties
Main Ingredients:Flavoring Ingredients:Optional Garnish:Instructions for Peppermint Patties
Step 1: Whip Up Creamy Base
In a stand mixer, combine the following ingredients:Mix on low speed, gradually adding powdered sugar until a smooth, consistent dough forms.
Step 2: Prepare Dough Surface
Sprinkle powdered sugar on parchment paper.
Gently knead the dough on the sugared surface to ensure even blending. Roll out the dough into a smooth circle about ½ inch thick, keeping the surface lightly dusted with powdered sugar to prevent sticking.
Step 3: Create Perfect Circles
Use a cookie cutter or glass rim to cut circular patties between 1 and 1 ½ inches in diameter. If the dough becomes too soft, pop it in the freezer for 15 minutes to firm up.
Transfer the cut patties to a parchment-lined baking sheet and freeze for 15 minutes.
Step 4: Chocolate Dunk Delight
Melt dark chocolate in a microwave-safe bowl, heating in 30-second bursts and stirring between each interval to avoid burning.
Let the chocolate cool for 3-4 minutes. Using a fork, carefully dip each patty into the melted chocolate, ensuring complete coverage.
Place the chocolate-coated patties back on the parchment-lined sheet. Add sprinkles if desired.
Refrigerate for 20 minutes until the chocolate sets completely. Serve and enjoy your homemade peppermint patties!
Pro Tips to Make Peppermint Patties Perfect
Variations on Homemade Peppermint Patties
Pairings to Serve with Peppermint Patties
Storage Advice for Peppermint Patties
FAQs
Use powdered sugar generously on the parchment paper and on top of the dough. This creates a non-stick surface that helps you roll the dough smoothly without tearing or sticking.
Yes, you can substitute dark chocolate with milk chocolate. However, dark chocolate provides a richer contrast to the sweet peppermint filling, enhancing the overall flavor profile of the patties.
If the dough gets warm and difficult to work with, simply place it in the freezer for about 15 minutes. This will help firm up the mixture, making it easier to cut and shape the patties.
Allow the melted chocolate to cool for 3-4 minutes after heating.
Print
Homemade Peppermint Patties Recipe
- Total Time: 20 minutes
- Yield: 24 1x
Description
Creamy homemade peppermint patties bring classic mint chocolate magic to your kitchen. Cool mint centers dipped in rich dark chocolate create an irresistible sweet treat you’ll want to share with friends and family.
Ingredients
- 4 cups powdered sugar (with additional for dusting)
- 3/4 cup sweetened condensed milk
- 2 cups dark melting or dipping chocolate
- 1 1/4 tsps peppermint extract
- 1/8 tsp vanilla extract
- Optional: sprinkles for garnishing
Instructions
- In a stand mixer, combine sweetened condensed milk with peppermint and vanilla extracts. Gradually integrate powdered sugar, mixing at low speed until a cohesive dough forms.
- Dust parchment paper with powdered sugar. Transfer dough onto the surface and gently knead. Roll out the dough to a ½-inch thickness, maintaining an even layer of powdered sugar to prevent adhesion.
- Cut circular shapes using a cookie cutter or glass rim, targeting 1-1½ inch diameters. If dough becomes soft, briefly chill in the freezer for 15 minutes. Transfer cut patties to a parchment-lined baking sheet and freeze for 15 minutes to solidify.
- Melt dark chocolate in a microwave, using 30-second intervals and stirring between each to prevent scorching. Allow chocolate to cool for 3-4 minutes. Using a fork, dip each patty into melted chocolate, ensuring complete coverage. Place back on parchment paper and optionally sprinkle with decorative toppings.
- Refrigerate chocolate-coated patties for 20 minutes until chocolate sets completely. Store in an airtight container in the refrigerator for optimal texture and freshness.
Notes
- Chill the dough for easier handling, preventing sticky mess and making cutting shapes more precise.
- Use high-quality dark chocolate for a rich, sophisticated flavor that complements the refreshing peppermint.
- Keep patties small and uniform to ensure consistent texture and even chocolate coating.
- Experiment with alternative extracts like almond or coconut for unique flavor variations that can surprise your taste buds.
- Prep Time: 20 minutes
- Cook Time: 0 minutes
- Category: Snacks, Desserts
- Method: Blending
- Cuisine: American
Nutrition
- Serving Size: 24
- Calories: 175
- Sugar: 28 g
- Sodium: 15 mg
- Fat: 7 g
- Saturated Fat: 4 g
- Unsaturated Fat: 2 g
- Trans Fat: 0 g
- Carbohydrates: 30 g
- Fiber: 1 g
- Protein: 1 g
- Cholesterol: 5 mg


Clara Bennett
Contributing Recipe Developer & Food Writer
Expertise
Baking and Pastry Development, Gluten-Free and Allergy-Friendly Recipe Creation, Culinary Storytelling and Food Journalism, Recipe Testing and Standardization, Southern Comfort Foods and Modern Twists
Education
Sullivan University – National Center for Hospitality Studies
Associate Degree in Culinary Arts
Focus: Baking and Pastry Arts, Recipe Testing, and Culinary Journalism.
Clara specialized in crafting desserts that blend classic Southern comfort with modern techniques, while developing strong writing skills to tell the story behind every dish.
Lane Community College (Certificate Program)
Certificate in Food Writing and Photography
Focus: Culinary storytelling, recipe formatting, food styling, and visual presentation.
Clara’s love of baking started young, powered by homemade pies, biscuits, and stories passed around the family table.
After earning her degree at Sullivan University and a food writing certificate at Lane Community College, she turned her passion into a craft: sharing recipes that are simple, soulful, and always full of heart.
She’s big on bold flavors, flexible ideas, and creating sweets that fit any table (yes, even if you’re gluten-free). When she’s not baking, you’ll find her wandering farmers’ markets, styling food for the next photo shoot, or working on her ever-growing recipe journal.