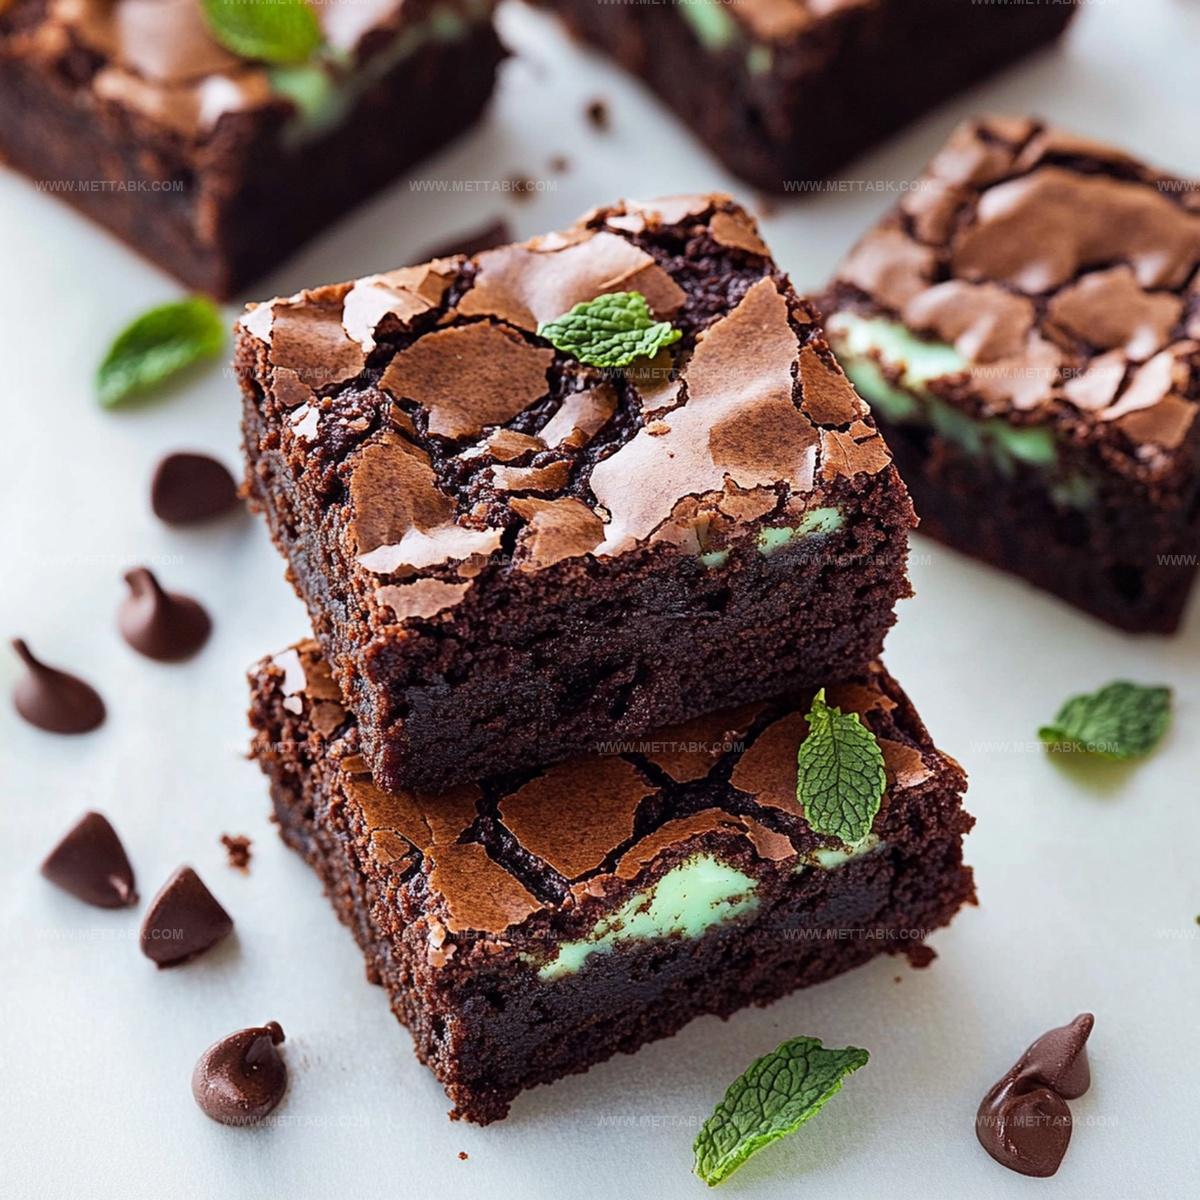
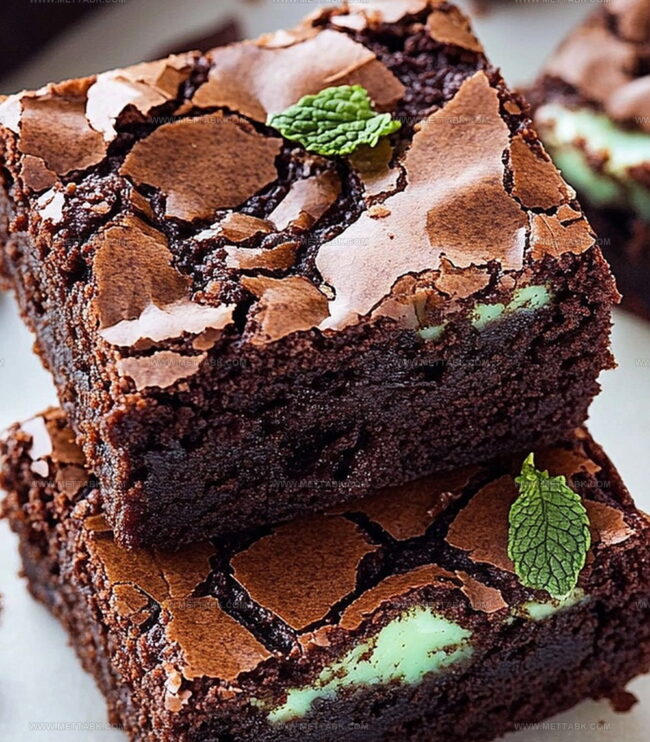
Irresistible Mint Brownies Recipe: Sweet Chocolate Bliss
Delectable mint brownies offer a delightful twist on classic chocolate desserts that dance between rich decadence and refreshing coolness.
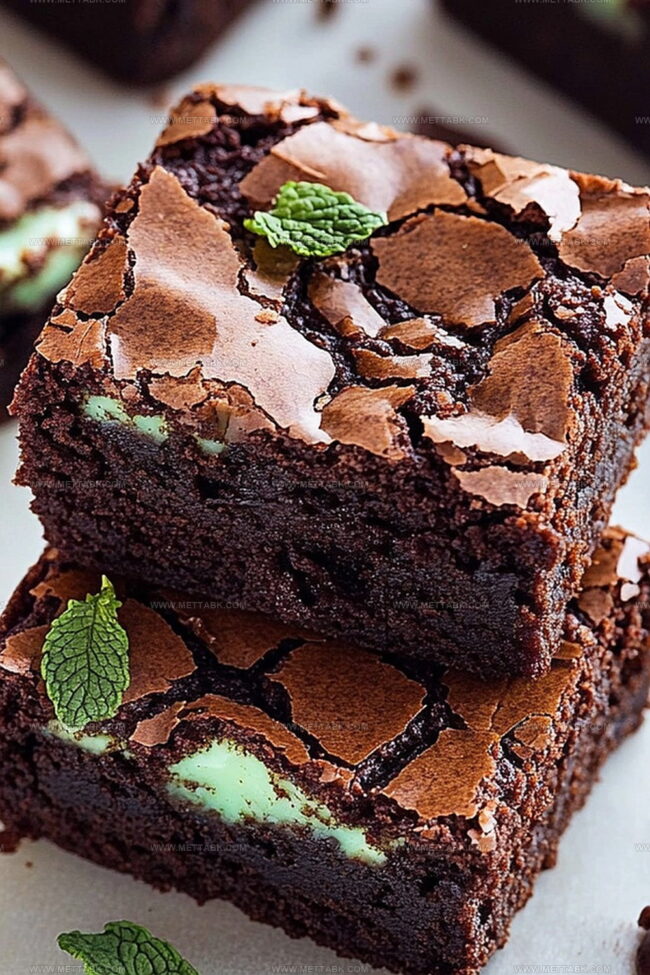
Sweet cocoa depths mingle with bright herbal notes, creating an unexpected flavor harmony.
Chocolate lovers will find themselves enchanted by this surprising combination.
Intense fudgy layers promise pure indulgence with every single bite.
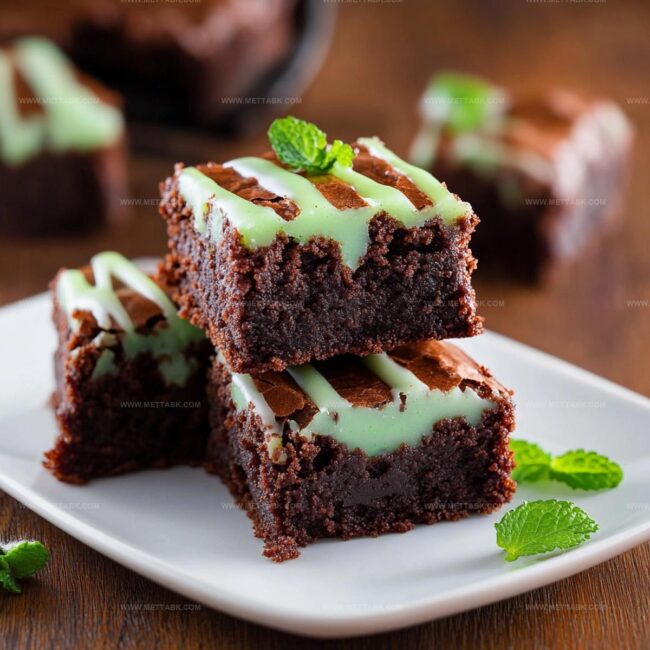
Smooth mint undertones cut through deep chocolate richness, providing a sophisticated contrast.
Whipping up these brownies requires minimal effort but delivers maximum satisfaction.
Prepare to surprise and delight everyone at your next gathering.
Mint Brownies That Bring Refreshing Flavor
Ingredients for Cool and Delicious Mint Brownies
Chocolate Base:Mint Frosting:Baking Essentials:How to Bake Mint Brownies with a Fresh Twist
Step 1: Warm Up The Oven
Crank the oven to a toasty 350°F. Grab your 9×13 inch baking pan and give it a quick spray or butter rub to prevent sticking.
Step 2: Create Brownie Base
In a spacious mixing bowl, melt butter and blend it with granulated sugar until they become best friends. Crack eggs into the mixture one by one, stirring thoroughly after each arrival to create a silky smooth base.
Step 3: Mix Dry Ingredients
Grab another bowl and sift together cocoa powder and flour. Gently fold this powdery blend into the wet ingredients, stirring just until everything looks harmonious.
Don’t overmix or your brownies might turn tough.
Step 4: Bake The Brownie Magic
Pour the rich batter into your prepared pan, spreading it evenly.
Slide the pan into the preheated oven and bake for 25-30 minutes. Check doneness by inserting a toothpick – you want to see moist crumbs, not dry cake.
Step 5: Whip Up Mint Frosting
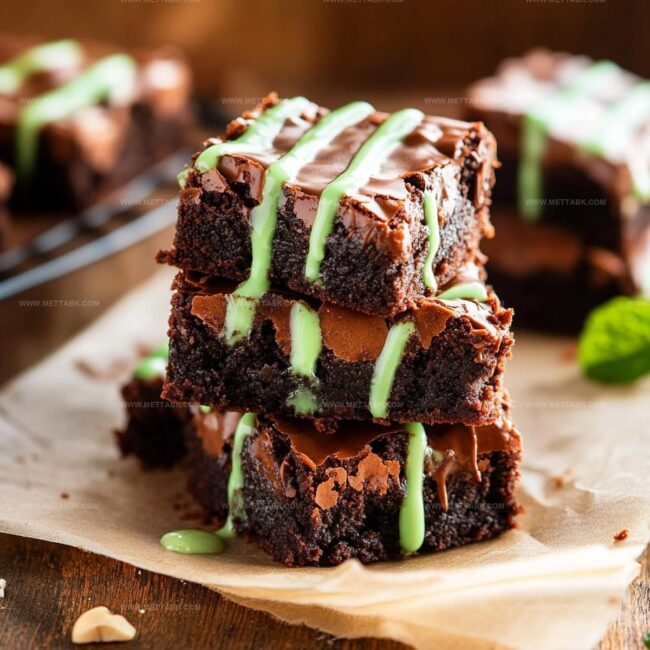
While brownies cool down, create the dreamy mint layer:Blend these ingredients until they transform into a smooth, vibrant frosting.
Step 6: Frost And Slice
Once brownies have completely chilled, spread the mint frosting across the top in a luscious layer.
Slice into perfect squares and get ready to indulge in minty chocolate bliss.
Tips to Keep Mint Brownies Moist and Flavorful
Creative Variations on Mint Brownies
Pairings That Complement Mint Brownies Perfectly
Storage Ideas for Mint Brownies
FAQs
Insert a toothpick into the center of the brownies. If it comes out with a few moist crumbs, they’re done. Avoid overbaking to keep them fudgy and soft.
Yes! You can use pure peppermint extract or spearmint extract. Start with a smaller amount and adjust to taste, as mint extracts can vary in intensity.
The green food coloring creates the vibrant mint color. If you prefer, you can skip the food coloring or use less for a softer green shade.
Absolutely! The rich chocolate base combined with the cool mint frosting creates a perfect balance of flavors that chocolate and mint enthusiasts will love.
Print
Mint Brownies Recipe
- Total Time: 50 minutes
- Yield: 12 1x
Description
Rich chocolate brownies infused with fresh mint create a delightful dessert that blends intense cocoa depth with cool herbal notes. Chocolate and mint lovers will savor this classic combination that balances sweet indulgence with refreshing elegance.
Ingredients
- 1 cup all-purpose flour
- 1 cup unsweetened cocoa powder
- 1 cup granulated sugar
- 1 cup powdered sugar (for frosting)
- 2 large eggs
- 1/2 cup unsalted butter (melted)
- 2 tbsps butter (softened for frosting)
- 1 tsp peppermint extract
- Green food coloring (optional)
Instructions
- Prepare the baking workspace by heating the oven to 350°F and coating a 9×13 inch pan with grease to prevent sticking.
- Create a rich chocolate base by thoroughly blending melted butter with granulated sugar until smooth, then incorporate eggs individually, ensuring complete integration after each addition.
- Develop the dry mixture by sifting cocoa powder and flour together, then gently fold into the wet ingredients, maintaining a smooth consistency without overmixing.
- Transfer the chocolate batter into the prepared pan, distributing evenly, and bake for 25-30 minutes until a toothpick inserted near the center reveals moist crumbs.
- Allow the brownies to cool completely at room temperature, which prevents the frosting from melting when applied.
- Craft the mint frosting by whipping powdered sugar with softened butter, infusing with peppermint extract and adding green food coloring to achieve a vibrant mint appearance.
- Carefully spread the mint frosting across the cooled brownies in a uniform layer, ensuring complete surface coverage.
- Slice the frosted brownies into precise squares, creating clean, even portions ready for serving.
Notes
- Enhance the mint flavor by using high-quality peppermint extract for a more intense and authentic taste sensation.
- Experiment with natural green food coloring like matcha powder or spinach extract for a healthier alternative to artificial coloring.
- Chill the brownies before cutting to achieve cleaner, more precise squares and prevent the frosting from smearing.
- For a gluten-free version, substitute all-purpose flour with almond flour or a gluten-free baking blend to accommodate dietary restrictions.
- Prep Time: 20 minutes
- Cook Time: 30 minutes
- Category: Desserts, Snacks
- Method: Baking
- Cuisine: American
Nutrition
- Serving Size: 12
- Calories: 188 kcal
- Sugar: 21 g
- Sodium: 15 mg
- Fat: 9 g
- Saturated Fat: 5 g
- Unsaturated Fat: 4 g
- Trans Fat: 0.2 g
- Carbohydrates: 27 g
- Fiber: 3 g
- Protein: 3 g
- Cholesterol: 37 mg
Clara Bennett
Contributing Recipe Developer & Food Writer
Expertise
Baking and Pastry Development, Gluten-Free and Allergy-Friendly Recipe Creation, Culinary Storytelling and Food Journalism, Recipe Testing and Standardization, Southern Comfort Foods and Modern Twists
Education
Sullivan University – National Center for Hospitality Studies
Associate Degree in Culinary Arts
Focus: Baking and Pastry Arts, Recipe Testing, and Culinary Journalism.
Clara specialized in crafting desserts that blend classic Southern comfort with modern techniques, while developing strong writing skills to tell the story behind every dish.
Lane Community College (Certificate Program)
Certificate in Food Writing and Photography
Focus: Culinary storytelling, recipe formatting, food styling, and visual presentation.
Clara’s love of baking started young, powered by homemade pies, biscuits, and stories passed around the family table.
After earning her degree at Sullivan University and a food writing certificate at Lane Community College, she turned her passion into a craft: sharing recipes that are simple, soulful, and always full of heart.
She’s big on bold flavors, flexible ideas, and creating sweets that fit any table (yes, even if you’re gluten-free). When she’s not baking, you’ll find her wandering farmers’ markets, styling food for the next photo shoot, or working on her ever-growing recipe journal.