The Ultimate Peanut Butter Brownies Recipe: Fudgy Heaven
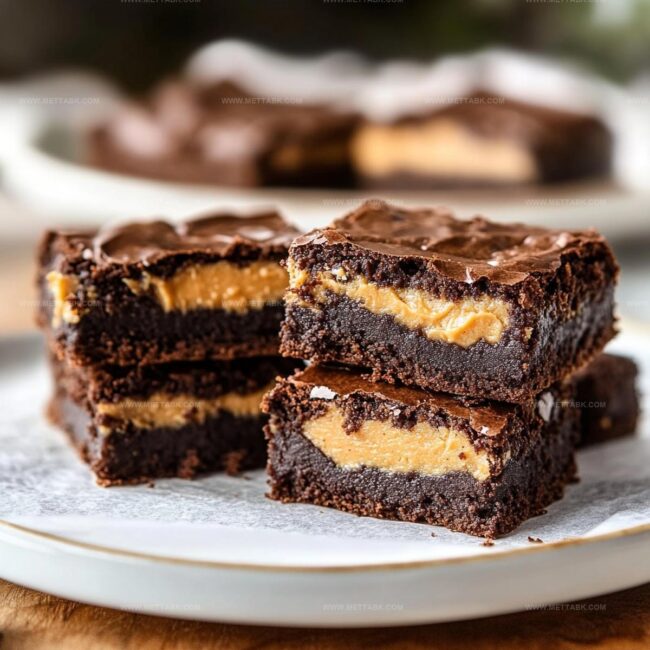
Decadent peanut butter brownies promise a rich, chocolatey adventure that melts in your mouth.
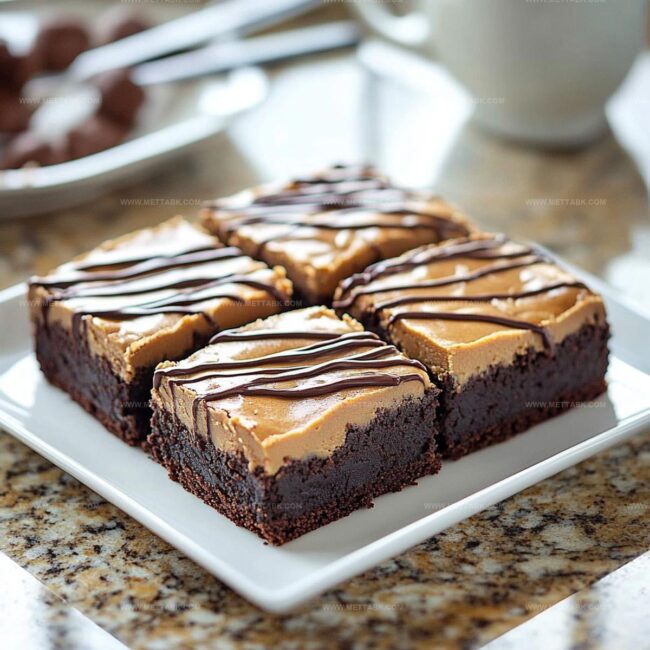
Chocolate and nutty flavors dance together in this irresistible dessert.
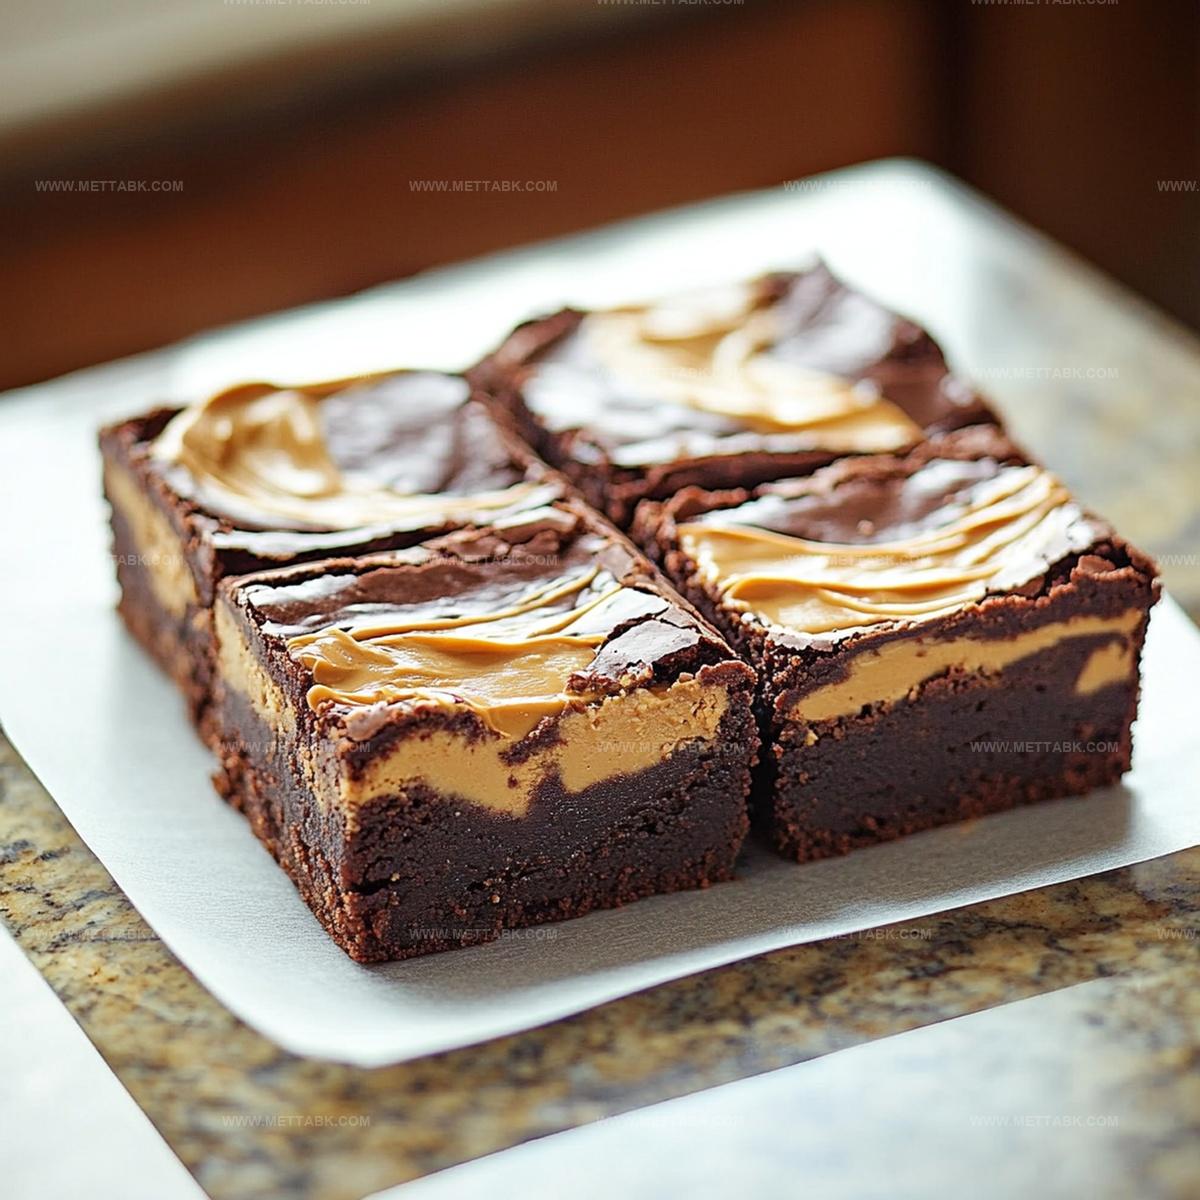
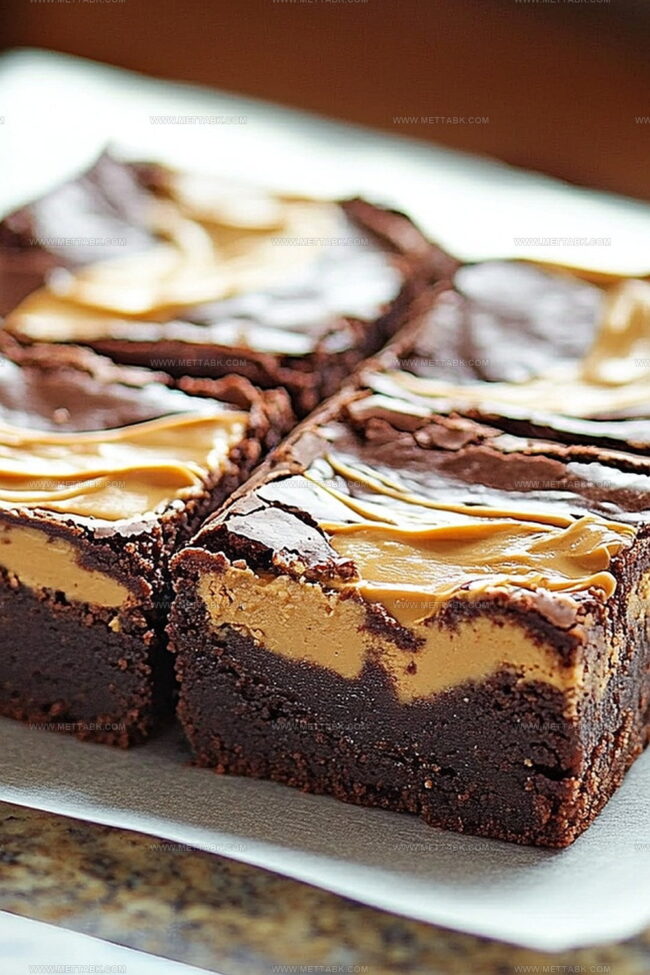
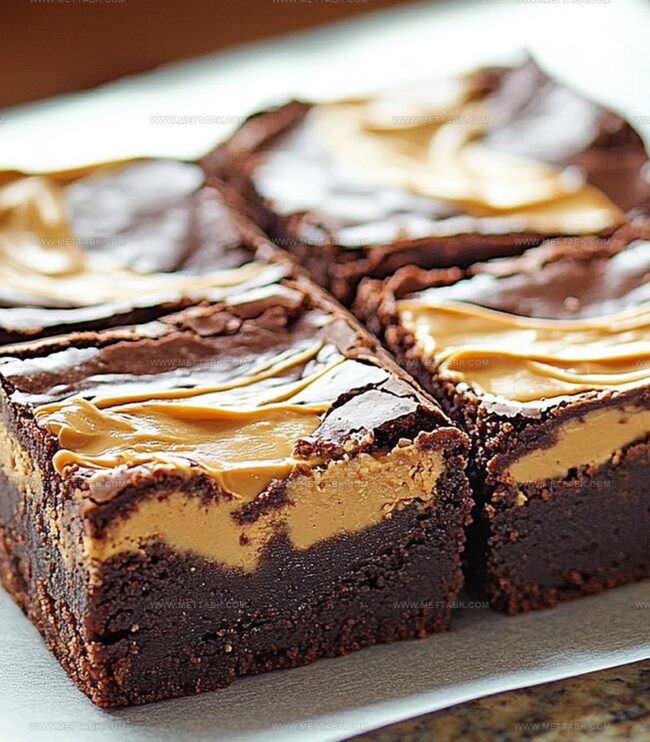
Smooth peanut butter swirls create marble-like patterns across dense, fudgy layers.
Baking these treats fills your kitchen with an intoxicating aroma that beckons everyone near.
Each bite delivers a perfect balance of sweet and salty notes.
Minimal ingredients and simple steps make this recipe accessible for bakers of all skill levels.
Dive into this delightful creation and savor every indulgent moment.
Peanut Butter Brownies That Satisfy Sweet Cravings
What Makes Peanut Butter Brownies So Irresistible
Base Ingredients:Dry Ingredients:Optional Add-Ins:How to Whip Up Peanut Butter Brownies Perfectly
Step 1: Prep the Baking Station
Get your oven warmed up to 350°F. Grab an 8×8-inch baking pan and either spray it with cooking spray or line it with parchment paper for easy brownie removal.
Step 2: Blend Peanut Butter Base
Grab a mixing bowl and combine peanut butter with sugar. Whisk them together until the mixture becomes silky smooth and fully incorporated.
Step 3: Introduce Eggs and Flavor
Blend everything together, ensuring each egg is thoroughly mixed before adding the next.
Step 4: Create Brownie Batter
Gently fold dry ingredients into the wet mixture.
If you’re feeling extra indulgent, toss in some chocolate chips for additional richness.
Step 5: Fill the Baking Pan
Pour the batter into your prepared pan, using a spatula to spread it evenly across the surface.
Step 6: Bake to Perfection
Slide the pan into the preheated oven. Bake for 20-25 minutes.
Check doneness by inserting a toothpick – it should come out with a few moist crumbs.
Step 7: Cool and Slice
Let the brownies cool completely in the pan.
Once cooled, slice into delectable squares and enjoy your homemade treat.
Helpful Hints to Improve Peanut Butter Brownies
Flavorful Twists on Classic Peanut Butter Brownies
Pairings That Enhance Peanut Butter Brownies Enjoyment
Best Ways to Store Peanut Butter Brownies Fresh
FAQs
Yes, you can use natural peanut butter, but it might change the texture slightly. Stir it well before measuring to ensure even consistency.
Check the brownies around 20 minutes. When a toothpick inserted comes out with a few moist crumbs, they’re ready. Avoid overbaking to keep them fudgy.
Absolutely! The chocolate chips are optional. You can leave them out or substitute with nuts, if you prefer. The brownies will still be delicious.
Yes, simply replace the all-purpose flour with a gluten-free flour blend. Make sure to choose a blend that works well for baking to maintain the right texture.
Print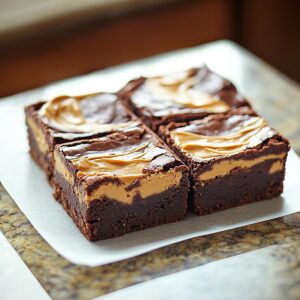
Peanut Butter Brownies Recipe
- Total Time: 39 minutes
- Yield: 9 1x
Description
Mouthwatering peanut butter brownies blend rich chocolate with creamy peanut butter for an irresistible dessert. Chocolate lovers will savor each dense, fudgy bite that promises pure indulgence.
Ingredients
- 1 cup granulated sugar
- 1 cup creamy peanut butter
- 2 large eggs
- 1/2 cup all-purpose flour
- 1/2 cup chocolate chips (optional)
- 1 tsp vanilla extract
- 1/4 tsp salt
Instructions
- Prepare the oven by heating to 350°F and positioning a rack in the center. Create a non-stick surface in an 8×8-inch pan using parchment paper or cooking spray.
- Whip peanut butter and sugar together until achieving a silky, uniform consistency with no sugar granules remaining.
- Incorporate eggs individually, thoroughly blending each one into the mixture. Introduce vanilla extract, stirring until completely integrated.
- Gently fold flour and salt into the wet ingredients, maintaining a light touch to prevent over-mixing. Optional: sprinkle chocolate chips throughout the batter for additional texture and flavor.
- Transfer the batter into the prepared pan, using a spatula to distribute evenly and create a smooth surface.
- Place pan in preheated oven and bake for approximately 22-24 minutes. Check doneness by inserting a toothpick – it should emerge with a few moist crumbs, indicating perfectly baked brownies.
- Remove from oven and let brownies cool completely at room temperature for about 45-60 minutes before slicing into squares for serving.
Notes
- Swap out regular flour with gluten-free flour blend for a celiac-friendly version without compromising texture.
- Create a healthier brownie by using natural peanut butter with no added sugars and reducing overall sugar content by 25%.
- For extra richness, swirl additional melted peanut butter on top of the batter before baking to enhance nutty flavor profile.
- Ensure even baking by rotating the pan halfway through cooking time to prevent uneven browning or potential hot spots in the oven.
- Prep Time: 15 minutes
- Cook Time: 24 minutes
- Category: Desserts, Snacks
- Method: Baking
- Cuisine: American
Nutrition
- Serving Size: 9
- Calories: 246 kcal
- Sugar: 17 g
- Sodium: 94 mg
- Fat: 18 g
- Saturated Fat: 3 g
- Unsaturated Fat: 13 g
- Trans Fat: 0 g
- Carbohydrates: 17 g
- Fiber: 2 g
- Protein: 7 g
- Cholesterol: 37 mg
Clara Bennett
Contributing Recipe Developer & Food Writer
Expertise
Baking and Pastry Development, Gluten-Free and Allergy-Friendly Recipe Creation, Culinary Storytelling and Food Journalism, Recipe Testing and Standardization, Southern Comfort Foods and Modern Twists
Education
Sullivan University – National Center for Hospitality Studies
Associate Degree in Culinary Arts
Focus: Baking and Pastry Arts, Recipe Testing, and Culinary Journalism.
Clara specialized in crafting desserts that blend classic Southern comfort with modern techniques, while developing strong writing skills to tell the story behind every dish.
Lane Community College (Certificate Program)
Certificate in Food Writing and Photography
Focus: Culinary storytelling, recipe formatting, food styling, and visual presentation.
Clara’s love of baking started young, powered by homemade pies, biscuits, and stories passed around the family table.
After earning her degree at Sullivan University and a food writing certificate at Lane Community College, she turned her passion into a craft: sharing recipes that are simple, soulful, and always full of heart.
She’s big on bold flavors, flexible ideas, and creating sweets that fit any table (yes, even if you’re gluten-free). When she’s not baking, you’ll find her wandering farmers’ markets, styling food for the next photo shoot, or working on her ever-growing recipe journal.