The Buttery Pie Crust Cinnamon Rolls Recipe You Need Today
Crafting delectable cinnamon rolls with a flaky pie crust base promises a delightful culinary adventure.
Sweet aromas will soon fill your kitchen, tempting everyone nearby.
Pastry lovers understand the magic of combining classic techniques with unexpected twists.
Buttery layers promise melt-in-your-mouth textures that dance between crisp and tender.
Homemade treats always spark joy and create memorable moments around the table.
Each bite brings warmth and comfort, blending traditional flavors with innovative baking approaches.
You won’t believe how simple ingredients can create such an extraordinary breakfast experience.
Pie Crust Cinnamon Rolls You’ll Crave
Ingredients for Flaky Cinnamon Rolls
For the Crust:For the Filling:For the Glaze:How to Bake Pie Crust Cinnamon Rolls
Step 1: Prepare Baking Station
Preheat the oven to 350F. Line sheet trays with parchment paper and set them aside for the upcoming delicious rolls.
Step 2: Unroll Pie Crust
Place the pie crust on a clean work surface, ready for transformation into mouth-watering cinnamon rolls.
Step 3: Butter the Crust
Brush the entire pie crust with melted butter, ensuring complete coverage for maximum flavor and golden-brown goodness.
Step 4: Mix Cinnamon Sugar
In a small bowl, combine brown sugar and cinnamon, creating a sweet and aromatic mixture that will make taste buds dance.
Step 5: Sprinkle Cinnamon Mixture
Generously distribute the cinnamon sugar over the buttered pie crust, leaving a small border along one edge to help seal the roll.
Step 6: Roll the Crust
Tightly roll the crust over the cinnamon sugar filling, starting from the edge closest to you. Press the seams firmly to create a secure roll.
Step 7: Slice the Rolls
Cut the rolled crust into bite-sized pieces, approximately 1 inch thick. Discard or reshape the less-perfect end pieces.
Step 8: Arrange on Baking Sheet
Place the mini rolls cut-side up on the prepared sheet tray, leaving a little space between each roll for even baking.
Step 9: Bake to Perfection
Bake the rolls for 17-20 minutes until they turn a beautiful golden brown.
Let them cool on the sheet tray for 5 minutes before transferring to a wire rack.
Step 10: Repeat the Process
Repeat the entire process with the remaining pie crust, butter, and cinnamon sugar mixture to create more delightful rolls.
Step 11: Prepare Glaze
Whisk powdered sugar with milk in a small bowl until smooth. Adjust the consistency by adding more milk if needed to create a pourable glaze.
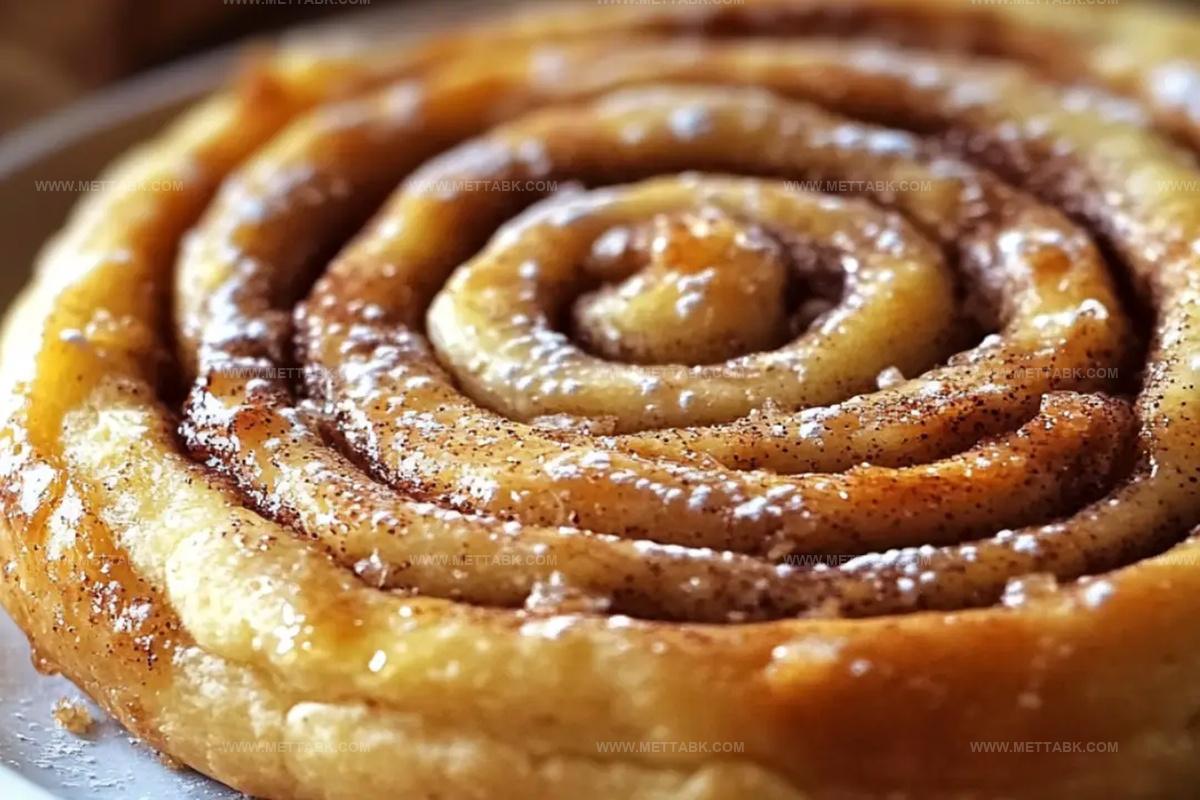
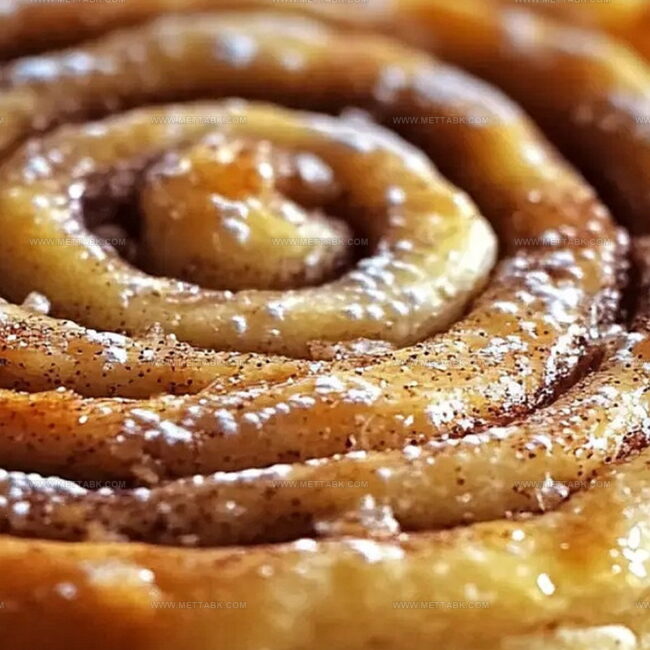
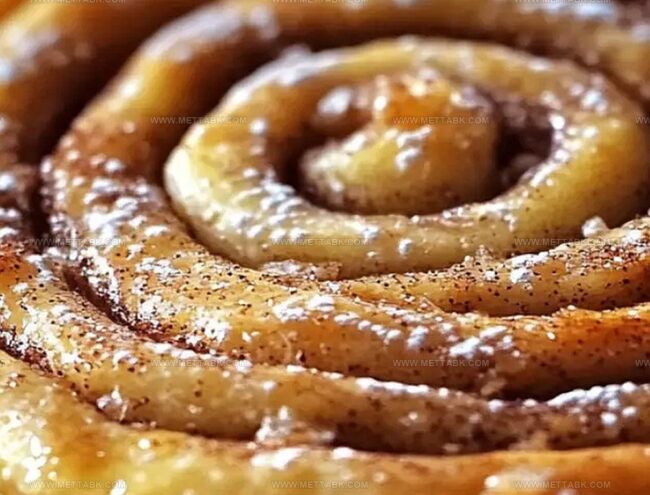
Step 12: Drizzle and Serve
Use a fork or spoon to drizzle the glaze over the cooled cinnamon rolls. Serve immediately or let the glaze set for about 30 minutes for a beautiful finish.
Tips for Perfect Pie Crust Cinnamon Rolls
Variations on Cinnamon Roll Recipes
Pairings to Enjoy with Cinnamon Rolls
Storage Tips for Fresh Cinnamon Rolls
Store cooled cinnamon rolls in an airtight container lined with parchment paper. Keep them fresh for up to 3 days in the refrigerator.
Wrap individual rolls tightly in plastic wrap, then place in a freezer bag. Freeze for up to 2 months. Thaw overnight in the refrigerator before reheating.
Warm individual rolls for 10-15 seconds on a microwave-safe plate. Check temperature to avoid overheating and maintain soft texture.
Warm rolls at 300F for 5-7 minutes. Cover loosely with foil to prevent drying out and preserve their original moisture and flavor.
FAQs
Yes, pre-made pie crusts are a quick and easy shortcut to create delicious cinnamon rolls without making dough from scratch.
No, this recipe is beginner-friendly and requires basic kitchen skills like rolling, spreading, and cutting.
Absolutely! Homemade pie crust will work perfectly and might even enhance the flavor of these rolls.
Roll the crust tightly and press the seams together well to ensure the rolls stay compact during baking.
Print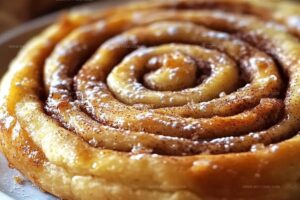
Pie Crust Cinnamon Rolls Recipe
- Total Time: 40 minutes
- Yield: 8 1x
Description
Irresistible Cinnamon Rolls Pie Crust brings classic comfort to dessert tables with a delightful twist. Sweet spirals of cinnamon and buttery pastry create a mouthwatering treat you’ll crave again and again.
Ingredients
Pie Filling and Spice:
- 2 refrigerator pie crusts
- 1 1/2 teaspoons ground cinnamon
- 6 tablespoons light brown sugar, packed
Butter and Liquid:
- 4 tablespoons salted butter, melted
- 1/2 tablespoons milk
Glaze Ingredients:
- 1 cup powdered sugar
Instructions
- Preheat oven to 350°F and prepare parchment-lined baking sheets.
- Lay out pie crust on a clean surface, ensuring a flat workspace.
- Generously coat the entire pie crust with melted butter using a pastry brush.
- Combine brown sugar and cinnamon in a mixing bowl, creating a fragrant spice blend.
- Distribute the cinnamon-sugar mixture evenly across the pie crust, leaving a small border along one edge.
- Carefully roll the crust into a tight cylinder, pressing the seam firmly to seal.
- Slice the rolled crust into uniform segments, approximately 1-inch thick.
- Discard uneven end pieces to maintain consistent roll shapes.
- Arrange rolls cut-side up on prepared baking sheets, ensuring slight separation between pieces.
- Bake for 17-20 minutes until edges turn golden and pastry appears crisp.
- Remove from oven and let cool on the baking sheet for 5 minutes.
- Transfer rolls to a wire rack for complete cooling.
- Prepare glaze by whisking powdered sugar with milk until smooth and drizzling consistency.
- Use a fork to elegantly drizzle glaze over cooled cinnamon rolls.
- Allow glaze to set for 30 minutes before serving or enjoy immediately.
Notes
- Ensure melted butter is warm but not hot to prevent pie crust from becoming soggy.
- Roll the crust tightly and evenly to create uniform, beautiful cinnamon rolls with consistent texture.
- Adjust milk gradually when making glaze to achieve perfect drizzling thickness without becoming too runny or thick.
- Prepare rolls ahead and freeze unbaked for convenient make-ahead breakfast or dessert option that saves time.
- Prep Time: 20 minutes
- Cook Time: 20 minutes
- Category: Breakfast, Snacks, Desserts
- Method: Baking
- Cuisine: American
Nutrition
- Serving Size: 8
- Calories: 306 kcal
- Sugar: 20 g
- Sodium: 145 mg
- Fat: 14 g
- Saturated Fat: 8 g
- Unsaturated Fat: 6 g
- Trans Fat: 0.3 g
- Carbohydrates: 41 g
- Fiber: 1 g
- Protein: 2 g
- Cholesterol: 20 mg
Nate Harper
Founder & Recipe Curator
Expertise
Single-Recipe Development, Farm-to-Table Cooking, Seasonal Menu Planning, Culinary Storytelling, Home Kitchen Innovation
Education
Cascade Culinary Institute – Central Oregon Community College
Certificate in Culinary Arts
Focus: Farm-to-table cuisine, sustainable cooking practices, and seasonal recipe creation.
Nate studied under experienced chefs who emphasized local sourcing, minimal waste, and building recipes from fresh, simple ingredients.
Nate Harper is the founder and creative force behind Make, Take, Bake. Raised in the wild beauty of Oregon’s high desert, Nate grew up surrounded by family gardens, farmers’ markets, and home kitchens that celebrated the seasons.
His early love for simple, honest food evolved into a professional passion when he attended Cascade Culinary Institute, where he sharpened his skills in creating recipes that are sustainable, satisfying, and made for everyday life.
Nate’s goal is to make cooking feel accessible, free of fuss, and full of flavor. He believes a single, thoughtfully built dish can stand alone, and sometimes even steal the show.