
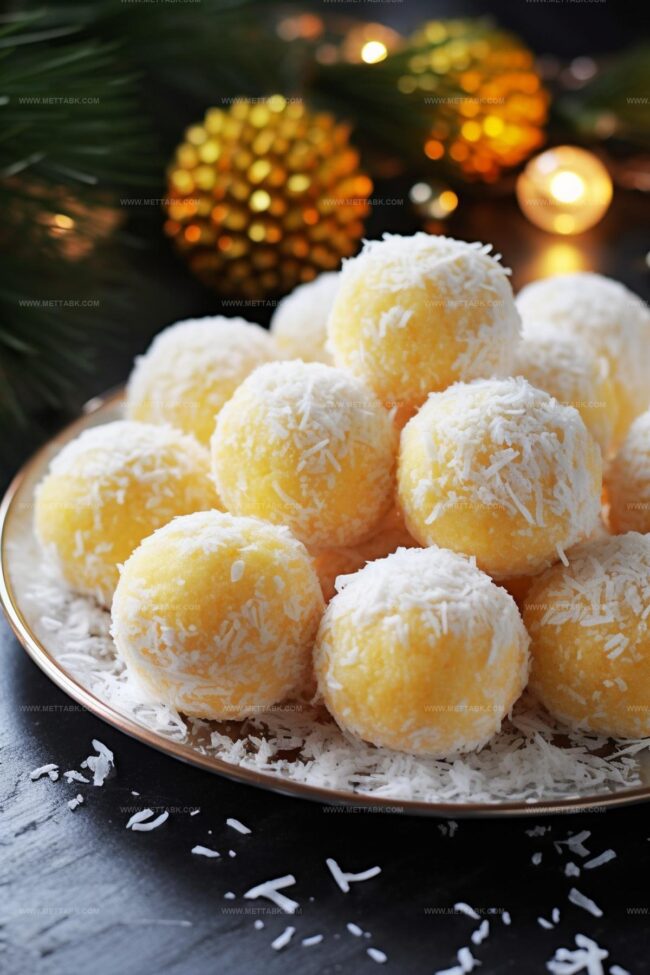
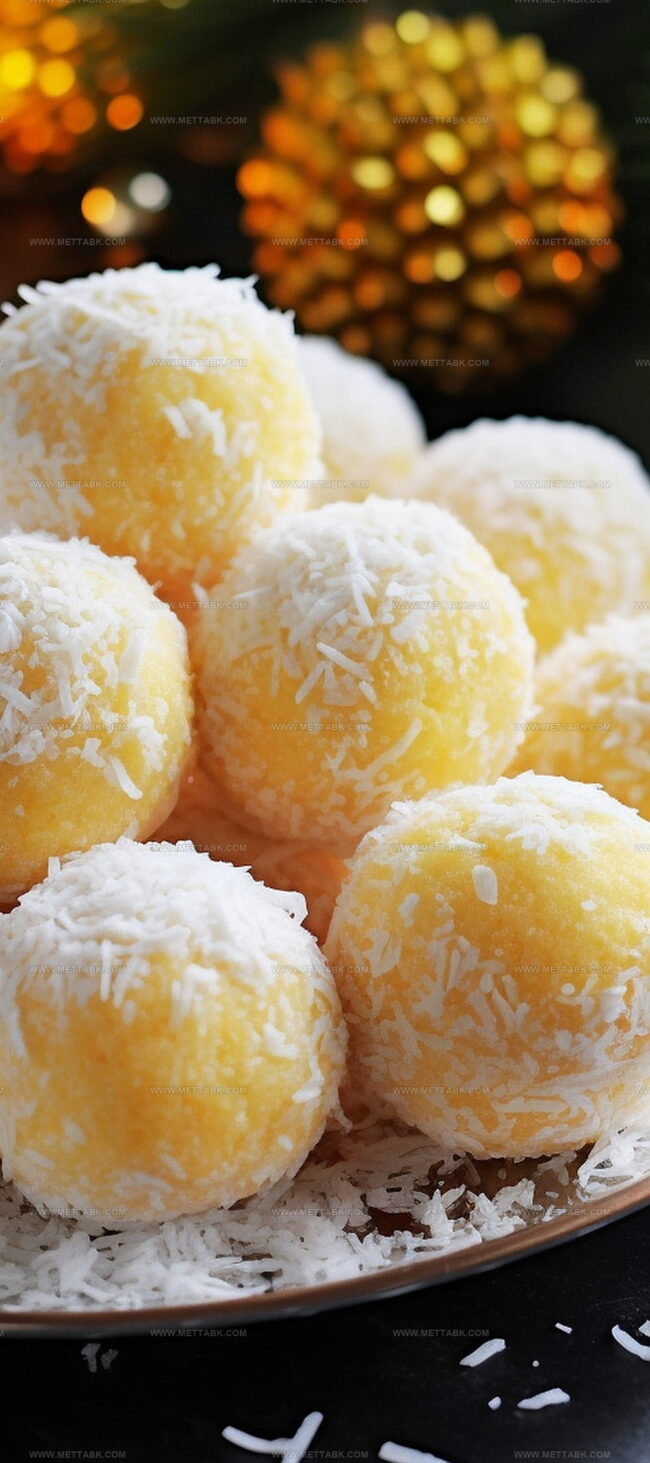
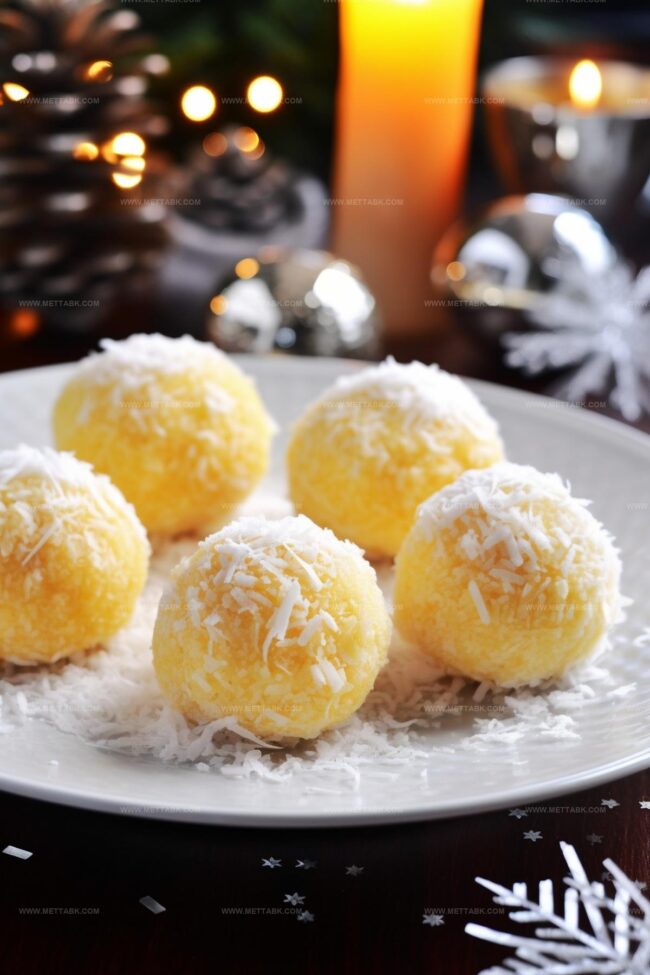
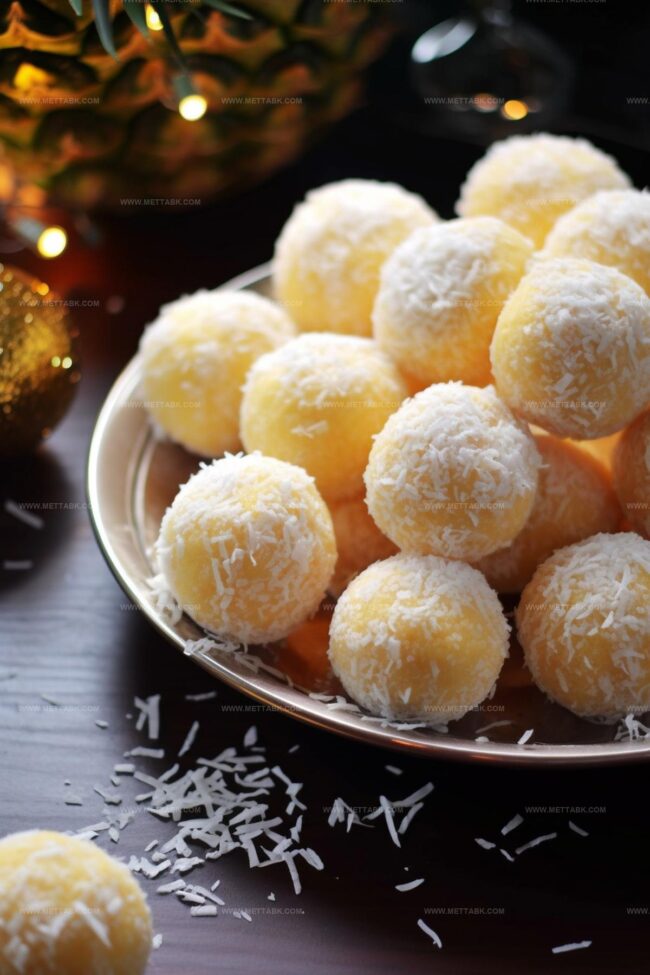
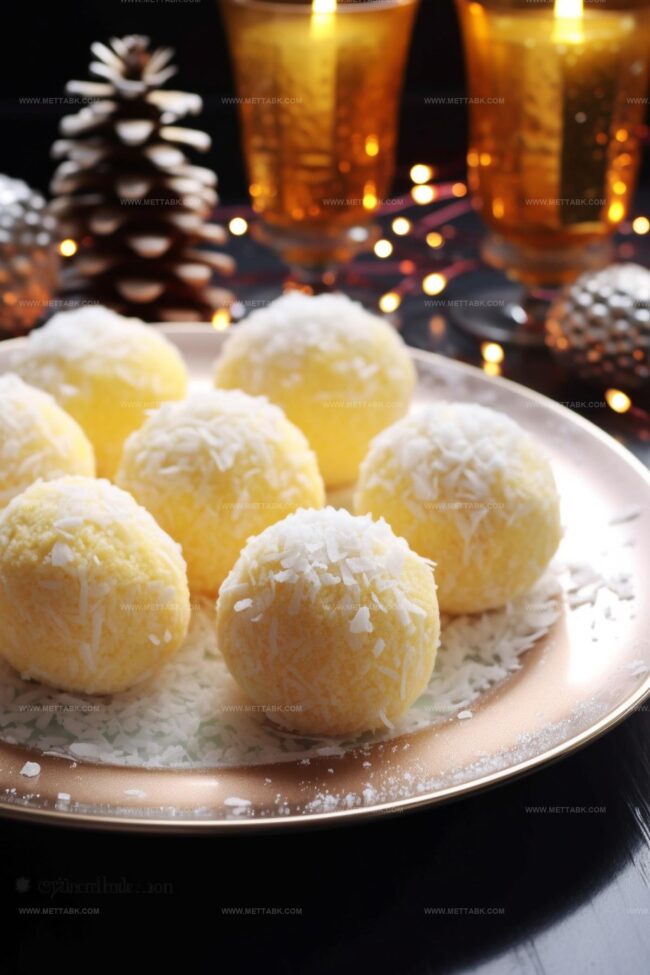
Joyful Pineapple Christmas Balls Recipe for Holiday Magic
Sweet holiday magic comes alive with these delightful pineapple christmas balls that spark joy at every festive gathering.
Tropical flavors mingle with classic seasonal spices in this simple yet impressive treat.
My grandmother first shared her secret recipe decades ago, capturing everyone’s heart with these bite-sized delicacies.
Coconut and crushed pineapple create a creamy, rich texture that melts smoothly on your tongue.
Each golden-hued morsel carries memories of warm kitchen moments and cheerful celebrations.
Kids and adults alike will beg for seconds of these irresistible confections.
Whip up a batch and watch smiles spread faster than powdered sugar on a Christmas morning.
Why Pineapple Christmas Balls Make Festive Treats
Ingredients for Pineapple Christmas Balls
How to Prepare Pineapple Christmas Balls
Step 1: Whip Cream Cheese Smooth
Use an electric mixer to beat the cream cheese until completely smooth and free of any lumpy texture. Work the cream cheese until it becomes light and fluffy.
Step 2: Mix Tropical Ingredients
Combine the following ingredients into the cream cheese:Stir everything together until the mixture looks completely blended and uniform.
Step 3: Chill and Set
Place the bowl in the refrigerator and let the mixture rest and firm up for about an hour.
The cooling helps the ingredients meld and makes shaping easier.
Step 4: Shape Delightful Balls
Remove the mixture from the refrigerator.
Using a tablespoon, scoop out portions and roll them into perfect round spheres with your hands.
Step 5: Roll in Coconut Coating
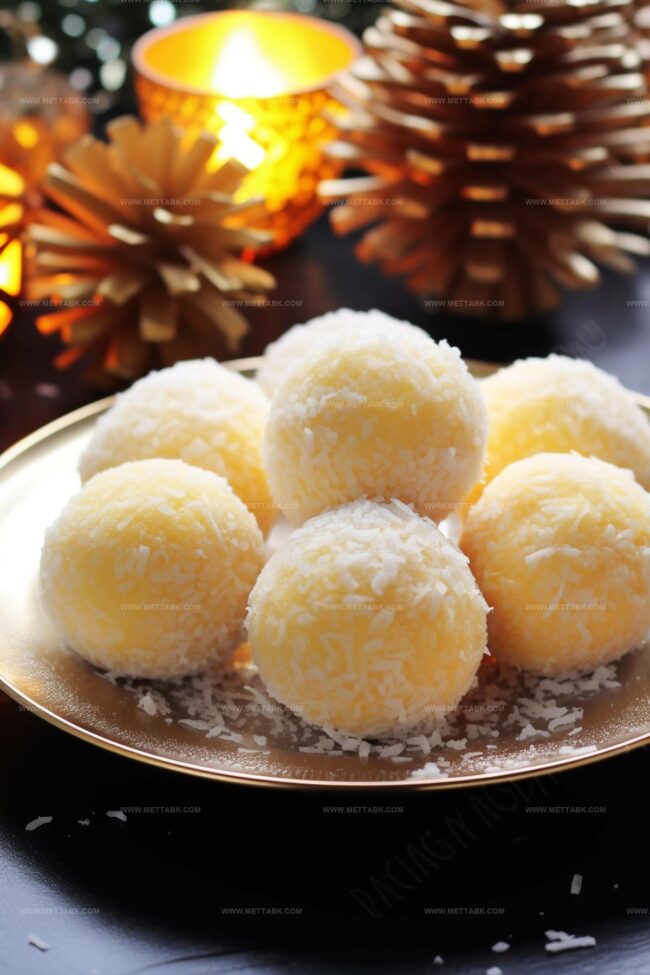
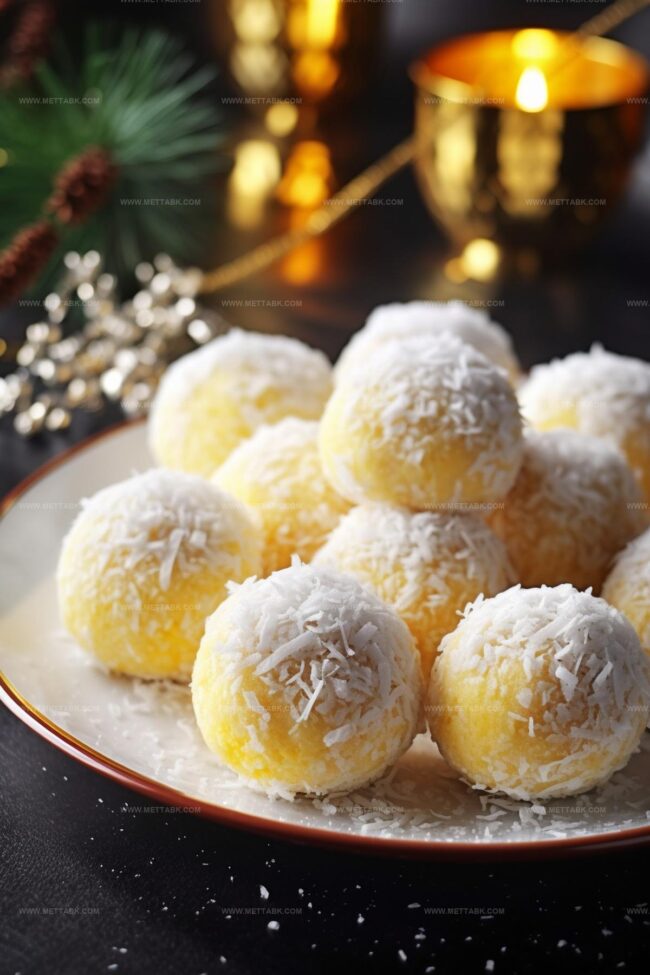
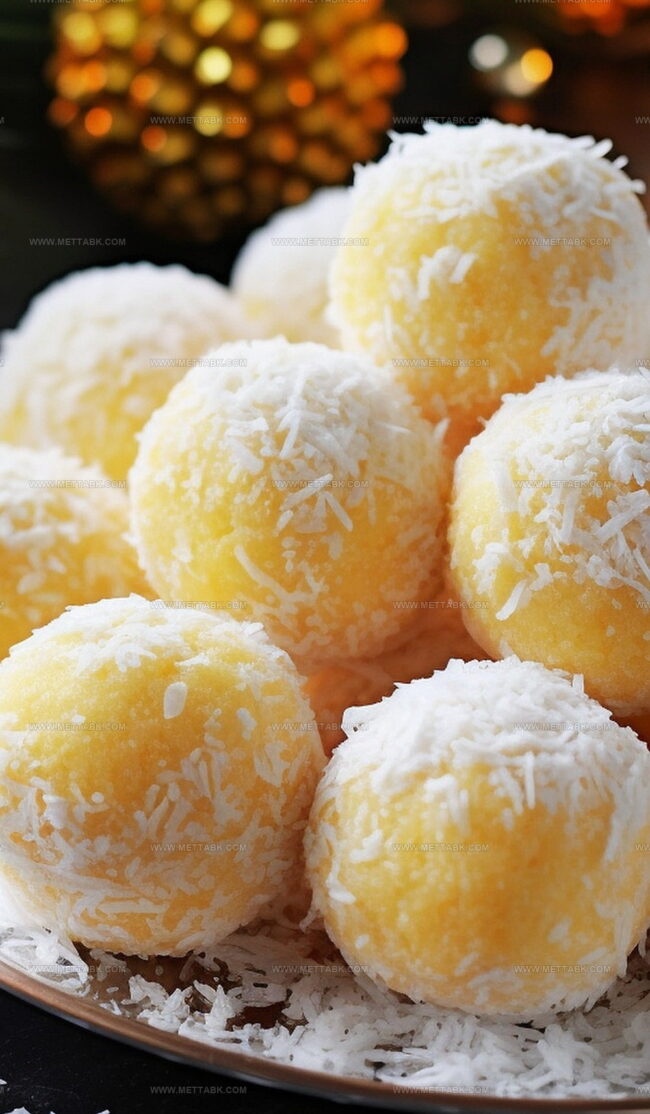
Take the extra desiccated coconut and roll each ball completely, ensuring they’re evenly covered with a snowy white exterior.
Step 6: Store and Serve
Place the finished treats in a sealed container. Keep refrigerated until you’re ready to enjoy these festive tropical bites.
They’ll stay fresh for several days when properly stored.
Pro Tips for Perfect Pineapple Christmas Balls
Variations to Try with Pineapple Christmas Balls
Pairing Ideas for Pineapple Christmas Balls
Storage Tips for Pineapple Christmas Balls
FAQs
These treats are super easy and require no baking. Anyone can make them with basic mixing skills and simple ingredients.
Absolutely! You can prepare Pineapple Christmas Balls up to 3-4 days in advance and keep them refrigerated, which actually helps them set and develop better flavor.
No special equipment needed. Just a mixing bowl, electric mixer, and your hands for rolling are sufficient to create these delightful treats.
Yes, Pineapple Christmas Balls are perfect for those who prefer simple, quick desserts with minimal ingredients and steps. They’re foolproof and delicious.
Print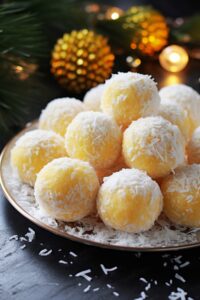
Pineapple Christmas Balls Recipe
- Total Time: 1 hour 15 minutes
- Yield: 12 1x
Description
Mexican pineapple christmas balls combine tropical sweetness with festive cheer in a delightful no-bake dessert. Guests will adore these simple, elegant treats that showcase classic holiday flavors with a refreshing twist.
Ingredients
- 3 oz pineapple jello powder
- 1/2 cup graham crumbs
- 2 cups unsweetened fine desiccated coconut
- 8 oz (226 g) cream cheese, room temperature
- 398 mL (13.4 fl oz) canned crushed pineapple, drained
Instructions
- Soften cream cheese at room temperature and whip with an electric mixer until completely smooth and creamy.
- Add crushed pineapple, graham crumbs, coconut, and pineapple jello powder directly into the cream cheese mixture without preparing the jello.
- Mix all ingredients thoroughly using a spatula or mixer until fully incorporated and uniform in texture.
- Chill the mixture in the refrigerator for approximately 60 minutes to firm up and enhance flavor melding.
- Remove chilled mixture and use a tablespoon to scoop out portions.
- Roll each portion between palms to create uniform spherical shapes.
- Coat each ball completely by rolling in remaining shredded coconut, ensuring even coverage.
- Place finished Pineapple Christmas Balls in an airtight container, separating layers with parchment paper.
- Refrigerate until serving time, maintaining freshness and structural integrity.
Notes
- Ensure cream cheese is genuinely room temperature to achieve ultra-smooth consistency without unwanted lumps during mixing.
- Use freshly drained crushed pineapple to prevent excess moisture that could compromise the ball’s structural integrity.
- Roll balls quickly and gently to maintain compact shape without overworking the delicate mixture, keeping them uniform in size for consistent texture and appearance.
- Store in airtight container for maximum freshness, allowing flavors to meld and develop a more intense tropical taste profile over 2-3 days in refrigeration.
- Prep Time: 15 minutes
- Cook Time: 1 hour
- Category: Desserts, Snacks
- Method: Blending
- Cuisine: American
Nutrition
- Serving Size: 12
- Calories: 137
- Sugar: 9 g
- Sodium: 57 mg
- Fat: 8 g
- Saturated Fat: 6 g
- Unsaturated Fat: 2 g
- Trans Fat: 0 g
- Carbohydrates: 14 g
- Fiber: 1.5 g
- Protein: 2 g
- Cholesterol: 25 mg
Clara Bennett
Contributing Recipe Developer & Food Writer
Expertise
Baking and Pastry Development, Gluten-Free and Allergy-Friendly Recipe Creation, Culinary Storytelling and Food Journalism, Recipe Testing and Standardization, Southern Comfort Foods and Modern Twists
Education
Sullivan University – National Center for Hospitality Studies
Associate Degree in Culinary Arts
Focus: Baking and Pastry Arts, Recipe Testing, and Culinary Journalism.
Clara specialized in crafting desserts that blend classic Southern comfort with modern techniques, while developing strong writing skills to tell the story behind every dish.
Lane Community College (Certificate Program)
Certificate in Food Writing and Photography
Focus: Culinary storytelling, recipe formatting, food styling, and visual presentation.
Clara’s love of baking started young, powered by homemade pies, biscuits, and stories passed around the family table.
After earning her degree at Sullivan University and a food writing certificate at Lane Community College, she turned her passion into a craft: sharing recipes that are simple, soulful, and always full of heart.
She’s big on bold flavors, flexible ideas, and creating sweets that fit any table (yes, even if you’re gluten-free). When she’s not baking, you’ll find her wandering farmers’ markets, styling food for the next photo shoot, or working on her ever-growing recipe journal.